About Ruby Fletcher

Ruby Fletcher
Ruby Fletcher is a dedicated resin crafter with years of hands-on experience pouring, molding, and creating custom epoxy art. After turning her dining room into a makeshift studio, she developed a passion for helping beginners navigate the sticky, colorful world of resin with confidence. She loves sharing practical tutorials, troubleshooting tips, and essential safety guides to make epoxy crafting accessible for everyone.
Hi, I’m Ruby Fletcher, and welcome to Resin Whirl. If you’re here because resin looks magical but also a little intimidating, you’re in the right place. I’m the person who has mixed a batch too fast, chased micro-bubbles with a heat tool a little too close, and learned the hard way that “it’ll probably cure fine” is not a plan.
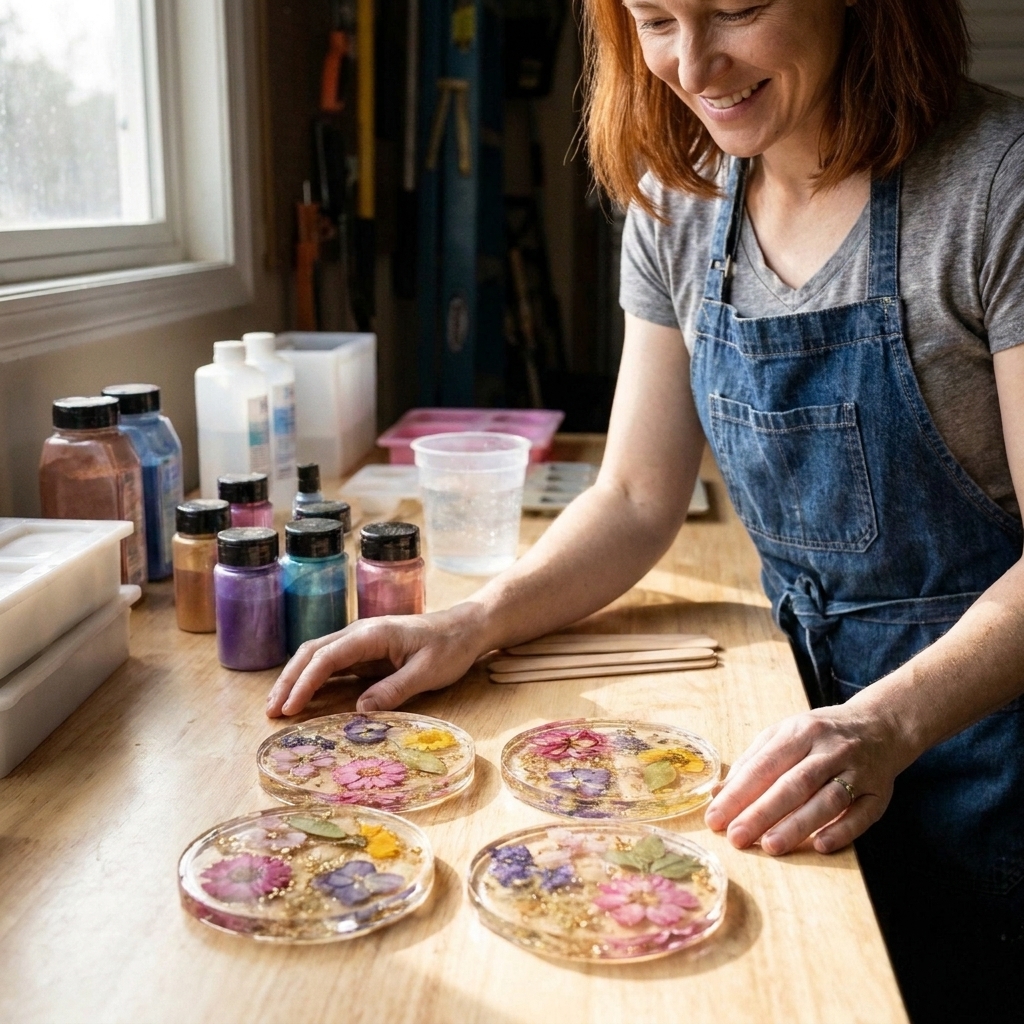
I started working with resin five years ago for a simple reason: I wanted to preserve pressed flowers from my overgrown garden. What began as a messy weekend experiment with a basic coaster kit turned into a full-blown obsession with epoxy crafts, custom jewelry, and fluid pours. My dining room became a makeshift studio, and eventually my garage craft room evolved into what it is today: beautiful, glittery chaos.
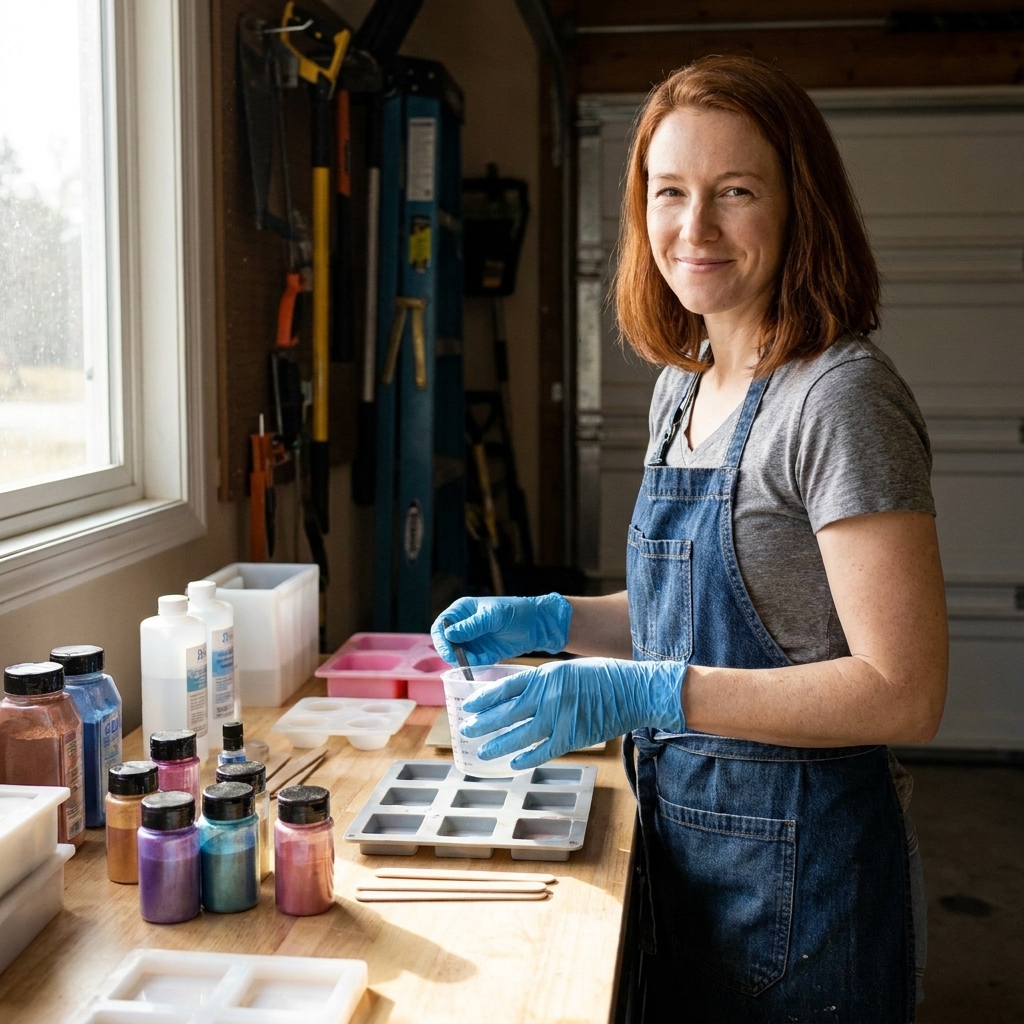
Whether you are brand-new or you have a few sticky projects under your belt, I’m genuinely glad you found your way here.
How Resin Whirl began
In my early months of resin crafting, I ran into the classic beginner problems: rapid “flash” cures (the too-fast, too-hot kind that can happen with a big pour, warm temps, or a mix issue), tacky finishes, cloudy pours, and bubbles that seemed to multiply the second I walked away. I bought different resins, tried new mixing cups, swapped heat tools, and tested dozens of molds until I could finally predict what would happen before it happened.
Resin Whirl grew out of that trial-and-error stage. I wanted a place where beginners could get clear answers without feeling talked down to. And I wanted you to skip at least a few of the hard lessons I had to learn the sticky way.
My goal is simple: help you make pieces you are proud to keep, gift, or sell, while keeping your setup safe and your expectations realistic.
What you’ll find here
Resin is not always forgiving, but it does get more predictable and a lot easier to troubleshoot once you understand the why behind the steps. On Resin Whirl, I focus on practical, repeatable processes. I write the way I wish someone had explained it to me the first time: clearly, visually, and in bite-sized steps.
- Beginner-safe foundations: Choosing resin, measuring accurately, mixing without whipping in bubbles, and understanding cure times.
- Troubleshooting that actually helps: Why your resin stayed tacky, why it overheated, what causes fish-eyes (those little crater spots from contamination like oils or silicone), and what to do when something goes wrong.
- Projects that fit real life: Coasters, trays, jewelry, and home decor pieces that look fancy without requiring a full professional studio.
- Techniques you can build on: Clean pours, embedding, sanding and finishing, doming, and working with pigments.
If you want to jump into specific categories, these are the sections I’m always adding to:
My mission (and my non-negotiables)
I believe anyone can create beautiful resin pieces with the right setup, a little patience, and a few good habits. I also believe safety should never be an afterthought.
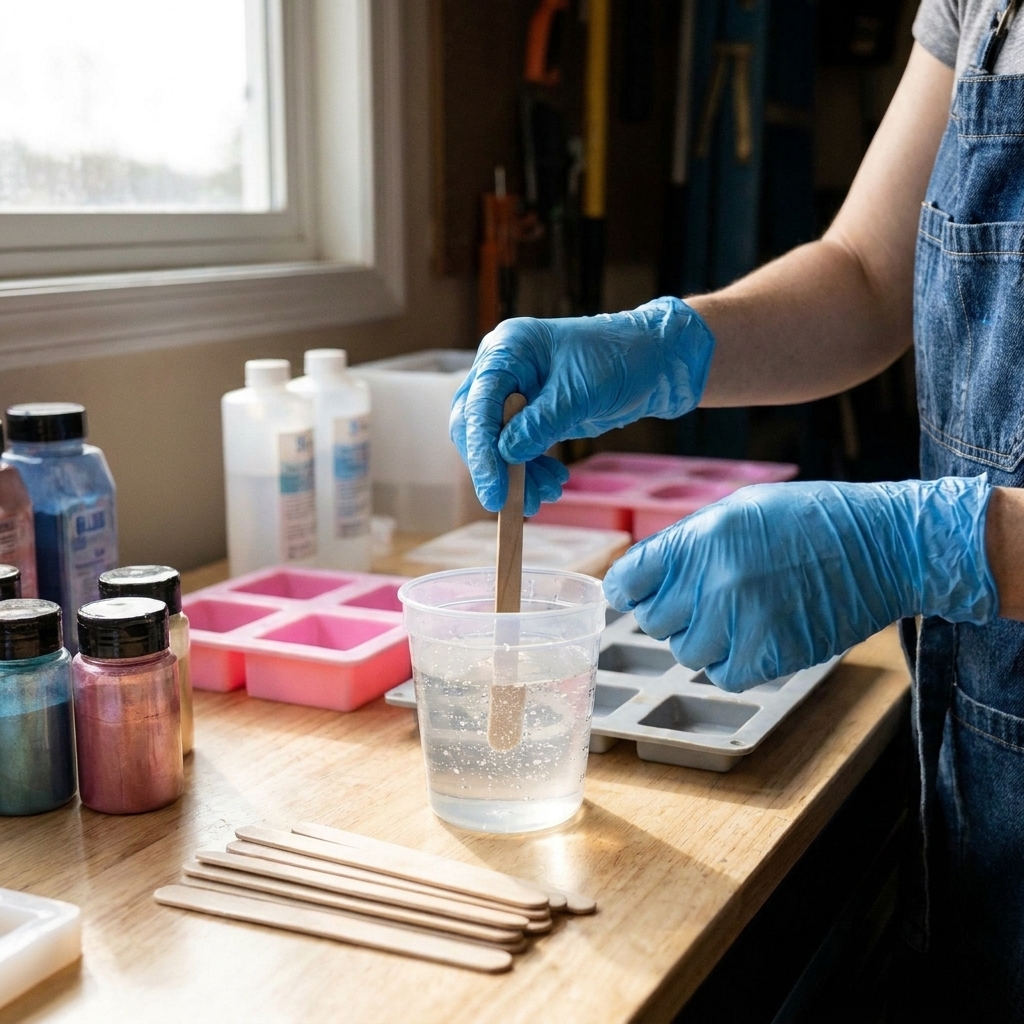
That means I’m going to keep reminding you about the not-so-glamorous essentials: ventilation, gloves, surface protection, and curing in a clean, controlled space. If you are just starting out, begin with Getting Started & Safety. It will save you time, money, and headaches.
My other non-negotiable is clarity. Resin instructions can get weirdly vague, so I aim to be specific about what matters: mixing ratios, temperature, timing, and the little decisions that change your results. For example, one habit that fixed a lot of my early issues was slowing down and mixing thoroughly, scraping the sides and bottom as I go, instead of whipping air into the cup and hoping for the best.
A little more about me
I’m based in the Pacific Northwest, which means my projects often happen between rainy afternoons and bright, surprising bursts of sun. On weekends, you’ll usually find me hunting for vintage trinkets to embed in a piece, like tiny charms, old keys, or interesting metal bits that add personality.
I love pressed botanicals, soft neutrals with a pop of shimmer, and resin projects that are useful, not just pretty. If it can be worn, held, or placed on a table without babying it, I’m interested.
Welcome to the mess
If you take one thing from Resin Whirl, I hope it’s confidence. Confidence to measure carefully. Confidence to slow down. Confidence to troubleshoot instead of tossing a piece in frustration. Resin has a learning curve, but it is absolutely learnable.
If you have a question, spot something that needs correcting, or want to suggest a topic you are stuck on, send me a note through the contact form. I read every message, and your feedback genuinely helps shape what I cover next.
Thanks for being here, and I can’t wait to see what you make.