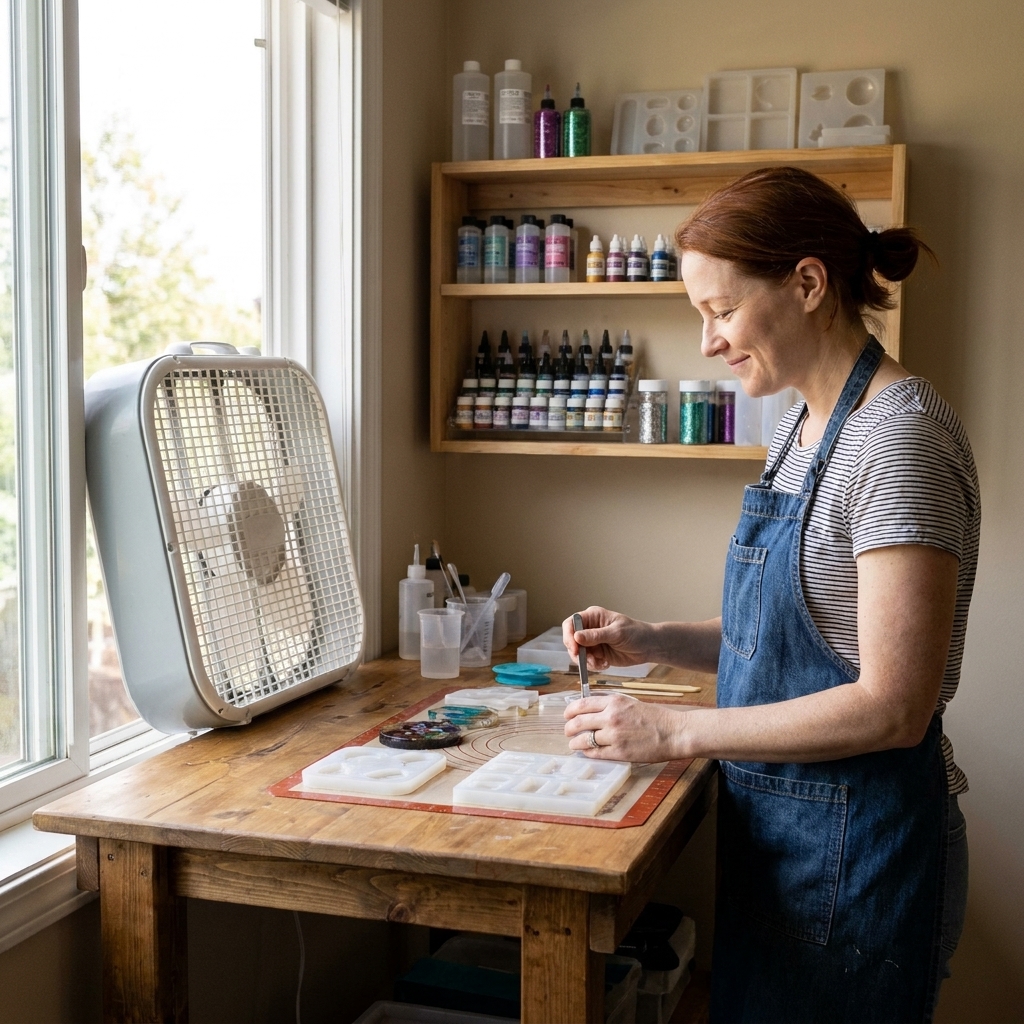
Learn how to create a safe, well-ventilated resin workspace at home—room choice, window exhaust airflow, PPE essentials, surface protection, storage, and dus...
Beginner Resin Art Supplies: Essential First-Pour List

Ruby Fletcher
Ruby Fletcher is a dedicated resin crafter with years of hands-on experience pouring, molding, and creating custom epoxy art. After turning her dining room into a makeshift studio, she developed a passion for helping beginners navigate the sticky, colorful world of resin with confidence. She loves sharing practical tutorials, troubleshooting tips, and essential safety guides to make epoxy crafting accessible for everyone.
Published
The first time I tried resin, I was determined to preserve a handful of pressed flowers from my wildly overgrown garden. I bought a tiny coaster kit, covered my dining table in wax paper, and thought, How hard can this be? Two hours later I had sticky fingers, bubbles trapped around every petal, and a cup that got worryingly hot in my hand.
If you are about to do your first pour, I want you to have the calm, steady setup I wish I had that weekend. This shopping list focuses on the true essentials, the nice-to-haves that actually help, and the popular extras you can skip until you know you love resin.
Before you buy: safety is part of the list
Resin is not scary, but it does deserve respect. Many epoxies can irritate skin and airways, especially during mixing and pouring. The best budget move is avoiding a reaction that makes you stop crafting altogether.
If you want my full safety walkthrough, start here: Getting Started & Safety. For a focused rundown of protective gear, see Resin Safety Gear: Respirators, Gloves, and Eye Protection.
Minimum safety gear for your first pour
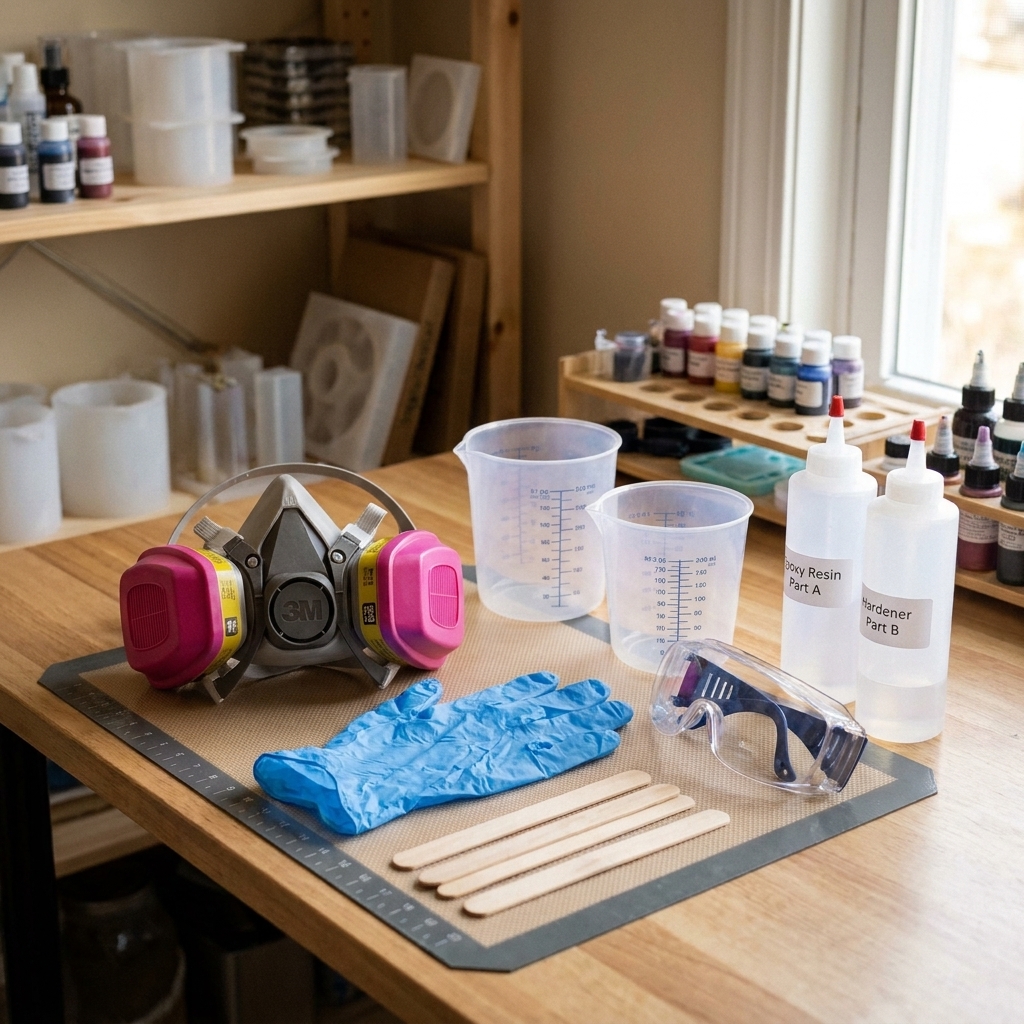
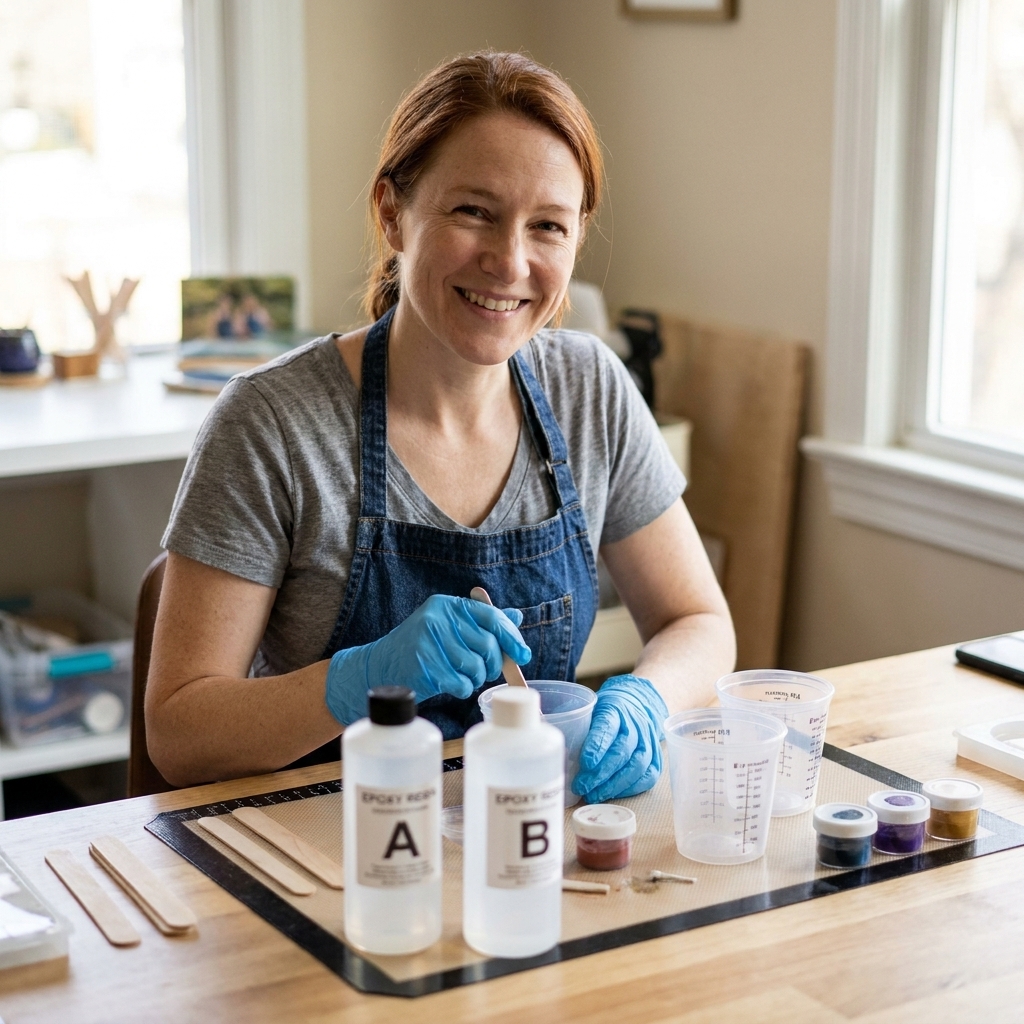
- Nitrile gloves (not latex). Latex is not reliably chemical-resistant for epoxy components, and latex allergies are common. Nitrile is generally the better choice for resin work. Change gloves if you get resin on them.
- Eye protection. Mixing cups snap and stir sticks flick. It happens fast.
- Respiratory protection and ventilation. Read the label and the SDS for your exact product. If you cannot run strong ventilation, or you can smell the resin odor while working, use an organic vapor rated respirator and improve airflow.
- Apron or dedicated craft clothes. Resin is forever on fabric.
Must-have supplies
1) Epoxy resin and hardener
As a beginner, look for a 2-part epoxy that is clearly labeled for what you want to make. Not all epoxy behaves the same.
- Coating resin is formulated for thin layers, topcoats, and self-leveling surfaces like coasters, trays, and boards.
- Casting resin (often labeled deep pour) is formulated for thicker pours in molds, usually with a longer working time to help manage heat buildup.
What to buy first: If you are making coasters or flat art, start with a coating resin. If you are making thicker molds (around 1 inch or more), choose a casting resin. Buying the wrong type is one of the fastest ways to get a flash cure (rapid overheating and hardening in the cup), ripples, or a warped mold.
2) Accurate measuring tools
Resin success is mostly measurement. Eyeballing it is how you get tacky surfaces that never fully cure.
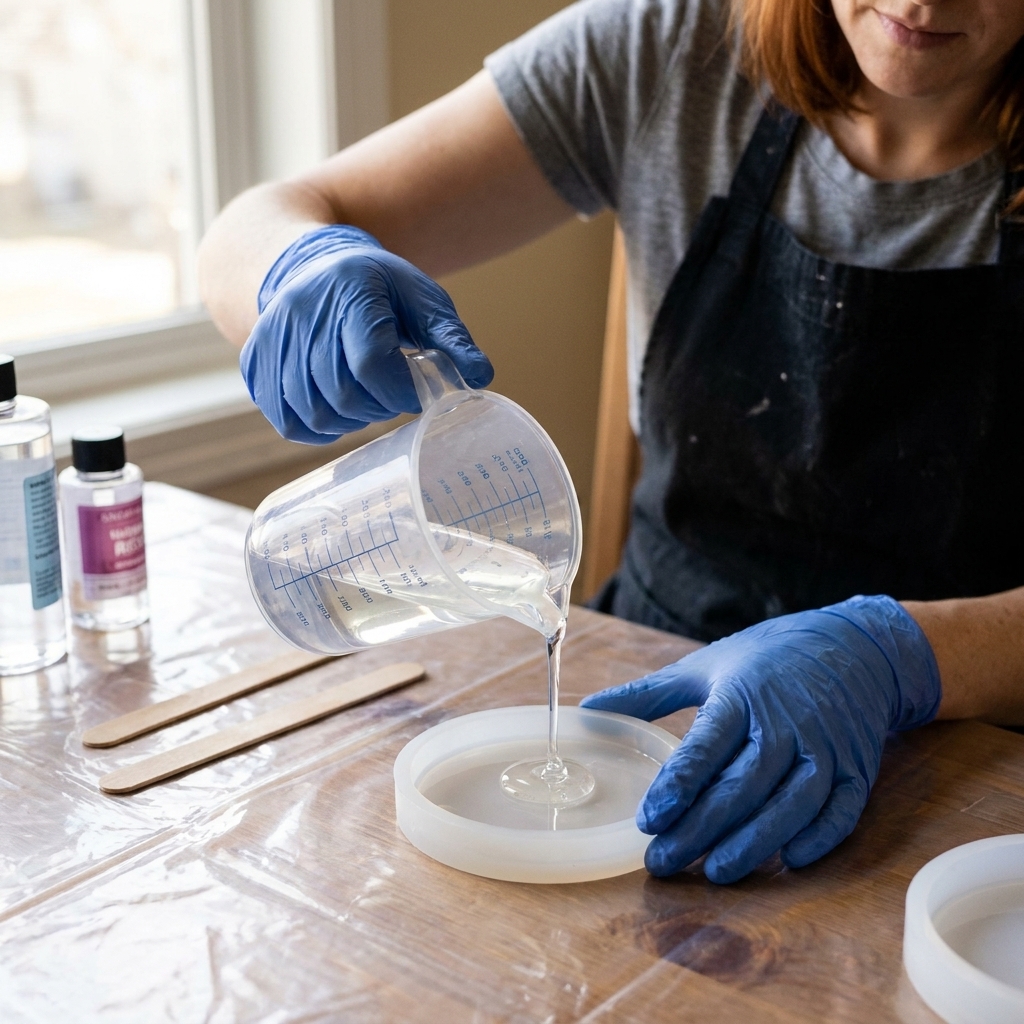
- Graduated mixing cups (clear, disposable) in a few sizes. Having small and medium cups prevents you from mixing a giant batch just in case.
- Digital scale (optional but very helpful). Some resins measure by volume, some by weight. If your resin allows weight-based measuring, a scale reduces errors. If it is volume-only, stick to marked cups.
3) Mixing tools that do not sabotage you
- Stir sticks (wood or silicone). I like flat sticks that can scrape the sides and bottom.
- Silicone spatula (nice upgrade). It helps you cleanly transfer mixed resin out of the cup so you waste less.
- Timer. This sounds silly until you realize how often we under-mix. A kitchen timer or your phone keeps you honest.
Ruby tip: Mix slowly and deliberately, scraping the sides and bottom, for the full time your resin instructions require. Most beginner bubble problems start with aggressive whipping.
If you want extra insurance against unmixed resin, try the double-cup method: mix thoroughly, pour into a second clean cup, and mix again for the recommended time. It is not mandatory, but it is a game-changer for beginners.
4) Surface protection
- Silicone mat is my favorite. Cured drips peel right off.
- Plastic sheeting or freezer paper works too for ultra-budget setups.
Also grab painter’s tape. It is perfect for taping off coaster backs, keeping molds steady, and catching drips on the underside of boards.
5) Molds or surfaces to pour onto
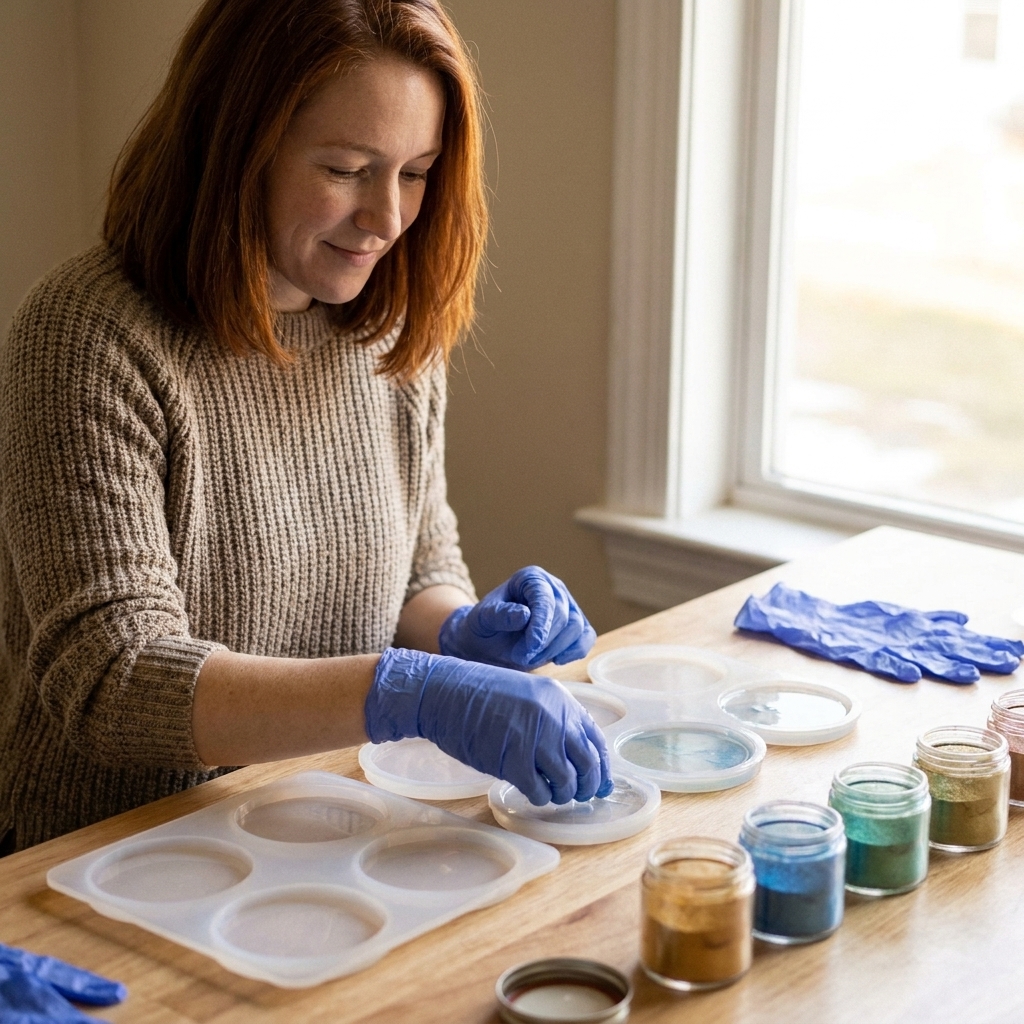
For a first project, I recommend silicone coaster molds or a simple jewelry mold with a smooth cavity. Avoid super-detailed molds at first. Tiny crevices love trapping bubbles and unmixed resin.
When you are ready for jewelry specifically, browse Resin Jewelry Making.
6) A level workspace
This is not glamorous, but it matters. If your table is slightly slanted, your resin will show it.
- Small level (even a simple bubble level).
- Shims (cardboard or folded paper) to correct wobble under a mat or board.
7) Basic cleanup supplies
- Isopropyl alcohol (IPA) for wiping tools and fresh drips on non-porous surfaces. Use with ventilation and keep away from flames.
- Paper towels and baby wipes. Wipes are great for quick glove cleanups while you are still wearing gloves.
- Trash bag dedicated to resin waste.
Important: Do not use IPA to clean resin off skin, and do not wash liquid resin down the sink. If you get resin on your skin, follow your product SDS and wash with soap and cool to lukewarm water. Let leftovers cure fully in the cup, then dispose according to your local rules.
High impact upgrades
Heat tool for bubbles
You will see people using everything from mini torches to lighters. Heat helps pop surface bubbles, but too much heat can cause ripples, cure issues, or scorched inclusions.
- Mini butane torch is fast and effective for brief passes over flat pours.
- Heat gun is gentler but can blow resin around in small molds.
If you only buy one, I lean mini torch for coasters and trays. Keep the flame moving, stay several inches away, and never hover.
Silicone mixing cups
Not required, but they reduce waste long-term. Once the leftover resin cures, you peel it out like a flexible shell.
Pigments that behave
Start simple. Too many colorants at once is how beginners accidentally create soft spots.
- Mica powder for shimmery opaque color.
- Transparent dye if you want stained-glass effects.
- White pigment paste is useful for mixing custom pastels.
Avoid adding random craft paint to epoxy unless the resin brand specifically says it is compatible. Water-based products can interfere with curing.
What to skip at first
- Pressure pot. Amazing for bubble-free casting, but not necessary for learning the basics.
- Vacuum chamber. Helpful for degassing resin, but many beginner projects do fine with good mixing and gentle heat.
- Dozens of pigments. Two or three reliable colors teach you more than a whole rainbow you do not understand yet.
- Fancy mold release sprays. Most silicone molds release cured epoxy without anything added. Always follow your mold maker’s guidance.
- Rotary tool on day one. You can trim small edges with sandpaper for your first few projects.
How much resin should a beginner buy?
Enough for two to four small projects. That gives you room to practice without committing to a huge jug before you know your preferences (viscosity, working time, and how it self-levels).
If you are starting with coasters, a beginner-friendly goal is resin for a few sets so you can learn:
- one batch poured clear
- one batch with mica
- one batch with an inclusion like dried flowers or glitter
Shopping list to screenshot
Absolute essentials
- 2-part epoxy resin (coating or casting, matched to your project)
- Nitrile gloves
- Eye protection
- Ventilation plan
- Organic vapor respirator if ventilation is limited or you can smell odor
- Graduated mixing cups (multiple sizes)
- Stir sticks
- Timer
- Surface protection (silicone mat, plastic sheeting, or freezer paper)
- Silicone molds or a simple surface to coat
- Painter’s tape
- Paper towels, wipes for gloved hands, trash bag
Next purchases
- Heat tool (mini torch or heat gun)
- Silicone mixing cups
- Mica powder or transparent dye (1 to 3 colors)
- Small level
- Sandpaper assortment (for edges)
First-pour checklist
- Read the label first. Confirm mix ratio, working time, and recommended pour depth.
- Get your temperature right. Resin is pickier in cold rooms. Warm the space first. Only warm resin bottles if your manufacturer says it is safe to do so.
- Set up before you mix. Molds ready, pigments open, gloves on, surface protected, level checked.
- Measure accurately. Use the method your resin requires (volume or weight).
- Mix slowly and thoroughly. Scrape sides and bottom for the full recommended time. Use a timer.
- Pour and pop bubbles. Brief heat passes only if your resin allows it.
- Cover to cure. A clean box or tote helps keep dust and pet hair out.
Common supply mistakes
Buying deep pour resin for thin coasters
Deep pour formulas can stay soft longer and may feel frustrating for quick projects. Match the resin to the job.
Using flimsy cups that flex while you stir
If the cup collapses while mixing, you tend to under-mix or spill. Choose thicker plastic cups or silicone cups.
Skipping gloves because it is just one little pour
Resin allergies can develop over time. Gloves are non-negotiable in my craft room.
Overbuying pigments and underbuying cups
You will use far more cups, sticks, and gloves than you think, especially when you are learning.
Where to go next
Once you have your starter kit assembled, the next step is learning a repeatable process. I keep beginner-friendly projects and troubleshooting in Techniques & Tutorials, and if you are dreaming of coasters, trays, and functional pieces, you will like Home Decor & Functional Art.
If you ever feel stuck mid-project, you can always reach me through Contact. I have had my share of sticky mishaps, and I am happy to help you avoid them.