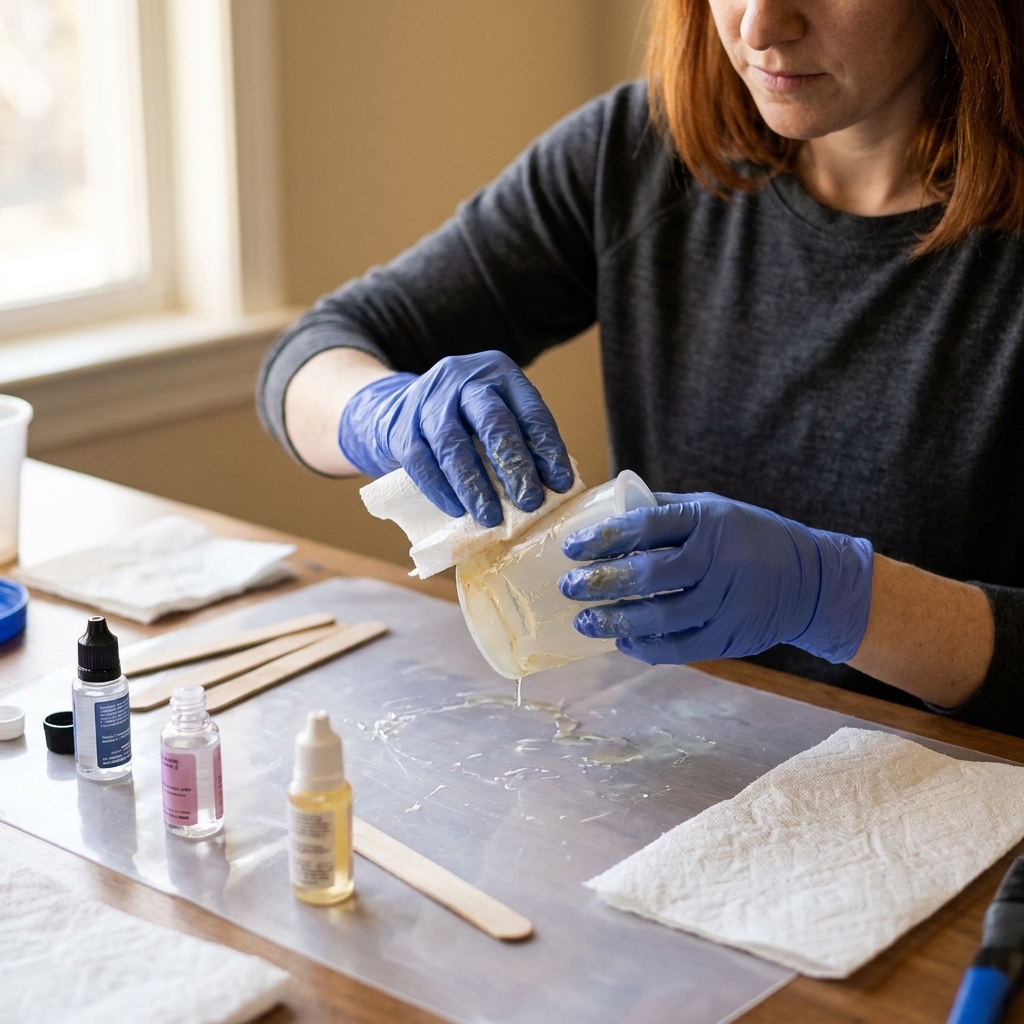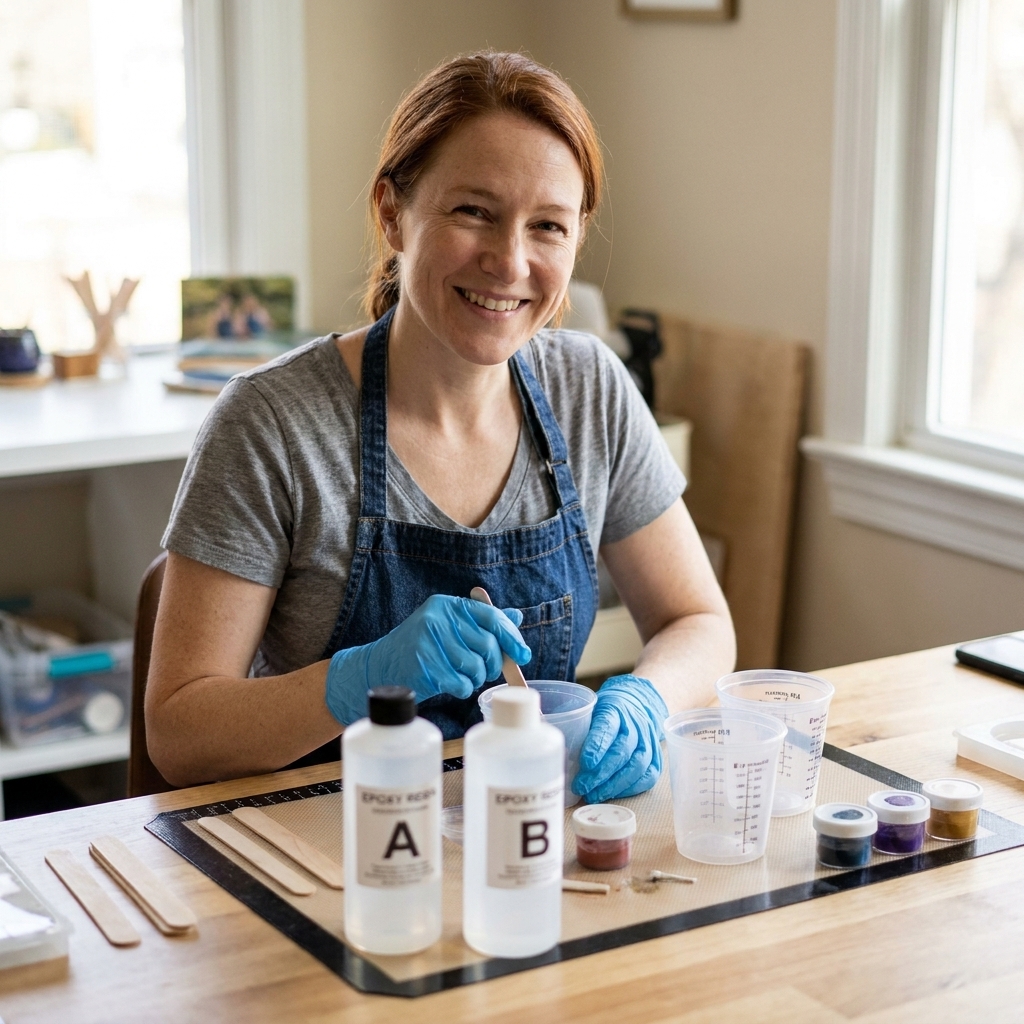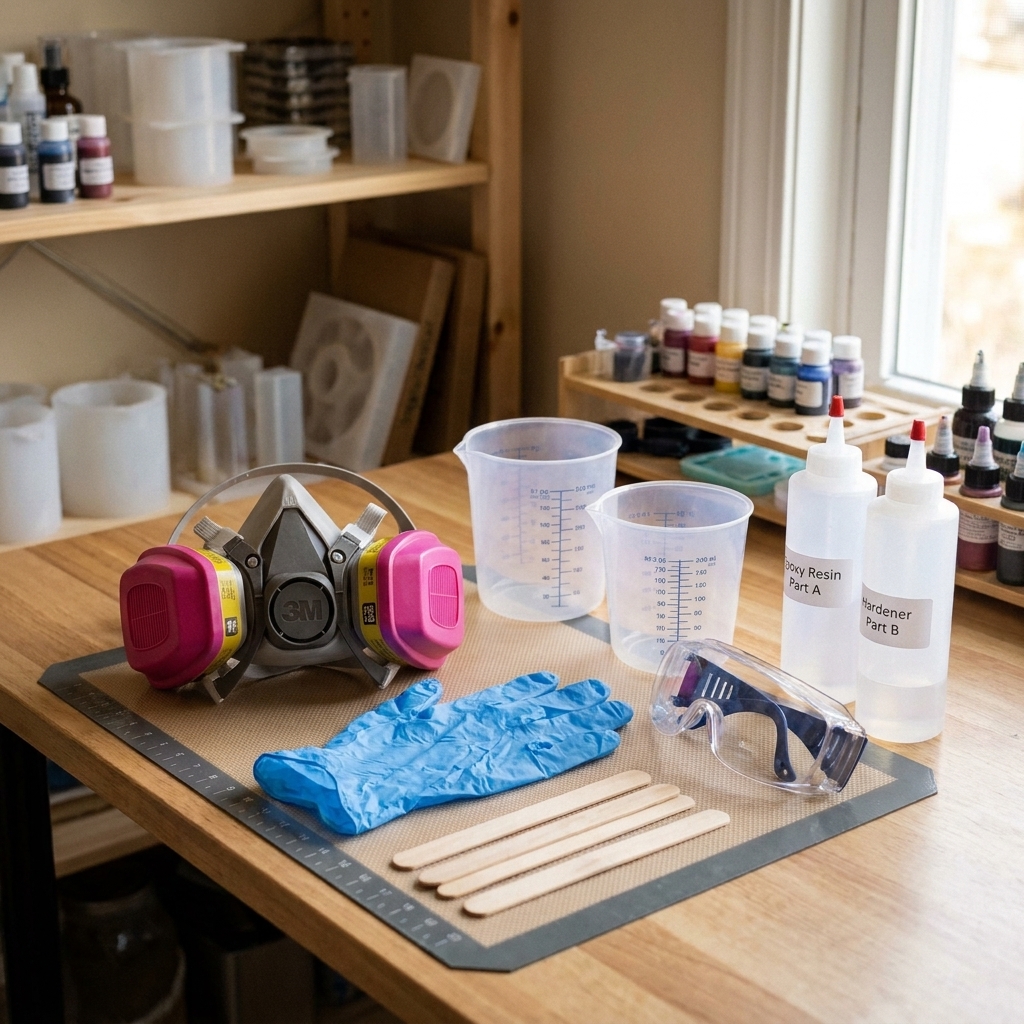
A practical resin PPE guide covering properly fitted respirators (OV and P100 options), nitrile glove picks and thickness, and sealed goggles for splashes an...
Set Up a Safe, Ventilated Resin Workspace at Home

Ruby Fletcher
Ruby Fletcher is a dedicated resin crafter with years of hands-on experience pouring, molding, and creating custom epoxy art. After turning her dining room into a makeshift studio, she developed a passion for helping beginners navigate the sticky, colorful world of resin with confidence. She loves sharing practical tutorials, troubleshooting tips, and essential safety guides to make epoxy crafting accessible for everyone.
Published
The first time I mixed epoxy in my dining room, I thought cracking a window was “good enough.” It was not. Between the smell, the sticky drips I somehow tracked everywhere, and the realization that my cozy craft corner was also where we ate dinner, I learned fast that resin needs its own little safety ecosystem. The good news is you do not need a fancy studio to do this right. You just need a smart room choice, reliable airflow, and a few routines you follow every time.
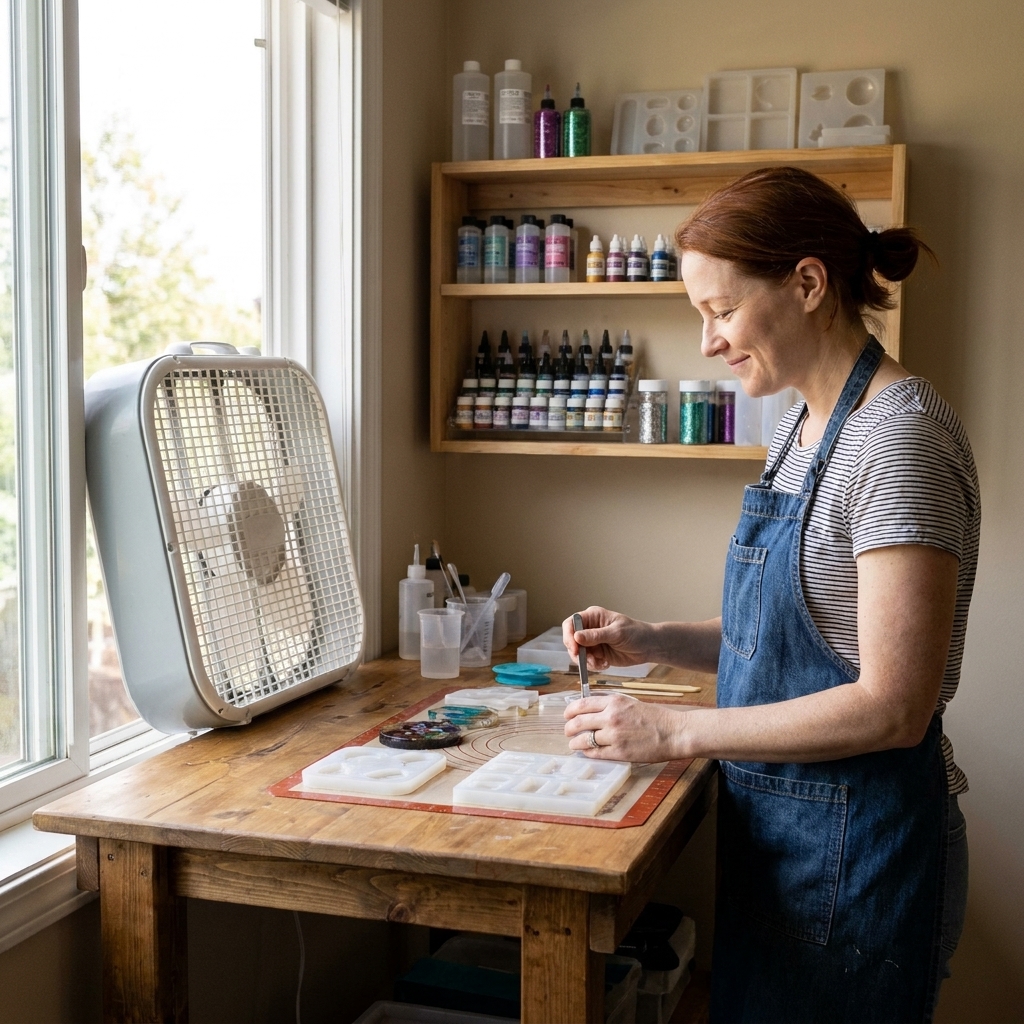
This guide walks you through setting up a safe, well-ventilated resin workspace indoors, in a way that works for apartments, spare bedrooms, garages, and everything in between.
Start with the right room
If you can choose any room, pick the one that makes ventilation easiest and cross-contamination least likely. Resin vapors, odors, and sanding dust behave like uninvited houseguests. They drift. They linger. They land on things you did not mean to coat.
My quick room ranking
- Best: Garage or shed with a window or door you can vent out of (plus a way to keep temperatures stable).
- Great: Spare room with a window and a door you can close.
- Okay with extra care: Laundry room or mudroom with exhaust and a door.
- Avoid: Kitchen, main living areas, bedrooms, or anywhere pets and kids freely roam.
Non-negotiables for the room
- A closable door so you can separate the workspace from the rest of your home.
- At least one window or exterior door so air can actually leave the building.
- A stable surface zone where you can keep projects flat while curing.
- A temperature plan because most epoxies cure best around typical room temperatures (often roughly 70–77°F / 21–25°C). Always check your product label and SDS for the range your resin expects.
If you are new to resin safety basics, I keep the bigger picture on our Getting Started & Safety page.
Ventilation that actually works
Ventilation is not just “fresh air.” The goal is directional airflow that moves vapors and airborne irritants away from your face and exhausts them outdoors, not into the rest of your home.
A simple positioning rule that helps a lot: keep your body upwind of the cup, and put your work surface between you and the exhaust path so air is moving from clean to dirty, not the other way around.
The simplest effective setup: window exhaust
This is the setup I recommend for most home crafters:
- Open a window in your resin room.
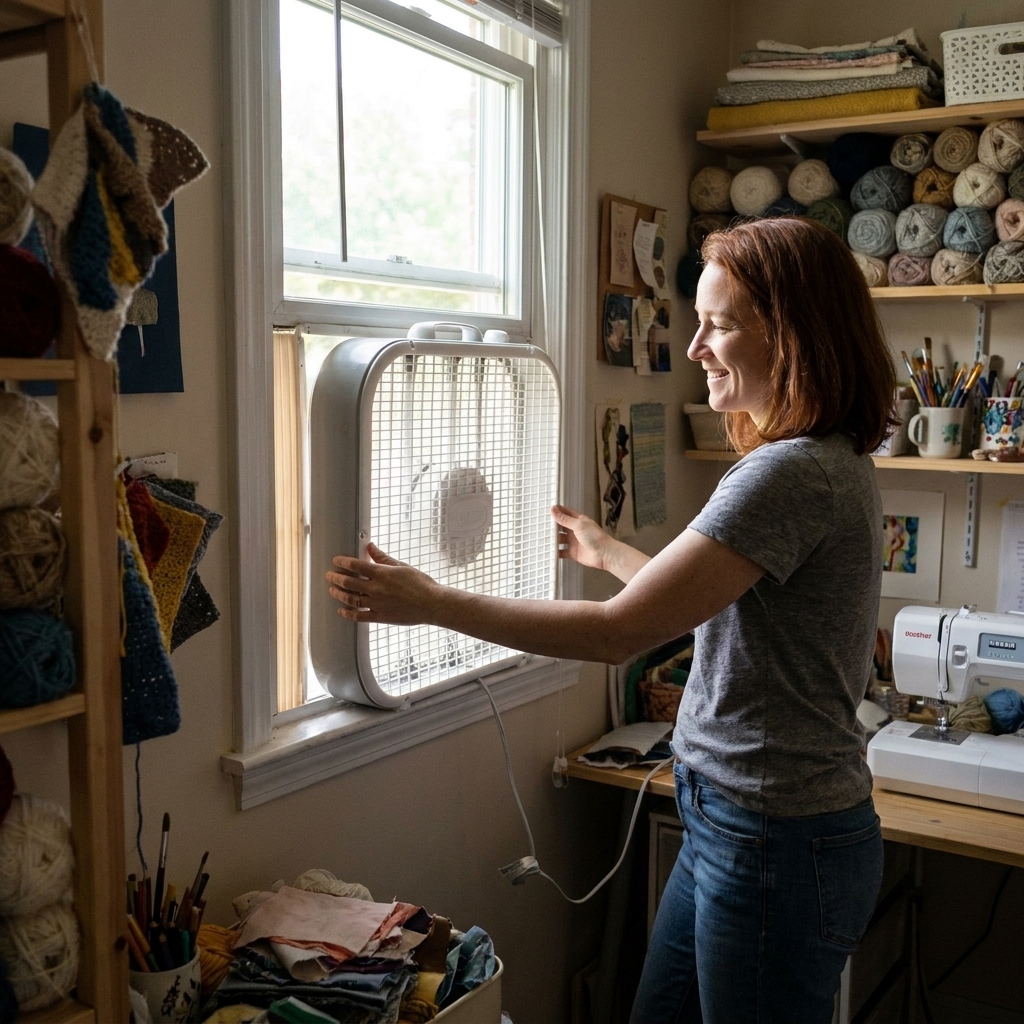
- Place a box fan in the window facing outward so it pushes air outside.
- Create a makeup air source (a second opening that lets fresh air replace what you are exhausting) by cracking another window in the same room or a nearby room.
What you are building is a gentle, steady flow: clean air in, fume air out.
What not to do (common beginner mistakes)
- Do not point a fan directly at your cup or mold. It can blow dust into wet resin and can accelerate surface rippling.
- Do not rely on a ceiling fan. It mostly stirs air around the room.
- Do not vent into your home, attic, or crawlspace.
- Do not assume “low odor” resin means “no exposure.” Odor is not a safety gauge.
If you cannot use a window fan
Sometimes you are in a rental, a basement, or a room with awkward windows. In that case, prioritize:
- Working as close to an exterior door or window as possible, even if it means a smaller temporary setup.
- Short sessions with ventilation running the whole time, and avoid hanging out in the room if you still smell odors or feel any irritation.
- Keeping resin work contained to one closable room, with a towel draft blocker at the door if needed.
One important reality check: time alone does not guarantee the air is “fine.” Off-gassing varies by product, pour size, temperature, and airflow. Your safest play is to follow your resin’s SDS guidance and keep exhausting air outdoors through the early cure period it recommends.
If you have persistent headaches, throat irritation, or watery eyes, treat that as a red flag that your airflow and PPE need an upgrade.
PPE: my minimum kit
Ventilation and personal protection work together. Even with good airflow, you are still leaning over an active chemical reaction while you mix, pour, and pop bubbles. Different brands have different ingredients, so always read your label and SDS for the final word on PPE.
- Nitrile gloves (not latex) to reduce skin exposure.
- Eye protection, especially when mixing, torching, or trimming.
- A properly fitted respirator when appropriate for your resin and your space. For many resin workflows, that means organic vapor (OV) cartridges for vapors, and P100 particulate protection for sanding dust. Many people use OV/P100 combo cartridges (or OV cartridges with P100 prefilters). A respirator only works with a good seal, so fit matters, and facial hair can break that seal.
- Apron or dedicated “resin clothes” because drips happen.
Two important habits:
- Put gloves on before you handle bottles, pumps, or pigment jars.
- Wash hands after you remove gloves. Gloves are not magic, they are containment.
For a broader safety overview, including what to do if resin gets on skin, see Getting Started & Safety.
Protect your surfaces
Resin finds bare wood, grout lines, and textured countertops. It also finds your favorite sweater. Setting up a workspace is mostly about making cleanup boring.
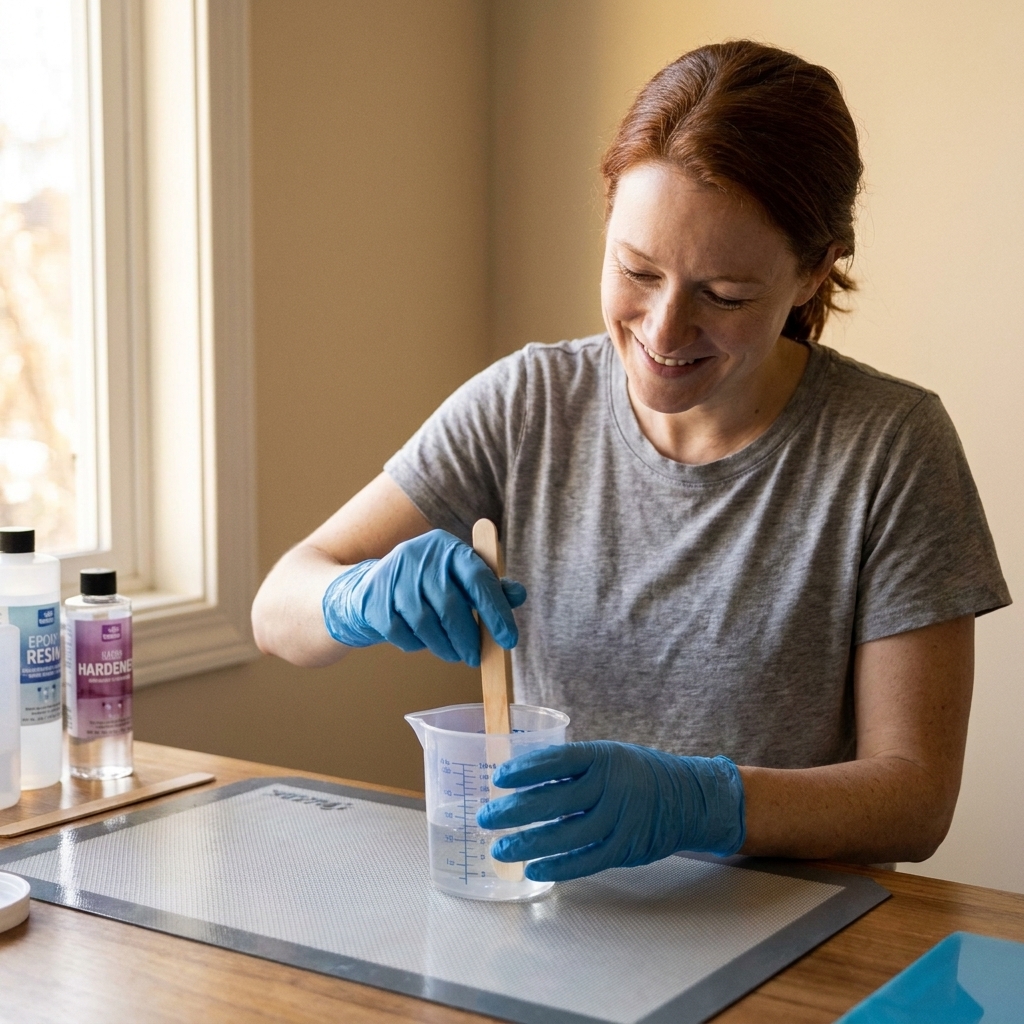
My favorite table setup
- Solid, level table that does not wobble.
- Silicone mat or thick plastic sheeting as the top layer.
- Disposable barrier (freezer paper or polyethylene sheet) for messy pours.
- Dedicated tool tray so sticky stir sticks do not wander.
Leveling matters more than you think
Before you pour, check the table with a small level or a phone level app. A tiny tilt can make coaster sets look like they are sliding off the planet. Shim table legs if needed.
Plan a clean zone and a sticky zone
- Clean zone: pigments, gloves, wipes, timer, scale, and fresh mixing cups.
- Sticky zone: open resin bottles, mixed cups, used stir sticks, drippy tools, molds.
This one change prevents most accidental smears on doorknobs, phones, and light switches.
Control temperature and humidity
Comfort is part of safety. If you are shivering in a cold garage, you will rush. If your room is too hot, resin can kick faster than expected.
- Aim for steady room temperature during mixing and early cure. Many brands like the low to mid 70s°F, but check your label and SDS.
- Avoid open flame heaters in the resin room. Safety first, always.
- Reduce humidity if your space is damp. High humidity can contribute to surface issues like blush or cloudy finishes depending on your resin system.
I also like to warm sealed bottles in a bowl of warm water before mixing if my room is on the cool side. Thinner resin mixes more smoothly and releases bubbles more easily. Just keep water away from open containers.
Lighting you will appreciate later
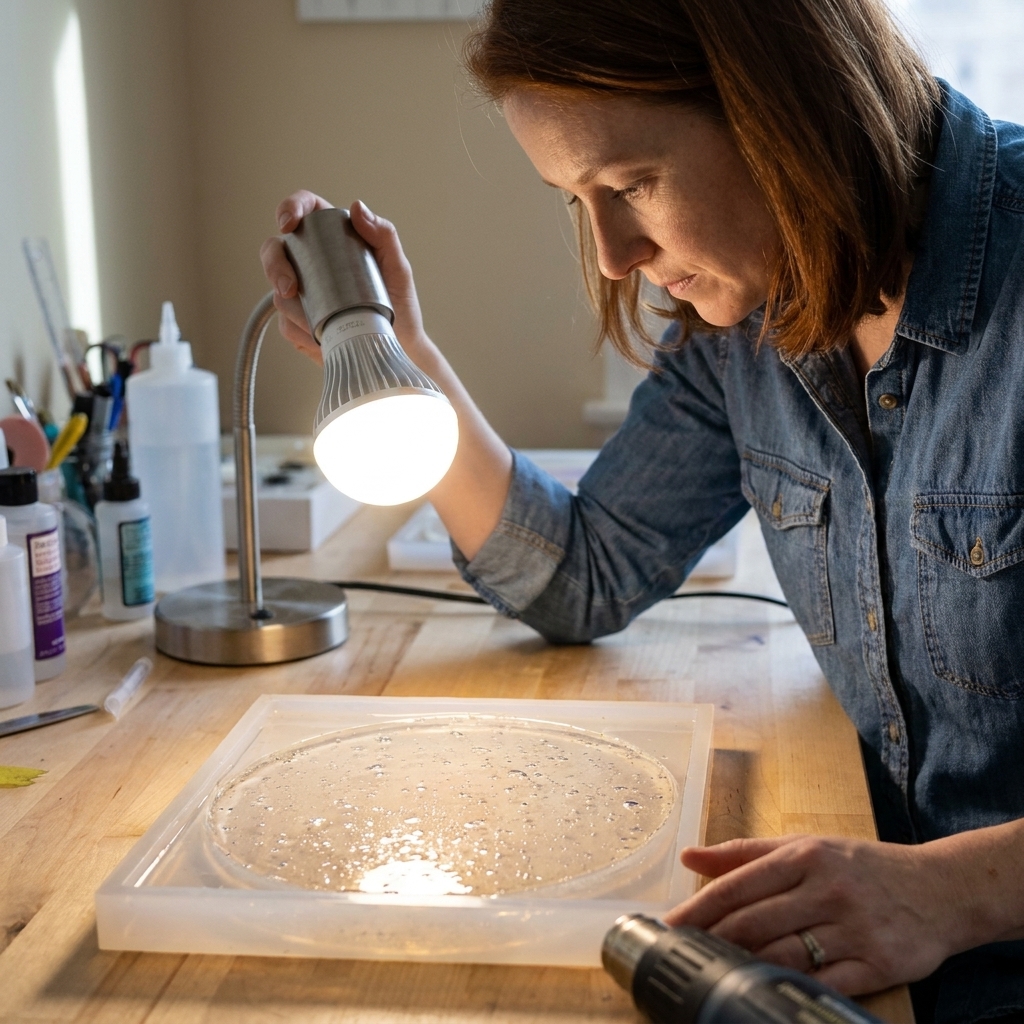
Good lighting is not just for pretty photos. It helps you spot unmixed streaks, trapped bubbles, and stray glitter before it cures forever.
- Overhead light for general visibility.
- Adjustable task lamp you can angle low across the surface to reveal bubbles and texture.
- Neutral white bulbs so colors look true.
Safe storage
When resin is put away properly, your home stays calmer. When it is not, leaks and fumes become a surprise problem.
Storage rules I follow
- Store resin upright with caps fully closed.
- Use a lidded plastic bin as secondary containment in case of leaks.
- Keep away from heat and sunlight to prevent premature aging or pressure changes.
- Separate resin from food areas and anything used for eating.
- Lock it up if kids or pets have access to the room.
Same idea for pigments, alcohol inks, and solvents. Treat the whole shelf like a chemistry cabinet, not a snack pantry.
Heat tools and fire safety
I love a quick pass with a heat gun to help bubbles rise, but this is where people get casual and that is when trouble shows up.
- Use heat tools intentionally and briefly, then set them on a heat-safe surface to cool.
- Keep flammables away from your heat zone, including paper towels, alcohol inks, and isopropyl alcohol.
- Do not use a torch near stored solvents, and do not use open flame heaters in the same workspace.
- Do not run cords under mats where heat can build up, and do not overload outlets with heaters, fans, and tools on one strip.
If any of that makes your setup feel complicated, treat it as a sign to simplify: fewer products open at once, smaller batches, and more ventilation time.
Dust control for sanding and polishing
Pouring resin is one safety puzzle. Sanding cured resin is another. Fine particulate dust is easy to inhale and it gets everywhere.
- Sand in a separate area if you can, even if it is just the other side of the garage.
- Wet sand when appropriate to keep dust down.
- Wear P100 particulate protection and eye protection. (This is different from vapor protection.)
- Vacuum with a HEPA filter if possible, instead of sweeping.
If your workspace has to do double duty, make sanding a different “session” from pouring. Clean thoroughly before you mix fresh resin again so you do not trap dust in your next glossy topcoat.
A simple workflow
When beginners ask me what matters most, it is not the brand of resin. It is the routine. Here is a workflow that keeps your air, surfaces, and project under control.
- Vent on first: start exhaust and open makeup air before you open resin bottles.
- PPE on: gloves, eye protection, respirator if your product and setup call for it.
- Prep everything: molds level, pigments ready, timer set, mixing tools laid out.
- Mix slowly and thoroughly: scrape sides and bottom, then transfer to a clean cup and mix again if your resin benefits from it.
- Pour, then leave it alone: cover to protect from dust and let it cure with ventilation running as recommended by your resin’s SDS.
- Cleanup while it is still workable: wipe drips, cap bottles, contain sticky waste.
If you want more beginner-friendly walkthroughs after your workspace is set, browse Techniques & Tutorials.
Troubleshooting
The smell lingers for hours
- Increase exhaust strength (fan closer to window, better seal around it).
- Add makeup air (a second cracked window helps a lot).
- Check that you are not venting into another room unintentionally.
- Confirm you are following your resin’s SDS recommendations for ventilation time during cure.
You get lots of dust nibs in your cured pieces
- Cover curing pieces with a clean plastic bin or a box.
- Stop running a fan directly across open resin.
- Separate sanding and pouring days.
Resin stays tacky or cures inconsistently
- Confirm room temperature is steady and within the range on your label/SDS.
- Recheck measuring and mixing technique.
- Make sure your curing surface is level and undisturbed.
You notice irritation (eyes, throat, skin)
- Stop and get fresh air immediately.
- Reassess ventilation and PPE before your next session.
- Consider switching tasks so you are not leaning over the cup for long periods.
If you ever feel symptoms that concern you, follow your product’s SDS guidance and seek medical advice. Your body gets the final vote on what is “fine.”
My ready-to-pour checklist
- Door closes and pets are out
- Window or exterior exhaust running
- Fresh air source cracked open
- Table protected and level
- Molds prepped and dust covered until pour time
- Gloves and eye protection on
- Respirator ready if your product and setup call for it
- Trash bin lined and within reach
- Paper towels and wipes staged
- Timer set, mixing cups measured
Once this becomes habit, resin feels a lot less intimidating. It stops being “chemicals in the house” and starts being a calm, repeatable craft session, which is exactly what you want.
If you have a specific home setup you are trying to make work, like a small apartment or a shared family room, reach out through Contact and tell me what you are working with. I can usually help you troubleshoot the airflow and layout.