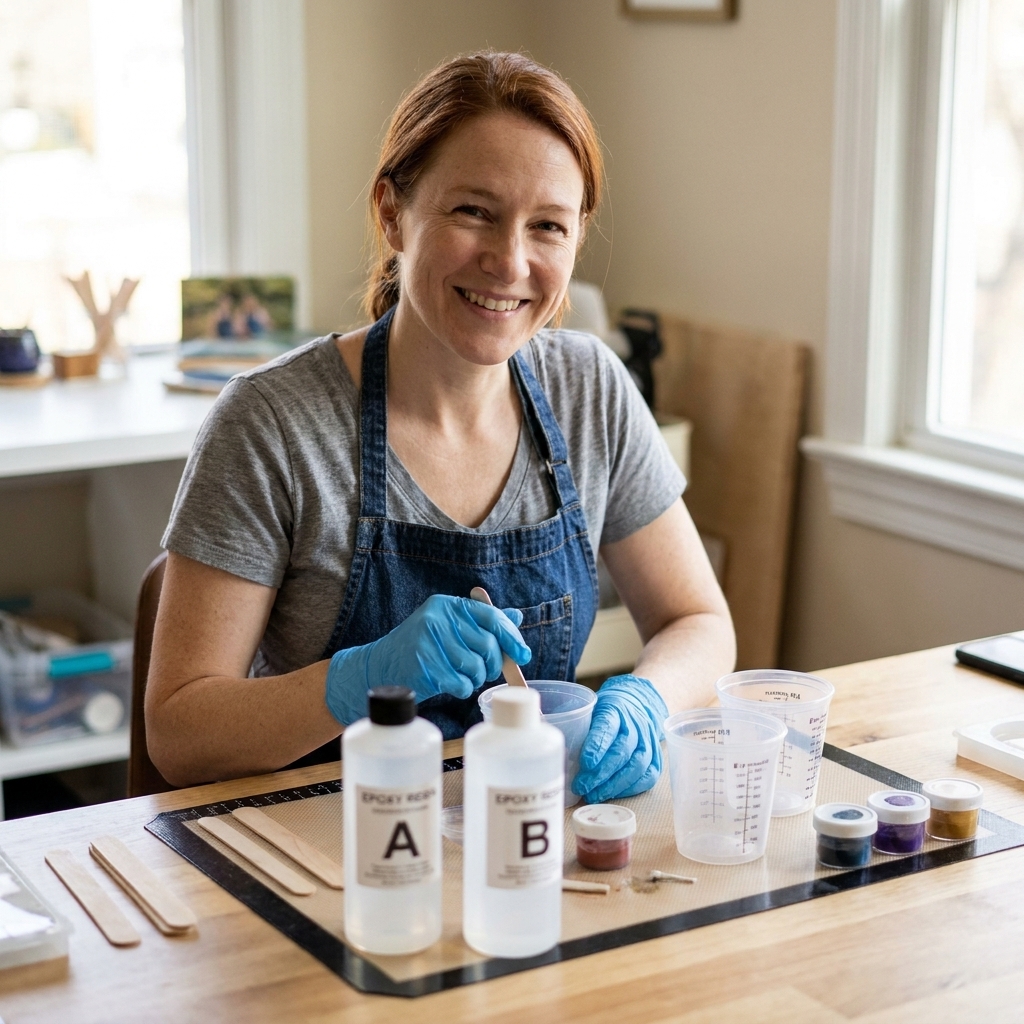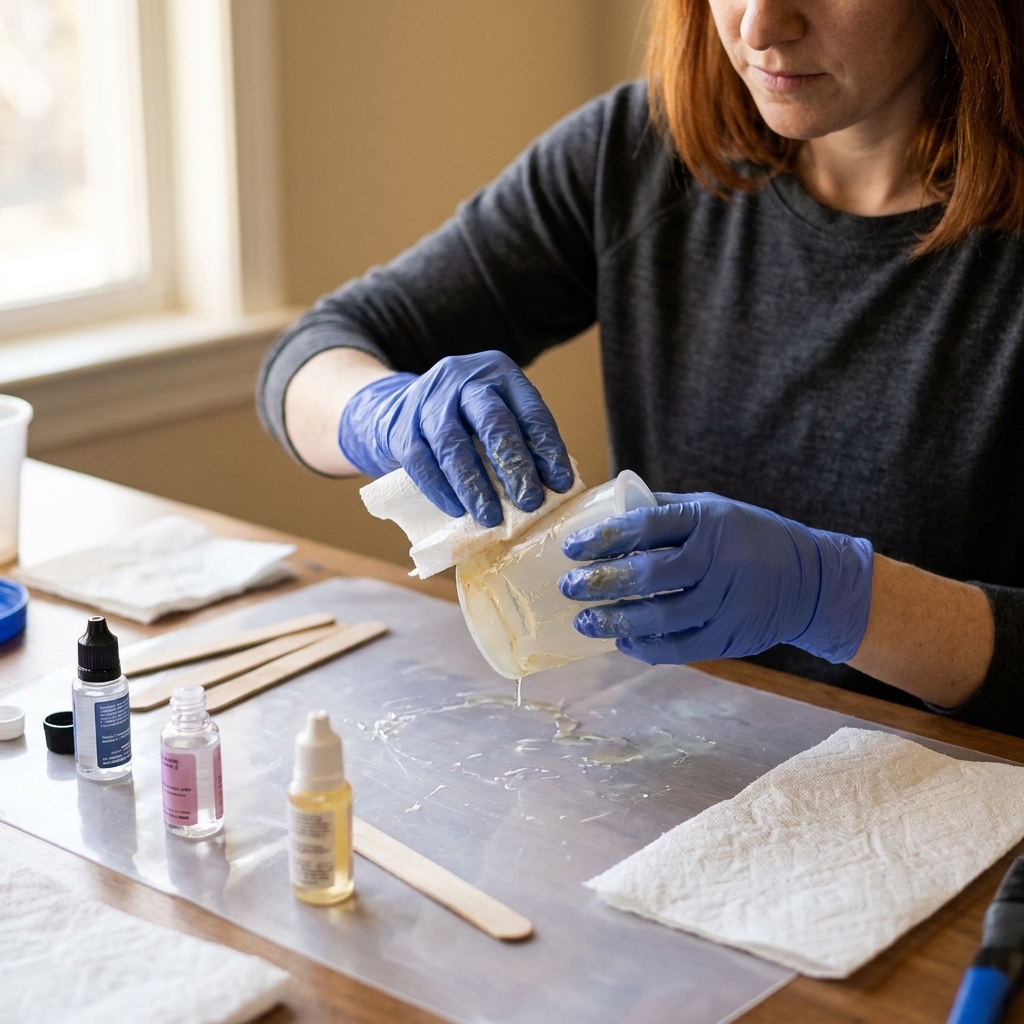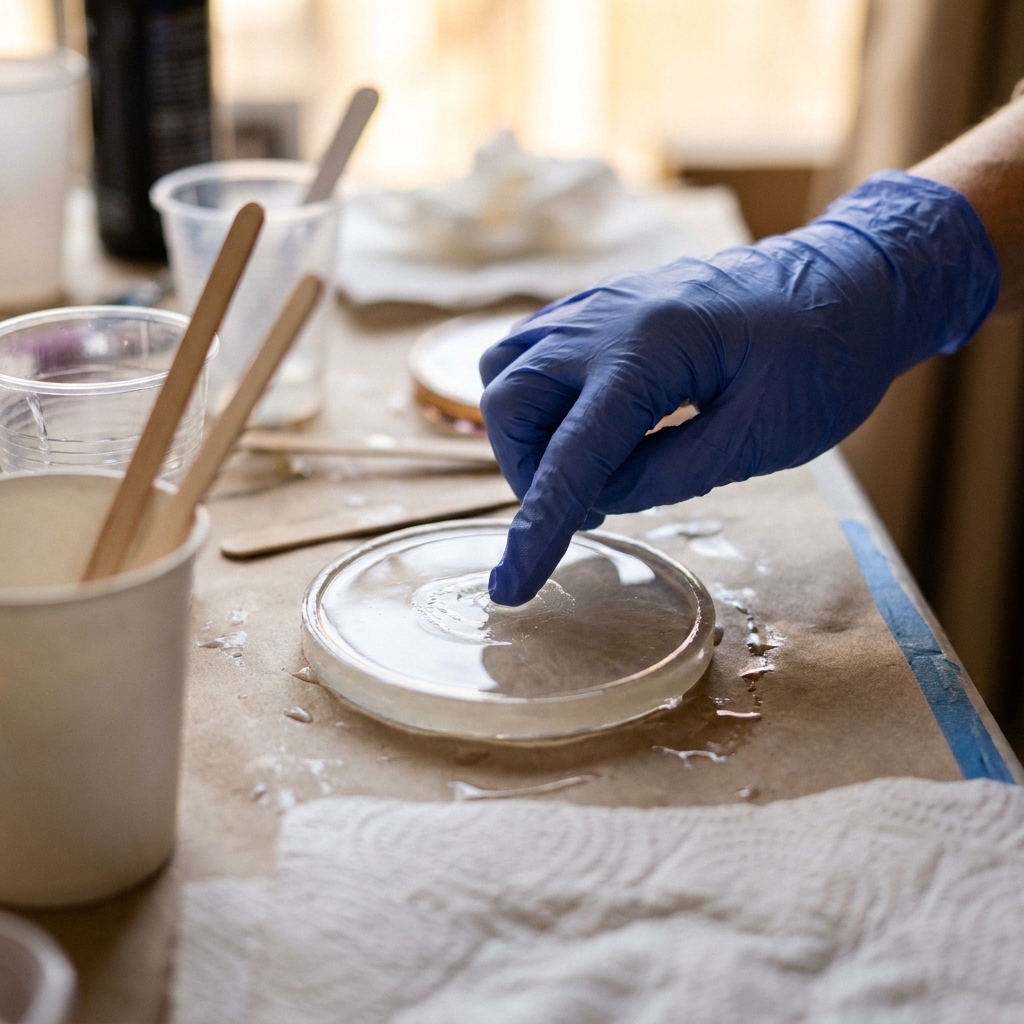
Fingerprints, tacky tops, soft bends, or gooey pockets? Diagnose why your epoxy resin won’t cure—ratio, mixing, temperature, humidity, amine blush, additives...
How to Measure and Mix 2-Part Epoxy Resin

Ruby Fletcher
Ruby Fletcher is a dedicated resin crafter with years of hands-on experience pouring, molding, and creating custom epoxy art. After turning her dining room into a makeshift studio, she developed a passion for helping beginners navigate the sticky, colorful world of resin with confidence. She loves sharing practical tutorials, troubleshooting tips, and essential safety guides to make epoxy crafting accessible for everyone.
Published
I still remember my first “real” pour beyond a little coaster kit. I mixed confidently, poured excitedly, and woke up the next day to a tacky, fingerprint-magnet surface that never fully cured. The culprit was not bad resin. It was my mixing. Epoxy is wonderfully forgiving in some ways, but it is extremely literal about ratios and thorough stirring.
This guide walks you through measuring and mixing 2-part epoxy resin step by step, with the exact scraping and stirring habits that prevent soft spots, sticky cures, and bubbly heartbreak.

Before you mix: safety and setup
If measuring and mixing feels fussy, it helps to remember why: Part A and Part B need to meet in the right ratio, then be blended evenly so the components can react consistently throughout the mix. While you focus on that, set yourself up to work clean and safe.
- Ventilation first. Work in a well-ventilated area and follow the resin brand’s safety directions. If you need help building a safe space, see Set Up a Safe, Ventilated Resin Workspace at Home.
- Wear proper protection. Nitrile gloves, eye protection, and the right respirator for organic vapors are my baseline. I keep a full rundown here: Resin Safety Gear: Respirators, Gloves, and Eye Protection.
- Control temperature. Cold resin is thicker and traps more bubbles. Most epoxies behave best in a warm, steady room. For specifics, use Ideal Temperature and Humidity for Epoxy Resin Curing.
- Use dedicated tools. Keep resin cups, stir sticks, and measuring tools separate from anything used for food. A “kitchen” scale is fine if it becomes a resin-only scale.
If you are brand new to epoxy and still deciding what type of resin to start with, I compare options here: UV Resin vs 2-Part Epoxy: What Beginners Should Choose.
Tools that make measuring and mixing easier
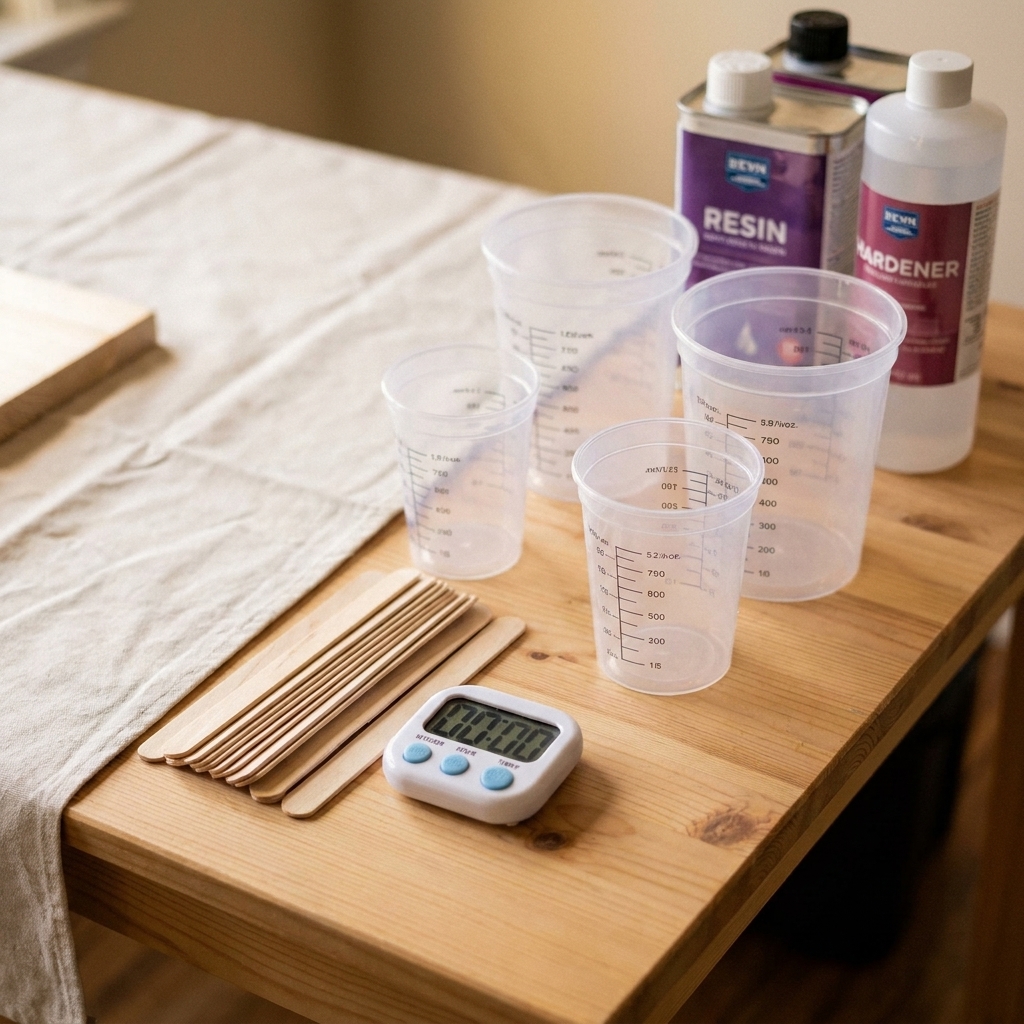
You do not need fancy gear, but you do need the right kind of basic gear.
- Mixing cups with clear measurement marks (or flat-sided disposable cups you can scrape)
- Two-cup system: one cup to mix in, a second clean cup for a transfer mix
- Flat stir sticks (popsicle-stick style is better than round skewers)
- Digital scale (optional, only if your resin allows weight-based measuring)
- Timer (your phone is fine)
- Paper towels for wipe-ups while resin is still wet
- Isopropyl alcohol (optional) for cleaning drips on non-porous surfaces while the resin is still wet, but only if it is appropriate for your resin, your surface, and your mold
Step 1: confirm the correct ratio
This sounds obvious, but it is the number one place beginners get tricked: epoxy ratios are not universal.
- Many craft epoxies are 1:1 by volume (equal amounts of Part A and Part B measured in cups).
- Some are 2:1 by volume, and some are designed to be measured by weight on a scale.
Use the ratio printed on your bottles and the instructions for that exact product. If the label says “1:1 by volume,” do not switch to a scale unless the manufacturer specifically provides weight ratios. Volume and weight are not interchangeable because Part A and Part B can have different densities.
Step 2: choose how much to mix
Mix only what you can pour within the resin’s working time (often called pot life). Mixing extra volume “just in case” can backfire in two ways:
- It heats up faster in the cup, which can shorten your working time.
- You rush, and rushed mixing is how uncured patches happen.
For small molds and jewelry, start small and mix a second batch if needed. For larger pours (trays, tabletops), plan your volume carefully and keep your workspace ready so you are not fumbling mid-mix.
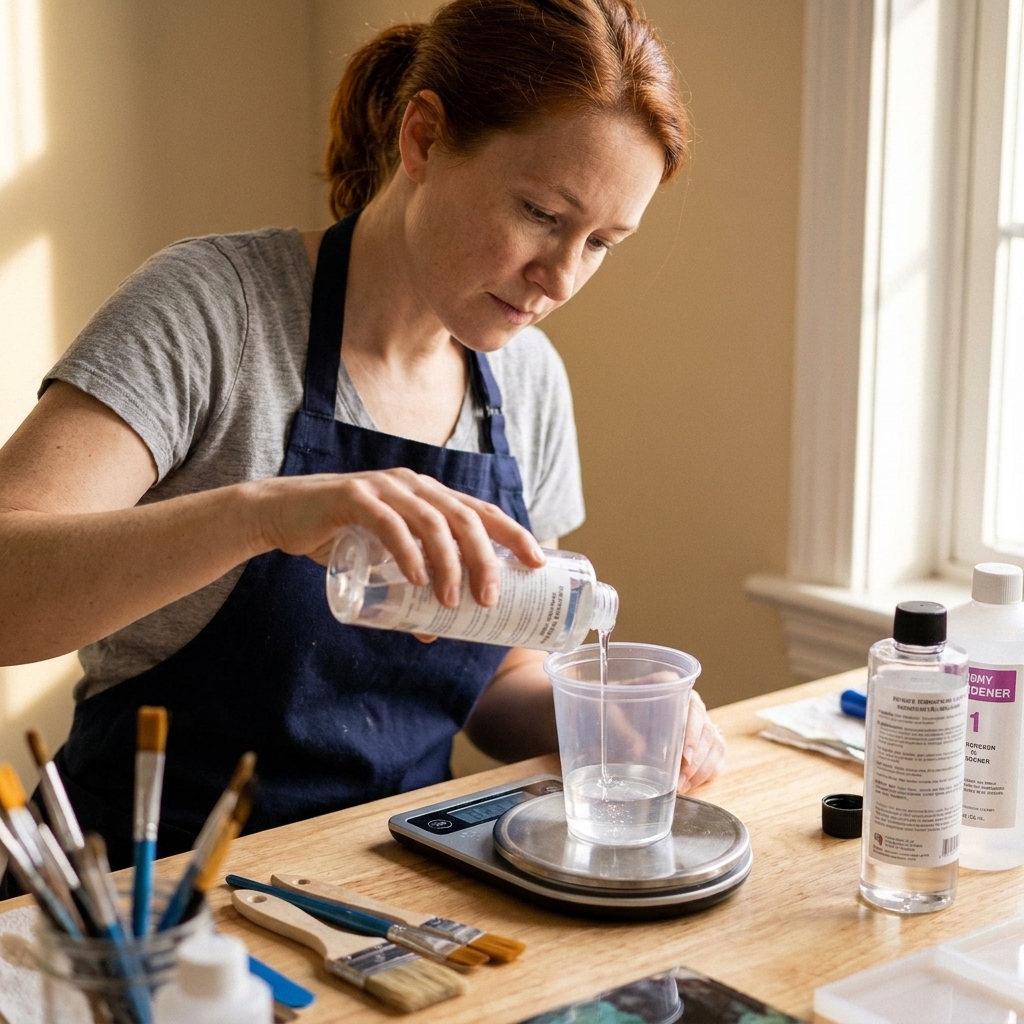
Step 3: measure Part A and Part B
Measuring by volume (most common)
- Place your mixing cup on a level surface. Tilted cups create uneven readings.
- Pour Part A to the line. Pour slowly and stop at eye level to read the meniscus.
- Add Part B accurately. Here is the part that trips people up in a single cup: if you poured Part A to 2 oz and your resin is 1:1 by volume, you then add Part B until the total reaches 4 oz. (Or measure 2 oz of Part A in one cup and 2 oz of Part B in a second cup, then combine.)
Ruby tip: If you tend to over-pour, pour into a separate cup first, then add to the main mixing cup in small amounts. It is easier to add than to subtract.
Measuring by weight (only if your resin specifies it)
- Put the cup on the scale and tare to zero.
- Add Part A to the target grams.
- Tare again if directed, then add Part B to the specified grams based on the manufacturer’s ratio.
Step 4: mix slowly, scrape constantly
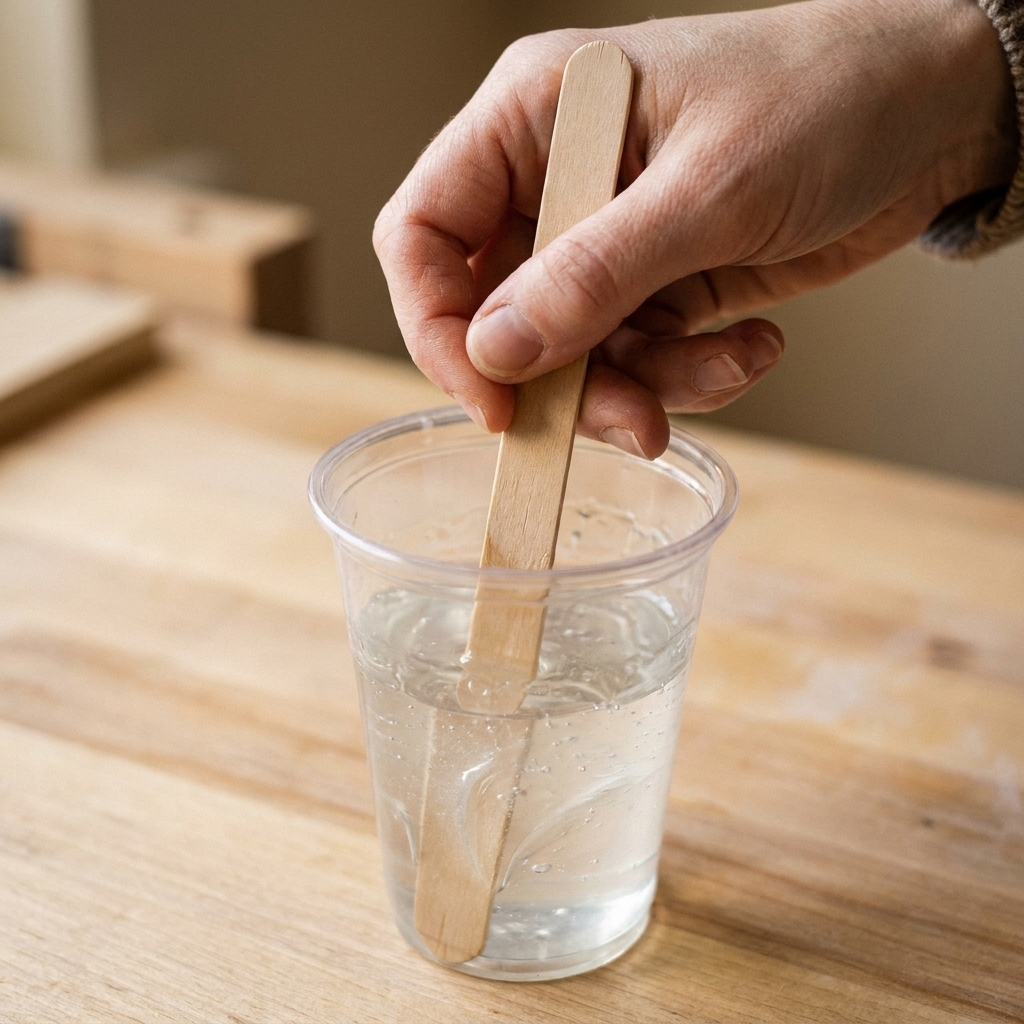
Here is the habit that changed everything for me: mix like you are trying to erase the edges of the cup. Most curing failures come from unmixed resin clinging to the sides or bottom, then getting poured into your mold as streaks.
How to stir
- Start a timer. Many brands recommend 3 to 5 minutes of mixing, but follow your label if it specifies a time. (Batch size and viscosity can change what “enough” feels like.)
- Stir slowly, not aggressively. Slow stirring reduces air churn. I use a steady folding motion, like gently mixing batter.
- Scrape the sides. Every 15 to 20 seconds, drag your stick firmly around the inner wall of the cup. If your cup has ridges, corners, or a seam, pay extra attention there.
- Scrape the bottom. Press the stick into the bottom edges where resin loves to hide.
- Wipe the stick as you go. Resin can cling to the stir stick too. I regularly drag both sides of the stick against the cup wall so anything stuck to it gets blended back in.
- Change directions. Stir clockwise, then counterclockwise, then fold through the center.
What “mixed” looks like: The resin goes from streaky to uniform, with no oily ribbons or cloudy swirls. If you see “veins” of different thickness, keep mixing.
Step 5: do a two-cup transfer mix
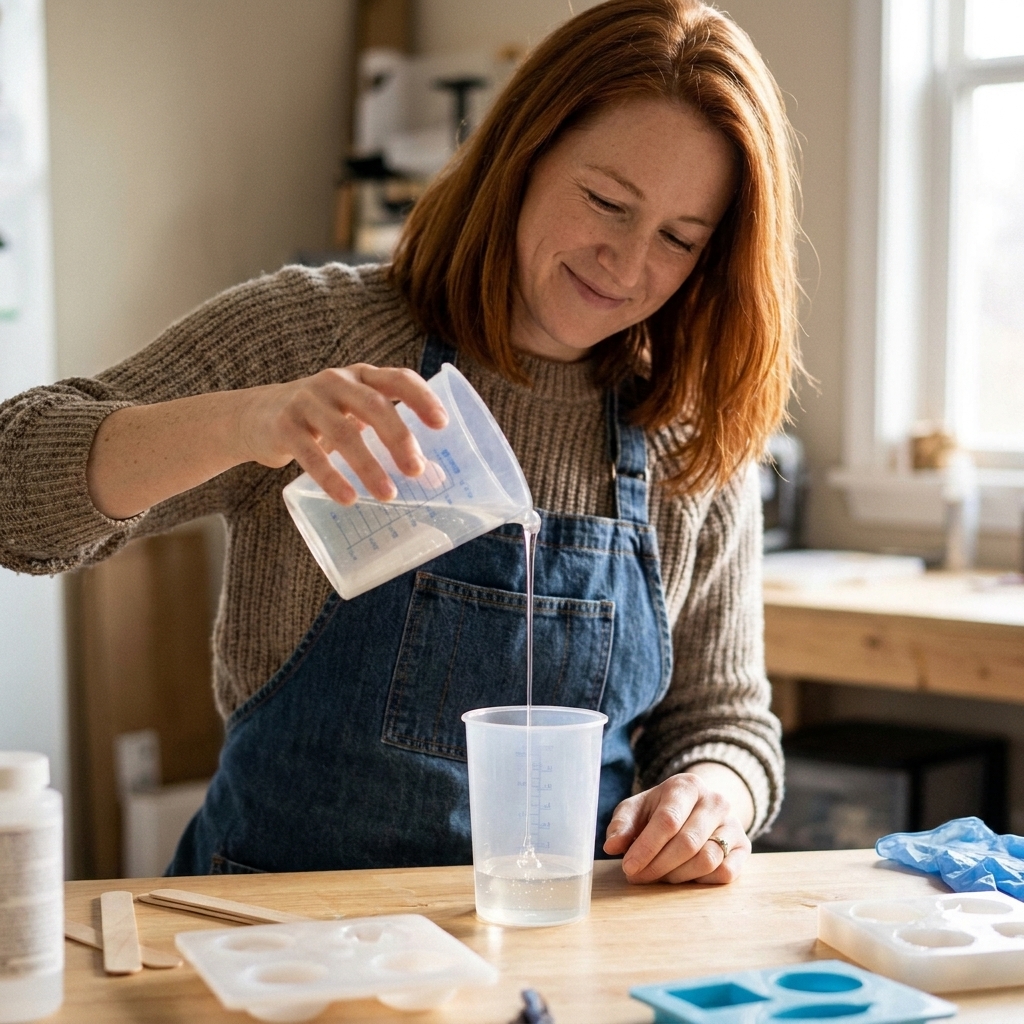
If you only adopt one pro habit, make it this one. After your initial mix, pour the resin into a second clean cup, then mix again for a shorter time.
- After the first mix, pour into a new cup. Try to leave behind any clingy residue on the original cup walls.
- Mix again for 60 to 90 seconds. Scrape sides and bottom again.
This “double mix” greatly reduces the risk of unmixed streaks ending up in your mold, especially with deep pours or larger batches.
Step 6: rest and control bubbles
Microbubbles are usually created during mixing. Your goal is to mix thoroughly without whipping air in, then give bubbles a moment to rise.
- Let the mixed resin sit for 2 to 5 minutes if your pot life allows. Many small bubbles will drift up and pop.
- Warm the bottles, not the mixed cup, if your resin is thick. A short warm-water bath (with caps on tight) before measuring can make Part A and Part B flow and blend with fewer bubbles.
- Avoid vigorous torching at the cup stage. Heat can speed curing in the cup and shorten your working time. I prefer to deal with surface bubbles after the pour.
Once poured, you can use a heat tool briefly to pop surface bubbles, but always follow your resin brand’s guidance and keep heat moving. Too much heat can cause rippling, yellowing, or flash curing.
Common mixing mistakes
Mistake: guessing the ratio
Symptoms: resin stays bendy, rubbery, or sticky days later.
Fix: measure carefully by the method your resin requires (volume or weight). Do not eyeball.
Mistake: “I stirred a lot” but did not scrape
Symptoms: random soft spots, oily patches, or wet streaks that never cure.
Fix: scrape sides and bottom frequently, then use the two-cup transfer mix.
Mistake: stirring too hard
Symptoms: tons of microbubbles suspended throughout the piece.
Fix: slow, folding stir. Longer and gentler beats faster and frothy.
Mistake: mixing a huge batch in one cup
Symptoms: cup gets hot, resin thickens fast, you feel rushed, and the pour goes uneven.
Fix: mix smaller batches. If your resin instructions allow it, you can also pour the mixed resin into a wider, shallow container to shed heat, but note the trade-off: more surface area can mean more chances to pick up dust and you may notice more surface bubbles.
If you already poured and it is sticky
This is the moment everyone dreads. First, check whether you are dealing with a surface issue (like amine blush or contamination from oils, silicone, or moisture) or a true ratio or mixing issue (uncured resin within the layer).
- If it is just slightly tacky on top, it may need more time and the right conditions. Make sure your temperature and humidity are in range: Ideal Temperature and Humidity for Epoxy Resin Curing.
- If it is wet, gooey, or soft in patches, it is usually a mixing problem. In many cases, the safest fix is to scrape off uncured resin (with gloves and ventilation), then clean the surface the way your resin manufacturer recommends, then re-pour a correctly mixed layer.
If you are working in molds, sometimes the most realistic option is to demold what you can, discard the uncured portion, and treat it as a lesson learned. I have been there. It stings, but it makes your next pour a success.
Quick checklist: my routine
- Warm, stable room conditions
- Correct ratio confirmed on the bottle
- Measure accurately by volume or by weight, as directed
- Mix for the time your brand recommends, slow and steady
- Scrape sides and bottom repeatedly (including cup seams and corners)
- Drag resin off the stir stick as you go
- Transfer to a second clean cup
- Mix again 60 to 90 seconds
- Let bubbles rise briefly if pot life allows
Beginner questions
Can I mix epoxy resin in a silicone cup?
You can, but silicone cups sometimes make it harder to scrape the sides thoroughly because they flex. For beginners, I prefer a rigid plastic cup with clear sides so you can see streaks and scrape firmly. If you do use silicone, really focus on scraping and consider doing the two-cup transfer into a rigid cup for the second mix.
Do I have to stir for the full time if it looks clear?
Usually, yes. “Looks clear” can happen before the resin is fully blended, especially if Part A and Part B are similar in appearance. Mix for the recommended time, then do the transfer mix to be safe.
Is it okay to add color while mixing?
I prefer to fully mix Part A and Part B first, then add colorant. Adding color too early can disguise unmixed streaks. Once the resin is fully blended, add a small amount of pigment and stir gently until uniform.
Why does my resin cure fine sometimes and fail other times?
Inconsistent measuring lines, temperature swings, and rushing the scrape-and-stir step are the usual culprits. The fix is boring but effective: consistent conditions, accurate measuring, and the two-cup transfer every time.