Learn how to create a safe, well-ventilated resin workspace at home—room choice, window exhaust airflow, PPE essentials, surface protection, storage, and dus...
Resin Safety Gear: Respirators, Gloves, and Eye Protection

Ruby Fletcher
Ruby Fletcher is a dedicated resin crafter with years of hands-on experience pouring, molding, and creating custom epoxy art. After turning her dining room into a makeshift studio, she developed a passion for helping beginners navigate the sticky, colorful world of resin with confidence. She loves sharing practical tutorials, troubleshooting tips, and essential safety guides to make epoxy crafting accessible for everyone.
Published · Last updated
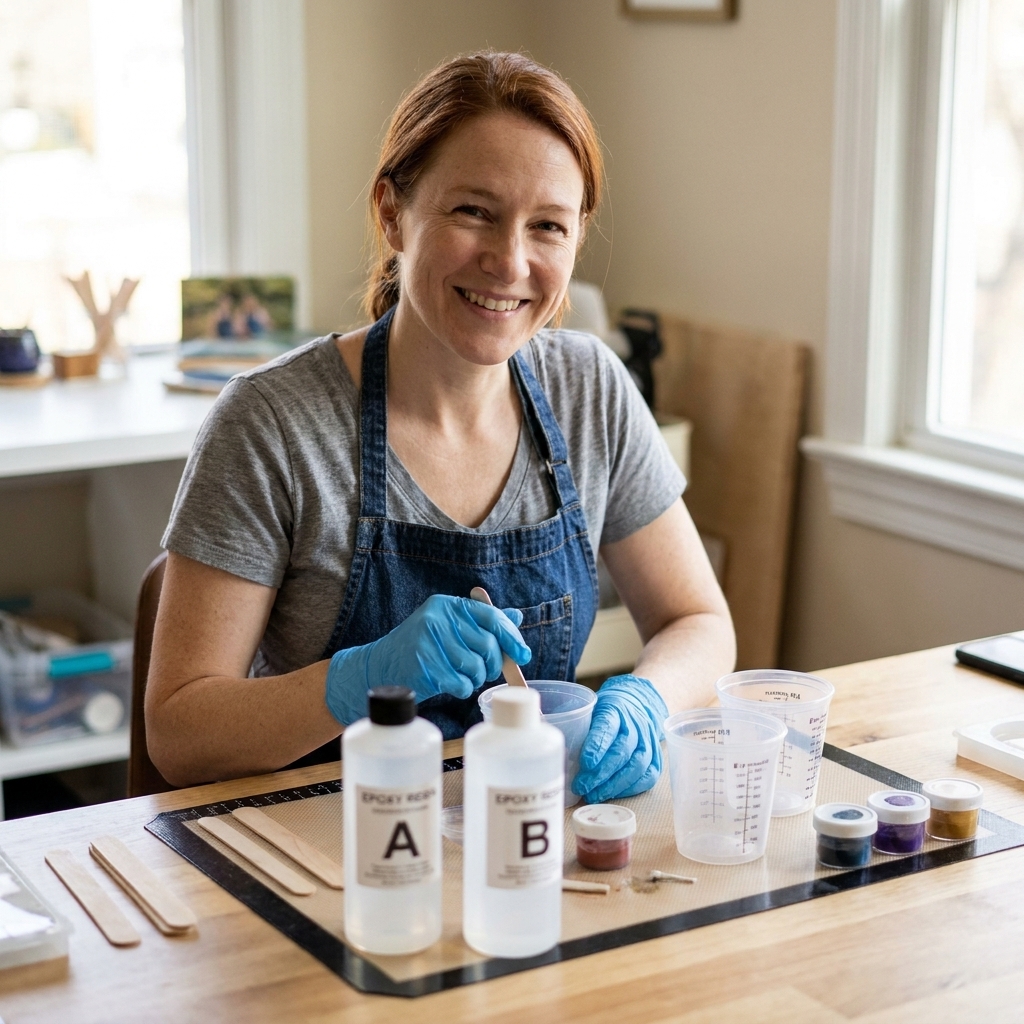
My first resin setup was a coaster kit on the dining room table, a roll of paper towels, and the kind of confidence you only have before you know what an amine blush is. I thought cracking a window was “ventilation” and that my thin dish gloves counted as safety gear. Then I got a splitting headache halfway through a pour, and I realized something important: resin is a craft, but it is also chemistry.
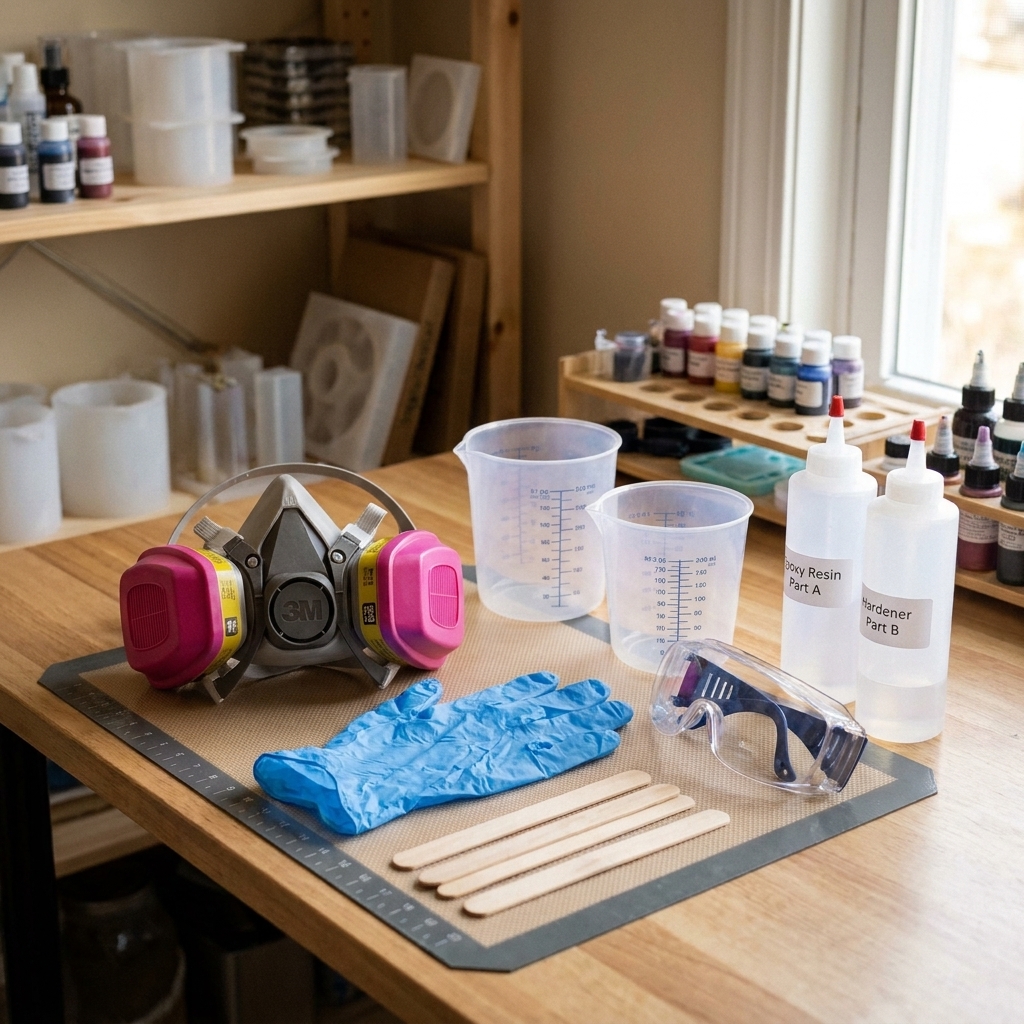
This guide is my no-drama, what-to-buy-and-why breakdown of the safety gear that matters most for epoxy resin: a properly fitted respirator, gloves that actually resist chemicals, and eye protection that keeps splashes and sanding dust out of your eyes.
If you are building your first setup, start here and then swing by Getting Started & Safety for ventilation and workspace basics.
What you are protecting yourself from
Epoxy resin safety is not about being “extra.” It is about reducing exposure so you can keep crafting for years without developing sensitivities.
- Vapors and aerosols while mixing and pouring: Some epoxy systems and additives can create irritating vapors or aerosols, especially if you are leaning close, heating resin, or working in a small room. Even low-odor products can still be irritating and can contribute to sensitization.
- Skin contact: Liquid resin and hardener can irritate skin and may contribute to sensitization over time. Once you become sensitized, even tiny exposures can trigger reactions.
- Splashes: A dribble of hardener in the eye is an urgent problem. Even “careful” pourers have a cup slip now and then.
- Dust from sanding, drilling, and polishing: Cured resin becomes a fine particulate when you sand. That dust belongs in a filter, not your lungs or eyes.
One important note: different products behave differently. Always read the Safety Data Sheet (SDS) for your exact resin and hardener. If you have never looked one up before, it is usually linked on the brand’s product page or available by request.
Respirators for resin: what actually works
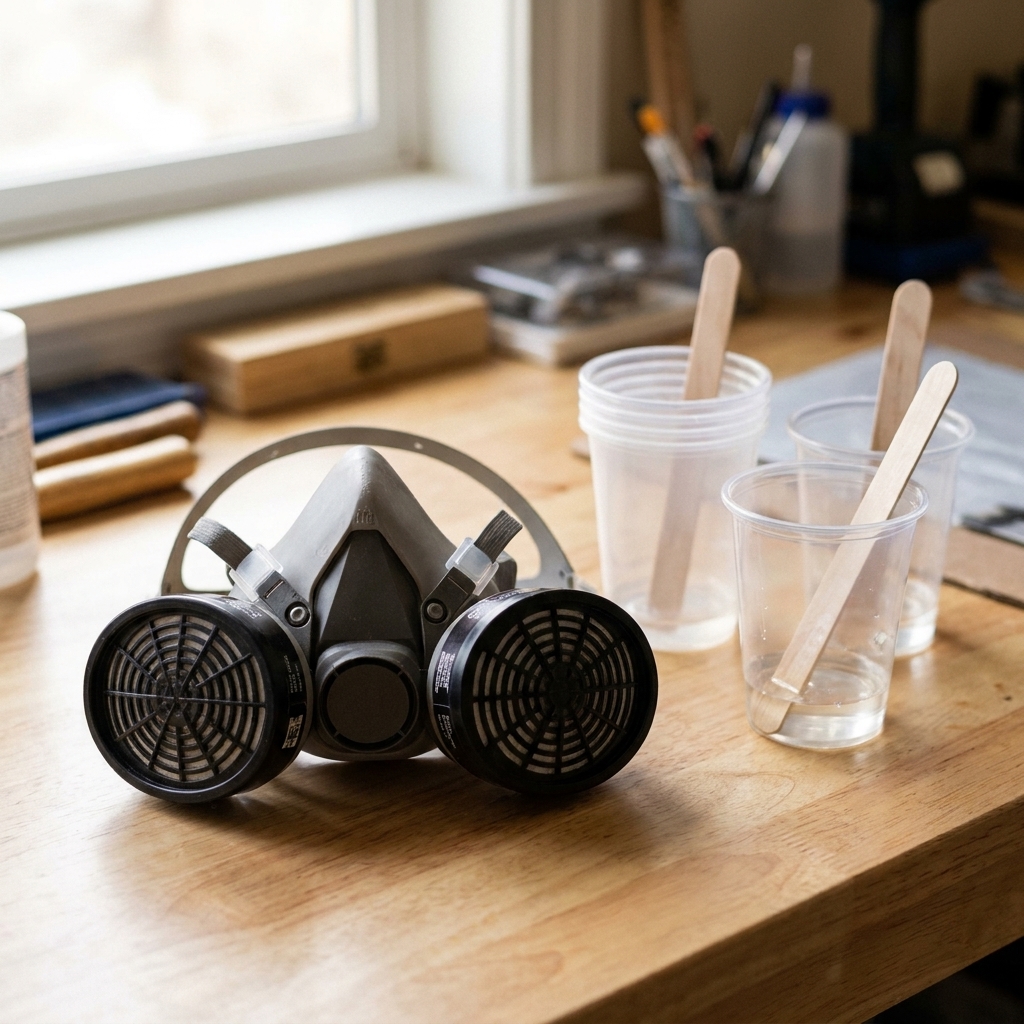
If I could go back in time and buy one piece of safety gear earlier, it would be a respirator that fits. A dust mask is not the same thing. For liquid epoxy work, you want a respirator that seals to your face and uses cartridges and filters that match your SDS and what you are doing.
Half-face vs full-face
- Half-face respirator: Covers nose and mouth. You still need separate eye protection. This is the most common choice for resin crafters and is comfortable for longer sessions.
- Full-face respirator: Adds built-in eye protection and a larger seal area. This is great if you do a lot of sanding or you are especially splash-conscious, but it can feel bulkier.
Cartridges and filters: match the job
For mixing and pouring epoxy, many people start with cartridges labeled for organic vapor (often abbreviated as OV). For sanding cured resin, you want particulate filtration, often a P100-class filter for fine dust.
If you truly do both in the same session or space, a combo OV + particulate setup can make sense. The key is this: choose the cartridges and filters that match your SDS and your actual task. “I can smell it” is not the same as “I am exposed,” and “I cannot smell it” is not proof you are safe.
Fit is everything (do this every session)
A great respirator with a bad seal is basically expensive face jewelry. Do a user seal check every time you put it on, and follow your respirator manual since the exact steps vary by model. Typically it looks like this:
- Adjust straps evenly so the mask sits snug but not painful.
- Negative-pressure check: Block the inlets (how you do this depends on your cartridge style) and inhale gently. The mask should pull slightly toward your face and not leak.
- Positive-pressure check: Block the exhalation valve area per your manual and exhale gently. You should feel pressure without air escaping around the seal.
Facial hair can break seals. If you cannot get a reliable seal because of facial hair, face shape, or comfort issues, a loose-fitting PAPR or hood system may be a better option.
When to replace cartridges
Cartridges do not last forever, and you cannot “see” when they are used up. Replace them if:
- You smell resin or solvent-like odors while wearing the respirator.
- Breathing becomes noticeably harder (for particulate filters).
- The manufacturer’s recommended service life has been reached.
- They have been stored unsealed for long periods (cartridges can absorb contaminants from the air even when you are not using them).
My habit: I store cartridges in an airtight container or sealed bag between sessions, and I label the start date with a marker.
Gloves: the resin craft workhorse
Gloves are not optional for epoxy. Resin and hardener are both troublemakers on skin, and tiny “oops” touches add up faster than you think.
Best choice for most resin work: nitrile
- Nitrile gloves are my go-to for measuring, mixing, coloring, and demolding. They offer good chemical resistance for many epoxy components, and they hold up better than latex in resin work.
- Avoid latex for resin handling. Latex can break down with certain chemicals and it also introduces allergy concerns for some people.
- Vinyl is usually too flimsy for resin and can tear at the worst moment, like when you are holding a cup of mixed resin.
Thickness: when to go thin vs thick
I keep two types around:
- Lightweight nitrile (about 4 to 6 mil): Great dexterity for jewelry findings, small molds, and detail work.
- Thicker nitrile (about 7 to 10 mil): Better for longer pours, sticky cleanups, and working with larger batches where you are more likely to smear resin around.
Glove habits that prevent mess and exposure
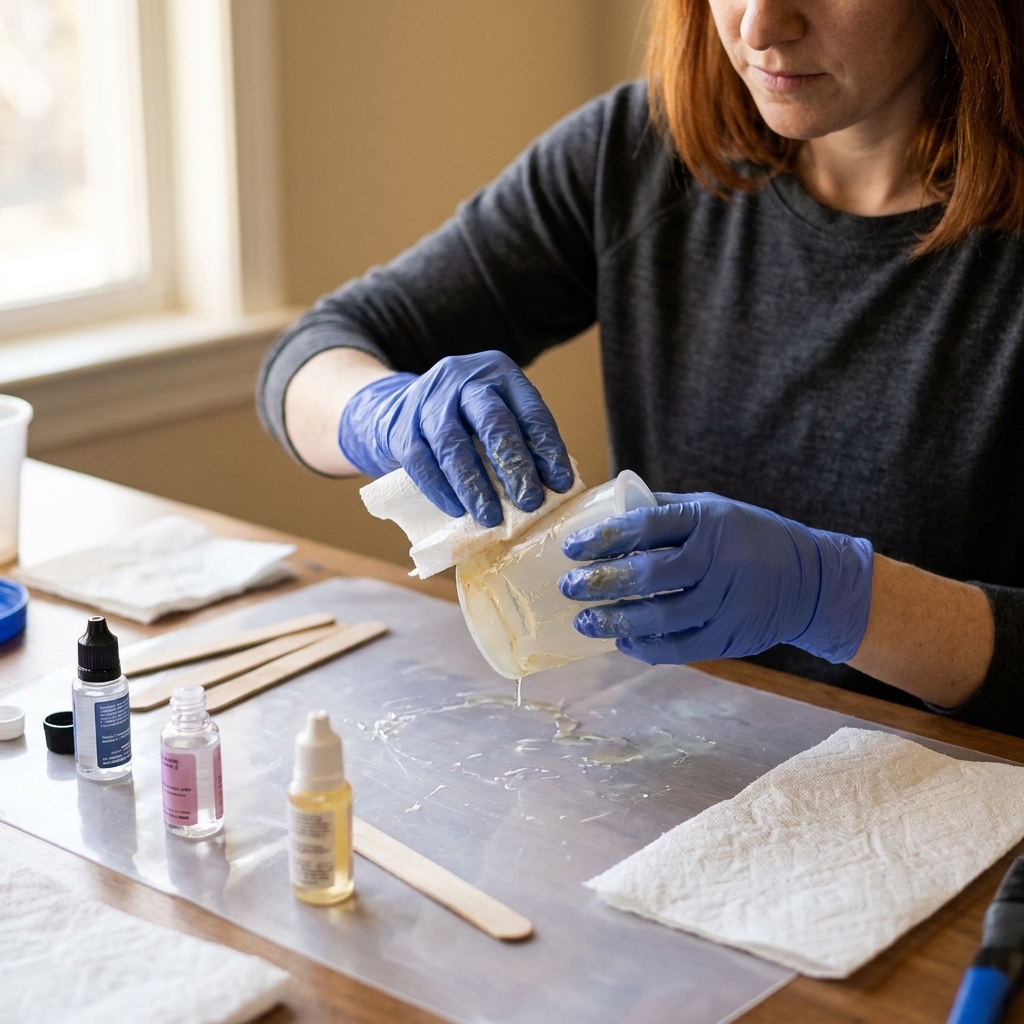
- Change gloves often. If you touch your phone, door handle, or hair, you just spread resin. I keep a box within reach so changing is easy.
- Pull gloves over sleeves. Long sleeves plus gloves over the cuff help prevent drips from finding your wrist.
- Do not reuse disposable gloves. Resin residue can hide in folds, and cured bits can puncture them.
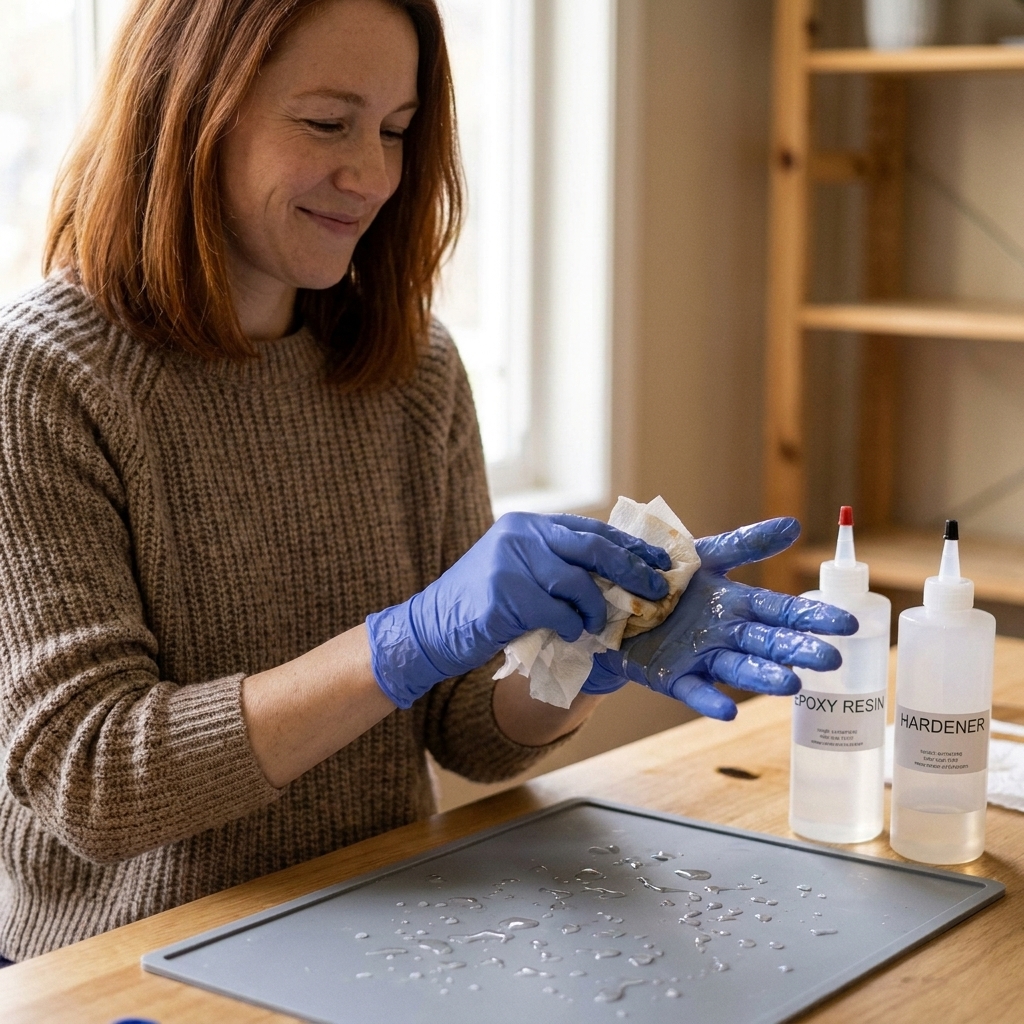
If you do get resin on your skin, wash promptly with soap and lukewarm water. Avoid using solvents on skin. They can increase absorption of chemicals and irritate you further.

Eye protection: skip the gaps
If resin splashes, your eyes are not the place to test your luck. Regular eyeglasses are not splash protection, and many basic safety glasses leave gaps around the sides and bottom.
What to wear for mixing and pouring
- Sealed safety goggles are the best option for splash protection because they wrap and seal around the eye area.
- Safety glasses with side shields are better than nothing, but I treat them as “light duty,” not my default for resin liquids.
What to wear for sanding and drilling
Sanding cured resin throws fine dust and sometimes tiny chips. For that, I like:
- Sealed goggles to keep dust from drifting behind the lenses.
- A face shield as an extra layer if I am drilling, using a rotary tool, or doing anything that can fling a shard. (A face shield is not a respirator substitute. It is a splash and impact add-on.)
Fogging fixes
Foggy goggles are the reason many people quietly stop wearing them. A few practical tweaks help:
- Choose goggles with indirect vents if you can, especially if you also wear a respirator.
- Adjust the respirator so exhaled air is not shooting upward.
- Use an anti-fog wipe or spray made for safety lenses, following product instructions.
The quick-start PPE checklist
If you are standing in your craft space right now and wondering what you need before your next pour, this is the short list I would give my past self.
- Respirator: A respirator that seals to your face, with cartridges and filters appropriate to your SDS and task (often OV for mixing and pouring, P100 for sanding dust, combo only if you truly need both at once).
- Gloves: Nitrile gloves, preferably a thicker box for longer sessions.
- Eye protection: Sealed safety goggles for pouring and sanding.
- Clothing: Long sleeves, closed-toe shoes, and a dedicated resin shirt or apron so drips do not land on skin.
- Optional but smart: A face shield for rotary tools and, if your tools are loud, hearing protection.
And yes, this is still true if your resin is labeled “low odor.” Low odor is not the same as low risk.
How PPE fits into a safe resin setup
PPE is your last line of defense, not the only one. I think of resin safety like layering clothing for a Pacific Northwest hike: you want multiple sensible layers so one small failure does not ruin your day.
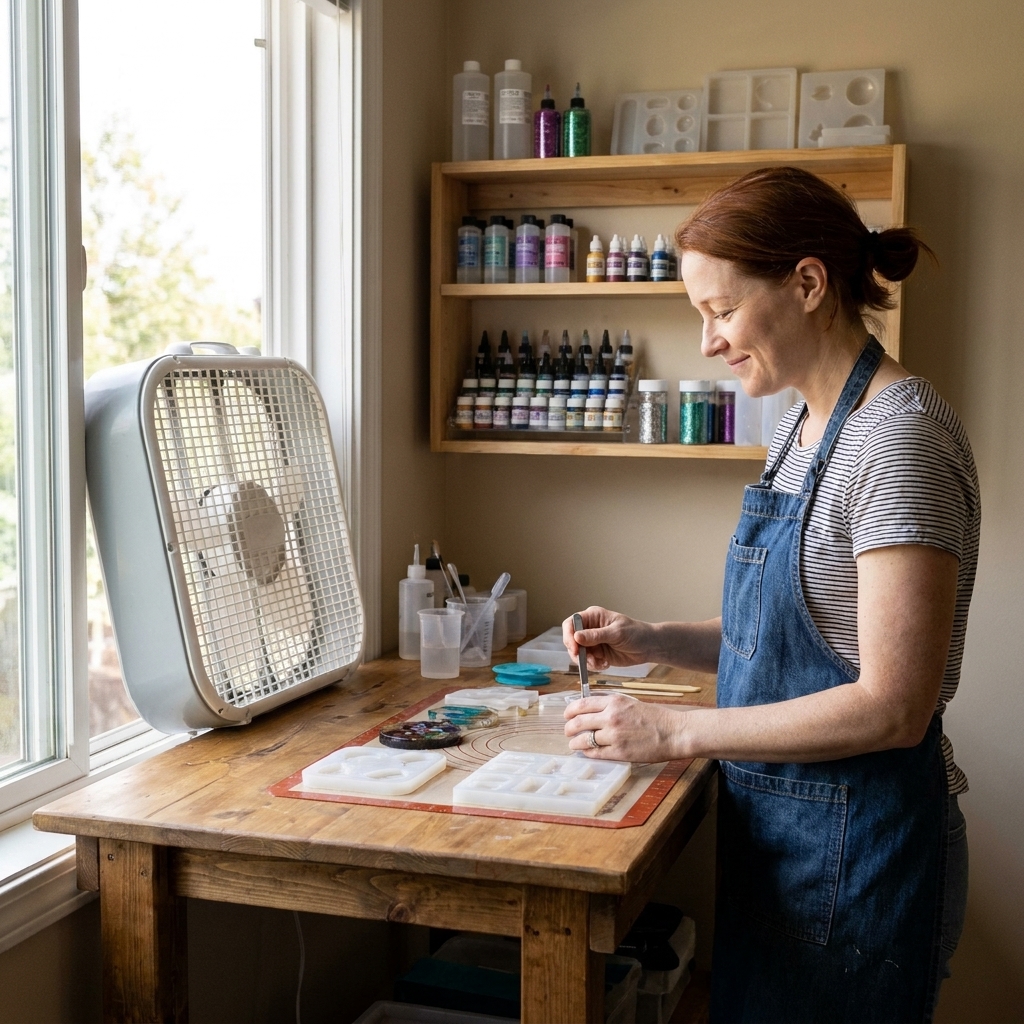
- Ventilation: Use active airflow when possible. A respirator helps, but it does not magically remove vapors and aerosols from your room.
- Clean surfaces: Cover your table, keep wipes handy, and treat resin like it is glitter with consequences.
- Food and drink: Keep snacks and coffee out of the resin zone. It is too easy to contaminate a cup or touch your mouth.
- Storage: Close bottles tightly, store chemicals upright, and keep them away from pets and kids.
For a full safety baseline, start with Getting Started & Safety, and if you are ready to dive into projects once your setup is solid, browse Techniques & Tutorials.
Common PPE mistakes I see
“I only pour for 10 minutes, so I skip the respirator.”
Most exposures happen in the quick moments: measuring, mixing, leaning close to pop bubbles, and wiping sticky tools. Put it on before you open bottles.
“I wear a respirator, so I do not need goggles.”
Respirators protect lungs, not eyes. Splashes happen when cups tip, stir sticks flick, or you squeeze a pigment bottle too hard.
“I use a dust mask when sanding.”
Some masks help with nuisance dust, but sanding resin creates fine particles you want properly filtered with a good seal. Use a real respirator setup intended for particulates.
“I keep the same gloves on all session.”
That is how resin ends up on your phone, your faucet, and your doorknobs. Change gloves like you change paper towels.
FAQ
Do I need a respirator for UV resin?
It is often recommended, especially because UV resin projects are small and you tend to work close to them. Check the SDS for your specific product and use ventilation as your baseline.
Can I use the same respirator cartridges for everything?
Not always. Organic vapor cartridges are for vapors. Particulate filters are for dust. Many people use combo cartridges or swap filters depending on whether they are pouring or sanding.
What if resin gets in my eye?
Flush with clean water immediately and follow the first-aid steps on your product label and SDS. Seek medical attention promptly. This is one reason I prefer sealed goggles for liquid work.
Is “no VOC” resin automatically safe to breathe?
No label replaces an SDS, and “no VOC” does not mean “no irritants.” Use ventilation and PPE as your default.
My bottom line
Resin is one of the most satisfying crafts I have ever fallen into, and I want you to enjoy it without the headaches, rashes, or scary near-misses. The right trio of safety gear makes a huge difference: a respirator that seals, nitrile gloves you change often, and eye protection that actually closes the gaps.
If you ever feel unsure, err on the side of more protection, not less. Your future self, the one with a garage craft room in permanent glittery chaos, will thank you.
If you have a question about your setup, you can always reach me through the contact page.