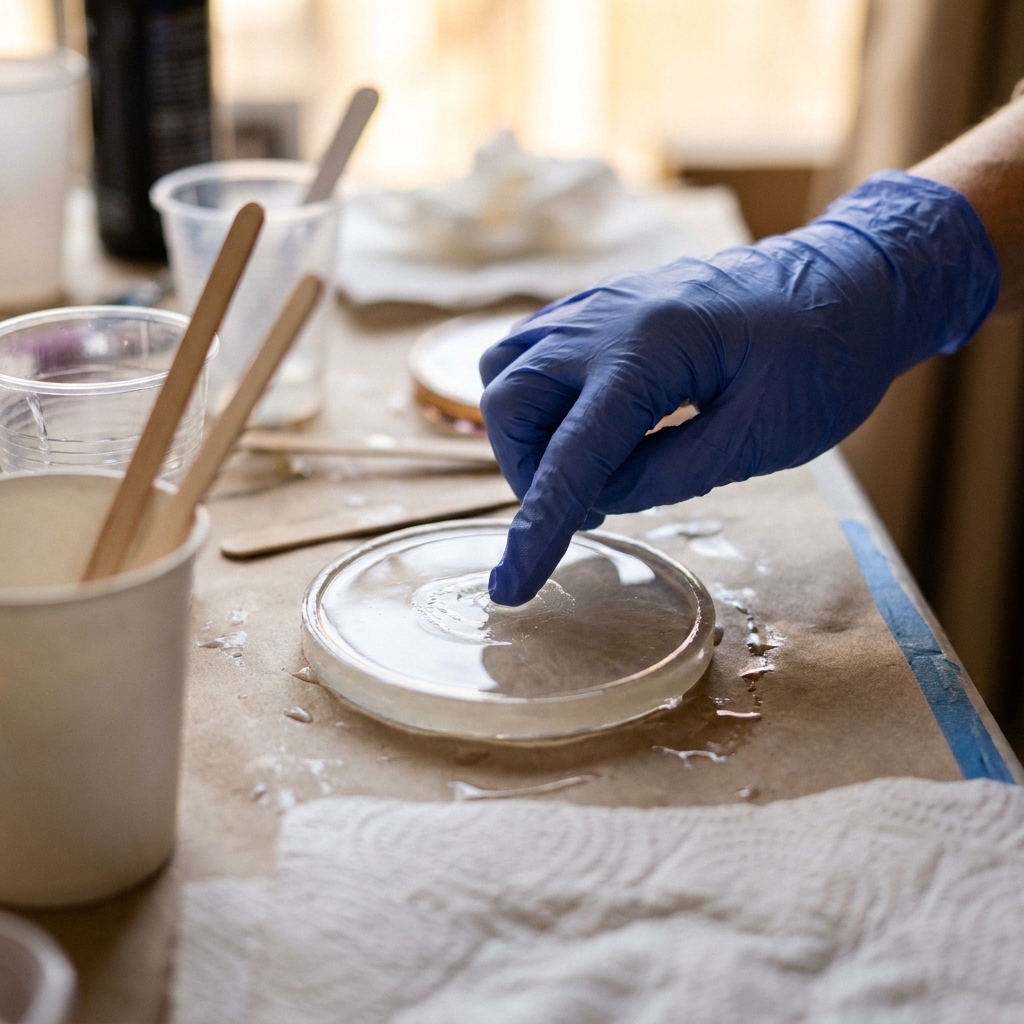
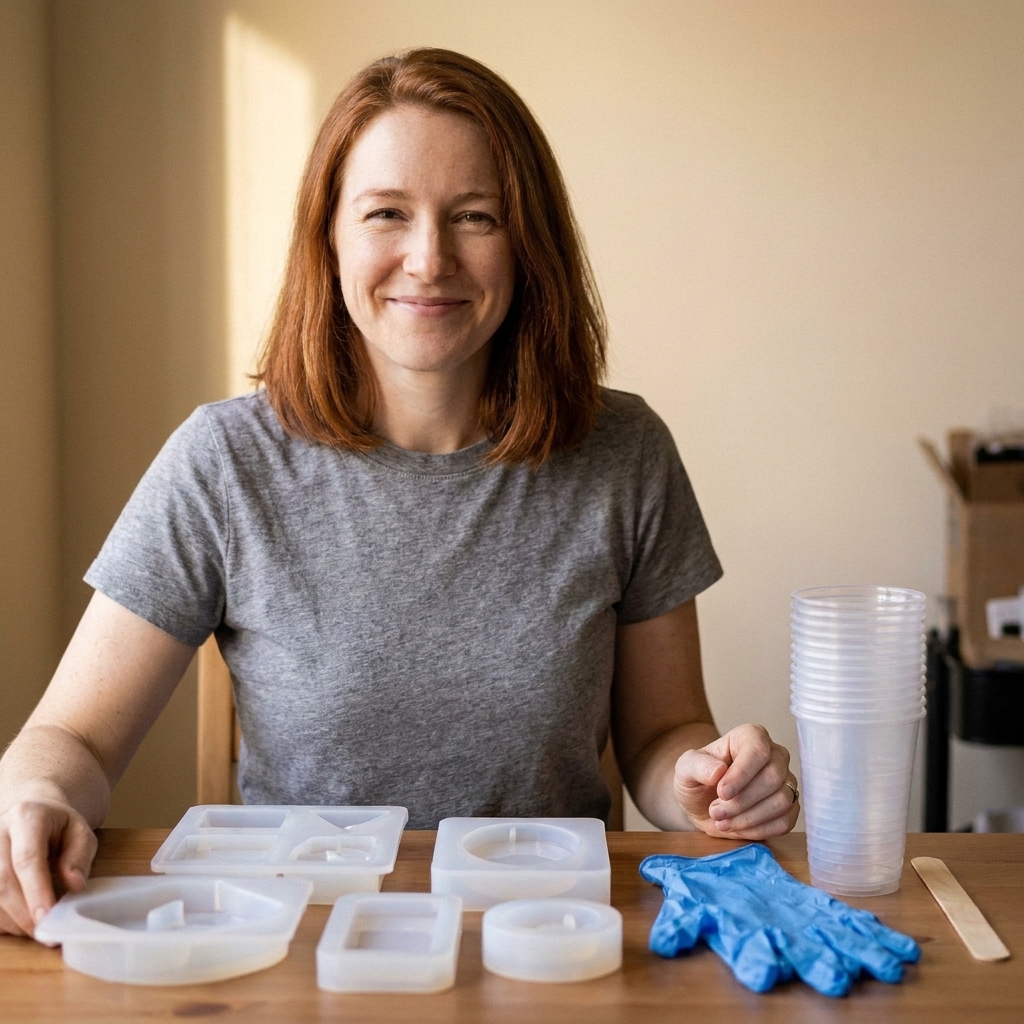
Stop tacky, uncured epoxy. Follow this step-by-step mixing method: confirm ratios, measure by volume or weight, stir slowly while scraping, then do a two-cup...
UV Resin vs. 2-Part Epoxy: What Beginners Should Choose

Ruby Fletcher
Ruby Fletcher is a dedicated resin crafter with years of hands-on experience pouring, molding, and creating custom epoxy art. After turning her dining room into a makeshift studio, she developed a passion for helping beginners navigate the sticky, colorful world of resin with confidence. She loves sharing practical tutorials, troubleshooting tips, and essential safety guides to make epoxy crafting accessible for everyone.
Published · Last updated
I fell into resin five years ago trying to “save” a handful of pressed garden flowers. I bought a simple coaster kit, mixed way too confidently, and ended up with sticky fingerprints permanently preserved like a crime scene. Later, when I discovered UV resin, I had the opposite problem: I cured it so fast I locked in bubbles and lint before I could blink.
If you are deciding between UV resin and 2-part epoxy for your first jewelry or coaster projects, you are already doing the smartest beginner move: choosing the material that matches how you actually like to craft. Let’s break it down in plain, practical terms.

The quick answer
Pick UV resin if you want fast results, small pieces, and simple layering for jewelry like charms, bezels, and quick topcoats.
Pick 2-part epoxy if you want stronger, thicker pours, bigger molds, and a more forgiving working time for coasters, trays, and embedded items.
And yes, lots of crafters (me included) keep both on hand because they shine in different situations.
What each resin actually is
UV resin
UV resin is a single-part resin designed to stay workable until it is exposed to sufficient UV light (from a UV lamp, and sometimes strong sunlight). Once exposed, it cures quickly, often in minutes, depending on depth, pigment, and whether your lamp’s wavelength and strength match what the resin wants.
2-part epoxy resin
2-part epoxy cures through a chemical reaction when you mix resin and hardener in the correct ratio. You usually have a working window (pot life) to stir, color, pour, and pop bubbles before it starts thickening. Full cure typically takes hours to a few days depending on the formula.
UV resin vs. 2-part epoxy at a glance
| Feature | UV Resin | 2-Part Epoxy |
|---|---|---|
| Mixing | No mixing, ready to use | Must measure and mix accurately |
| Cure time | Minutes under UV light | Hours to days, depending on product |
| Best project size | Small and thin layers | Small to large pours, thicker pieces |
| Beginner-friendly factor | Fast gratification, but less forgiving | More steps, but more working time |
| Bubbles | Easy to trap because cure is fast | More time to release bubbles |
| Cost per volume | Usually higher | Usually lower |
| Equipment | UV lamp required | Mix cups, stir sticks, optional heat tool |
| Strength and thickness | Great for small items, can be more brittle in thick masses | Excellent for thicker pours and durability |
Which is better for jewelry?
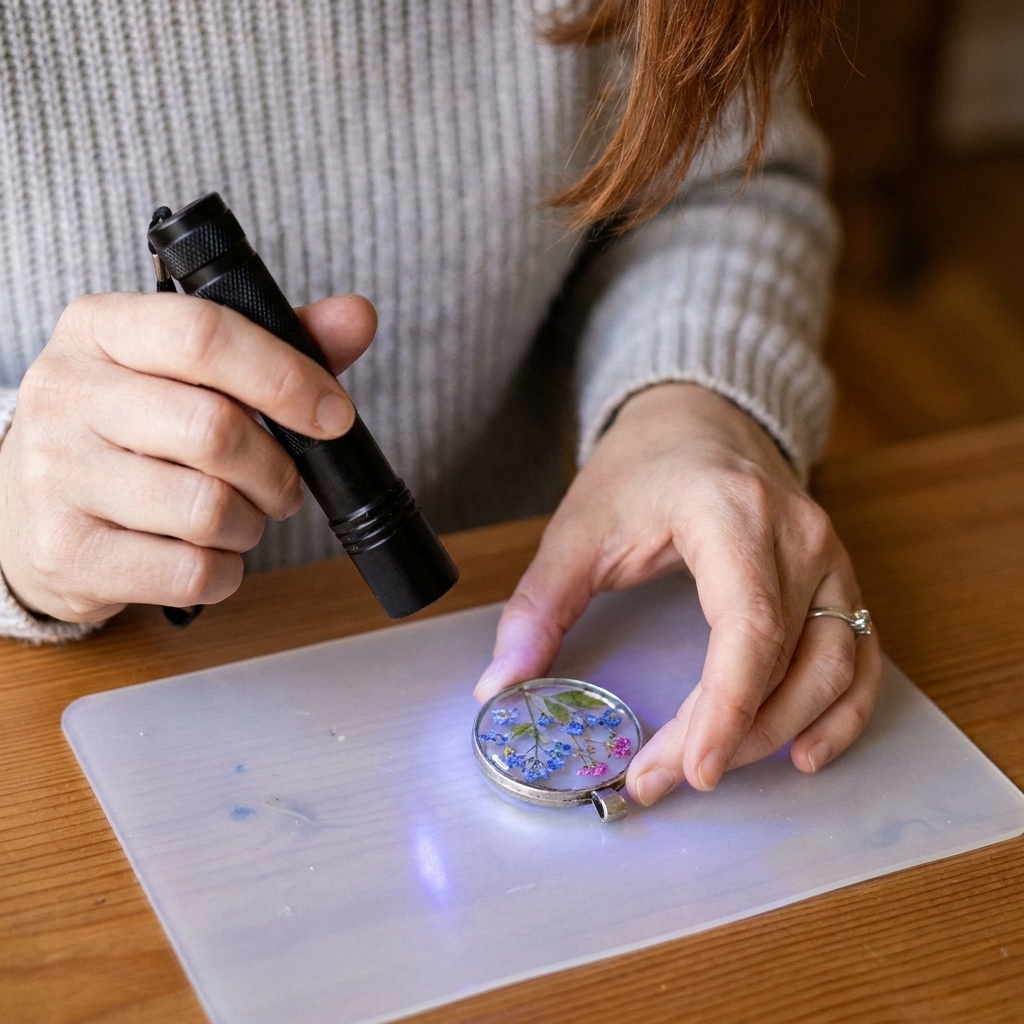
If your beginner goal is earrings, pendants, charms, shaker bits, doming, UV resin is hard to beat for convenience.
When UV resin is the best choice for jewelry
- You want to work in tiny layers. UV resin loves thin pours, like filling a bezel or creating a glossy dome on a sticker or photo.
- You want quick turnarounds. Cure a layer, check it, cure again, move on.
- You like controlled detail work. It is great for placing small inclusions (glitter, foil, tiny flowers) exactly where you want them.
My beginner tip: Keep layers thin. If you pour UV resin too thick, it can cure on the outside and stay soft underneath.
When 2-part epoxy is better for jewelry
- You are casting thicker pieces in molds. Think chunky rings, thicker pendants, or deeper molds where light would struggle to penetrate.
- You want more time to fuss with placement. Epoxy gives you a calm, workable window to nudge inclusions and chase bubbles.
- You are making batches. Mixing once and pouring multiple molds can be more economical than squeezing out UV resin piece by piece.
If jewelry is your main focus, you will probably enjoy exploring more projects in Resin Jewelry Making.
Which is better for coasters?
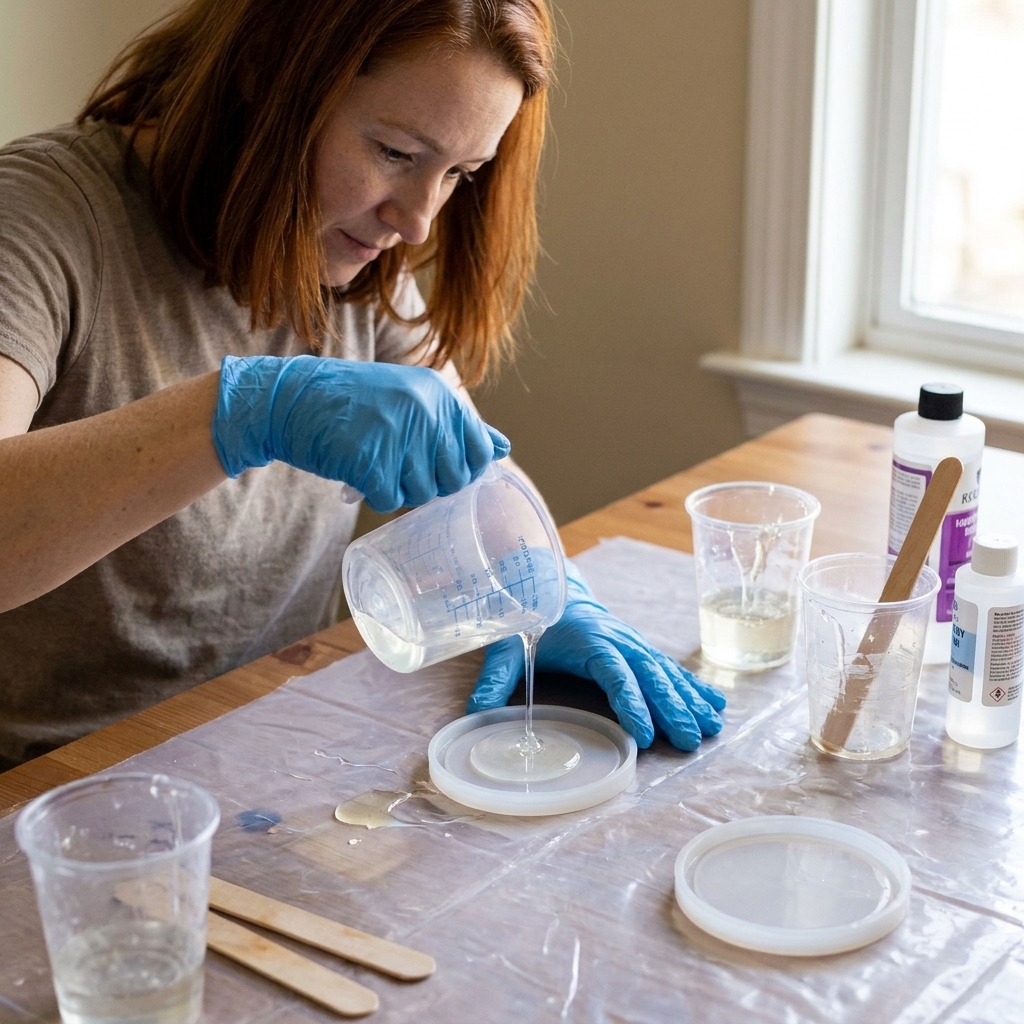
For traditional poured coasters (especially silicone coaster molds), 2-part epoxy is the usual winner.
Why 2-part epoxy fits coaster projects
- Depth and coverage. Coasters are wider and often thicker. Epoxy cures consistently throughout.
- Working time for bubbles. You can stir slowly, let it rest, then pop surface bubbles before it sets.
- Better for embedded items. Botanicals, shells, little vintage finds, and chunky glitter all behave better when you have time to place them.
UV resin can still be useful for coasters as a topcoat or for small repairs on a cured piece, but making a whole coaster with UV resin is tricky because you need even light exposure across the full surface, through the full thickness, and ideally from multiple angles.
If your home projects are pulling you in, you will probably like Home Decor & Functional Art too.
Ease of use
UV resin feels easier at first
It is one bottle, no measuring, no mixing math. That is a big confidence boost for a first project.
The catch: UV resin rewards patience and thin layers. If you rush or cure too thick, the problems show up fast: soft spots, ripples, trapped bubbles, and tacky patches.
2-part epoxy is more steps, but more forgiving
Measuring and mixing is a skill, and beginners can absolutely mess it up. But epoxy gives you time to correct things before it cures.
The catch: Most beginner failures with epoxy come from inaccurate ratios, poor mixing (especially scraping the sides and bottom), low temperatures, or over-pigmenting.
Finish quality
Clarity
Both can be beautifully clear. With UV resin, clarity often depends on using thinner layers and not overheating the surface with too much curing at once. With epoxy, clarity depends on careful mixing and a dust-free cure area.
Bubbles
- UV resin: Because it cures quickly, bubbles you do not catch early can become permanent.
- 2-part epoxy: You have more time to let bubbles rise and to pop them gently.
Tacky finishes
Tackiness can happen with either type.
- UV resin tackiness is often from under-curing, curing too thick, or the lamp not being strong enough or the right wavelength for the resin.
- Epoxy tackiness is most often from incorrect measuring, insufficient mixing, or curing too cold. High humidity can also cause surface issues on some epoxies (like amine blush or a dull, waxy film) even when the piece is otherwise cured.
Yellowing and heat
Two beginner realities that no one puts on the pretty label:
- Yellowing: Both UV resin and epoxy can amber over time. UV exposure (sunlight) tends to speed that up, and clear pieces show it most. If you are making jewelry that will be worn outdoors a lot, this is worth keeping in mind.
- Heat: Both resins can get warm while curing. Epoxy can heat up a lot in larger pours, and UV resin can heat up under the lamp. Thin layers and the right pour size help prevent overheating and warping.
Safety
I know resin looks harmless when it is crystal clear and pretty, but both UV resin and 2-part epoxy can irritate skin and lungs. More importantly, repeated skin contact can lead to sensitization (allergic reactions) that can make resin impossible to use later.
- Gloves: Nitrile gloves are my default.
- Ventilation: Work where fresh air moves through the space. Low-odor does not mean no fumes and it does not mean no ventilation.
- Eye protection: Especially when stirring, using heat near resin, or sanding.
- Dust protection: Sanding or drilling cured resin creates fine dust. Treat it like a respiratory irritant and protect your lungs accordingly.
For a complete, beginner-focused setup, start here: Getting Started & Safety.
Then get specific about equipment with Resin Safety Gear: Respirators, Gloves, and Eye Protection and set up your area using Set Up a Safe, Ventilated Resin Workspace at Home.
Cost and tools
Starter setup for UV resin
- UV resin
- UV lamp (the right wavelength and strength for your resin)
- Silicone work mat
- Disposable tips or fine applicator bottles (optional but helpful for bezels)
- Nitrile gloves and ventilation
Starter setup for 2-part epoxy
- Resin and hardener
- Measuring cups (or a resin scale if your resin is weight-measured)
- Stir sticks
- Silicone molds
- Optional: a heat gun on low for surface bubbles, used carefully with good ventilation
- Nitrile gloves and ventilation
My practical budget note: UV resin usually costs more per ounce, but you use tiny amounts for jewelry. Epoxy is generally more cost-effective for bigger pours like coaster sets.
A quick bubble note: Some crafters use a lighter or torch, but open flame can scorch resin, damage molds, and add fumes. If your resin brand discourages it, listen to the label.
Beginner picks
If you want to make earrings this weekend
Choose UV resin if your pieces are thin and small. You will learn fast and finish fast.
If you want to pour a set of coasters
Choose 2-part epoxy. It is the smoother road for depth, coverage, and durability.
If you are easily stressed by time pressure
Choose 2-part epoxy so you have time to mix slowly and fix bubbles.
If you hate measuring and just want to play
Choose UV resin, then commit to thin layers and thorough curing.
Common beginner mistakes
UV resin mistakes
- Pouring too thick: Build in layers. Cure each layer fully before adding the next.
- Under-curing: Cure from multiple angles and flip pieces when possible.
- Cloudy or bumpy finish: Keep your workspace dust-free and do not move the piece mid-cure.
2-part epoxy mistakes
- Wrong ratio: Measure carefully according to the manufacturer’s instructions.
- Not mixing long enough: Scrape sides and bottom, mix slowly, then transfer to a clean cup and mix again if you are prone to sticky spots.
- Cold workspace: Resin thickens and traps bubbles when chilly. Warm the room, not the resin bottle in a risky way.
My recommendation
If I could rewind to my very first week, I would have started with 2-part epoxy for coasters and UV resin for small jewelry domes. Epoxy taught me the fundamentals of measuring, mixing, and cure patience. UV resin taught me control and layering.
So if you are torn, pick the resin that matches the project you are most excited to finish. Motivation is a supply too.
FAQ
Can I use UV resin in silicone molds?
Yes, but it works best in shallow molds or thin layers. Deep molds can cure unevenly because UV light struggles to reach through thickness and pigment.
Is UV resin stronger than epoxy?
For most beginner crafts, epoxy is the better choice for thicker, structural pieces like coasters and trays. UV resin is excellent for small items and glossy topcoats.
Which is safer?
Neither is “non-toxic” in the casual crafting sense. Both require gloves, ventilation, and smart handling. If you are setting up at home, follow the steps in Set Up a Safe, Ventilated Resin Workspace at Home.
Can I put epoxy under a UV lamp to speed it up?
No. 2-part epoxy cures by chemical reaction, not UV light. Heat can affect cure, but speeding epoxy cure is not a beginner-friendly game. Let it cure as directed.