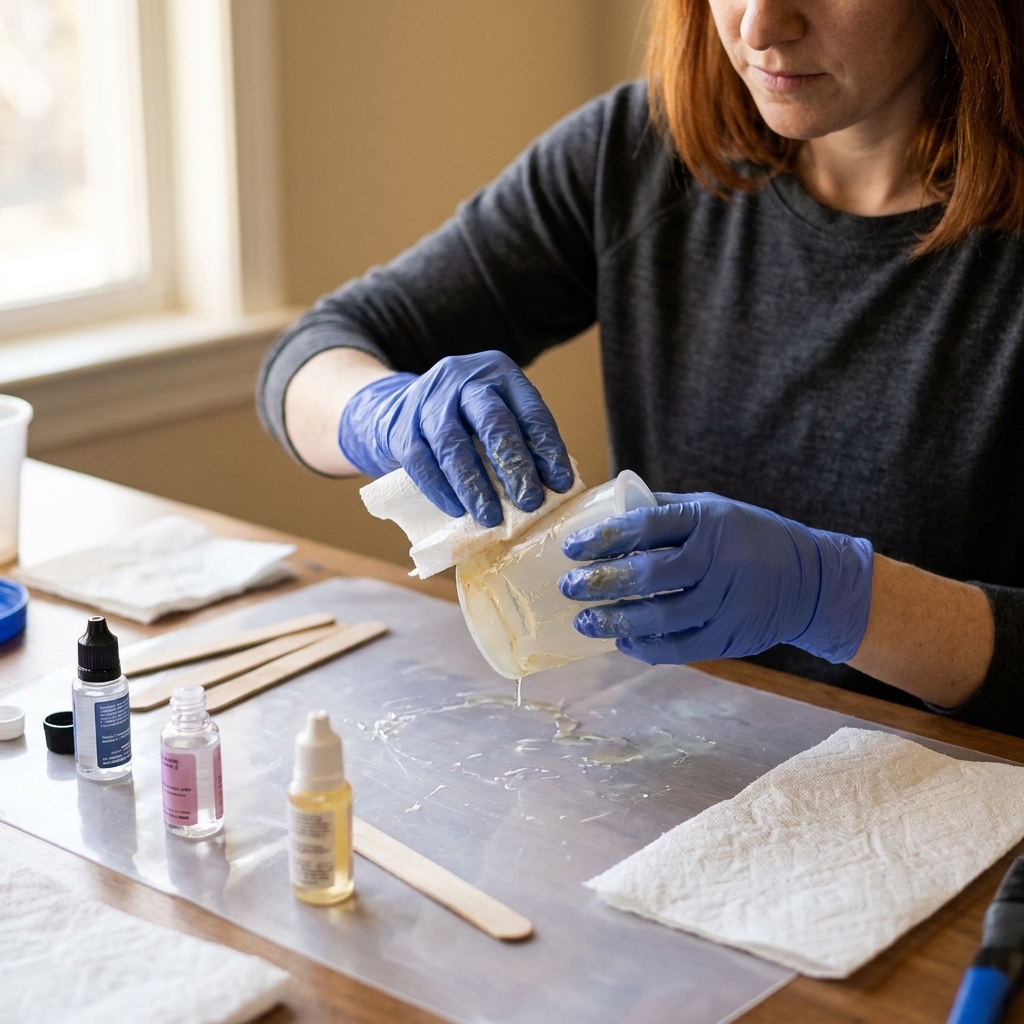
Stop tacky, uncured epoxy. Follow this step-by-step mixing method: confirm ratios, measure by volume or weight, stir slowly while scraping, then do a two-cup...
Silicone Molds for Resin: Choose, Prep, and Care

Ruby Fletcher
Ruby Fletcher is a dedicated resin crafter with years of hands-on experience pouring, molding, and creating custom epoxy art. After turning her dining room into a makeshift studio, she developed a passion for helping beginners navigate the sticky, colorful world of resin with confidence. She loves sharing practical tutorials, troubleshooting tips, and essential safety guides to make epoxy crafting accessible for everyone.
Published
I still remember my first “real” silicone mold: a set of tiny hexagon coasters that promised crisp edges and glossy bottoms. I popped my cured resin out the next day and thought, oh, this is easy. Then I got cocky, skipped cleaning, used a little too much heat, and somehow managed to give the mold a permanent glittery aura. Silicone molds are wonderfully forgiving, but they are not indestructible. A little choosing and care up front saves you a lot of warped cavities, cloudy finishes, and stuck pieces later.
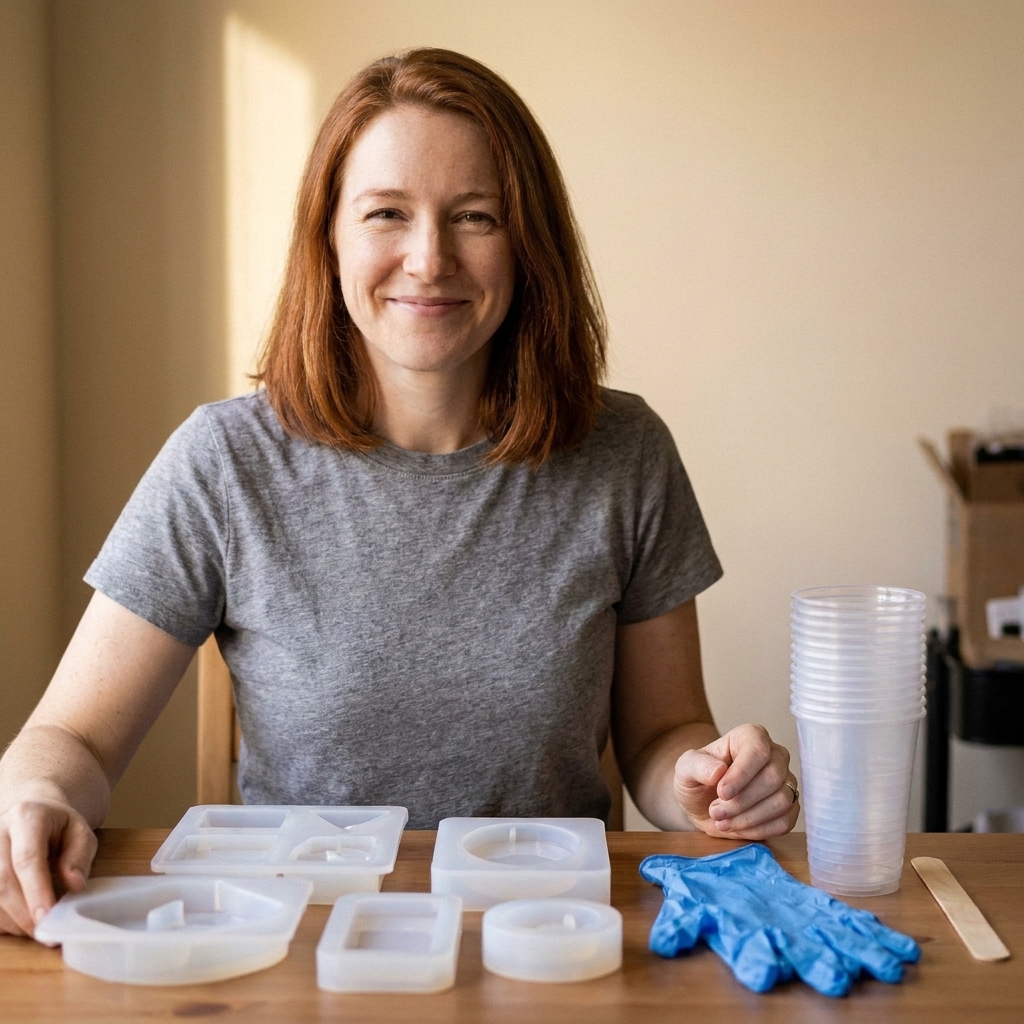
How to choose a beginner-friendly silicone mold
When you are new to epoxy, the mold you pick can make your first pours feel smooth or frustrating. Here is what I look for now, after plenty of sticky lessons.
Start with simple shapes
- Coasters (round, square, hex) are great because the resin is shallow and cures evenly.
- Trays with thicker walls are easier than very thin, floppy molds.
- Basic domes and rectangles help you learn bubble control without tricky corners.
If your goal is jewelry, go for slightly larger pendants at first. Super tiny bezels show every bubble and every speck of dust.
Look for quality you can confirm
It is tempting to do a quick “feel test,” but you cannot reliably identify the silicone cure type by touch alone. What you can do is stack the odds in your favor:
- Check the listing or packaging for details like “platinum-cure” and a stated temperature rating.
- Look for clean cavity surfaces: the interior should look even and glossy, not cloudy, pitted, or dusty right out of the box.
- Choose molds with enough body: thicker walls and a firm rim help the mold stay flat and hold its shape while curing.
Soft molds are not automatically bad, but ultra-floppy silicone is easier to spill, bow, and dent before the resin sets.
Match mold depth to your resin and patience
Deep pours are not “hard,” but they are less beginner-friendly because they magnify heat buildup and bubble rise time. If you are learning 2-part epoxy, shallow to medium depth molds help you get reliable cures while you practice measuring and mixing. If you need a refresher, my step-by-step is here: How to Measure and Mix 2-Part Epoxy Resin.
Skip these at first
- Ultra-detailed molds (filigree, tiny textures): they trap bubbles and show every flaw.
- Very thin bookmark molds: easy to overfill and easy to bend while curing.
- Large deep molds without a plan for heat management: higher risk of overheating, soft spots, or distortion.
Prep your mold for clean pours
Most silicone molds do not require mold release for epoxy. But “not required” and “never helpful” are two different things. Your mold, your resin, and your additives all matter, and worn or low-quality molds can get grabby over time.
Step 1: Clean and de-dust every time
This is the unglamorous part that keeps the bottom surface glossy. Before mixing resin:
- Rinse the mold with warm water and a tiny drop of mild dish soap if it has fingerprints, dust, or residue.
- Rinse well and let it fully dry. Water droplets can cause surface defects.
- Use painter’s tape or a lint roller to lift lint and glitter from cavities.

Step 2: Decide if you need mold release
I reach for mold release in a few specific situations:
- Intricate molds where delicate corners like to grab.
- Older molds that have started to feel tacky or stubborn from wear or contamination.
- High-stakes pieces, like sets you are making as gifts, where you want extra insurance.
I usually skip mold release for coaster molds and most simple trays because a release can slightly dull the surface if it pools or sprays unevenly. Also, make sure the product you choose is intended to be compatible with silicone and epoxy. Some releases or residues can cause surface defects.
Use mold release the right way
If you use spray release, the goal is an almost invisible coat.
- Ventilate first. Sprays add fumes and overspray. If you need help setting up a safer space, see Set Up a Safe, Ventilated Resin Workspace at Home.
- Spray away from your work surface if possible, like into a cardboard box or over a protected area.
- Hold the can 8 to 12 inches away and do a light pass. You should not see wet spots.
- Use a soft brush (a clean makeup brush works) to coax release into fine details and wick away any puddles.
- Wait a few minutes for solvents to flash off before pouring resin.
If your release looks glossy or wet in the cavity, it is too much. Excess release is one of the most common causes of hazy resin backs.
Support the mold so it stays level
Flexible molds need a flat, stable base so the resin cures level. For thin or floppy molds, I treat a rigid support as non-negotiable. I like to set molds on a cutting board or baking sheet, then move the whole “tray” to my curing spot without flexing the silicone.
Also, check your room conditions. Temperature and humidity can change cure behavior, which affects how easily pieces demold and how the surface looks. This guide helps you dial it in: Ideal Temperature and Humidity for Epoxy Resin Curing.
Heat tools: use quick, gentle passes
My fastest way to damage a mold is hovering too long with heat while chasing bubbles. If you torch or heat-gun bubbles, keep it moving and keep your distance. Think quick passes, not camping out over one spot. Avoid open flames directly on silicone, and never let the tool linger on the mold rim or thin edges.
Demold without tearing silicone
The easiest way to shorten a mold’s life is to yank resin out too early or peel the silicone like you are opening a snack pouch. Silicone likes gentle, patient handling.
Wait until the resin is fully cured
“Hard on top” is not always fully cured. If the piece still feels even slightly flexible, or the back feels rubbery, give it more time. Early demolding can:
- tear fine details inside the mold
- warp the shape of the mold cavity
- leave permanent stress lines in softer silicone
Use the slow peel and push
- Start by gently peeling the outer edge of the mold away from the resin to break the seal.
- Support the resin piece with your other hand.
- Push from the bottom with your thumbs while peeling the silicone back in small sections.
If a piece is stuck, do not pry with metal tools. Instead, gently press it back into the cavity to re-seat it, then flex the mold from a different edge to break suction. If it still fights you, let it sit a few more hours and try again.
How to clean silicone molds after resin
Cleaning depends on whether the resin was cured or uncured. The safety approach changes fast when resin is still liquid or tacky.
If resin is fully cured
- Peel drips off: cured resin often pops right off silicone with a fingernail or a soft plastic scraper.
- Wash gently with warm water and mild dish soap.
- Air dry completely upside down so water cannot pool in details.
Avoid abrasive scrubbers. They create micro-scratches that turn into dull spots on your future pieces.
If resin is uncured or tacky
Uncured epoxy is a safety issue, not just a mess. Put on gloves, ventilate, and clean it up carefully. I keep my full disposal and cleanup process here: How to Clean Up Uncured Resin and Dispose of Epoxy Waste Safely.
In general, avoid rinsing uncured resin down a sink. Instead, wipe excess into disposable towels, let residue cure when possible, and follow safe disposal steps.
What to avoid
- High heat like boiling water or a dishwasher cycle: silicone can handle heat, but thinner or low-quality molds can still distort if they are not supported, and heat can encourage warping if the mold is bent while warm.
- Strong solvents: some petroleum-based solvents can swell silicone or leave residues that affect your next pour. If you are unsure, follow the mold maker’s guidance or test a tiny area first.
- Oily cleaners and some wipes: they can leave a film that may contribute to fisheyes, haze, or patchy shine.

A note on tacky molds
If a mold starts feeling tacky even after washing, it is often contamination: a trace of uncured resin, skin oils, or residue from certain additives. Sometimes you can improve it with a thorough wash and a long air-dry. Sometimes that grabby feeling is permanent, and that mold becomes your designated “opaque pigment and glitter” mold.
Store molds to stay dust-free
Silicone is a lint magnet, especially in a craft room that looks like mine on a Saturday. Storage is the quiet secret to glossy finishes.
- Store molds flat so they do not settle into a bent shape.
- Keep them covered in a lidded bin or zip-top bag to block dust and pet hair.
- Separate “glitter molds” from “clear cast molds”. Glitter tends to linger forever.
- Avoid heavy stacking on top of thin molds. Pressure can distort cavities.
- Keep away from direct sun and heat to help prevent warping and premature aging.
When to replace a silicone mold
Even well-loved molds eventually tell you they are tired. I retire a mold when I see:
- Cloudy or scratched cavity surfaces that make resin come out dull
- Sticky residue that never fully washes away
- Warping that makes pieces cure uneven or rock on the table
- Tears or stretched edges that create flashing or leaks
One trick: older molds can get a second life for opaque pours, heavily pigmented pieces, or “glitter bomb” projects where perfection is not the goal.
Quick troubleshooting
My resin piece is stuck
- Give it more time to cure, especially in cool rooms.
- Flex the mold gently from multiple edges to break suction.
- Next time, consider a very light coat of mold release for detailed shapes.
The back of my piece is hazy
- Too much mold release is a common culprit. Apply a lighter coat and brush out puddles.
- Check for soap residue from washing. Rinse thoroughly and dry fully.
- High humidity can contribute to cloudy surfaces on some epoxies, and some formulas can develop an amine blush. Dial in your cure conditions and keep dust and moisture off the surface while it sets. If you want the full environment rundown, see Ideal Temperature and Humidity for Epoxy Resin Curing.
- Inspect the mold cavity for scratches or scuffs.
My mold feels dusty no matter what
- Wash, dry, then use painter’s tape to lift fine lint from details.
- Store covered and away from sanding dust, mica powder, and glitter.
Safety reminders
Even “low odor” resin and quick spray release products can irritate your lungs and skin. If you are setting up your safety routine, these two guides are my go-tos:
Your future self will thank you for gloves, ventilation, and a mold bin with a lid.