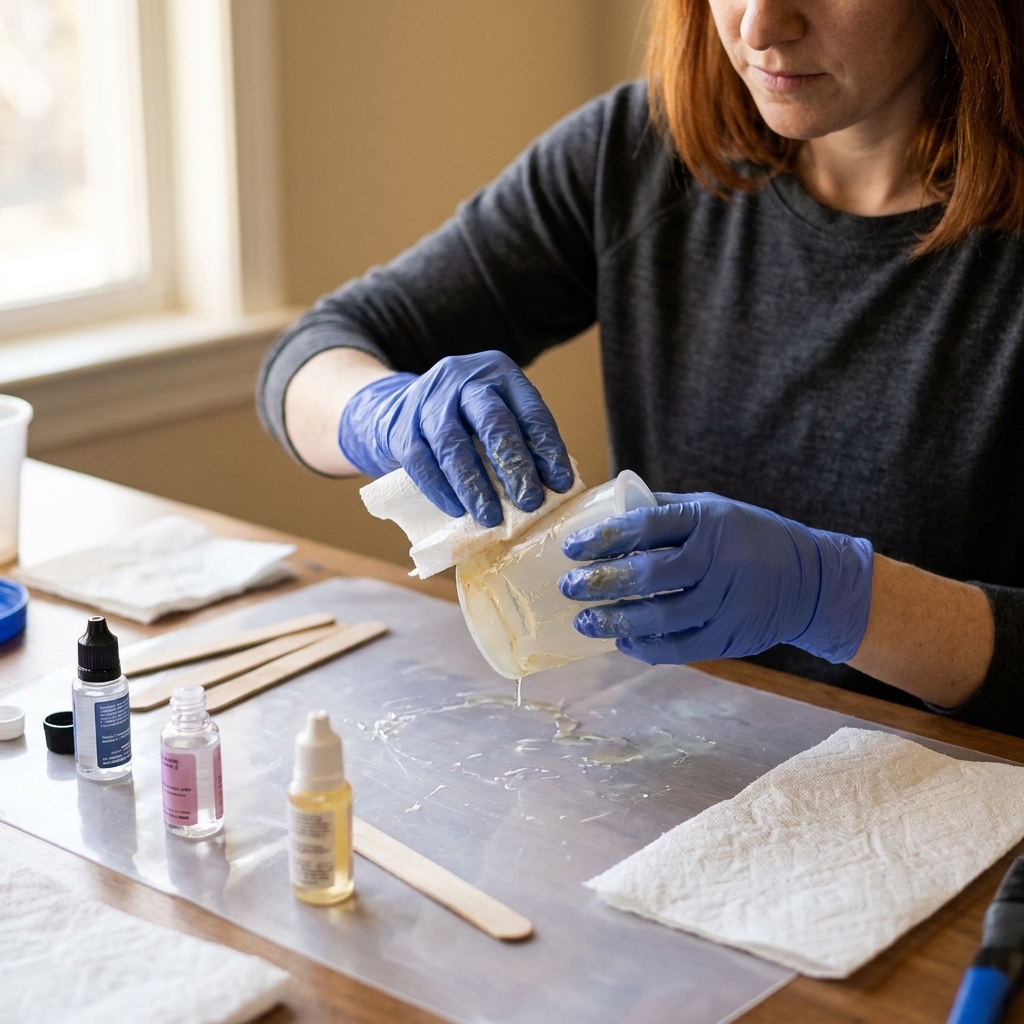
Stop tacky, uncured epoxy. Follow this step-by-step mixing method: confirm ratios, measure by volume or weight, stir slowly while scraping, then do a two-cup...
8 Reasons Your Epoxy Resin Is Sticky or Soft (And How to Fix It)

Ruby Fletcher
Ruby Fletcher is a dedicated resin crafter with years of hands-on experience pouring, molding, and creating custom epoxy art. After turning her dining room into a makeshift studio, she developed a passion for helping beginners navigate the sticky, colorful world of resin with confidence. She loves sharing practical tutorials, troubleshooting tips, and essential safety guides to make epoxy crafting accessible for everyone.
Published · Last updated
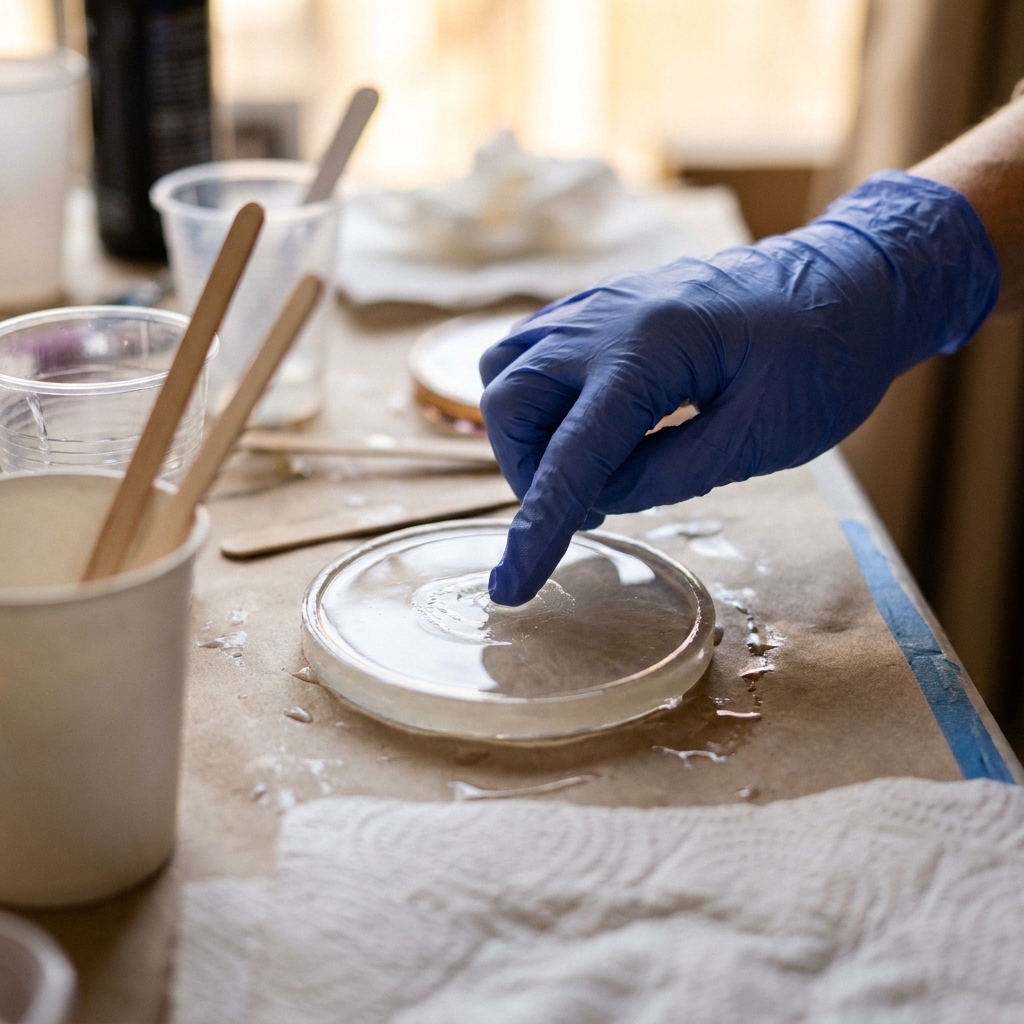
The very first time I poured resin in my dining room, I woke up the next morning to what looked like perfect, glassy coasters. Then I touched one and my fingerprint stayed there like a little fossil. Sticky resin is one of those beginner moments that feels personal, but it is almost always a fixable, diagnosable cause-and-effect situation.
This guide will help you identify why your epoxy is still sticky or soft, what you can safely do right now, and when you should stop trying to save it and start fresh. (No shame. I have done both.)
First: sticky on top or soft all the way through?
Before you troubleshoot, figure out what kind of “not cured” you have. The fix depends on it.
- Surface tack only: the top feels sticky but the piece underneath is firm. This can be surface inhibition, cool or humid conditions that create a film, or contamination.
- Soft or bendy: the piece demolds but flexes, dents, or feels rubbery. This usually points to mix ratio, under-mixing, or temperature.
- Wet spots or gooey pockets: some areas are liquid or syrupy. This is typically unmixed resin or hardener, or additive overload.
If you are new to measuring and mixing, bookmark this for later: How to Measure and Mix 2-Part Epoxy Resin. Most sticky cures trace back to those steps.
Safety note (quick but important)
Uncured resin can irritate skin and lungs. If your piece is sticky, treat it as uncured.
- Wear nitrile gloves and protect your work surface.
- Work with ventilation. If you need help setting that up at home, start here: Set Up a Safe, Ventilated Resin Workspace at Home.
- Do not wash sticky resin down the sink. For cleanup and disposal: How to Clean Up Uncured Resin and Dispose of Epoxy Waste Safely.
Reason #1: You measured the ratio incorrectly
This is the big one. Epoxy resin is picky about its resin-to-hardener ratio. If you are off, the chemical reaction cannot complete, and you can end up with soft, bendy, or permanently tacky resin.
Clues it is a ratio problem
- The whole piece is soft or flexible, not just the surface.
- It is still denting easily after the full cure time listed on the bottle.
- You poured multiple pieces from the same batch and they all failed similarly.
How to fix it
- If it is only slightly soft and recent: move it to a warmer spot (see Reason #4) and give it more time. Sometimes a “slow cure” looks like failure at first.
- If it is clearly wrong ratio: there is no magic top coat that reliably fixes a badly imbalanced mix. Your best salvage is usually to scrape off uncured resin, clean thoroughly, then repour correctly.
Tip from my sticky-fingers era: do not switch between “measuring by volume” and “measuring by weight” unless the manufacturer explicitly tells you the weight ratio. Some formulas are not 1:1 by weight even if they are 1:1 by volume.
Reason #2: You did not mix long enough
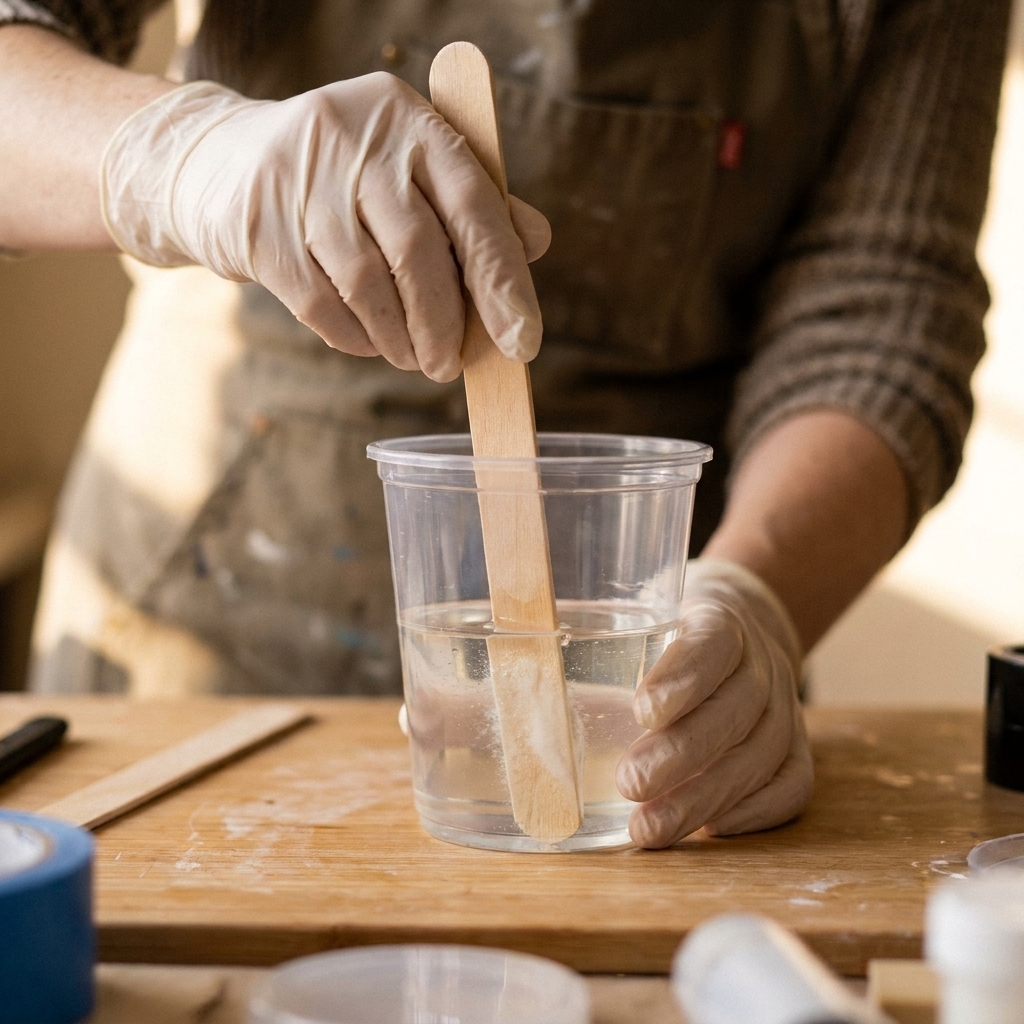
You can measure perfectly and still end up with gooey pockets if the resin and hardener are not fully blended. Most beginners underestimate mixing time, or they stir without scraping the sides and bottom.
Clues it is a mixing problem
- Some areas cure hard and others stay wet or sticky.
- You see swirls, streaks, or cloudy ribbons in the pour.
- The bottom of the cup had a thick layer left behind that felt different.
How to fix it
- For the current piece: if there are wet pockets, you will usually need to remove the uncured sections. Trying to “heat it to cure” can make a mess worse and spread the sticky.
- For next time: mix longer than you think, scrape the cup walls and bottom, and consider the “double cup” method: mix in cup #1, then pour into cup #2 and mix again.
Reason #3: You poured too thick
Many craft epoxies are designed for thin pours (coatings, jewelry, trays) and they do not behave the same as deep pour formulas. If you pour a coating resin too thick, it can overheat, warp, crack, yellow, or cure unevenly depending on the product and conditions.
Clues it is a thickness issue
- Your piece feels warm during cure, then turns soft or cures unevenly.
- The center is acting different than the edges.
- You poured a thick layer all at once.
How to fix it
- Let it sit first: if it is not liquid, give it extra time at the right temperature. Some thick pours just need longer.
- But do not wait forever: if it is still liquid or syrupy after the stated cure window (and especially after a couple of extra warm days), assume a mixing or ratio issue rather than “it just needs time.”
- For future pours: build depth in layers that match your resin’s pour guidelines, letting each layer reach the proper stage before adding the next.
Reason #4: Your workspace is too cold
Here in the Pacific Northwest, cold snaps have humbled me more than once. Epoxy needs a comfortable temperature range to cure correctly. Too cold and the reaction slows way down, sometimes leaving a surface that feels tacky for days. Big temperature swings can also cause curing problems and cosmetic issues.
Clues it is a temperature problem
- The resin looks fine but feels slightly tacky or soft at the expected demold time.
- Your room is cool, especially overnight.
- You are curing in a garage or near a drafty window.
How to fix it
- Warm the curing environment: most craft epoxies are happiest around 70 to 75°F (21 to 24°C) with steady conditions through the cure window.
- Keep it consistent: stable warmth beats blasting the surface with direct heat.
- Use a simple curing tent setup: a covered area can help maintain stable warmth and keep dust off.
For specific targets and humidity guidance, see: Ideal Temperature and Humidity for Epoxy Resin Curing.
Reason #5: Moisture and humidity got involved
Two-part epoxy is generally less moisture-sensitive than some other resins, but moisture can still cause headaches. High humidity and cool conditions can leave a surface film, wet inclusions can prevent local cure, and porous items can trap moisture that shows up as cloudiness, fish-eyes, or poor adhesion.

Clues it is a moisture issue
- The surface feels tacky or greasy, but the underside is harder.
- You embedded flowers, wood, paper, or anything that might hold moisture.
- You notice fogginess, tiny bubbles, or a slightly waxy film on top.
How to fix it
- Give it time in stable warmth: if the piece is mostly cured, extra cure time in a warm, consistent room can help.
- Dry and seal next time: fully dry porous items and apply a sealing coat (appropriate to your material) before embedding so resin is not battling trapped moisture.
Reason #6: You have amine blush
This one tricks a lot of people because it can feel like “sticky resin” even when the piece underneath is cured. In cool or humid conditions, some epoxies develop amine blush, a waxy or greasy film on the surface.
Clues it is blush
- The piece is hard underneath, but the surface feels slightly tacky, slick, or waxy.
- The tackiness looks like a thin film, not wet resin.
- Conditions were cool, humid, or both while it cured.
How to fix it
- Wash first: use warm water with a little dish soap and a soft cloth or sponge, then rinse well.
- Dry completely: let it air-dry fully before you sand or recoat.
- Then sand and recoat if needed: scuff to a uniform dull finish, remove dust, then apply a properly mixed top coat.
Reason #7: Too much pigment or additive
Mica powders, alcohol inks, acrylic paint, glitter, and other fun mix-ins can change how resin cures. A little is usually fine, but too much additive can interfere with cure or create soft layers, especially with water-based colorants. Alcohol inks can also cause curing issues in excess.
Clues it is additive overload
- The colored areas are softer than the clear areas.
- Only one layer (often a heavily pigmented one) is tacky.
- You used paint, heavy ink drops, or lots of paste pigment.
How to fix it
- For the current piece: if the tacky area is a thin surface layer and the piece is firm underneath, you may be able to sand it back once it is hard enough, then apply a correctly mixed flood coat.
- For future pours: keep additives within the manufacturer’s recommended amount and use resin-friendly pigments intended for epoxy.
Reason #8: Surface contamination
Sometimes the resin itself cured fine, but the surface is sticky because something interfered at the top layer. Common culprits: oily residues, silicone from mold release sprays, certain tapes, lotions on hands, or cleaners that leave a film.
Clues it is contamination
- The stickiness is mostly on the surface and the piece is hard underneath.
- Only the side that touched a specific material is tacky.
- You recently used mold release, silicone tools, or a new mold that feels oily.
How to fix it
- Wash and evaluate: if the piece is otherwise hard, you can sometimes remove a surface film with gentle washing and thorough drying, then lightly sand and recoat.
- Change what touches your resin: use clean tools, avoid silicone sprays unless the resin and mold specifically require them, and keep hands lotion-free on pour day.
What to do right now
If your resin is sticky today, here is the order I use before I panic.
- Check the cure window: many epoxies feel “dry” before they are truly hard. Compare where you are to the manufacturer’s full cure time.
- Stabilize temperature: move the piece to a warm, steady room (no direct heat blasting the surface).
- Glove test: touch with a gloved fingertip. If it is only slightly tacky and the piece is firm underneath, time and warmth may finish the job.
- If there are wet areas: stop and plan for removal of uncured resin. Trying to coat over wet resin usually creates a permanently gummy layer.
- Decide if it is worth saving: sentimental embed? Large tray? Save it. Small practice piece? Sometimes the kindest thing is to call it a learning coaster and start again.
Can you pour a new layer over sticky resin?
Sometimes, but only in specific situations.
- Sometimes OK: the piece is hard underneath and the tackiness is a thin surface issue (blush, light contamination, minor inhibition). In that case, you can often wash, dry, sand to a uniform dull finish, remove dust, then pour a correctly mixed top coat.
- Not recommended: the piece is soft through the whole thickness, bendy, or has wet pockets. A fresh layer cannot force a bad mix ratio underneath to cure, and you can end up with a sticky sandwich forever.
When to stop and start over
I am all for salvaging projects, but there are times when it is smarter (and safer) to reset.
- If it is still wet after the full cure time: especially if it is still syrupy after a couple of warm days, assume a mix or ratio problem and remove what you can.
- If it will be used for food contact: a sticky or under-cured piece should not be “rescued” for serving surfaces. Make a new one.
- If it keeps smelling strongly like uncured resin for days: treat it as uncured and focus on safe cleanup and disposal.
Prevent sticky cures next time
- Measure slowly and deliberately: use clear cups with markings or a reliable scale if your resin allows weight measurements.
- Mix longer than feels necessary: scrape sides and bottom, then double-cup.
- Control the room: stable temperature and sensible humidity matter more than fancy tools.
- Use the right safety gear: sticky resin means exposure risk. If you need a refresher: Resin Safety Gear: Respirators, Gloves, and Eye Protection.
- Start simple: if you are brand new, begin with small molds and low-additive projects. My beginner supply notes are here: Beginner Resin Art Supplies: Essential First Pour List.
Sticky resin FAQ
How long should I wait before I decide it failed?
Check your resin’s label for demold time and full cure time. If you are past full cure by a day or two in a properly warm room and it is still soft or wet, it is likely a measuring or mixing issue.
Will a heat gun or torch fix tacky resin?
Heat tools help pop bubbles in fresh resin. They do not reliably fix an incorrect ratio or poorly mixed batch. Too much heat can also worsen problems by overheating or rippling the surface.
Is UV resin the answer if I keep getting sticky epoxy?
UV resin can be simpler for small jewelry pieces, but it comes with its own learning curve and limitations. If you are choosing between them, I break it down here: UV Resin vs 2-Part Epoxy: What Beginners Should Choose.
I can help you diagnose it
Sticky cures are easier to troubleshoot with a few specifics. If you want to narrow it down, send me:
- Resin brand and ratio (1:1? 2:1?)
- How you measured (volume cups or scale)
- Mix time and whether you scraped sides and bottom
- Room temperature overnight
- What you added (mica, ink, paint, dried flowers, glitter)
- Whether it is tacky only on top or soft throughout
You can reach me through the site contact page: /contact/.