Learn how to create a safe, well-ventilated resin workspace at home—room choice, window exhaust airflow, PPE essentials, surface protection, storage, and dus...
Ideal Temperature and Humidity for Epoxy Resin Curing

Ruby Fletcher
Ruby Fletcher is a dedicated resin crafter with years of hands-on experience pouring, molding, and creating custom epoxy art. After turning her dining room into a makeshift studio, she developed a passion for helping beginners navigate the sticky, colorful world of resin with confidence. She loves sharing practical tutorials, troubleshooting tips, and essential safety guides to make epoxy crafting accessible for everyone.
Published · Last updated
The first time I poured resin in my dining room, I blamed myself for everything. Bubbles. Cloudy spots. A piece that felt dry on top but stayed bendy underneath. Later I realized my “craft room” was also where we cooked pasta, ran the dishwasher, and cranked the heat down at night. Epoxy is picky, and it notices every temperature swing and every bit of moisture in the air.
If you want consistently glossy, fully cured pieces, the environment matters almost as much as measuring accurately. Here is the sweet spot for temperature and humidity, what can go wrong when you are outside it, and the easiest ways to get control of your curing space without turning your home into a laboratory.

The sweet spot: temperature and humidity
Most craft epoxies cure best in a warm, steady room with moderate humidity. Always check your specific brand label first, but these are common targets for the majority of epoxy resins used for art and jewelry. Coating resins, casting resins, and fast-curing formulas can have slightly different comfort zones, so treat the numbers below as a starting point, not a promise.
- Common target temperature: 72 to 78 F (22 to 26 C)
- Common workable range: about 70 to 80 F (21 to 27 C), as long as it stays steady
- Ideal relative humidity: roughly 35 to 50 percent
- Try to stay under: 60 percent humidity to help reduce haze and amine blush risk
Two key rules from my own trial and error:
- Consistency beats perfection. A steady 70 F is usually better than a room that swings from 65 to 78 F every few hours.
- The first few hours matter most. That is when viscosity, bubble release, and the early cure set the tone for your final surface.
One more small thing that makes a big difference: check the temperature where your piece will cure, not across the room. A tabletop near an exterior wall or a cold garage floor can run cooler than the air.
How temperature changes epoxy
Epoxy curing is a chemical reaction between resin and hardener. Temperature affects how fast that reaction happens and how easily the mixture flows and releases bubbles.
When it is too cold
Cold resin is thicker. That extra viscosity traps bubbles, resists self-leveling, and can lead to slow or incomplete curing.
- Symptoms: lots of microbubbles, ripples that do not level, soft or rubbery cure after the expected time, cloudy or “waxy” areas
- Common cause: pouring in a 60 to 68 F room, or letting the room cool down overnight during the early cure
- Extra risk: some formulas can cure unevenly, with a skin on top and softness underneath
When it is too hot
Heat speeds up the reaction. Faster cure sounds great until you realize it also shortens working time and can create more bubbles in the mix as it kicks.
- Symptoms: resin thickens too quickly, visible swirl marks freeze in place, waves and edge pull, more bubbles from a rapid exotherm, potential yellowing over time
- Common cause: curing in direct sun, near a heater vent, in a hot garage, or using a warming mat set too high
- Extra risk: deep pours can overheat and crack, warp, or flash cure in the cup
Temperature swings are sneakier than a bad temperature
A room that is warm when you pour and cold at 2 a.m. is a classic recipe for problems. Epoxy does not love sudden shifts while it is setting up.
- Symptoms: surface ripples, edge separation, inconsistent gloss, hazy patches, tackiness that lingers
How humidity affects epoxy
Humidity is the amount of water vapor in the air. Epoxy does not rely on moisture to cure, so humidity usually shows up as surface and clarity issues, especially during the early cure.
What high humidity can do
- Amine blush: a greasy, waxy, or dull film that can appear on the surface of some epoxies as they cure. Humidity and cooler temps can make it more likely, but it is also formulation-dependent.
- Cloudiness or haze: especially noticeable in clear casts, doming, and glossy top layers.
- Moisture contamination: water on tools, cups, pigment containers, or inclusions can create foamy spots or curing weirdness.
What low humidity looks like
Low humidity is usually less dramatic for epoxy. The bigger issue is that very dry air can come with more static, which can pull dust toward your curing piece.
- Symptoms: dust nibs, tiny fibers settling into the top coat
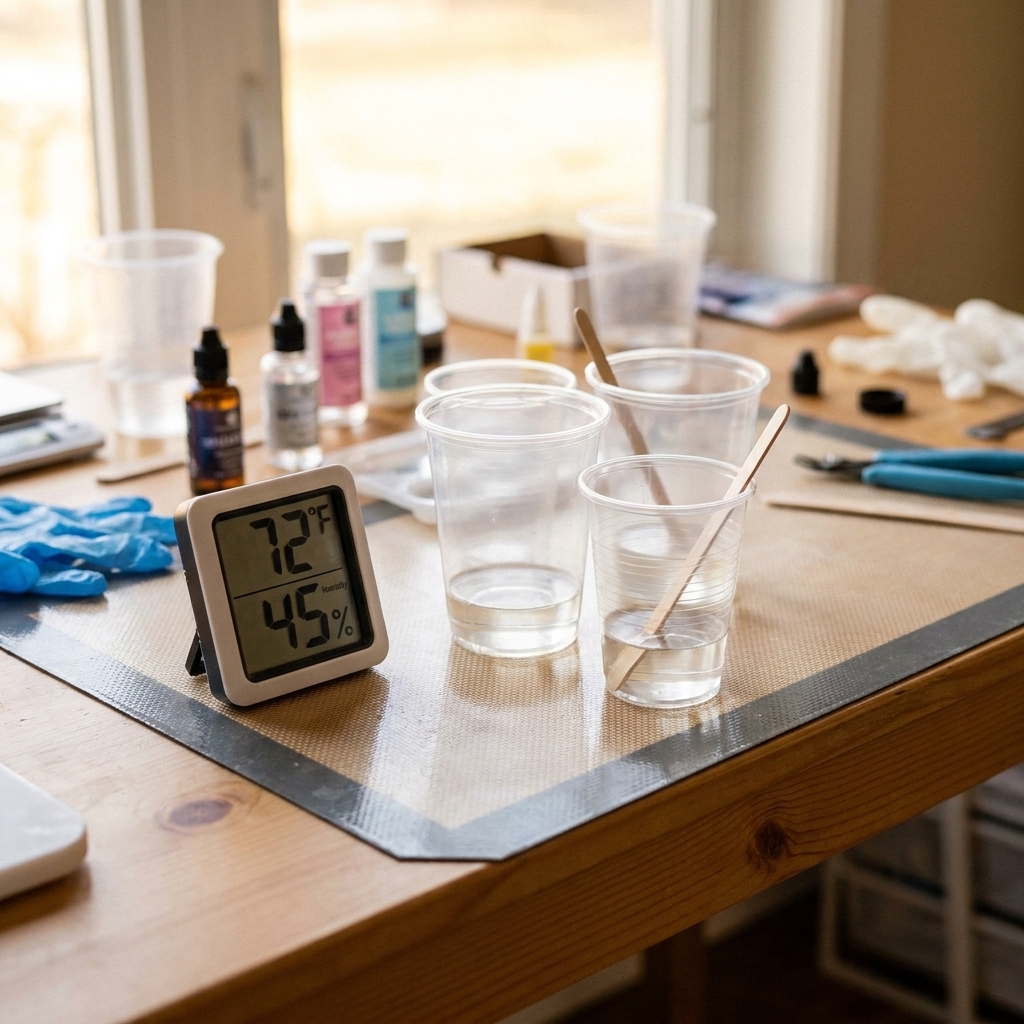
My practical target: if my hygrometer reads over 60 percent, I treat it as a warning that I should control the space more before I pour.
Quick checklist before you pour
This is the 2-minute routine that saves me hours of sanding later.
- Room temperature steady in the low to mid 70s F
- Humidity around 35 to 50 percent
- No open windows on rainy days, and no resin curing next to a running dishwasher, humidifier, or simmering pot
- Table is level, and the curing spot is away from direct sun and HVAC vents
- Resin bottles are warm, not chilly to the touch
- Tools and molds are fully dry, especially if you washed them recently
If you are still building your setup, I have a full walkthrough on airflow and safe curing zones here: Set up a safe, ventilated resin workspace at home. For PPE basics, this guide helps you choose the right protection: Resin safety gear: respirators, gloves, and eye protection.
Simple temperature control
Warm the resin, not just the room
Warm bottles mix thinner, release bubbles more easily, and level better. You can do this safely by placing the closed bottles in a warm water bath for 10 to 15 minutes, then drying them completely before opening.
- Use warm, not hot water
- Keep caps above the water line to avoid moisture sneaking in
- Dry the bottles so no droplets drip into your measured resin
If you are bringing resin in from a cold garage or porch, give it time to come up to room temperature. Cold bottles can collect condensation in a warm room, and that surface moisture is exactly what you do not want near your measuring cup.
Create a small curing zone
I love small-scale solutions because they are easier to keep consistent than an entire chilly house.
- Small room strategy: close the door, pre-warm the room, then keep it gently maintained at a steady temperature
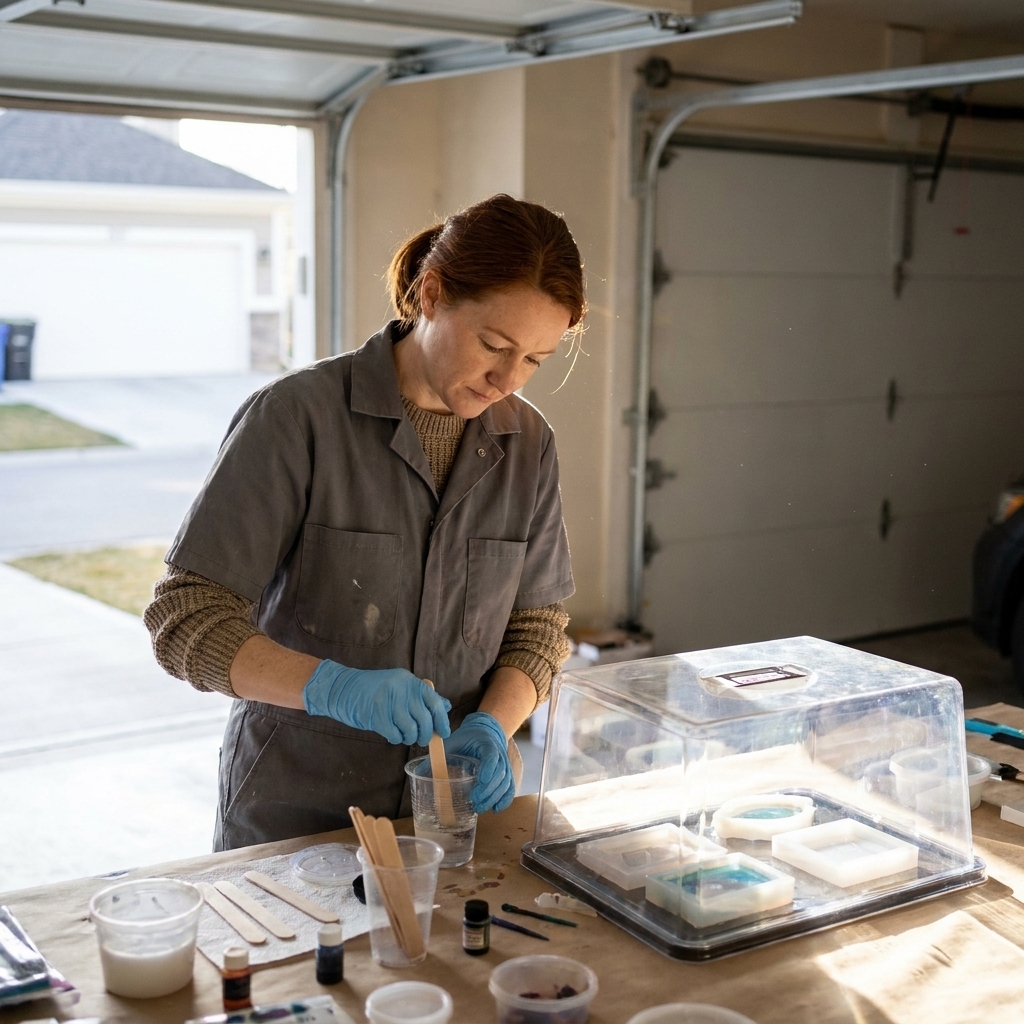
- Plastic bin strategy: cover your piece with a clean storage tote to reduce drafts and dust while it cures
Avoid heat blasting the surface
Space heaters and heat vents can create hot spots. You want the air warm, not a stream of heat pointed at your mold. Uneven heat can cause ripples, edge pull, or a fast surface set.
Simple humidity control
Use a dehumidifier in wet weather
In the Pacific Northwest, this is my secret weapon. Run it in the same room as your resin setup and give it time to bring the humidity down before you mix.
- Start 30 to 60 minutes before pouring if you can
- Keep the curing area closed off so you are not fighting the whole house
Pause humidifiers, dishwashers, and steamy cooking
It sounds obvious, but it is an easy win. Steam in the air can bump humidity quickly, and that timing often overlaps with early cure.
Keep water away from resin and inclusions
Humidity is one thing, but liquid water is another. Dry your silicone molds, mixing tools, glitter jars, and any inclusions completely. If you are embedding flowers or paper, make sure they are sealed and dry first.
Tips by project type
Thin coatings and topcoats
Thin layers show surface issues more clearly, so humidity control matters.
- Stay closer to the common target range your brand recommends
- Aim for moderate humidity to help reduce haze and blush risk
- Cover while curing to block dust
Doming jewelry
Doming needs resin that flows and self-levels, but not so warm that it runs off the edge.
- Warm bottles slightly for better flow
- Keep the room steady and draft-free
- Watch for humidity spikes that can dull shine
Deep pours and thick casts
Thicker resin masses generate more heat as they cure. Too-warm rooms can push deep pours into overheating.
- Stay on the lower end of your resin’s recommended range if your mold is large
- Follow your resin’s maximum pour depth
- Do not cure in direct sun or in a hot garage
If you are still building your beginner toolkit, my essentials list is here: Beginner resin art supplies: essential first pour list.
Troubleshooting cues
| What you see | Likely environment cause | What to do next time |
|---|---|---|
| Lots of tiny bubbles that will not pop | Resin and room too cold, resin too thick | Warm bottles first, keep the room in the low to mid 70s F, avoid drafts |
| Cloudy or hazy clear resin | Humidity too high, cold cure, or moisture contamination | Dehumidify, pre-warm space, keep tools and inclusions dry |
| Waxy or greasy film, dull finish | Possible amine blush, more likely with humidity and cooler temps (and some formulas) | Keep humidity lower, cure warmer and steady, wash and scuff before recoating if needed |
| Soft or bendy after the listed cure time | Cold cure slowing reaction, or a temperature drop overnight | Hold a steady temp for the first 12 to 24 hours (or per your product’s early cure window), keep it stable overnight |
| Ripples, edge pull, uneven surface | Too warm, airflow from vents, or temperature swings | Move away from vents, keep ambient heat gentle and consistent |
| Flash cure in the cup, cracking in a mold | Too hot environment, too large mass, or direct heat | Reduce pour depth, cure cooler, mix smaller batches |
Heating and ventilation
Keeping resin warm can help results, but safety comes first. Never cure epoxy in an unventilated closet with a heater, and never use cooking appliances to warm resin. If you need help building a safe routine, start here: Getting Started & Safety.
FAQ
Can epoxy resin cure at 65 F?
Many epoxies will eventually cure at 65 F, but it is slower and more prone to bubbles, haze, and soft spots. If you can, bring the space closer to your brand’s recommended range during the first 12 to 24 hours (or at least through the gel and early cure stage).
Does resin cure faster in heat?
Yes. Heat speeds curing and shortens working time. The risk is that it can set too fast, trap bubbles, or overheat in deeper pours.
What humidity causes problems with epoxy?
Once you are consistently above about 60 percent relative humidity, you are more likely to see surface dullness, haze, or blush, depending on your formula and temperature. Lowering humidity helps reduce the risk, but it cannot guarantee a blush-free surface for every epoxy.
Do I need a hygrometer?
I consider a basic thermometer and hygrometer combo one of the most helpful low-cost tools you can buy. It takes the guesswork out of “Is it my mixing, or is it the room?”
How long should I keep the room warm?
At minimum, keep it consistent through the gel phase and early cure. For many craft epoxies, that is roughly the first 12 to 24 hours, but follow your product’s demold and full cure guidance.
My go-to target
If you want one simple goal to remember, make it this: mid 70s F, moderate humidity, and no big swings. When I keep my curing space around the low to mid 70s with humidity roughly 35 to 50 percent, my pours level better, my bubbles behave, and my pieces cure hard and glossy with far fewer surprises.
If your home conditions fight you, do not give up. Most resin curing problems are fixable with a small, controlled curing zone and a little patience.