Micro-bubbles can turn a “clear” epoxy pour hazy fast. Learn where they come from, how to prevent them with warm resin and slow mixing, plus the best ways to...
How to Sand and Polish Epoxy Resin

Ruby Fletcher
Ruby Fletcher is a dedicated resin crafter with years of hands-on experience pouring, molding, and creating custom epoxy art. After turning her dining room into a makeshift studio, she developed a passion for helping beginners navigate the sticky, colorful world of resin with confidence. She loves sharing practical tutorials, troubleshooting tips, and essential safety guides to make epoxy crafting accessible for everyone.
Published · Last updated
The first time I tried to “fix” a cloudy resin coaster, I did what every optimistic beginner does. I grabbed the nearest sandpaper, gave it a few swipes… and instantly turned a small scuff into a big, sad matte patch. The good news is that sanding and polishing epoxy is absolutely learnable. The secret is patience, water, and a very boring-sounding grit progression that somehow ends in a piece that looks like glass.
This tutorial walks you through wet-sanding and buffing cured epoxy resin to remove scratches, sharp edges, mold lines, and dull finishes.
Before you sand: confirm it is cured
If your resin is even slightly soft, sanding can gum up the surface, tear at edges, and leave permanent haze. The best rule is to follow your resin brand’s cure schedule. Many 2-part epoxies reach a sandable cure somewhere in the 24 to 72 hour range, while full cure is often closer to 3 to 7 days (especially for thick pours or cool rooms).
- Fully cured feels hard and clicks lightly if you tap it with a fingernail.
- Not cured feels rubbery, dents, or clogs your sandpaper quickly.
- Odor can be a clue, but it is not a reliable test on its own. Use it as a “maybe,” not a verdict.
If your piece is tacky or bendy, troubleshoot first. This guide can help: 8 Reasons Your Epoxy Resin Is Sticky or Soft (and How to Fix It).
Safety setup (please do not skip)
Once epoxy is fully cured, it is generally considered low-odor and stable, but sanding still creates fine dust that can irritate your lungs and eyes. Wet-sanding reduces airborne dust a lot, but I still treat it seriously.
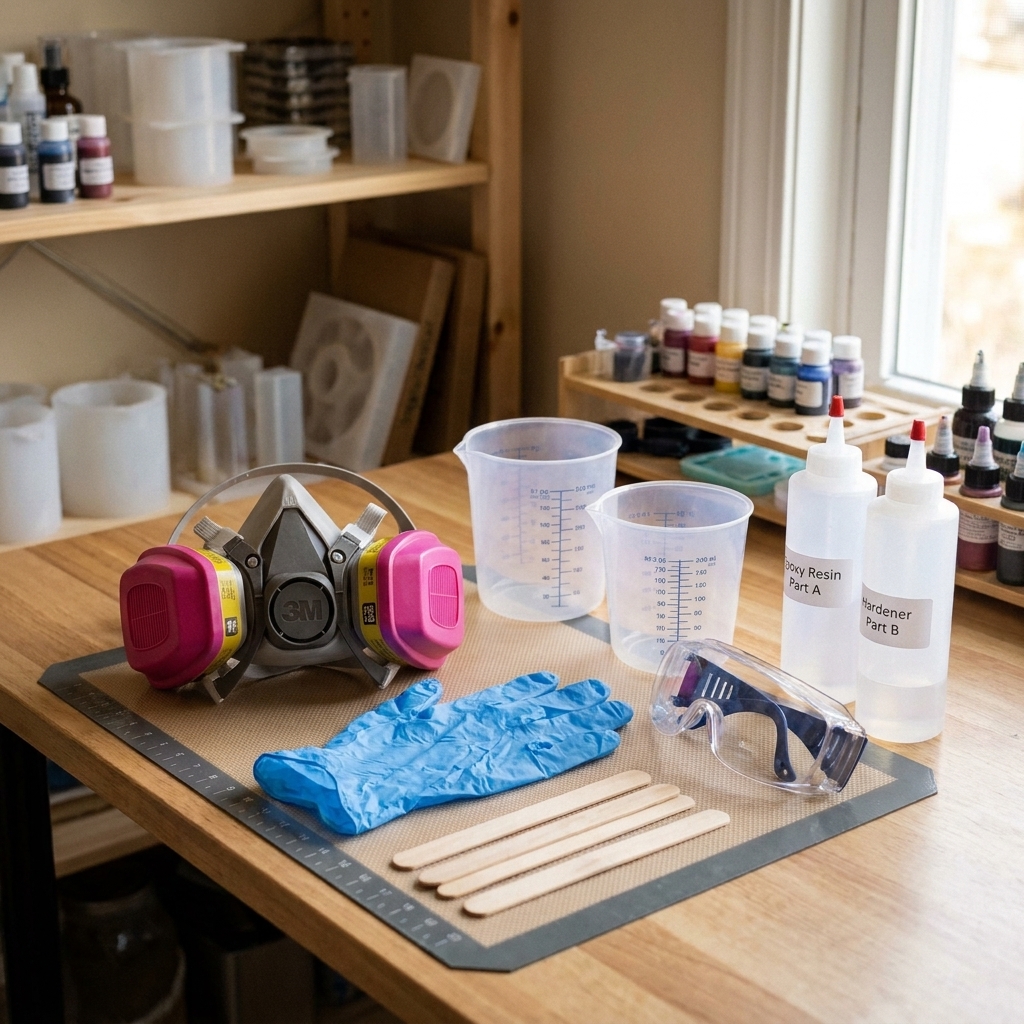
- Respiratory protection: Wear a respirator rated for particulates when dry-sanding or using a power sander. For polishing compounds, a respirator is still a good idea.
- Eye protection: Especially with rotary tools or buffing wheels.
- Gloves: Nitrile keeps slurry and compound off your skin.
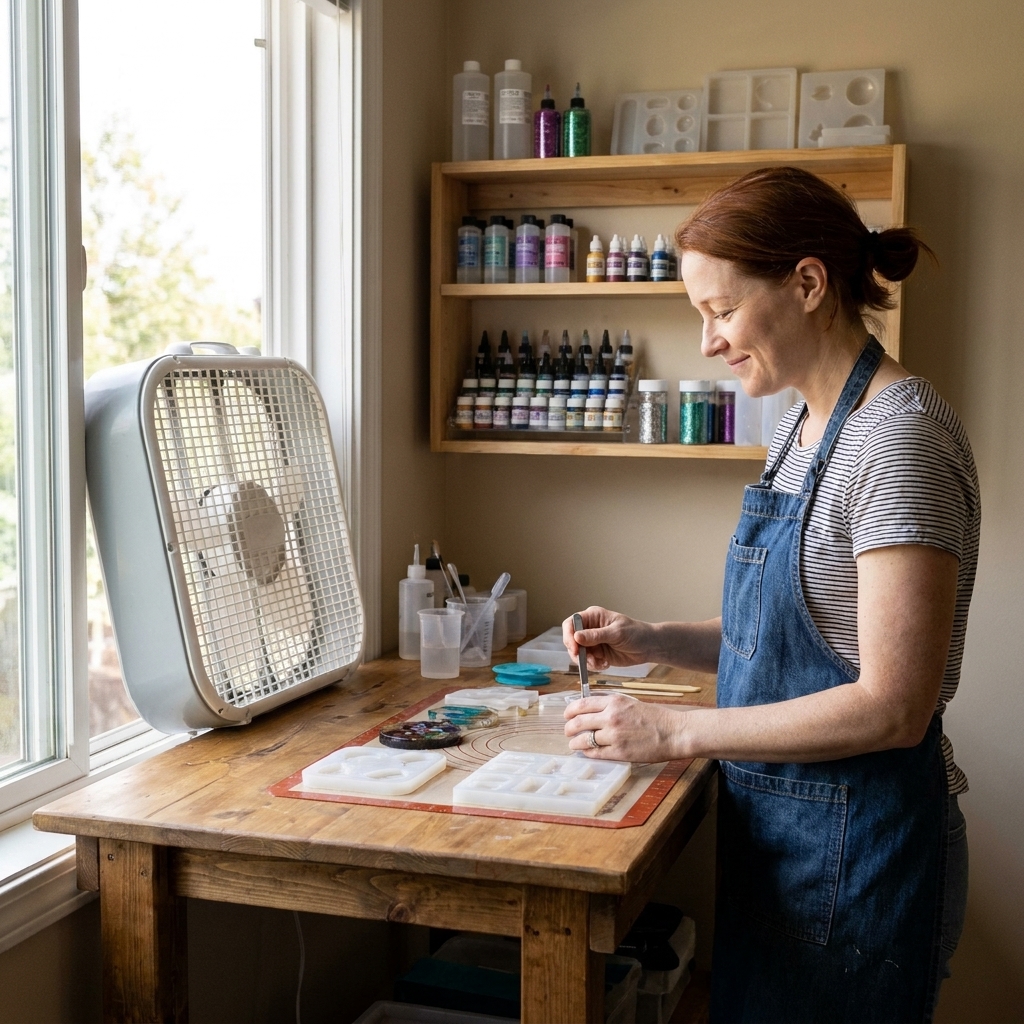
- Ventilation: Helpful for compound smell and general comfort.
- Keep it out of food areas: Do not sand in the kitchen. Wipe down surfaces after you are done.
If you are building out your setup, these guides are my go-tos: Resin Safety Gear and Set Up a Safe, Ventilated Resin Workspace.
Tools and supplies
You can get a beautiful finish with simple hand tools. Power tools just make the process faster.
Sandpaper and sanding tools
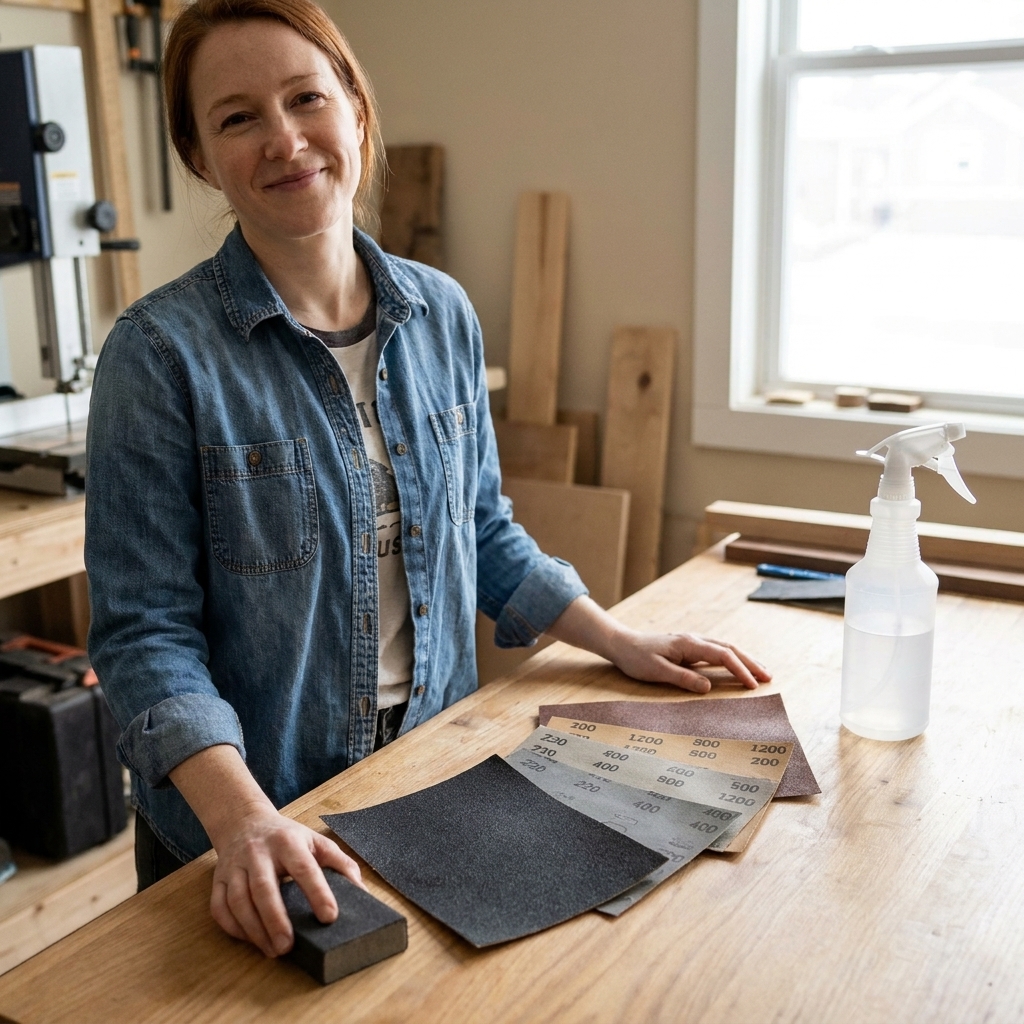
- Wet-dry sandpaper in a range of grits. My common set: 400, 600, 800, 1000, 1500, 2000, 3000.
- Sanding block or a flat backing pad (important for flat pieces like coasters and trays).
- Small sanding sticks or nail files for tight edges and curves.
- Water spray bottle and a small bowl of clean water.
- Microfiber cloths for wiping and checking progress.
Polishing supplies
- Plastic polish or rubbing compound plus finishing polish. Choose products meant for clear plastics, acrylic, or automotive clear coat.
- Buffing pads (foam or microfiber) for a drill, polisher, or by hand.
- Optional: a rotary tool with small felt bobs for tiny jewelry areas.
Helpful extras
- Painter’s tape (to protect embedded elements or a backside you do not want scratched)
- A bright desk lamp (scratches hide until you change the angle of light)
- Dish soap (one drop in your water helps sandpaper glide)
When not to sand
Sanding is great for surface issues. It is not a magic fix for everything.
- Internal cloudiness: If the haze is inside the piece (microbubbles, moisture blush, pigment clumps), sanding the surface will not remove it. This guide is the better starting point: Prevent and Remove Micro-Bubbles.
- Thin domes or topcoats: If you have a thin, glossy topcoat and you sand through it, the boundary line can be visible forever unless you recoat.
- Painted or paper backs: Wet-sanding can let water creep into exposed edges and lift paper, paint, or vinyl. If your piece has a decorated back, tape and seal edges before you introduce water, or sand dry with careful dust control.
Pick your starting grit
Your first grit is the one that removes the damage. Everything after that only removes the scratches from the grit before it.
If you are brand new to sanding, here is the simplest rule: higher grit number equals a finer sandpaper.
- For sharp edges or a pronounced mold seam: start around 220 to 400.
- For light scratches or mild haze: start around 600 to 800.
- For a piece you intentionally sanded matte and want to re-gloss: start around 800 to 1000.
- For thin castings: start finer than you think (often 800+), use a block, and check often so you do not sand through an edge.
My rule: start as fine as you can while still making visible progress. If you start too coarse, you create deeper scratches you then have to chase through every grit.
Wet-sanding step-by-step
This is the heart of the glass-like finish. Plan on taking your time, especially your first few tries.
1) Clean the piece
Wash off dust and oils. If you sand a crumb into your surface, you can carve a surprising scratch.
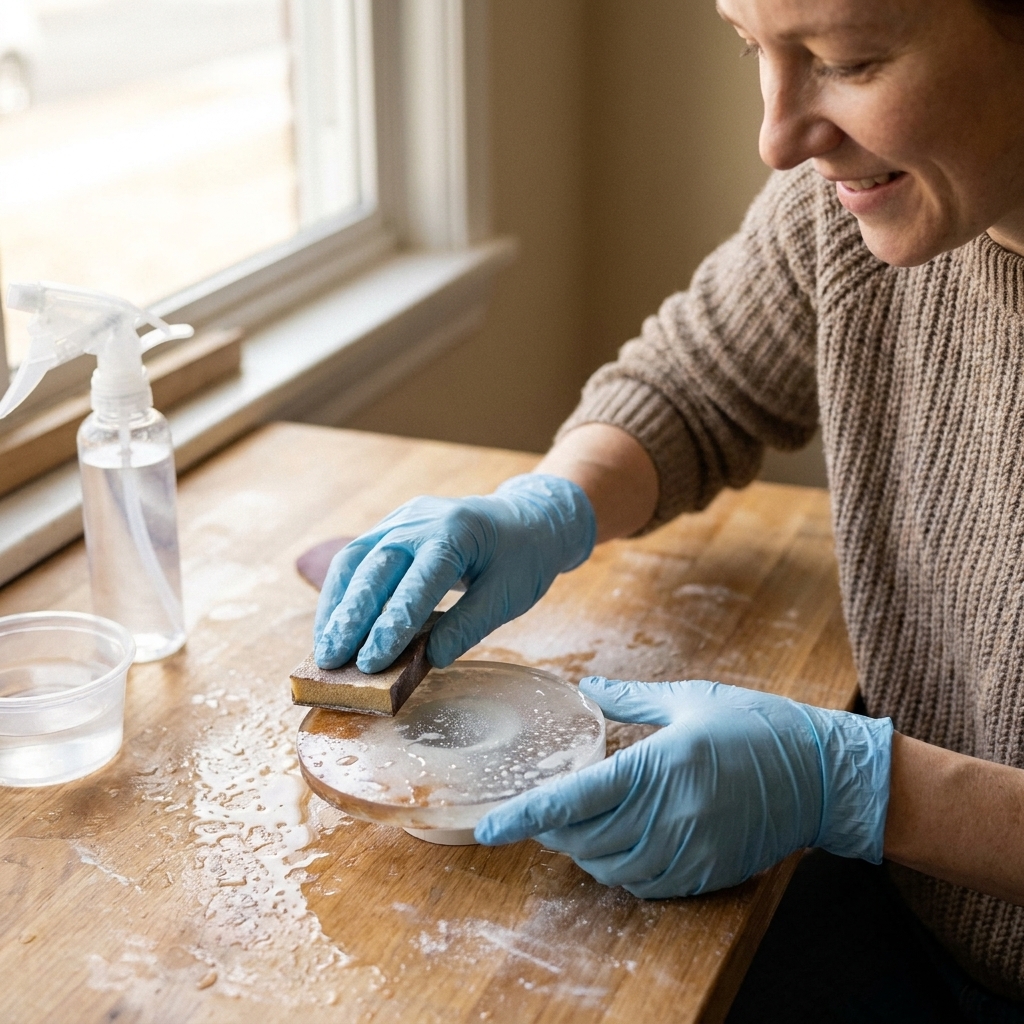
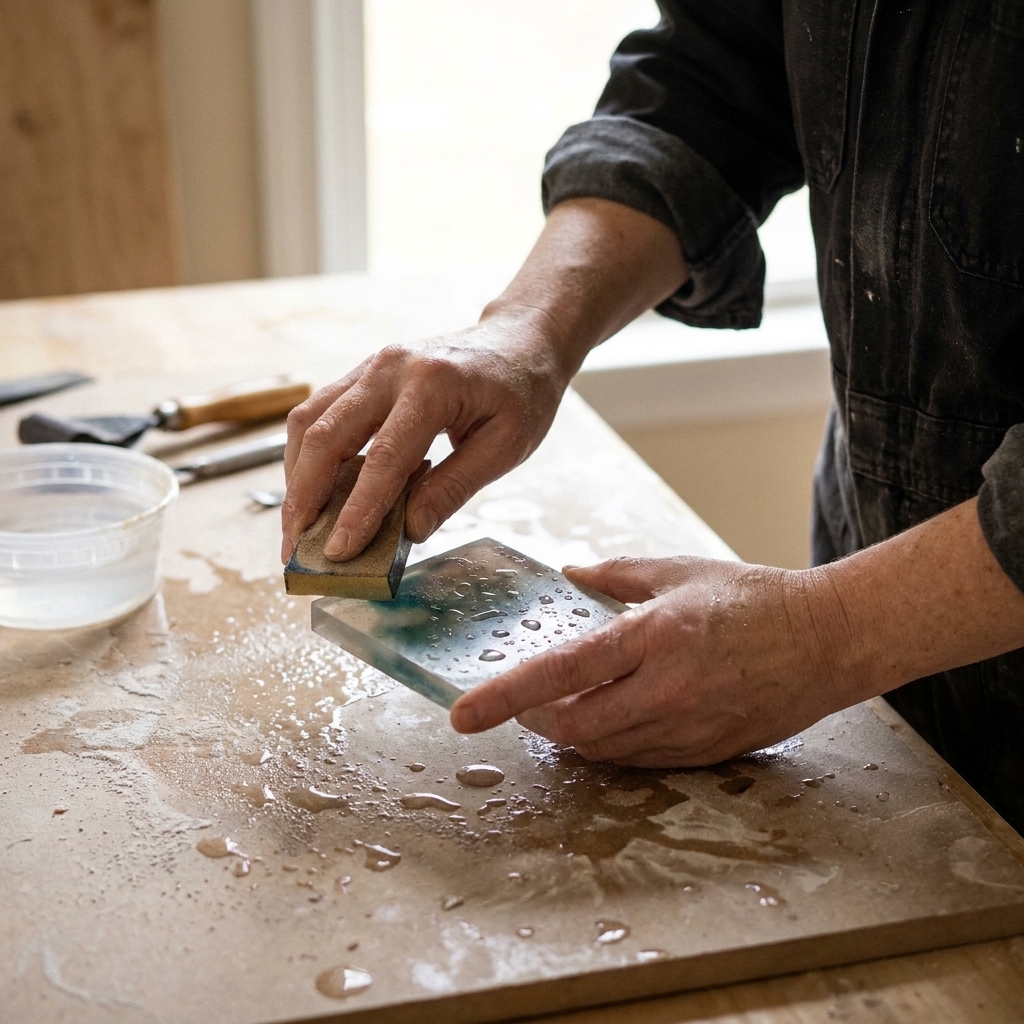
2) Wet your sandpaper
Give wet-dry paper a quick dunk, then keep the surface wet with a spray bottle. A drop of dish soap in your water reduces sticking and makes a smoother sanding feel.
3) Sand evenly with light pressure
- For flat pieces, wrap paper around a sanding block.
- Use small circles or straight passes.
- Keep it wet. You want a milky slurry, not dry dust.
Timing guideline: there is no perfect clock, but most grits take about 1 to 5 minutes per area depending on how deep the scratches are and how large the surface is. The real signal is visual: a consistent scratch pattern with no shiny low spots.
Wipe the piece often to check your work under a bright light.
4) Rotate direction between grits
This is my favorite beginner trick. For example:
- 400 grit: sand left to right
- 600 grit: sand up and down
- 800 grit: left to right again
Changing direction makes it easier to see when the previous grit scratches are gone.
5) Move up through the grits
A common progression:
- 400
- 600
- 800
- 1000
- 1500
- 2000
- 3000 (optional but it makes polishing much faster)
At the end of sanding, your resin will look evenly cloudy, not shiny. That is normal. The clarity comes back during polishing.
How to polish resin clear
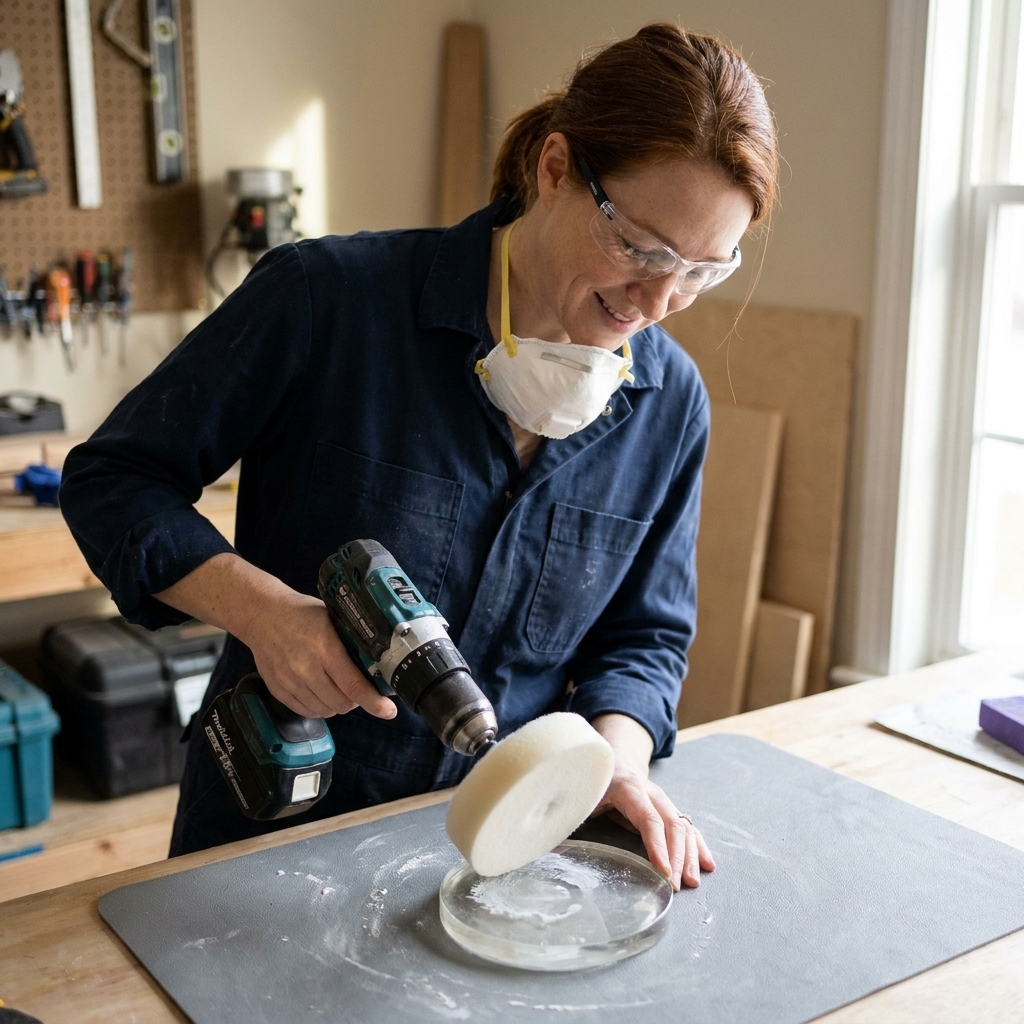
Polishing is basically ultra-fine scratch removal. You can do it by hand for small pieces, but a drill with a foam pad is a real wrist-saver for trays and coasters.
Option A: By hand
- Dry the piece completely.
- Add a pea-sized amount of plastic polish to a microfiber cloth.
- Rub firmly in small circles for 1 to 3 minutes per area.
- Buff with a clean cloth.
- Repeat until the haze is gone.
Option B: With a drill or polisher
- Use a clean foam or microfiber pad.
- Apply a small amount of compound to the pad, not directly to the resin.
- Start at a low speed and keep the pad moving.
- Work in sections, wiping between passes to check clarity.
- Finish with a finer polish for maximum gloss.
Heat warning: Resin can soften if you overheat it while buffing. If the surface feels warm, stop and let it cool. Slow and steady wins here.
Common problems
Still cloudy after polishing
- You likely did not sand fine enough before polishing. Go back to 1000 or 1500, then work up again to 2000 to 3000, then polish.
- Or you skipped a grit and left deeper scratches behind.
- Also check for leftover slurry or compound haze. Wash with mild soap and water, then buff dry.
Deep scratches will not disappear
- Step back down to the grit that can actually remove them, often 400 or 600.
- Sand just until the scratch is gone, then re-run your grit progression.
Edges look white or frosted
- Edges scratch easily because pressure concentrates there. Use lighter pressure and a finer grit.
- Polish edges with a microfiber cloth wrapped around your fingertip, or use a small felt bob at low speed.
Rounded pieces look uneven
- Use a flexible backing (a soft sanding pad) so you do not create flat spots on curves.
- Keep your strokes consistent and avoid digging in with fingertips.
Sanded through a topcoat or hit an inclusion
If you expose an embedded paper item, raw wood, or a boundary line, polishing will not hide that. You may need to add a thin, fresh resin topcoat. If you go that route, mixing accurately and avoiding bubbles makes the new layer blend better. These help: How to Measure and Mix 2-Part Epoxy and Prevent and Remove Micro-Bubbles.
Special situations
Remove sharp edges fast
If a coaster edge feels like it could slice a sweater, I start with 220 to 400 on the edge only, then blend outward with 600 and up. For comfort, a tiny chamfer (a small angled edge) often feels better than trying to keep it perfectly sharp.
Matte or satin on purpose
Not every piece needs high gloss. If you want a modern matte look, sand evenly to 600 to 1000 and stop there. Consistency is the whole look.
Molds and seams
Always sand after demolding. If your mold is leaving a stubborn seam or texture, it may be time for better mold care or a higher quality mold. I keep a full guide here: Silicone Molds for Resin: Choose, Prep, and Care.
Cleanup and disposal
Wet-sanding creates resin slurry. I wipe it up with paper towels and throw them in the trash, but I like to let the slurry dry completely first so I am not bagging a soggy mess. I do not rinse heavy slurry down the sink. If you are dealing with uncured drips or cups, follow the safer cleanup steps here: How to Clean Up Uncured Resin and Dispose of Epoxy Waste Safely.
Quick checklist
- Confirm the resin is fully cured (follow your product’s cure times)
- Wet-sand starting at the lowest grit needed
- Work up grits without skipping (400, 600, 800, 1000, 1500, 2000, 3000)
- Wipe and check between grits under good light
- Polish with plastic polish or compound plus finishing polish
- Keep buffing pads moving to avoid heat
FAQ
Do I have to wet-sand epoxy resin?
You can dry-sand, but wet-sanding keeps dust down and generally gives a more controlled scratch pattern. If you do dry-sand, wear a respirator and vacuum dust carefully.
What grit makes resin clear again?
Sanding alone does not make resin clear. Sanding makes scratches progressively finer. Polishing is what restores clarity. That said, sanding to 2000 to 3000 grit makes polishing dramatically easier.
Can I use a Magic Eraser on resin?
I do not recommend it for clarity. It is a micro-abrasive and can create a fine, uniform haze that then needs polishing anyway. Proper wet-dry paper gives you more predictable results.
Why is my resin surface dull even after polishing?
Usually it is one of three things: leftover deeper scratches from a skipped grit, compound haze that needs a finer polish, or heat marks from buffing too aggressively. Step back one stage and work forward again.
If you want, tell me what you are finishing (coaster, tray, jewelry, shaker charm) and whether it is flat or domed. I can suggest a starting grit and a grit progression that matches the damage without creating extra work.