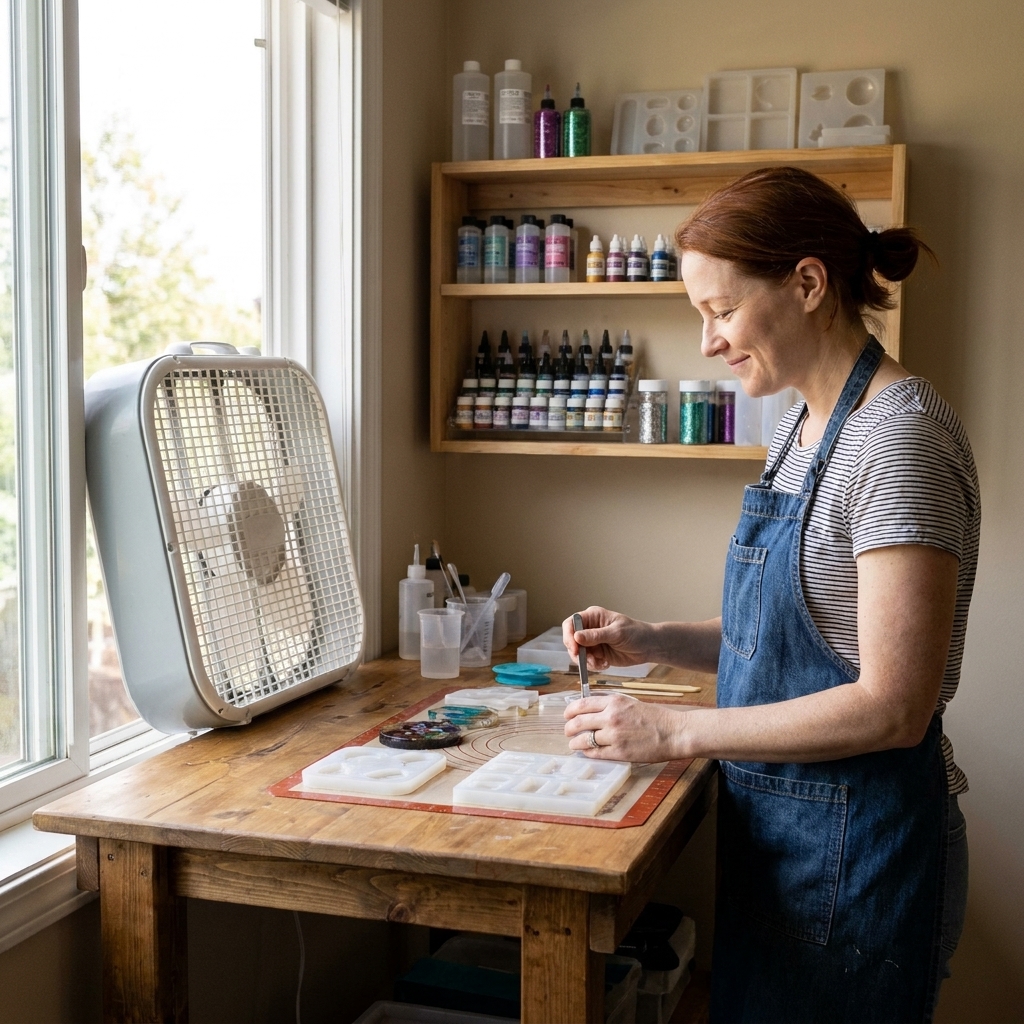
Learn how to create a safe, well-ventilated resin workspace at home—room choice, window exhaust airflow, PPE essentials, surface protection, storage, and dus...
Best Mats and Coverings for Resin Spills

Ruby Fletcher
Ruby Fletcher is a dedicated resin crafter with years of hands-on experience pouring, molding, and creating custom epoxy art. After turning her dining room into a makeshift studio, she developed a passion for helping beginners navigate the sticky, colorful world of resin with confidence. She loves sharing practical tutorials, troubleshooting tips, and essential safety guides to make epoxy crafting accessible for everyone.
Published · Last updated
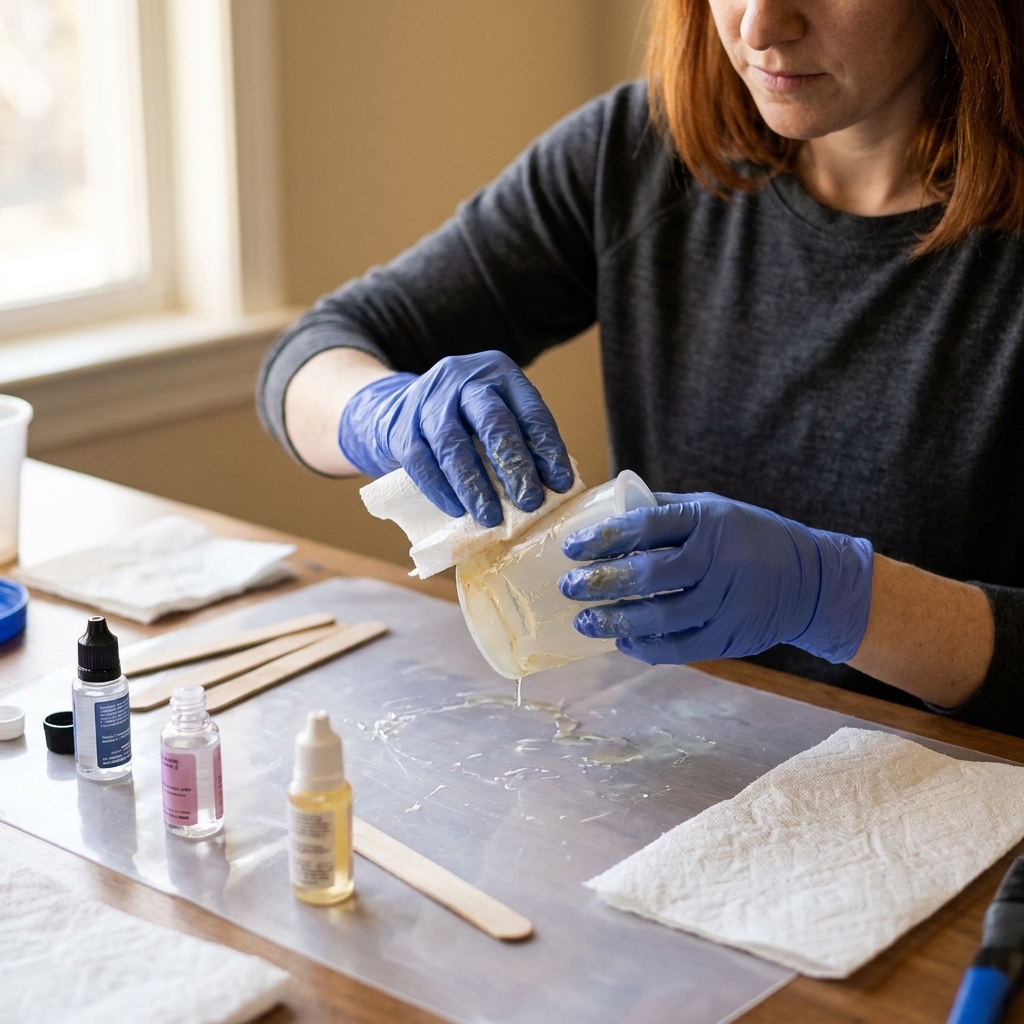
The first time I spilled resin on my dining room table, I did the classic beginner thing: I froze, stared at it, and then tried to wipe it up with a paper towel. Spoiler: epoxy does not respect paper towels. That was the day I learned that a good table covering is not a “nice to have”. It is part of your safety and sanity setup.
Whether you are pouring coasters, doming jewelry, or doing a full glittery river-table style experiment (on a much smaller scale, hopefully), these are the best mats and barriers I have found for protecting your work surface from permanent epoxy damage.
What resin does to tables
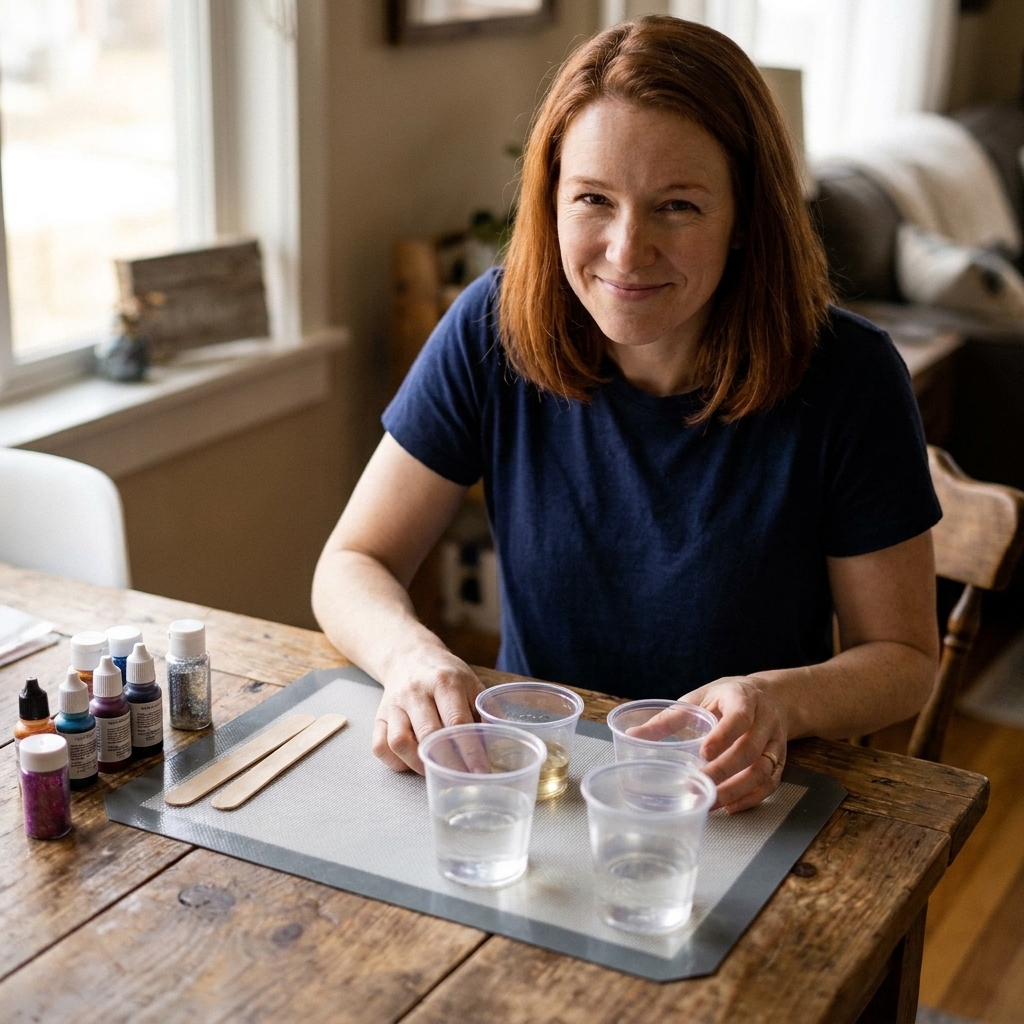
Uncured resin is sticky and reactive. It can irritate skin, seep into porous surfaces, bond to finishes, and cure into a hard plastic patch that is basically glued to your furniture. Even if you catch a spill quickly, wiping can spread it into a thin film that cures like a clear varnish in all the wrong places.
Your goal is to create a work surface that is:
- Non-porous so resin cannot soak in
- Low-stick so cured drips can be lifted off later
- Stable and flat so pieces cure level
- Easy to clean without panic-scrubbing
If you are still building your overall setup, start with Getting Started & Safety, and if you are pouring indoors, read Set Up a Safe, Ventilated Resin Workspace at Home.
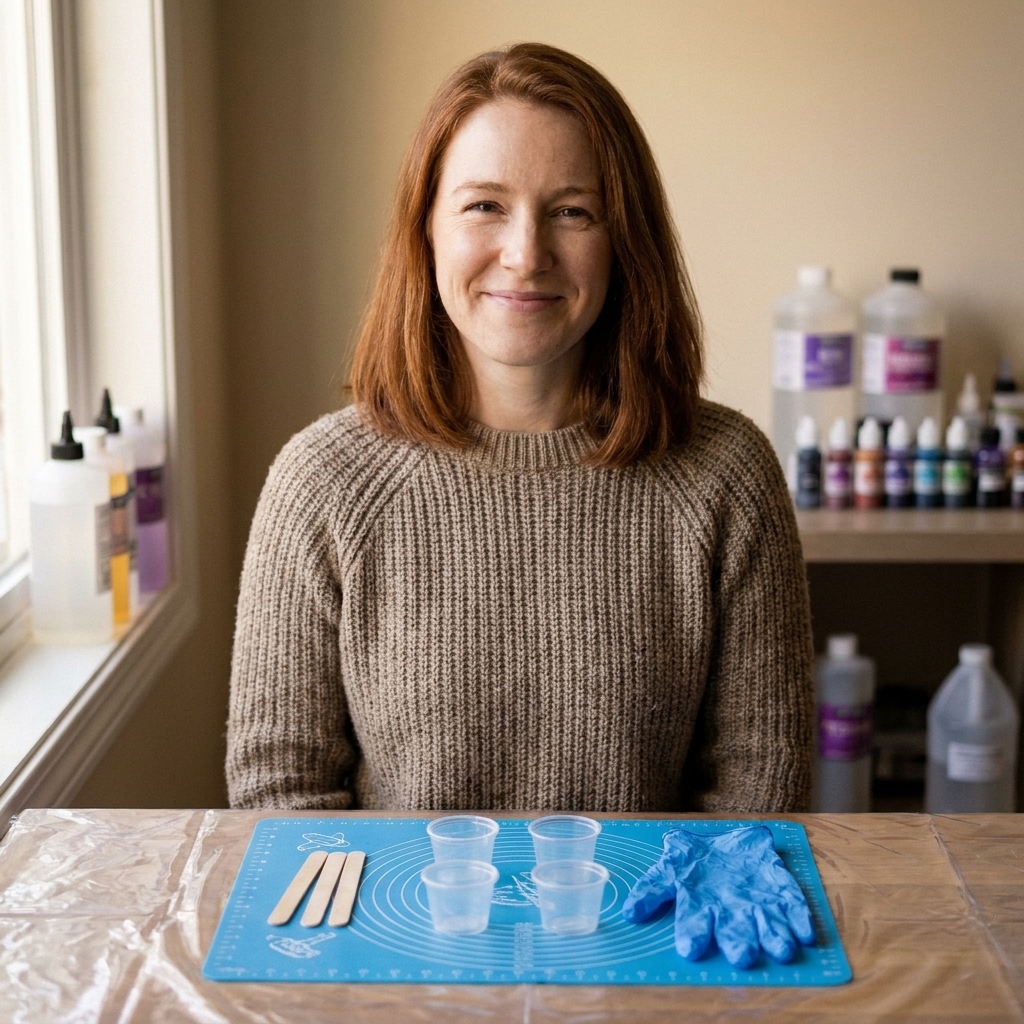
Silicone mats
If I could only choose one protection layer, it would be a thick silicone mat. Silicone often releases cured resin well, which means you can usually peel drips and puddles right off after they harden. Two quick reality checks from my own trial and error: very thin films can be harder to lift, and not all mats are created equal. A thicker, smoother mat tends to behave better.
What to look for
- Thickness: Thicker mats lay flatter and resist rippling. Thin silicone can curl at the edges and create annoying uneven spots under your molds.
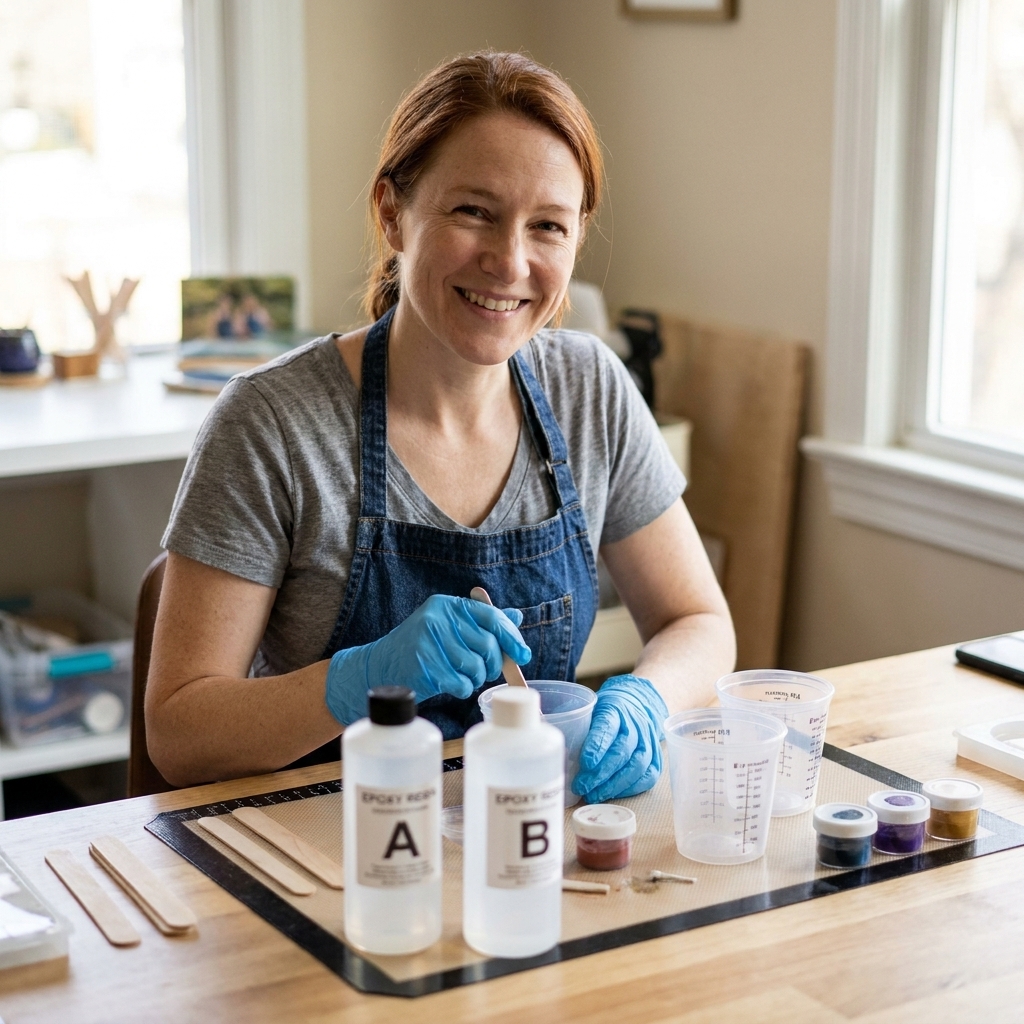
- Size: Pick one that gives you room for your mixing area plus your curing area. I like having space for a silicone mixing cup, stir sticks, gloves, and a little “oops zone” for sticky tools.
- Heat tolerance: Resin can warm up as it cures, especially if you mix a large batch in one cup. Most craft silicone is fine for normal, small-batch use, but very thin mats can warp and spills can run faster than you expect if the mat is flimsy.
- Raised edge (optional): Some mats have a small lip. It is not required, but it can help contain a runaway spill.
How I use them
I keep one silicone mat as my permanent “mixing station” and another as my “cure zone”. Mixing is where the mess happens. Curing is where you set things down and accidentally bump them. Separating the two keeps chaos lower.
Pro tip: put a firm board or tray under your mat if your table has texture, seams, or soft spots. A flat base helps everything cure level, and it also protects heat-sensitive finishes.
Cleaning a silicone mat
- Let resin cure when possible, then peel it off. This is the least smearing and the least frustrating.
- For uncured resin, scrape excess into a waste cup first, then wipe with disposable towels.
- Follow safe cleanup guidance so you are not spreading resin residue around your home. My full routine is here: How to Clean Up Uncured Resin and Dispose of Epoxy Waste Safely.
Plastic sheeting
Plastic sheeting is the fastest way to protect a large area, especially if you are temporarily taking over a kitchen table or you need to cover an entire floor under your workspace. The tradeoff is that plastic can wrinkle or slide, and those little ridges and air pockets can make molds wobble.
Best uses
- Covering big surfaces quickly
- Protecting carpet or flooring under your table
- Shielding nearby furniture from splashes if you are sanding or trimming cured resin
How to make it work
- Go thicker than you think. Very thin plastic tears easily and bunches up.
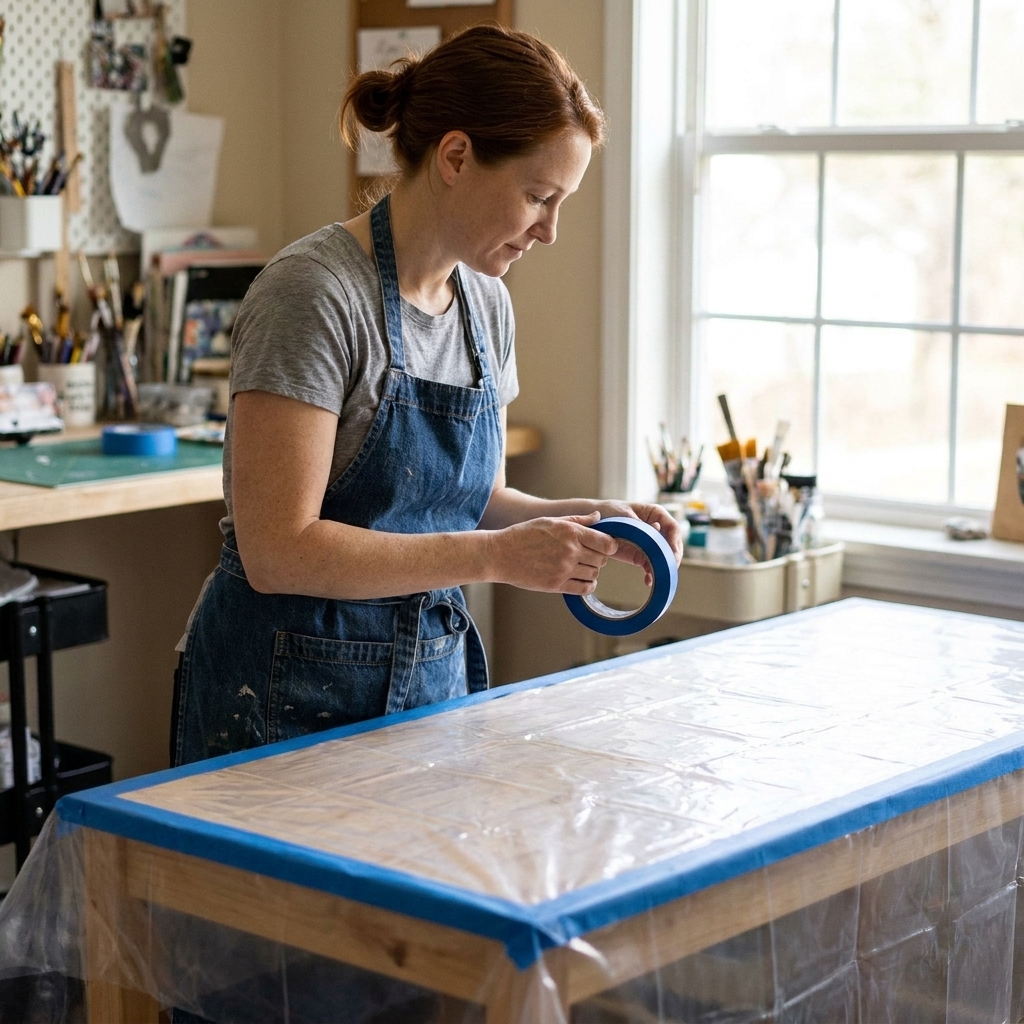
- Tape it down on all sides so it does not creep while you work.
- Add a rigid, flat layer on top for your actual crafting surface. A silicone mat over plastic is a really solid combo.
Disposable barriers
Disposable coverings are perfect for messy sessions, quick projects, or when you are teaching a friend and you know things are going to get sticky. They are also handy for protecting areas around your silicone mat, like where you set gloves down or open pigment jars.
Options that work well
- Freezer paper: The coated side resists resin better than plain paper. Great for small work areas.
- Parchment paper: This can work too (it is designed to be non-stick), but it is thin and tends to wrinkle. I treat it as a light-duty, short-session option.
- Kraft paper roll: Good for big coverage, but resin can soak through if it is thin. I only use it as a top layer over plastic.
- Cardboard: Fine under a silicone mat or as a temporary “tool parking” area. Resin can bond to it, so treat it as truly disposable.
Options I avoid
- Newspaper: Ink transfer is real, and it tears easily.
- Paper towels as a surface cover: They stick, wrinkle, and basically invite resin to grab on.
- Fabric tablecloths or towels: Resin soaks in and cures into the fibers. You will not “wash it out”.
Rigid boards and trays
This is the unsung hero layer, especially if you craft on a nice table. A rigid, sacrificial surface gives you flatness and a buffer between resin heat and your furniture finish.
- Melamine or laminated boards: Smooth, flat, and easy to wipe (still use a silicone mat for mixing).
- Sealed MDF or plywood: Only if it is properly sealed. Raw wood is a resin sponge.
- Tile board or a cheap tray: Great as a portable “resin station” you can move without flexing the table beneath.
I still put a silicone mat on top, but the board underneath keeps everything level and makes the whole setup feel less precarious.
Vinyl and wipeable covers
Wipeable table covers seem like the perfect answer, but epoxy can still bond to some vinyls and plastics, especially if there is texture. If you already own one and want to use it, think of it as a secondary shield, not your only protection.
If you go this route:
- Test a small cured drip in a corner first to see if it peels cleanly.
- Use a silicone mat on top for mixing and messy steps.
- Do not rely on wiping uncured resin off and calling it good. You can smear a sticky residue that stays tacky.
Layering setups
Beginner, small projects
- Silicone mat
- Disposable paper around the mat for tool parking
Dining room table takeover
- Plastic sheeting taped down
- Rigid board or tray on top (for flatness and finish protection)
- Silicone mat on top of that (for easier cleanup)
High-mess sessions
- Plastic sheeting for wide coverage
- Silicone mat in the center
- Disposable paper near pigment area so you can bundle it up and toss it when done
If you mix hot or large batches
- Use smaller batches when you can, since big mixes can heat up fast.
- Choose a deeper “spill-friendly” setup (plastic plus rigid board plus silicone) so you are not relying on one thin mat to save the day.
Protect the spill zone
Most resin messes happen next to the table, not on it. Think: sticky gloves touching chair backs, drips on drawer pulls, cups carried across the room. I like to set up a little perimeter plan:
- Floor protection: Plastic sheeting or a dedicated easy-clean floor mat under your chair and table edge.
- Tool tray: A small silicone tray or shallow box lid lined with plastic for stir sticks and pipettes.
- Dedicated curing spot: Somewhere you will not brush with a sleeve. If you need curing guidance, Ideal Temperature and Humidity for Epoxy Resin Curing is worth a read.
Quick safety reminders
Table protection and personal safety go together. If you are working with epoxy, set yourself up so you are not touching resin more than necessary.
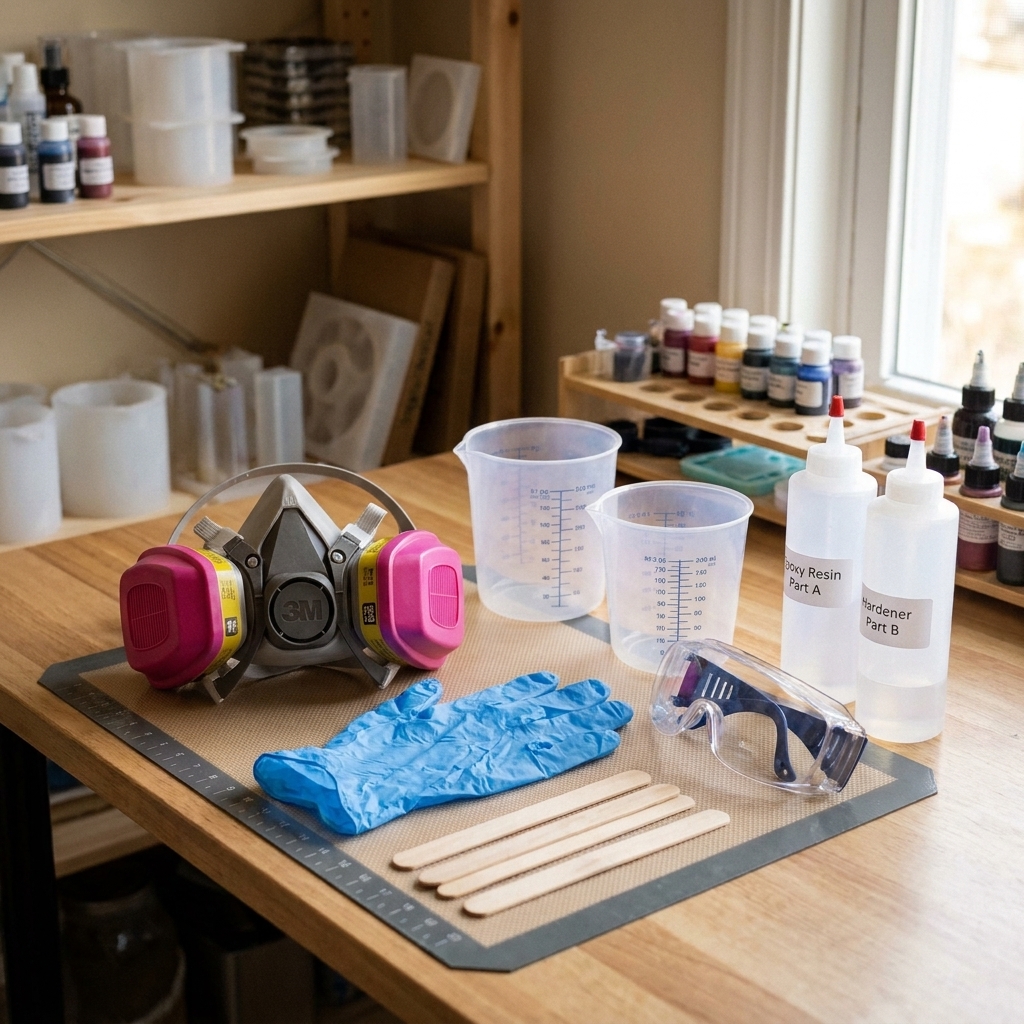
- Wear gloves and eye protection. Here is my gear rundown: Resin Safety Gear: Respirators, Gloves, and Eye Protection.
- If you do get resin on your skin, do not scrub with harsh solvents. Use the safe method here: Epoxy Resin on Skin: Removal and Prevention.
- Mix accurately so you are not dealing with sticky, half-cured messes that cling to everything. This guide helps: How to Measure and Mix 2-Part Epoxy Resin.
FAQ
Can cured resin be removed from a table?
Sometimes, yes, but it depends on the surface. On sealed plastic or glass you might be able to pop it off with gentle prying. On wood, laminate, and many finishes, cured resin can pull up the finish or leave a scar. It is one of those situations where prevention is dramatically cheaper than repair.
Is parchment paper good for resin?
It can be. Parchment is often non-stick enough for small drips, but it is thin and tends to wrinkle. If I want a disposable sheet that stays flatter, I usually reach for freezer paper (coated side up).
Do I still need a mat if I use silicone molds?
Yes. Molds leak, mixing cups drip, and you will eventually set down a sticky stir stick without thinking. A mat catches the accidents you do not see coming.
What if my resin cures sticky and makes the mess worse?
Tacky resin is more likely to smear and cling to coverings, tools, and gloves. If you suspect your batch is not curing right, troubleshoot first using 8 Reasons Your Epoxy Resin Is Sticky or Soft (and How to Fix It).
Simple recommendation
If you want the most beginner-friendly setup: start with a thick silicone mat for your main work area, then add plastic sheeting underneath if you need extra coverage or you are working on a precious table. Add a rigid board or tray if your surface is uneven or you want extra protection for your furniture finish. Keep a disposable layer nearby for tool parking and pigment mess, and you will save yourself so many cleanup battles.