Turn cloudy, scratched resin into a clear, glass-like shine. Follow a simple wet-sanding grit progression, then polish safely to remove haze, seams, and shar...
How to Drill Cured Resin and Attach Eye Pins

Ruby Fletcher
Ruby Fletcher is a dedicated resin crafter with years of hands-on experience pouring, molding, and creating custom epoxy art. After turning her dining room into a makeshift studio, she developed a passion for helping beginners navigate the sticky, colorful world of resin with confidence. She loves sharing practical tutorials, troubleshooting tips, and essential safety guides to make epoxy crafting accessible for everyone.
Published
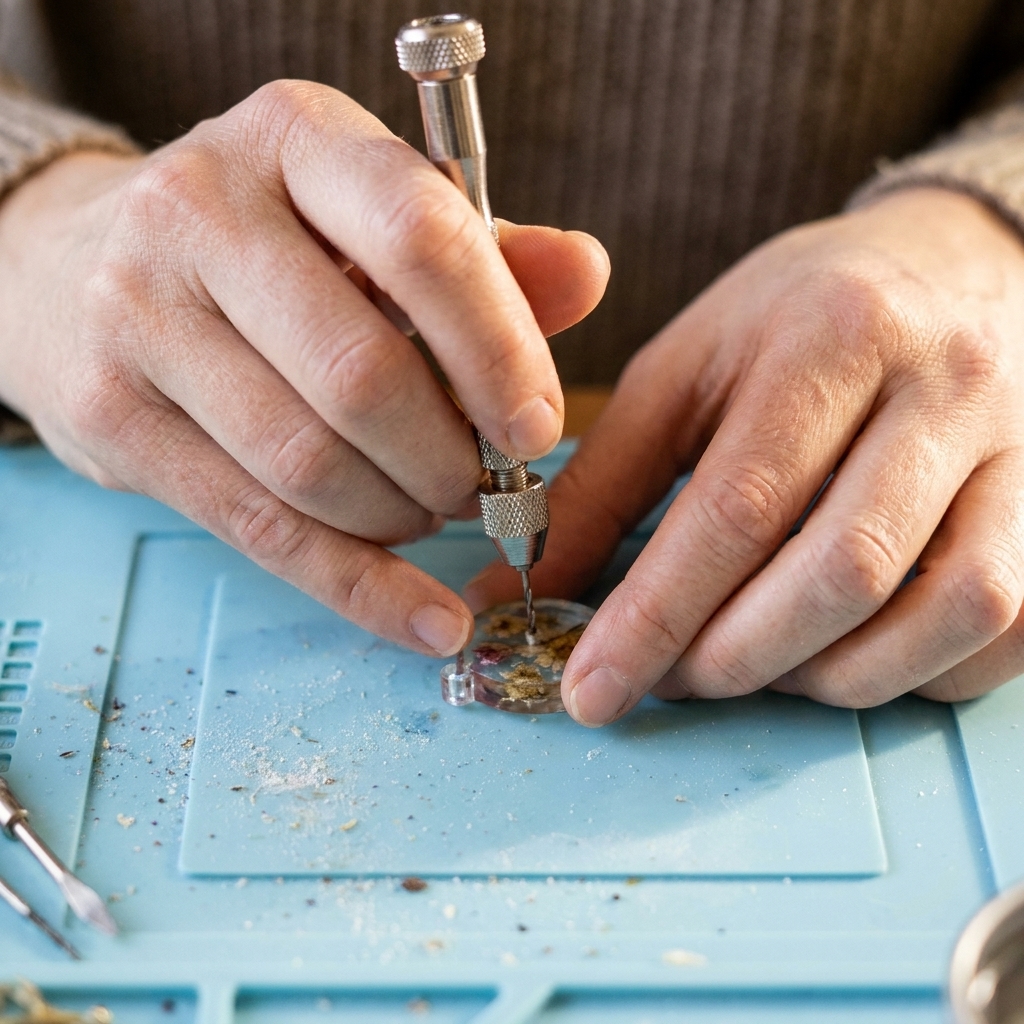
The first time I tried to turn a cured resin charm into a necklace, I grabbed a regular drill, held the piece between my fingers, and went for it. The bit caught, the charm spun, and I learned two important things in about half a second: resin is slippery, and cured epoxy can crack like glass if you bully it.
The good news is that drilling cured resin is totally beginner-friendly once you use the right tool, the right bit, and a steady technique. In this guide, I will walk you through clean holes, safer handling, and the simplest ways to attach eye pins, screw eyes, jump rings, and necklace or keychain hardware.
Safety first (resin dust is not confetti)
When you drill resin, you create fine dust. Even if your piece looks perfectly cured, you do not want that dust in your lungs or eyes.
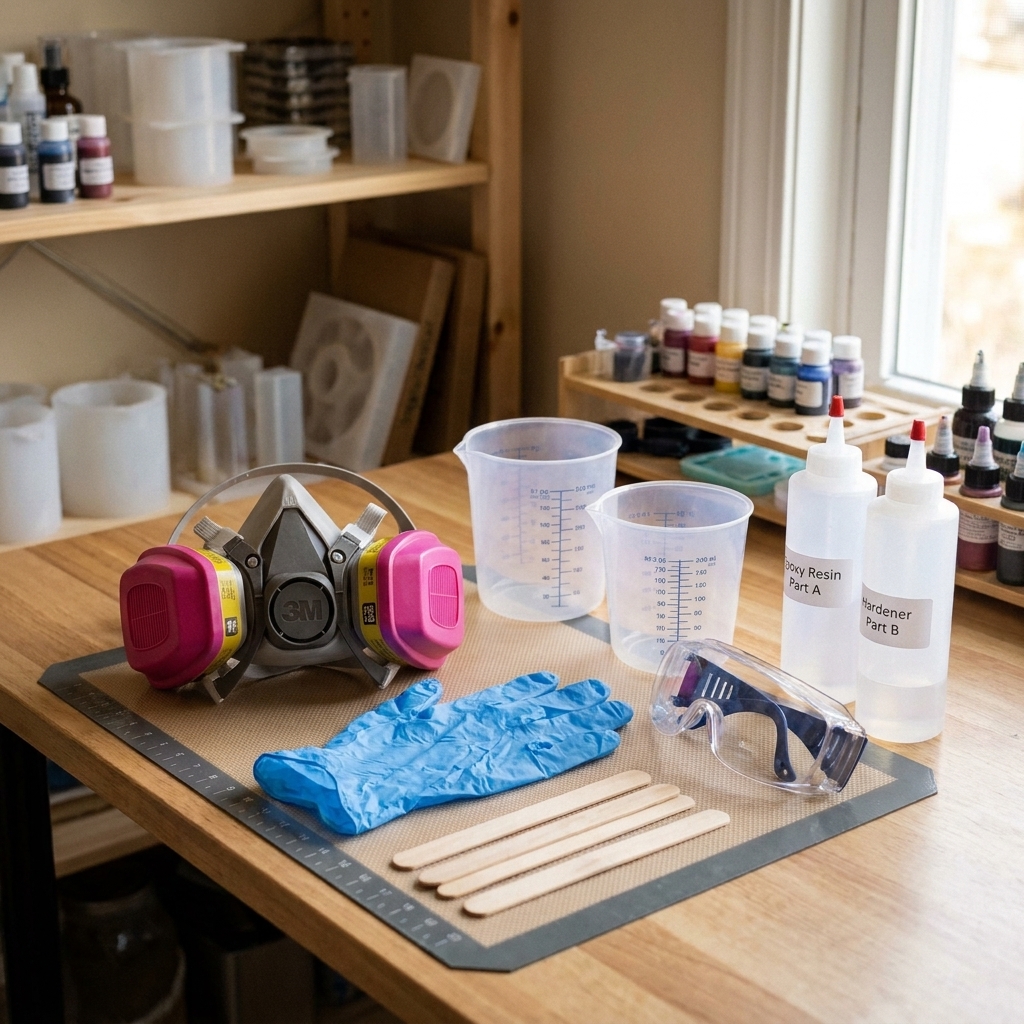
- Wear particulate protection: a particulate-rated respirator or mask (like N95 or P100) plus eye protection. My full safety routine is here: /resin-safety-gear-respirators-gloves-and-eye-protection/.
- Work in a ventilated space and keep your surface easy to wipe down. If you need a setup refresh, see set-up-a-safe-ventilated-resin-workspace-at-home/.
- Control dust: drill over a damp paper towel, or use a tiny bit of water on the drilling spot (more on wet drilling below).
- Keep fingers away from the bit. Clamp or tape your piece down instead of hand-holding it.
If you are ever unsure whether a piece is fully cured before you drill, troubleshoot tackiness first. A soft center can grab a bit and tear: /8-reasons-your-epoxy-resin-is-sticky-or-soft-and-how-to-fix-it/.
Choose the right drilling tool
Pin vise (hand drill)
This is my top pick for resin jewelry. A pin vise is slow by nature, which is exactly what resin likes. It is also quiet, cheap, and easy to control.
- Best for: small charms, earrings, thin pendants, keychains
- Why it works: low speed means less heat and less cracking
Rotary tool (Dremel-style) with a flex shaft
Useful when you drill lots of pieces or need bigger holes, but it is easier to melt or chip resin if you go too fast. If you use one, use the lowest speed, let the bit do the cutting, and keep a very light touch.
- Best for: batches, thicker resin blocks, larger hardware holes
- Watch out for: heat buildup, bit wandering, blowout on the back side
Micro hand drill (twist drill or mini chuck)
Another solid option, similar to a pin vise. Just make sure it can hold very small bits securely.
Best drill bits for cured resin
Resin drills cleanest with sharp bits that clear dust well. Dull bits are one of the most common reasons holes look cloudy, chipped, or stressed.
- HSS twist bits (high-speed steel): Great all-purpose choice for resin charms.
- Brad-point bits (optional upgrade): These can start cleaner with less skating, especially on glossy surfaces. Go gently, since they can bite fast.
- Micro bits (about 0.8 mm to 1.5 mm): Perfect for jump rings and eye pins.
- Step up in size gradually: For bigger holes, drill a small pilot hole first, then enlarge.
If you are unsure what size you need, match your bit to your hardware:
- For a jump ring through a hole: choose a bit slightly larger than the ring wire thickness.
- For an eye pin glued into a hole: choose a bit close to the eye pin wire diameter so it fits snugly.
- For a screw eye: choose a bit slightly smaller than the screw shaft (not the threads) for grip.
Prep your resin piece so it does not crack
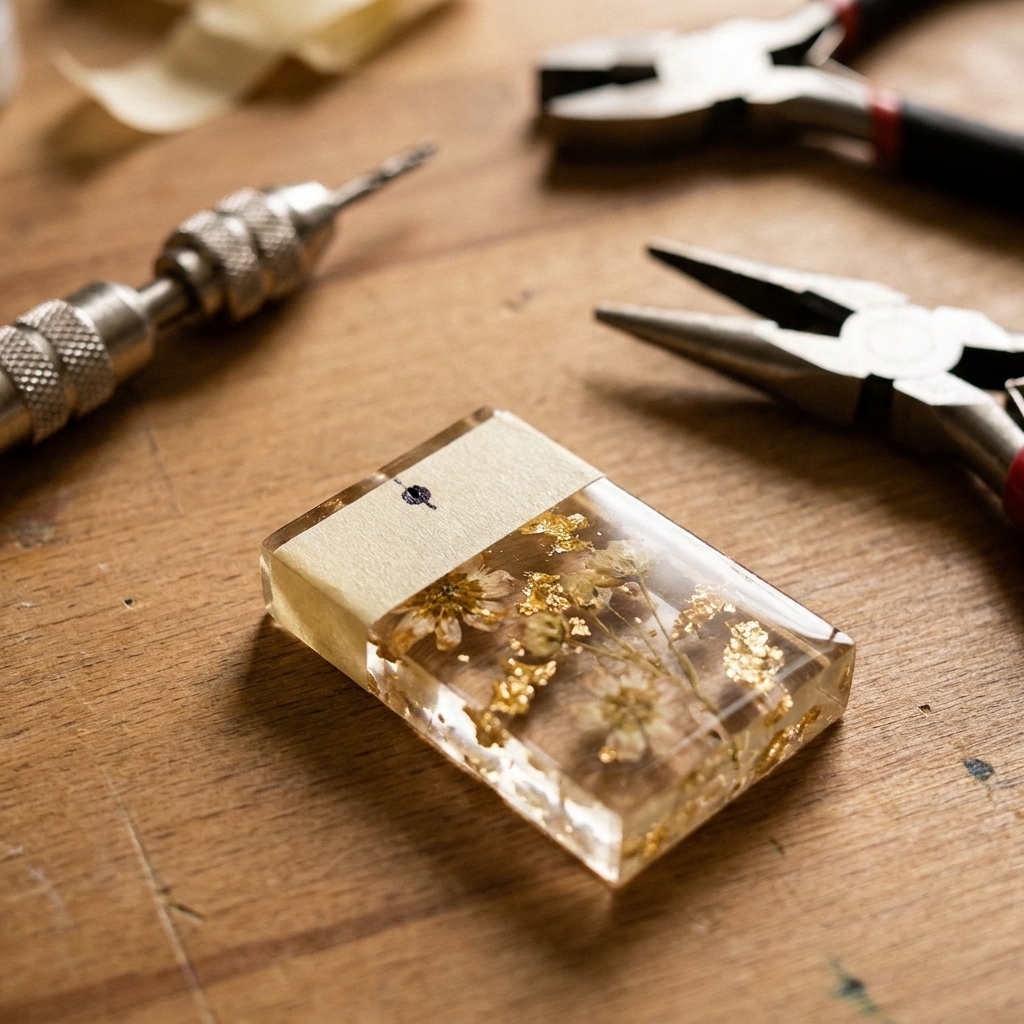
- Confirm it is fully cured. If it still feels flexible, give it more time in the right environment. Temperature and humidity really matter: /ideal-temperature-and-humidity-for-epoxy-resin-curing/.
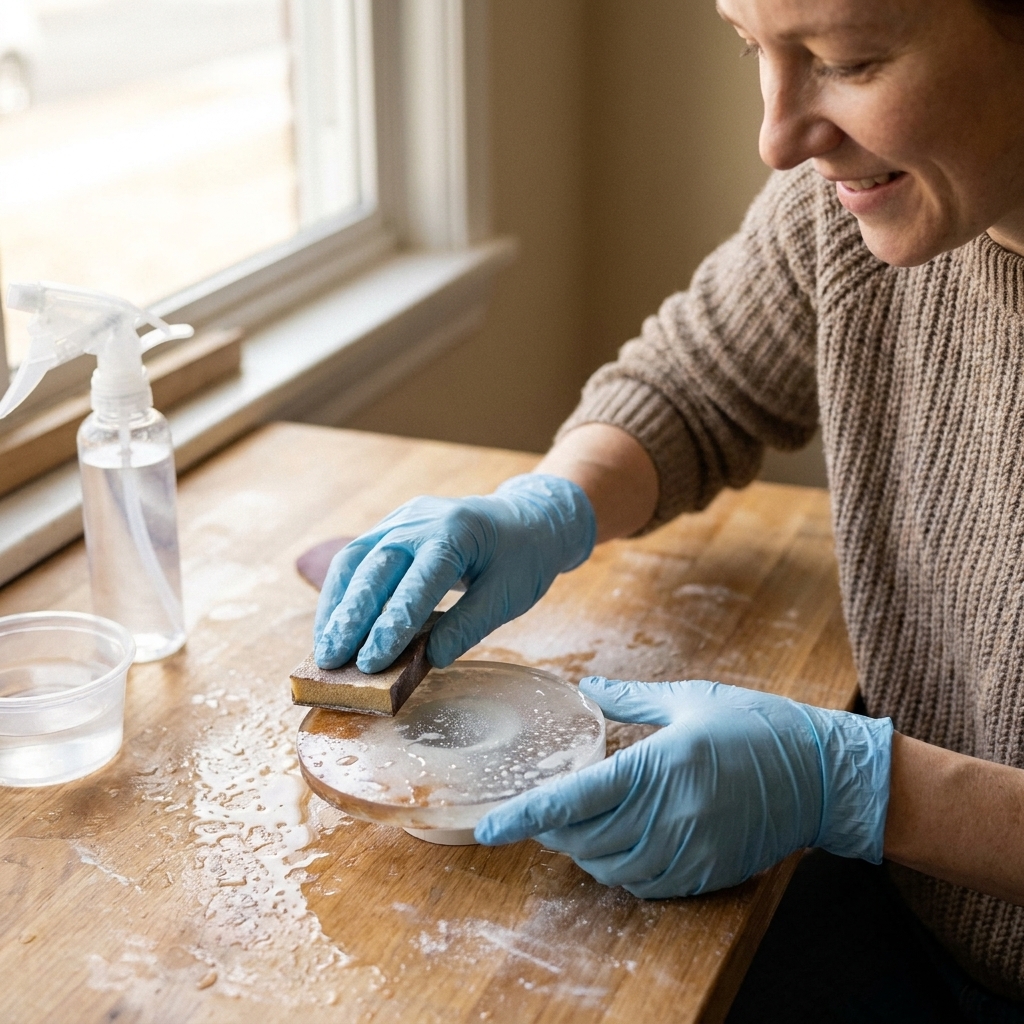
- Sand and flatten the drilling spot if it is domed or uneven. A flat entry point helps the bit bite without skating. Sanding tips here: /how-to-sand-and-polish-epoxy-resin/.
- Add masking tape on both sides where you will drill. Tape helps prevent chipping and gives you an easy place to mark your dot.
- Mark the hole location with a fine marker or an awl. Keep the hole at least 2 to 3 mm from the edge on thin pieces to reduce cracking.
- Use a firm backer under your piece: scrap wood, thick acrylic, or a dense cutting board. A firm sacrificial backer supports the exit side so you get less blowout.
Quick note on resin type: UV resin and some fast-cure formulas can be more brittle than 2-part epoxy, so I use extra support, lighter pressure, and more patience when drilling UV pieces. If you are deciding between them for jewelry, see /uv-resin-vs-2-part-epoxy-what-beginners-should-choose/.
How to drill a clean hole in cured resin
- Secure the piece. My go-to is painter's tape to hold it to a scrap board. A small clamp works too, just do not crush thin resin.
- Start with a pilot hole. Use a small bit first, especially if your final hole needs to be bigger than about 1.5 mm.
- Hold the bit upright. Resin will happily let a bit wander and come out the side if you tilt.
- Use gentle pressure and steady turns. With a pin vise, turn a few rotations, then back out to clear dust.
- Pause to cool. If the bit feels warm, stop for 10 to 20 seconds. Heat is what causes melting, gumming, and stress cracks.
- Ease up at breakthrough. The last moment is when chips happen. Reduce pressure right before you exit the back side.
- Enlarge if needed. Swap to the next bit size up and repeat.
Ruby tip: If your resin is prone to micro-chipping, try wet drilling. Put the piece on a damp paper towel and add one drop of water on the drilling spot. It keeps dust down and helps the bit run cooler. Keep water light and on the workpiece only. Avoid soaking porous inclusions (like wood) and keep moisture away from hardware that could rust. If you use a rotary tool, be extra cautious so water does not get near the tool or power source. Dry the piece thoroughly afterward, especially before gluing.
Fix a chipped hole or rough edges
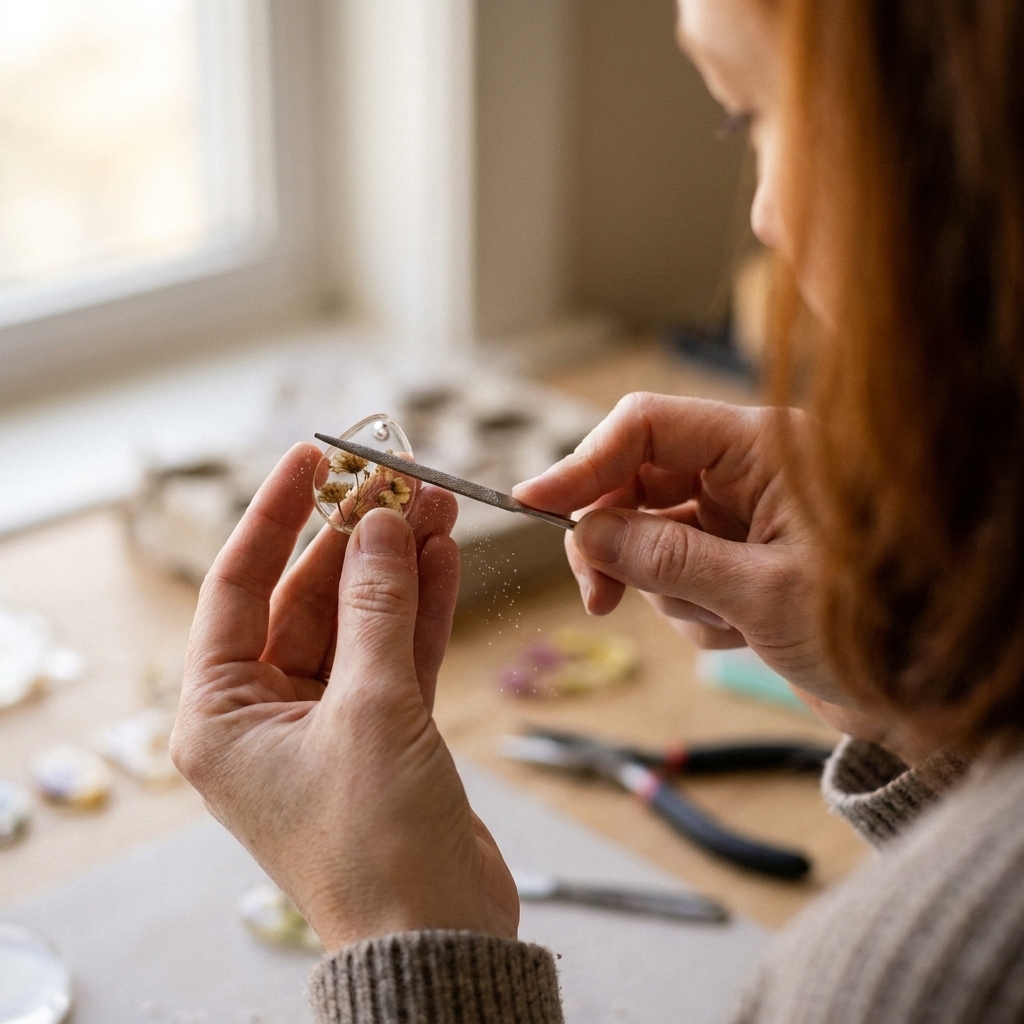
- Deburr the hole with a round needle file, a micro reamer, or even a rolled-up bit of sandpaper.
- Quick chamfer trick: twist a slightly larger drill bit by hand (no power) once or twice to lightly bevel the edge. This can reduce future chipping, but go easy so you do not widen the hole too much.
- Sand the entry and exit lightly with fine grit paper to remove white stress marks.
- Optional shine fix: After sanding, you can re-polish. My full polishing routine is here: /how-to-sand-and-polish-epoxy-resin/.
- For severe blowout: Re-drill slightly larger, then use a larger jump ring or add a small bead cap to disguise the area.
If you drilled the wrong spot
It happens. If the hole is obviously off, you have two beginner-friendly fixes:
- Shift the design: sometimes you can slightly enlarge the hole and use a bigger jump ring, bead cap, or bail to visually center it.
- Fill and re-drill: add a tiny amount of resin into the hole, cure it fully, then re-drill in the right spot. Color matching can be tricky if your piece is tinted or has inclusions, so I treat this as a structural fix first and a cosmetic fix second.
Attaching hardware: eye pins, screw eyes, and jump rings
There are a few common ways to turn a drilled resin piece into jewelry. Which one you choose depends on the charm thickness and how much stress the piece will take.
Option 1: Jump ring through a drilled hole
This is my default for pendants and keychains because you are not relying on glue alone.
- Drill a hole near the top of the charm.
- Open a jump ring by twisting sideways (not pulling it apart).
- Slide the ring through the hole.
- Add your chain, keychain clasp, or ear wire.
- Close the ring by twisting back until the ends meet cleanly.
Option 2: Eye pin glued into a drilled hole
This method looks sleek, especially on resin beads or teardrops where you want the hole hidden.
- Drill a hole centered at the top of your piece. Depth matters: go as deep as your design allows (often 5 to 8 mm on larger beads and drops).
- Scuff the part of the eye pin that will be inside the resin with fine sandpaper for better grip.
- Clean out dust from the hole. A toothpick and a puff of air work well.
- Add a tiny amount of two-part epoxy glue or thick gel super glue into the hole.
- Insert the eye pin and keep it upright while it sets.
When to avoid this: keychains that get yanked around, or very heavy pendants. Glue-only connections can fail over time with torque.
Option 3: Screw eye into a pilot hole
If you make keychains, screw eyes are the workhorse. The threads give you mechanical grip, and you can still add a dab of adhesive for extra security.
- Drill a small pilot hole slightly smaller than the screw eye shaft.
- Optional: add one small drop of two-part epoxy glue into the hole.
- Twist the screw eye in slowly. Stop when the base sits flush.
- Let any adhesive fully cure before attaching a split ring and clasp.
Note: If your resin is thin, a screw eye can split it. In that case, switch to a through-hole with a jump ring.
How to place holes so jewelry hangs nicely
- Centered top hole: Best for symmetrical shapes and anything you want to hang straight.
- Two holes: Great for connector-style pieces (bracelets, chandelier earrings). Measure carefully so both holes sit at the same height.
- Offset hole: Fun for asymmetrical charms, but test hang it before you commit. I will often tape a jump ring temporarily and hold it up to see the angle.
Troubleshooting common drilling problems
The bit skates across the surface
- Add masking tape and mark a clear dot.
- Use a sharp, smaller bit to start a pilot hole.
- Lightly sand the drilling spot flat if it is domed or glossy.
The resin cracks while drilling
- You might be too close to the edge. Move inward or thicken the design next pour.
- Reduce pressure and slow the tool down.
- Check cure. Resin that is not fully cured can behave unpredictably under a bit.
The hole looks cloudy or white
- Heat or stress. Use a lighter touch and clear dust often.
- Light sanding around the hole can remove the whitened edge, then re-polish.
The back side chips out when the bit exits
- Tape the back side and support it with a firm sacrificial backer.
- Ease up pressure right before breakthrough.
- Try drilling halfway from one side, then flipping and finishing from the other using the pilot hole as your guide.
My quick clean hole checklist
- Fully cured resin
- Masking tape on both sides
- Piece secured to a flat, firm backer
- Sharp bit, start small
- Steady drilling, back out to clear dust
- Light pressure at breakthrough
- Deburr and sand lightly if needed
Related Resin Whirl guides
- Resin Jewelry Making (more jewelry techniques and finishing tips)
- Silicone molds for resin: choose, prep, and care
- How to dome resin on jewelry and small crafts
- How to clean up uncured resin and dispose of epoxy waste safely