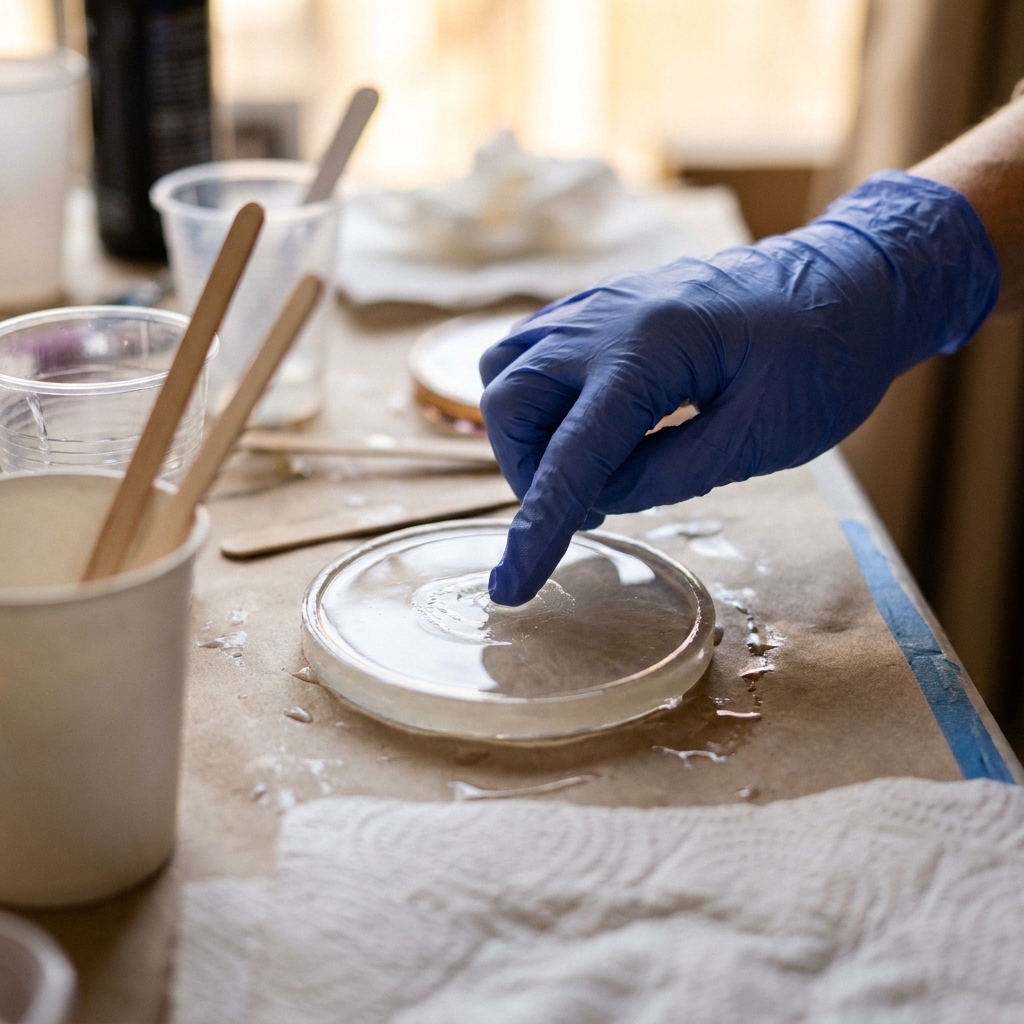
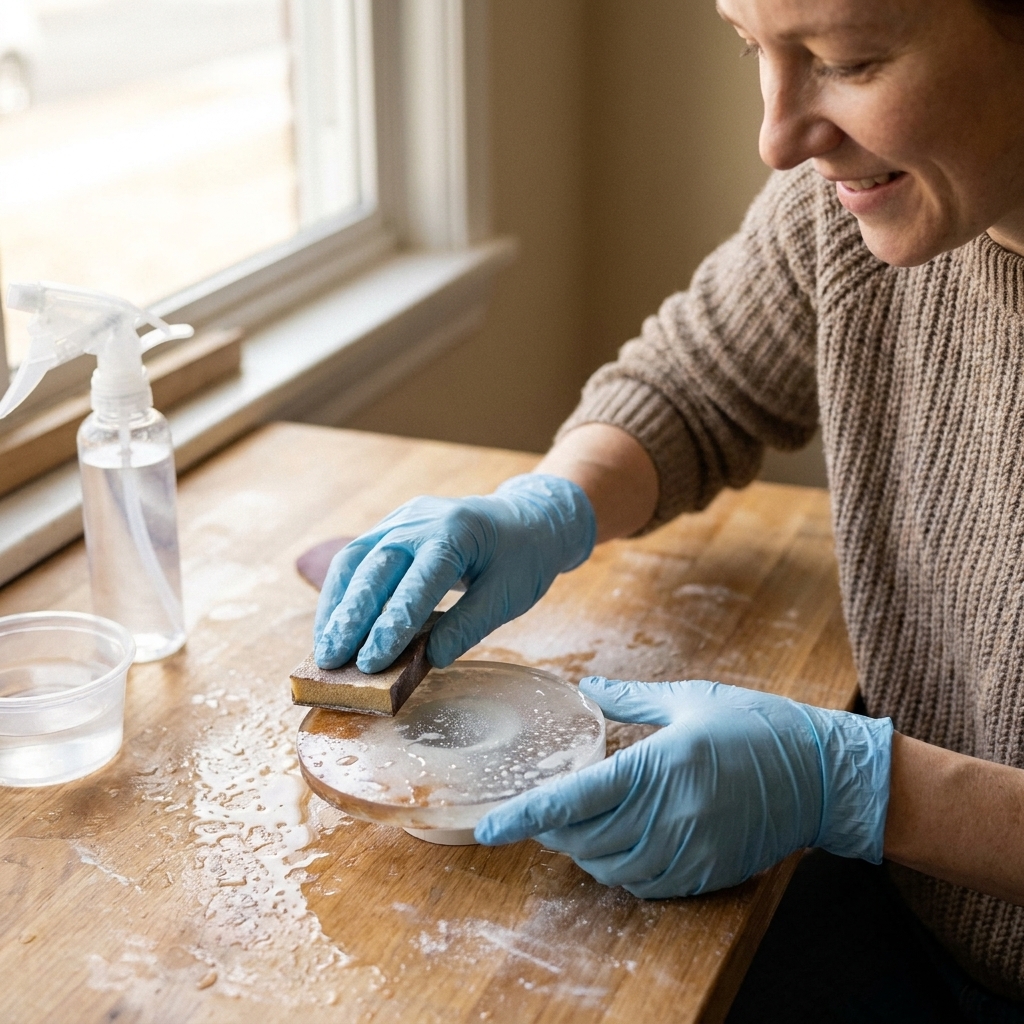
Stop tacky, uncured epoxy. Follow this step-by-step mixing method: confirm ratios, measure by volume or weight, stir slowly while scraping, then do a two-cup...
How to Dome Resin on Jewelry and Small Crafts

Ruby Fletcher
Ruby Fletcher is a dedicated resin crafter with years of hands-on experience pouring, molding, and creating custom epoxy art. After turning her dining room into a makeshift studio, she developed a passion for helping beginners navigate the sticky, colorful world of resin with confidence. She loves sharing practical tutorials, troubleshooting tips, and essential safety guides to make epoxy crafting accessible for everyone.
Published
The first time I tried doming resin, I treated it like icing a cupcake. I piled it on, admired the shine for about eight seconds, then watched it slowly creep right over the edge and drip onto my dining table. Doming looks like magic when it works, but it is really just surface tension plus good prep.
In this guide, I will show you how I dome flat resin jewelry and small crafts so the top looks professionally rounded, glossy, and clean-edged, without surprise floods, fish-eyes, or tacky spots.
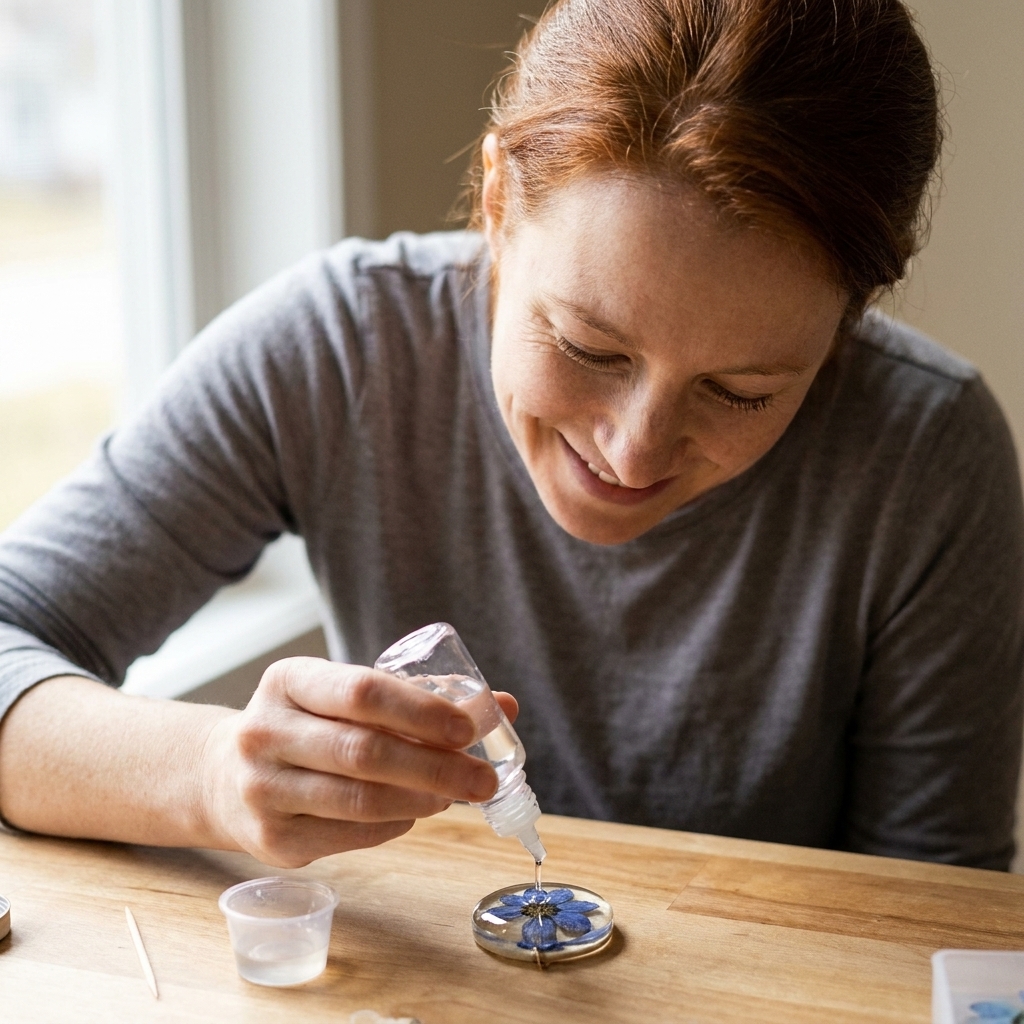
What doming is (and when it is worth doing)
Doming is applying a controlled layer of resin on top of a cured piece so it self-levels into a smooth, slightly raised curve. Surface tension holds it in place like a tiny lens.
Great candidates for doming
- Flat pendants, charms, keychains, and earring components
- Name tags and small plaques with a raised rim or bezel
- Resin pieces that cured with a slightly matte top and need that glassy finish
Skip doming if
- Your piece is still soft or even slightly flexible
- The top is very uneven or has major pits. Sand and flatten first, then dome.
- The surface is contaminated (oily fingerprints, silicone residue, mold release). Clean first or you can get craters.
If your piece has tacky areas, fix that before you dome. A domed coat will not cure correctly over a bad base layer. This guide can help: 8 reasons your epoxy resin is sticky or soft and how to fix it.
Safety and workspace setup
Doming uses a thin layer, but you are still working with reactive chemicals. I dome in my garage craft room with airflow running, and I keep the setup simple and consistent.
- Ventilation: Work in a ventilated space. Many epoxies are low odor and low VOC, but that does not mean they cannot irritate you. Start here if you are setting up your area: set up a safe, ventilated resin workspace at home.
- PPE: Nitrile gloves and eye protection. When you need a respirator, a properly fitted one with organic vapor cartridges is commonly used for resin work, and P100 particulate filtration is commonly used for sanding dust. For the full breakdown, see: resin safety gear.
- Surface protection: Use a silicone mat, freezer paper, or a craft tray that can handle drips. My favorite options are in: best mats and coverings for resin spills.
- Level surface: Doming is unforgiving if your table is tilted. Use a small bubble level, or level a board with shims and dome on top of that. If you want a quick reality check, dome a tiny test puddle on a flat tile and see if it tries to drift.
If resin gets on your skin, pause and handle it the right way. Here is my step-by-step: epoxy resin on skin removal and prevention.
Supplies for clean domes
You do not need fancy tools, but you do need the right kind of control.
- Fully cured resin piece (pendant, charm, tag, etc.)
- 2-part epoxy resin with a workable open time. I usually avoid super fast resins for doming because they thicken too quickly.
- Mixing cups and stir sticks (flat stir sticks help scrape sides)
- Small applicator: pipette, needle tip bottle, silicone tool, or toothpick
- Isopropyl alcohol (IPA) 70 to 91 percent and lint-free wipes for cleaning
- Dust cover: a clean plastic bin, cake dome, or box
- Heat tool (optional): brief warm air helps pop surface bubbles, but too much heat can cause ripples
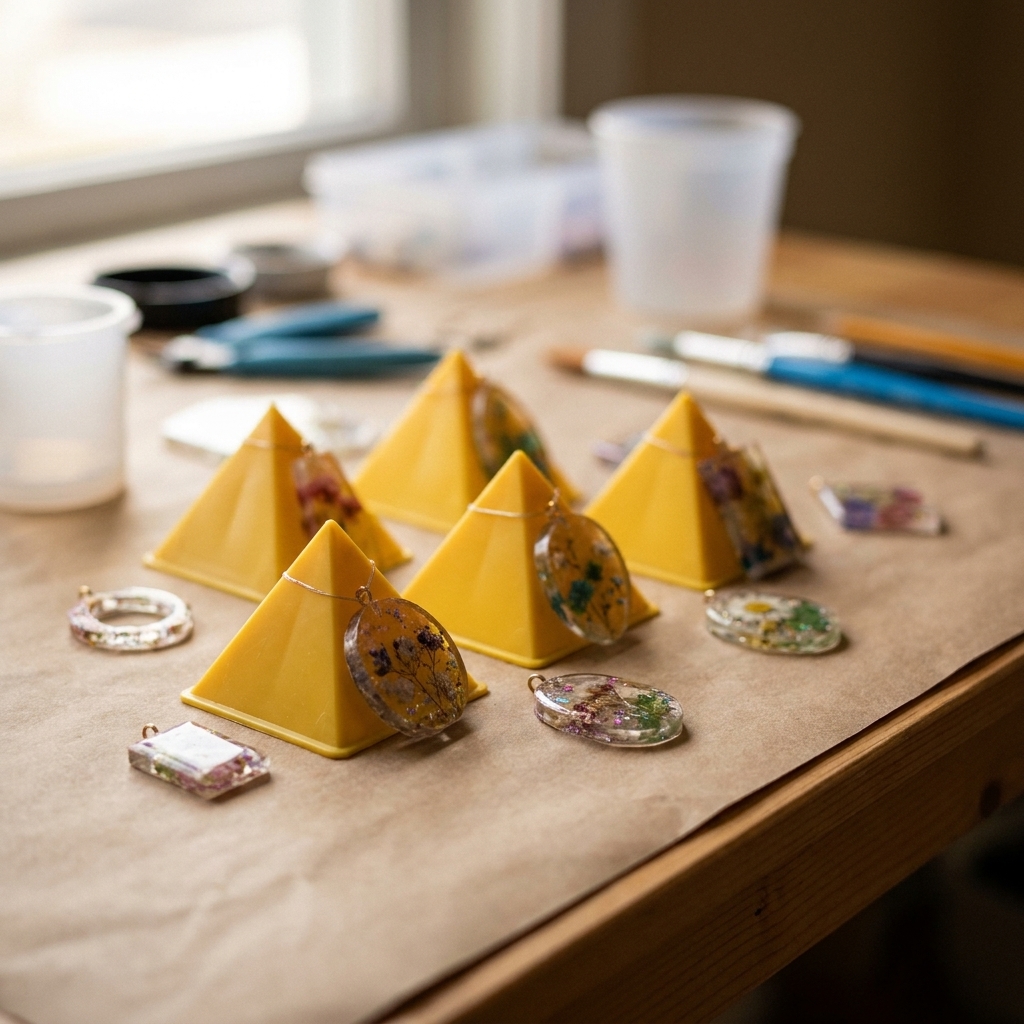
- Support for elevating pieces: painter’s pyramids, upside-down cups, or push pins in cardboard
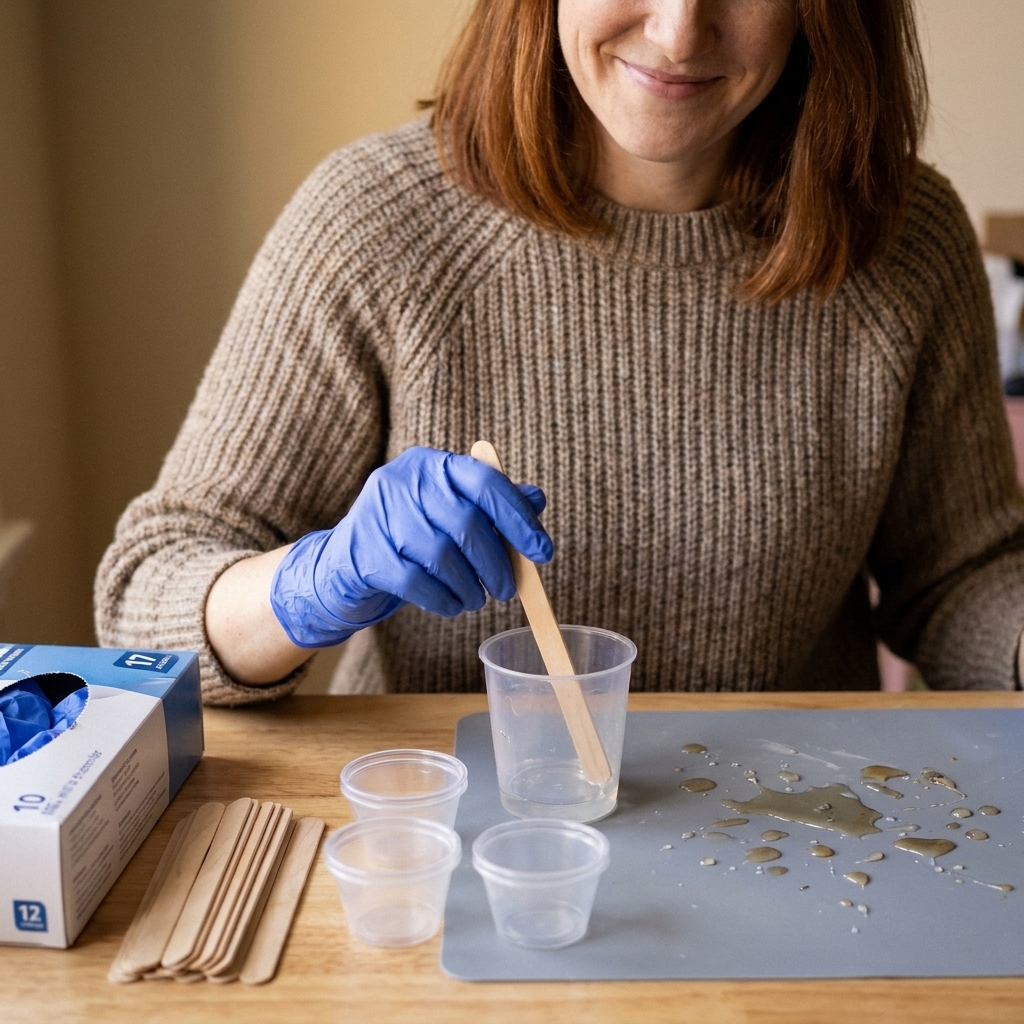
If you are still getting comfortable with measuring and mixing, review this first. Most doming disasters start in the cup, not on the pendant: how to measure and mix 2-part epoxy resin.
Before you dome
1) Make sure the base piece is fully cured
Follow your resin’s cure schedule for handling and full cure. For many jewelry epoxies, that is often 24 to 72 hours for handling strength, and longer for full cure, especially if your room was cool.
I treat smell as a secondary clue, not the main test. Some resins have a noticeable odor while curing normally. What matters more is that the piece is hard, not tacky, and does not fingerprint or flex.
Temperature and humidity matter more than most beginners realize. As a general target, I aim for a warm, dry room (many epoxies behave best in the 70 to 80 F range, with moderate humidity). If your resin has been acting weird lately, check: ideal temperature and humidity for epoxy resin curing.
2) Flatten and smooth if needed
Doming will magnify flaws. If your top has bumps, dust nibs, or a raised seam, lightly sand flat, then wipe clean. For a deeper finish workflow, this is my go-to: how to sand and polish epoxy resin.
3) Consider edge prep
Sharp, knife-like edges are where domes love to spill. If your piece has very crisp edges and you struggle with runoff, lightly knocking the edge down with fine sandpaper can help the resin “hang on” and form a cleaner meniscus. You do not need to round it into a pebble. A tiny softening is usually enough.
4) Clean like you mean it
Wipe the surface with isopropyl alcohol and let it fully flash off. Avoid touching the top again. Finger oils can cause fish-eyes, which look like little craters where resin refuses to sit.
5) Protect the back and sides (optional but helpful)
If your piece has an open jump ring hole or a raw wood back, mask areas you do not want coated. Painter’s tape works for quick protection, just burnish the edges down firmly.
6) If you are doming over paint, ink, or vinyl, test first
Most cured acrylic paint and vinyl can dome beautifully, but certain sealers, inks, and polishing products can cause craters or adhesion issues. When I am trying a new combo, I dome a scrap piece first before I commit to my favorites.
How to dome resin step by step
Step 1: Elevate and level your pieces
Place each charm or pendant on a raised support so any accidental drip will not glue it to your mat. I like painter’s pyramids or small upside-down cups. Use a small level and adjust with shims until the doming surface is truly level.
Step 2: Mix a small batch carefully
For doming, I mix less than I think I need because a little goes a long way. Measure accurately and mix slowly, scraping sides and bottom. Then let the cup sit for a minute so bubbles can rise.
If bubbles are a constant battle for you, this walkthrough helps a lot: how to prevent and remove micro-bubbles in epoxy resin.
Step 3: Let the resin thicken slightly
This is my biggest doming tip. Freshly mixed resin is very runny. If you wait a little, it becomes slightly thicker and stays put better. You want it to flow, but not sprint.
In a comfortable room, this is often around 3 to 10 minutes, but it depends on your resin, room temp, and batch size. Watch the texture. When it drips off a stir stick in a smooth ribbon instead of splashing, you are usually in a good doming window.
Step 4: Apply resin to the center first
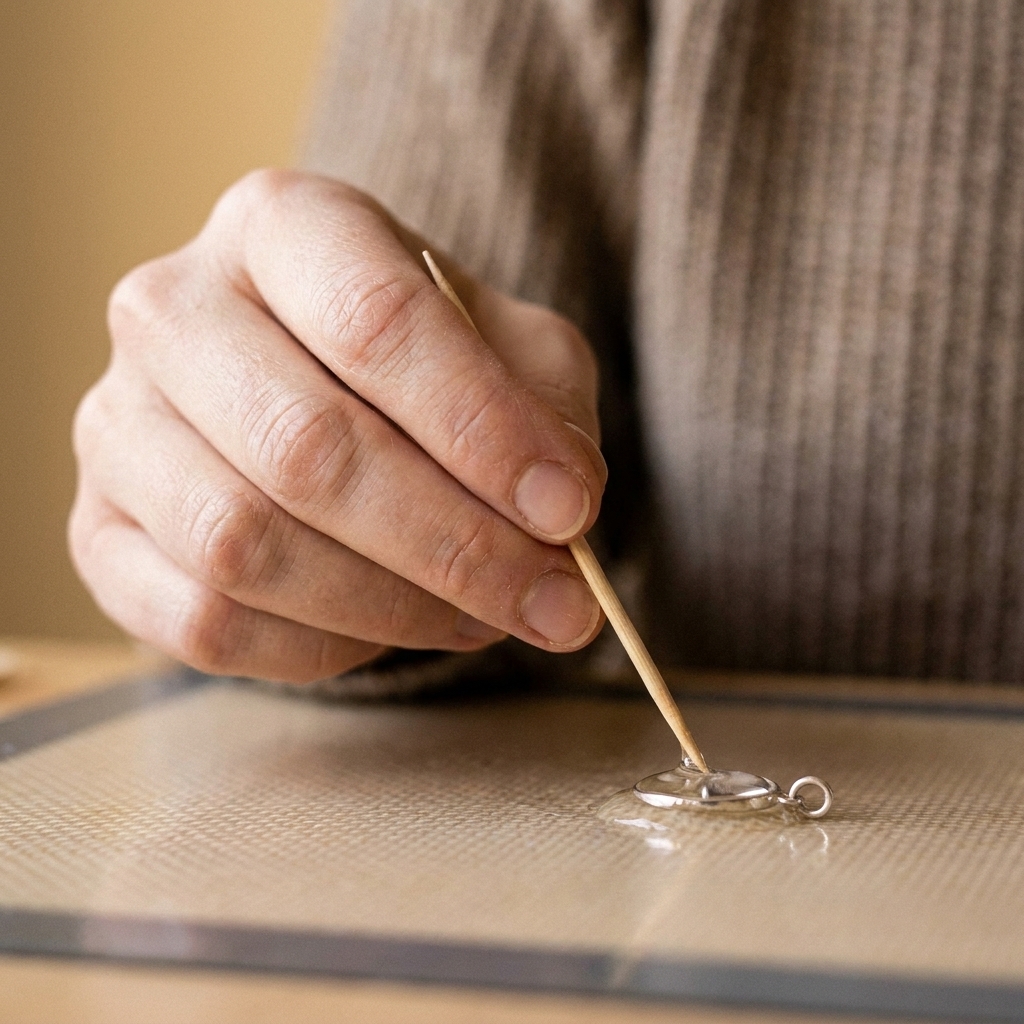
Use a pipette, toothpick, or stir stick to place resin in the middle of the piece. Do not start at the edge.
- Add a small puddle in the center.
- Let it self-level outward.
- Keep adding in tiny amounts until it reaches near the edge.
Step 5: Walk the dome to the edges
Once the resin has spread close to the perimeter, use your tool to gently coax it to the edge. I work like a clock, nudging the resin evenly all the way around instead of pushing one side too far.
What you are aiming for: a rounded meniscus that just kisses the edge without tipping over it.
Two edge situations you will see
- Sharp edges: Resin wants to run off. Use a slightly thicker resin stage and stop just short of the edge, then let it relax outward on its own.
- Slightly rounded edges: Much easier. Resin naturally forms a clean curved top.
Step 6: Pop surface bubbles carefully
For tiny domes, I prefer a quick pass of warm air rather than an aggressive torch. Too much heat can create ripples, cause resin to thin suddenly and spill, or kick off a faster cure.
- Hold your heat tool back and keep it moving.
- Use short bursts, then wait and watch.
- If you see the dome start to wobble, stop heating.
Step 7: Watch during the drift window
Most drips happen early. I set a timer and check each piece a few times during the first 10 to 15 minutes.
- If resin is creeping over one edge, wick a little away with the corner of a clean stir stick.
- If one area looks thin, add a micro-drop to that spot and let it level.
Step 8: Cover for dust and let it cure
Once the dome looks stable, cover your pieces with a clean bin or box to keep dust and pet hair out. I keep my cover on for the whole tacky window, and I avoid drafts that can blow dust under the edges. Then leave the pieces alone. Moving a piece too early is a fast way to get a slumped dome.
How much resin to use
The “right” amount is the amount that reaches the edge and forms a smooth curve without overflowing. Since pieces vary, I rely on visual cues:
- Too little: dry edge, thin spots near corners, or a flat look with no curve.
- Just right: evenly glossy, gently rounded, and the edge line looks clean and consistent.
- Too much: the dome looks tall and heavy, and the edge starts to bulge and creep over.
If you are doming multiple pieces, do a test dome on your least favorite one first. It saves heartbreak.
Doming tricky shapes
Hearts, teardrops, and sharp corners
Corners are where domes fail first. Resin naturally pulls into a rounded shape, so corners tend to look thin.
- Dome in two micro-layers rather than one heavy layer.
- Give corners a tiny extra drop, then let it level.
- Keep checking during that early drift window.
Pieces with jump ring holes
Resin loves to creep into holes and create a skin that later cracks when you insert hardware. If possible, thread a toothpick or small silicone plug through the hole while doming.
The timing matters. I remove it when the resin is in a soft gel stage, kind of like taffy, so it lifts cleanly without tearing the edge. If you miss the window and it cures closed anyway, do not force hardware through. After cure, you can carefully clear the hole with the appropriate small drill bit.
Open bezels
If you are doming an open bezel, make sure the base is sealed and level first. Doming resin will find the tiniest gap and leak out. For beginners, I recommend mastering doming on solid resin pieces before trying open bezels.
Common doming problems
Resin runs over the edge
- Cause: Too much resin, too warm, resin too thin, or piece not level.
- Fix now: Use a clean stick to pull resin back from the edge or wick off excess.
- Fix later: After cure, sand off drips and re-dome if needed.
Ripples or waves on top
- Cause: Overheating, moving the piece, or doming when resin is too thick and not self-leveling.
- Fix: Let it cure, sand flat, then dome again with gentler heat and a slightly thinner mix.
Fish-eyes or craters
- Cause: Contamination (silicone, oil, dust, polish, mold release, some sealers).
- Fix: Let cure, sand the surface, clean thoroughly with IPA, then re-dome.
Micro-bubbles trapped in the dome
- Cause: Mixing too fast, cold resin, or porous inclusions below the surface.
- Fix: Warm the resin bottles in a warm water bath before mixing (caps closed), but keep it warm, not hot. Over-warming can shorten pot life and make bubbles and spills more likely. Mix slowly, then use brief heat after doming.
Sticky or soft dome
- Cause: Off-ratio mixing, under-mixing, low temperature, or doming over uncured resin.
- Fix: Diagnose the cure issue first using: sticky or soft resin fixes. In many cases you will need to remove the bad layer, then recoat.
After care
If you get a little drip or a rough edge, do not panic. Once fully cured, you can:
- Clip off thin “icicle” drips with flush cutters (carefully)
- Sand the edge smooth and polish if needed
- Add a second light dome coat for a perfect top
For cleanup and disposal, especially if you have uncured drips in cups or on tools, follow safe handling practices: how to clean up uncured resin and dispose of epoxy waste safely.
Quick doming checklist
- Piece is fully cured, clean, and level
- Surface is sanded flat if necessary, then wiped with IPA
- Edges are lightly softened if sharp edges keep overflowing
- Resin is measured accurately and mixed thoroughly
- Wait for a slightly thickened, honey-like stage
- Apply from the center, nudge outward, stop before overflow
- Use gentle heat only if needed
- Watch during the first 10 to 15 minutes, then cover for dust until tack-free
FAQ
Can I dome with UV resin instead of 2-part epoxy?
You can for small pieces, and it cures quickly, but UV resin can shrink and it is easy to trap bubbles. For a larger, slower, self-leveling dome, 2-part epoxy is often easier. If you are choosing between the two for jewelry work, see: UV resin vs 2-part epoxy.
How long should I wait before doming a fresh pour?
Wait until the piece is fully cured, not just dry to the touch. Use your resin’s guidance for cure time, and remember that cooler rooms and thicker pours can slow curing. For many jewelry resins, doming often works best after 24 to 72 hours, and sometimes longer.
Do I need to sand before doming?
If the surface is glossy and clean, you can dome directly. If the surface is uneven, has dust bumps, or has lost its shine, sanding flat and cleaning first gives you a much better result.
My dome looks flat. Did I do it wrong?
Not necessarily. A subtle dome can look extremely professional. If you wanted a higher curve, you can add a second thin dome coat after the first cures.