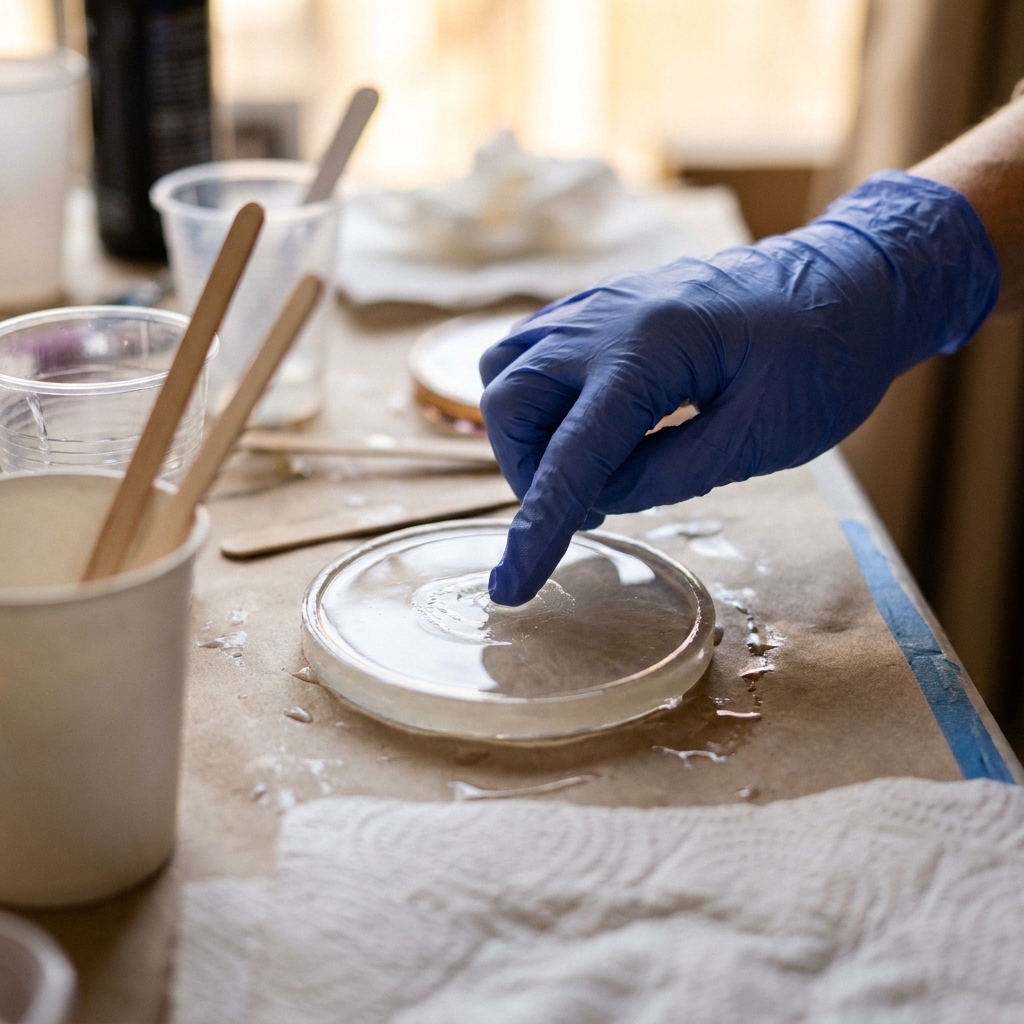
Stop tacky, uncured epoxy. Follow this step-by-step mixing method: confirm ratios, measure by volume or weight, stir slowly while scraping, then do a two-cup...
How to Color Epoxy Resin

Ruby Fletcher
Ruby Fletcher is a dedicated resin crafter with years of hands-on experience pouring, molding, and creating custom epoxy art. After turning her dining room into a makeshift studio, she developed a passion for helping beginners navigate the sticky, colorful world of resin with confidence. She loves sharing practical tutorials, troubleshooting tips, and essential safety guides to make epoxy crafting accessible for everyone.
Published · Last updated
I got into resin because I wanted to preserve pressed flowers from my wildly overgrown Pacific Northwest garden. My first coaster kit was equal parts dreamy and disastrous, including one pour where I got so excited about color that I basically turned my resin into glittery soup. It cured, but not well. That was my first real lesson: coloring resin is not just “add pretty stuff.” You have to keep the chemistry happy.
This guide walks you through the three beginner favorites: pigments, alcohol inks, and mica powders, with practical starting amounts, mixing steps, and the little habits that prevent soft cures, oily spots, and muddy colors.
Before you add color
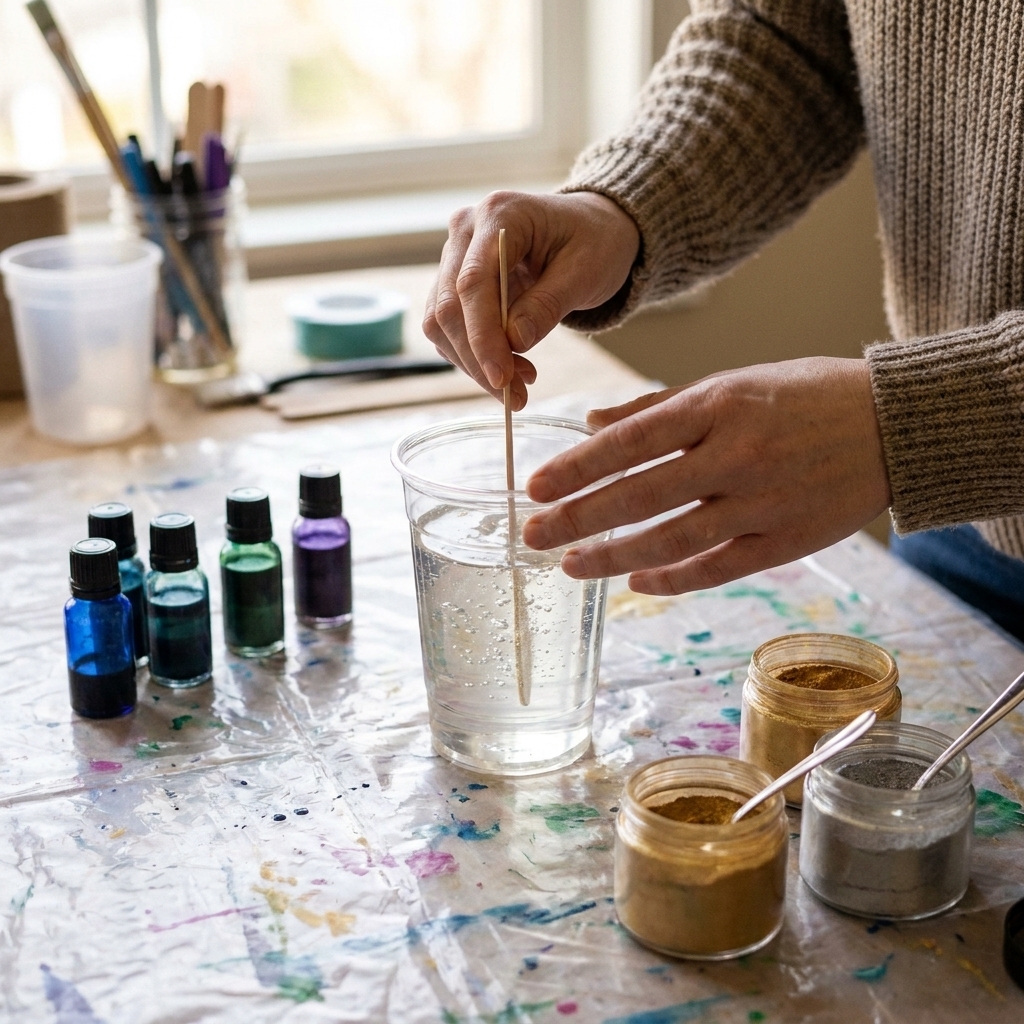
Two-part epoxy cures because Part A and Part B react at a specific ratio. Colorants should not replace either part or significantly change the total chemistry of the mixed resin. In other words, you can add a little color, but you cannot “thin” resin with dye.
If you are brand new to measuring, start here first: How to Measure and Mix 2-Part Epoxy Resin. A perfect color job cannot rescue a poorly measured batch.
Start with small amounts
Exact dosing varies a lot by brand, dropper size, and how concentrated the colorant is. Use the manufacturer guidance if your colorant lists a maximum load (often a percentage by weight or volume). If you do not have that info, these are safe, conservative starting points for mixed resin (measured in fluid ounces).
- Mica powder: often around 0.5% to 2% by volume of mixed resin as a starting range. Think “pinch to small scoop,” not “dump.”
- Liquid resin pigment or resin dye: start around 1 to 2 drops per fluid ounce of mixed resin, then adjust slowly.
- Alcohol ink: start with 1 drop per fluid ounce (especially for regular epoxy, not petri styles). Alcohol inks are powerful and solvent-heavy, so less is more.
When in doubt, start lighter than you want. You can add more color. You cannot un-add it once the cup looks like cake batter.
Compatibility matters
This is the part that saves a lot of beginner heartbreak: use colorants labeled for epoxy or resin. Avoid water-based colorants like food coloring, washable kids paint, or random craft dyes. Water and unknown additives can cause separation, foaming, or soft spots.
Temperature matters for color, too
Cold resin is thicker, holds bubbles longer, and can trap mica clumps. Too much heat can accelerate curing and make your colors shift faster than you can work. Aim for a stable workspace. My sweet spot is covered in detail here: Ideal Temperature and Humidity for Epoxy Resin Curing.
Safety first
Pigments and powders are not automatically harmless. Mica is a fine particulate that you do not want in your lungs, and alcohol inks contain solvents. Work in a ventilated space and wear proper protection.
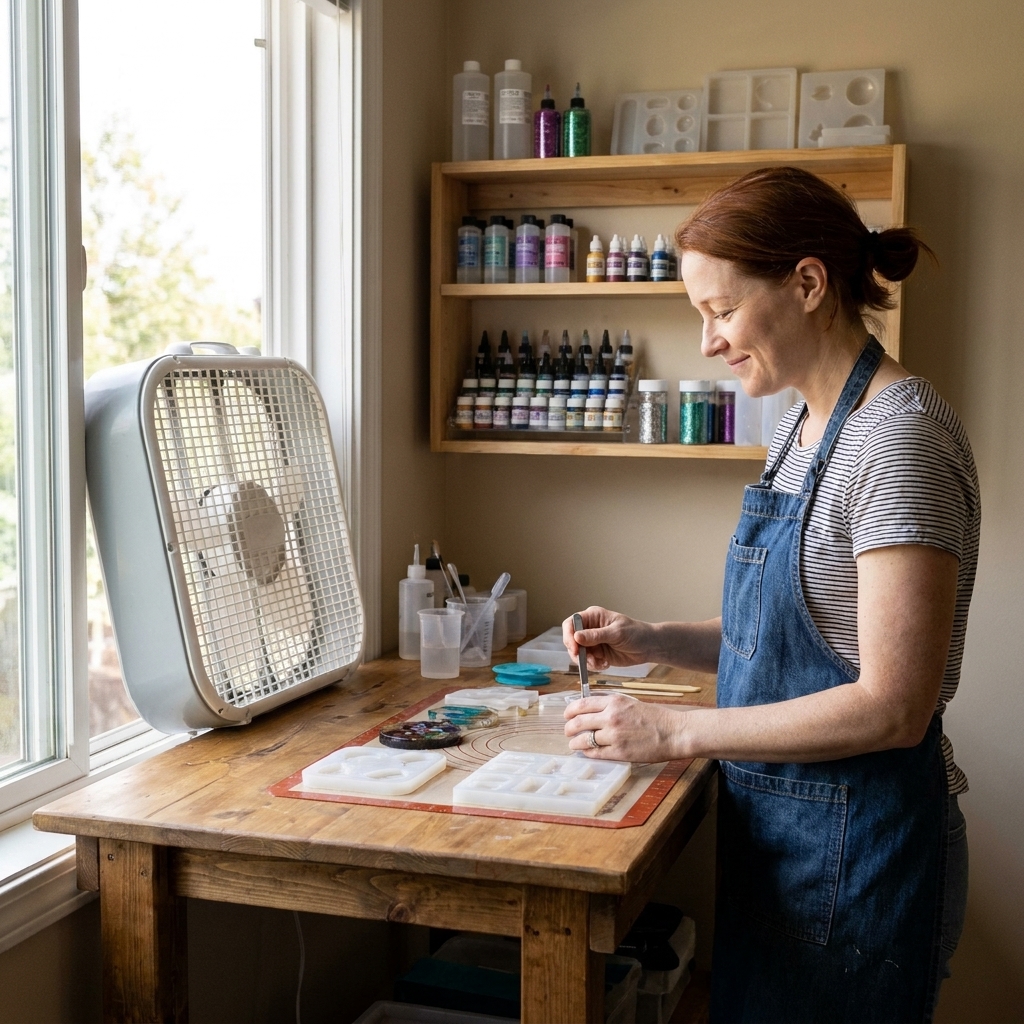
- Set up airflow: Set Up a Safe, Ventilated Resin Workspace at Home
- Gear basics: Resin Safety Gear: Respirators, Gloves, and Eye Protection
- If you get resin on your skin: Epoxy Resin on Skin: Removal and Prevention
Pick the right colorant
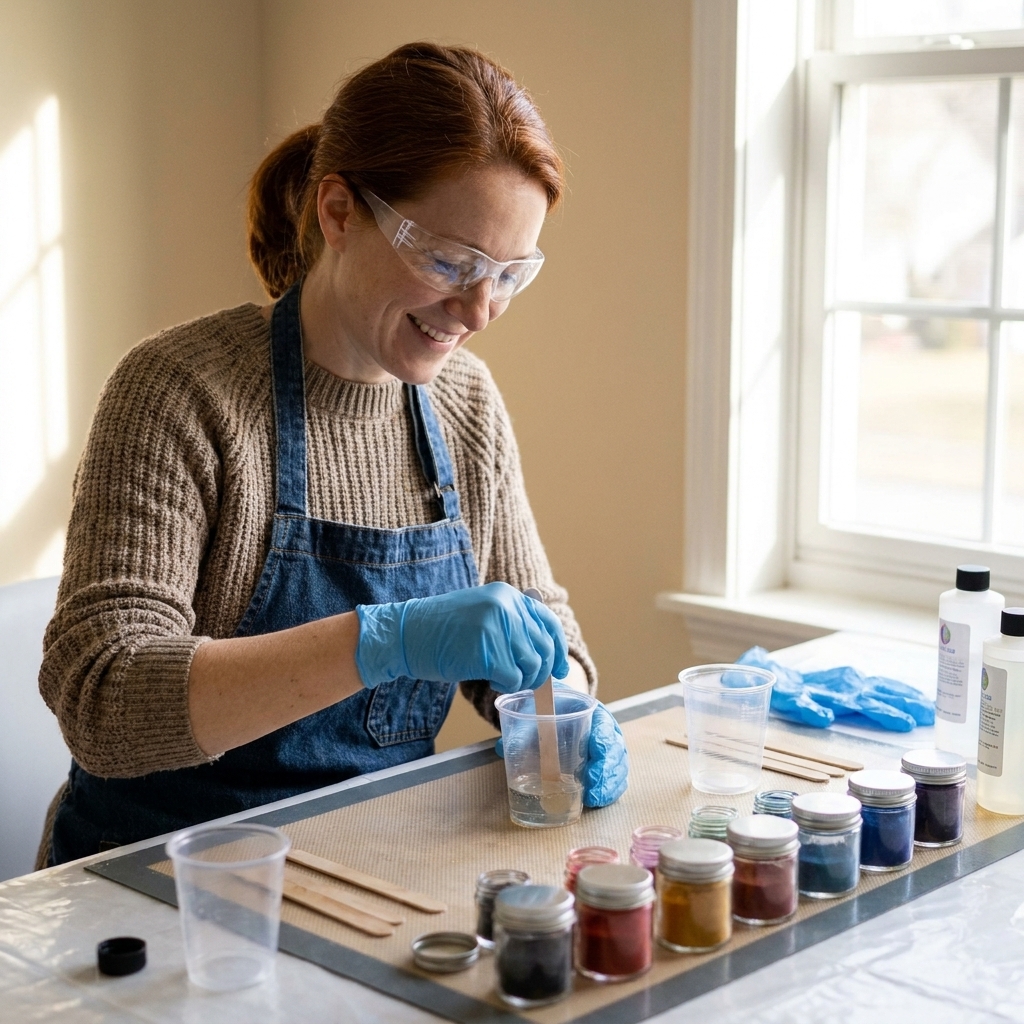
Quick cheat sheet
- Opaque, solid color: pigment paste or opaque liquid pigment
- Shimmer, metallic, pearly glow: mica powder
- Transparent, stained-glass tint: transparent resin dye
- Smoky wisps, blooms, petri effects: alcohol inks (best when used intentionally and sparingly)
Also consider your project thickness. Deep pours behave differently than thin jewelry pours, and some colorants settle over time. In deeper casts and longer cures, heavier powders can sink, and heat buildup can change how swirls move.
How to use mica powder
Mica is my most forgiving beginner colorant, especially if you want something pretty without a lot of technique. It disperses well, looks rich, and usually does not interfere with curing when used moderately.
Best for
- Galaxy swirls, ocean waves, geode slices
- Metallic coasters and trays
- Jewelry with a soft pearly glow
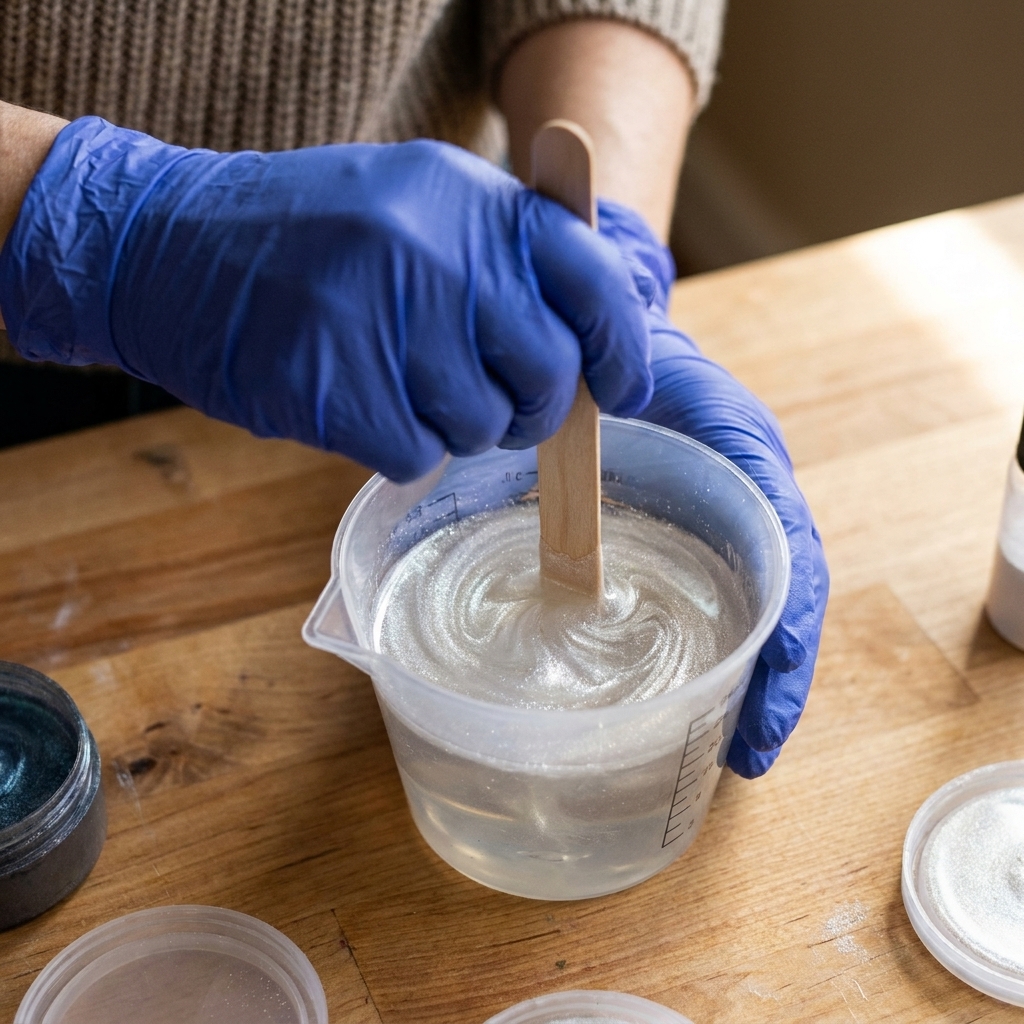
How to mix mica without clumps
- Mix your resin first. Fully combine Part A and Part B before adding anything. Scrape sides and bottom while mixing.
- Transfer to a clean cup (optional but helpful). This double cup method reduces unmixed streaks. It also helps prevent soft spots.
- Add mica a tiny amount at a time. Start with a small pinch per fluid ounce of resin.
- Fold, then stir. I like to fold the powder in slowly first so it does not puff into the air, then stir until there are no dry flecks.
- Let it sit 1 minute, then stir again. This catches hidden clumps.
Common mica mistakes
- Overloading the mix: too much mica (or too many add-ins overall) can make resin thick and cloudy, and it can contribute to surface issues or weaker cures, especially if mixing was not thorough.
- Dusting mica into the air: adds a lung hazard and makes your whole room sparkle for a long time.
- Assuming mica stays suspended: in some resins, mica can settle during long cures, especially in deep pours.
How to use liquid pigments and dyes
Liquid pigments and dyes are the workhorse for clean, consistent color. They come in different types, so read the label. You will usually see language like “pigment,” “dye,” “opaque,” “transparent,” or “paste.”
Paste vs liquid (quick definitions)
- Pigment paste: thick, highly concentrated color. Great for opaque projects, and a tiny amount goes a long way.
- Liquid pigment: pigment particles suspended in a liquid carrier. Often opaque or semi-opaque, and easier to dose drop by drop.
- Resin dye: color that dissolves into the resin. Typically transparent and great for stained-glass effects.
Step-by-step: adding liquid color the safe way
- Mix resin completely first. This is non-negotiable.
- Add color in tiny amounts. Start with 1 to 2 drops per fluid ounce of mixed resin (or a small toothpick-dip of paste).
- Stir thoroughly, scraping the sides. Color likes to cling to the cup walls.
- Check opacity after 60 seconds. Resin can look lighter in the cup than it will in the mold, especially in thicker casts.
- Adjust slowly. Add one drop (or a tiny dab) at a time until you hit your shade.
How to keep colors from going muddy
- Warm plus cool can go brown fast. If you want a muted palette, aim for it on purpose and keep a clean white or pearl mica on hand to brighten.
- Use black sparingly. One extra drop can swallow your whole batch.
- Mix small test cups. I often mix a teaspoon-size tester before committing to a full pour.
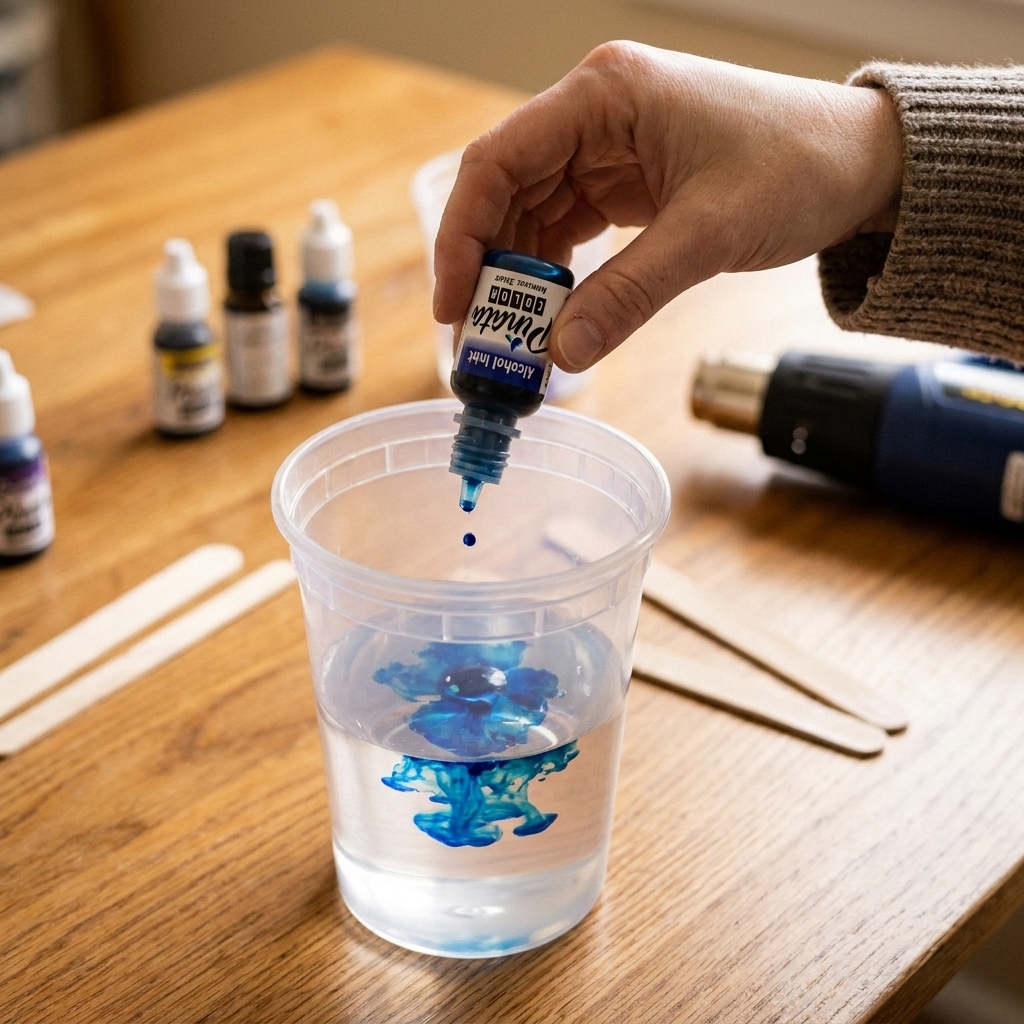
How to use alcohol inks
Alcohol inks are gorgeous and also the fastest way to accidentally create fish eyes, oily craters, or color that migrates in weird ways. They contain solvents that evaporate and can interact with resin differently depending on brand, humidity, and cure speed.
Best for
- Smoky wisps and “ink in water” looks
- Petri-style effects (typically in a controlled setup)
- Adding subtle tinted movement on top layers
Basic method: tinting epoxy lightly
- Mix resin fully first.
- Add 1 drop per fluid ounce. Stir and evaluate. Add a second drop only if needed.
- Expect transparency. Alcohol ink usually creates a stained look, not solid color.
- Pour sooner rather than later. Alcohol can flash off and shift effects while the resin warms and thickens.
Common alcohol ink problems (and how to avoid them)
- Oily spots or separation: you used too much ink, or the ink is not resin-friendly. Use fewer drops and test first.
- Colors fading: many alcohol inks are not UV-stable. If the piece will live in sunlight, consider resin pigments, and choose resin and topcoats that specifically state UV resistance. A regular clear coat can help with scratches, but it will not magically stop UV fade.
- Mysterious soft cure: too much solvent can interfere with curing. Keep alcohol ink amounts tiny.
If you are troubleshooting tacky or soft resin in general, this guide can help you narrow down the cause: 8 Reasons Your Epoxy Resin Is Sticky or Soft and How to Fix It.
Easy first-pour color recipes
These are intentionally simple, low-risk combinations that give you pretty results without pushing the chemistry.
1) Milky ocean swirl
- Mix a small batch of resin.
- Split into two cups.
- Cup A: white opaque pigment, start with 1 to 2 drops per fluid ounce.
- Cup B: teal or blue mica, a small pinch per fluid ounce.
- Pour both into the mold in alternating ribbons, then drag a stick gently for 1 to 2 passes.
2) Rose-gold shimmer
- Add a rose-gold mica pinch per fluid ounce and mix thoroughly.
- Pour slowly to reduce bubbles and keep the shimmer even.
3) Stained-glass tint
- Use transparent resin dye, 1 drop per fluid ounce to start.
- Pour into shallow molds for a clean, jewel-like look.
Mixing tips for consistent color
Use the double cup method
After mixing resin for the full recommended time, pour it into a second clean cup and mix again for 15 to 30 seconds. Then add color. This helps eliminate unmixed resin that can hide on the sides and corners of your first cup.
Scrape the sides after adding color
Colorants love to stick to cup walls. If you do not scrape, you can pour streaks that look like oily trails or weakly mixed resin.
Pour depth changes color
A thin layer will look lighter than a thick cast. Always judge color in the context of your mold depth.
Protect your surface
Coloring resin is messy. Dyes stain, mica travels, and alcohol inks drip. I keep a dedicated spill-safe surface setup, especially for pigmented pours: Best Mats and Coverings for Resin Spills.
Troubleshooting
My resin turned rubbery or soft
- Double-check you did not eyeball the resin ratio. Fix your measuring first: How to Measure and Mix 2-Part Epoxy Resin
- Consider whether you over-added alcohol ink, pigment, mica, or multiple additives in one batch.
- Make sure your room was warm enough and stable: Ideal Temperature and Humidity for Epoxy Resin Curing
I have specks in my color
- Mica clumps: sift with your stick against the cup wall and mix longer.
- Pigment not dispersed: add fewer drops at a time and stir thoroughly.
- Dust contamination: cover pieces while curing and keep powders controlled.
My alcohol ink looks blotchy
- Use fewer drops next time.
- Stir more consistently.
- Test a different ink brand, and avoid adding extra alcohol as a thinner.
How to handle uncured colored resin
If a batch fails to cure, treat it like uncured epoxy waste. Do not wash it down the sink. Here is my step-by-step cleanup and disposal approach: How to Clean Up Uncured Resin and Dispose of Epoxy Waste Safely.
FAQ
Does adding color change the resin mix ratio?
You still measure Part A and Part B exactly as directed. Colorants are add-ins after the resin is properly mixed. The goal is to use small enough amounts that you do not dilute or disrupt the cure.
Can I mix mica powder into Part A before combining A and B?
I do not recommend it for beginners. Mix A and B completely first, then add mica. It is much easier to confirm your resin is properly blended before you introduce powders.
What is the easiest colorant for a first project?
Mica powder, hands down. It is forgiving, pretty in almost any pour, and you can get a lot of wow without complicated techniques.
Can I color UV resin the same way?
Some colorants work in UV resin, but UV resin needs light to penetrate, so heavy pigments and dense mica can block curing. If you are choosing between resin types, this will help: UV Resin vs 2-Part Epoxy: What Beginners Should Choose.
Next steps
If you want the fastest path to confident color mixing, do a sampler session with tiny batches in simple molds. Coasters, keychains, and mini trays are perfect. Focus on one variable at a time, like the difference between a pinch and two pinches of mica, or 1 drop versus 3 drops of dye.
If you are still building your kit, I put together my beginner essentials here: Beginner Resin Art Supplies: Essential First Pour List. A few right tools make coloring resin calmer, cleaner, and so much more fun.