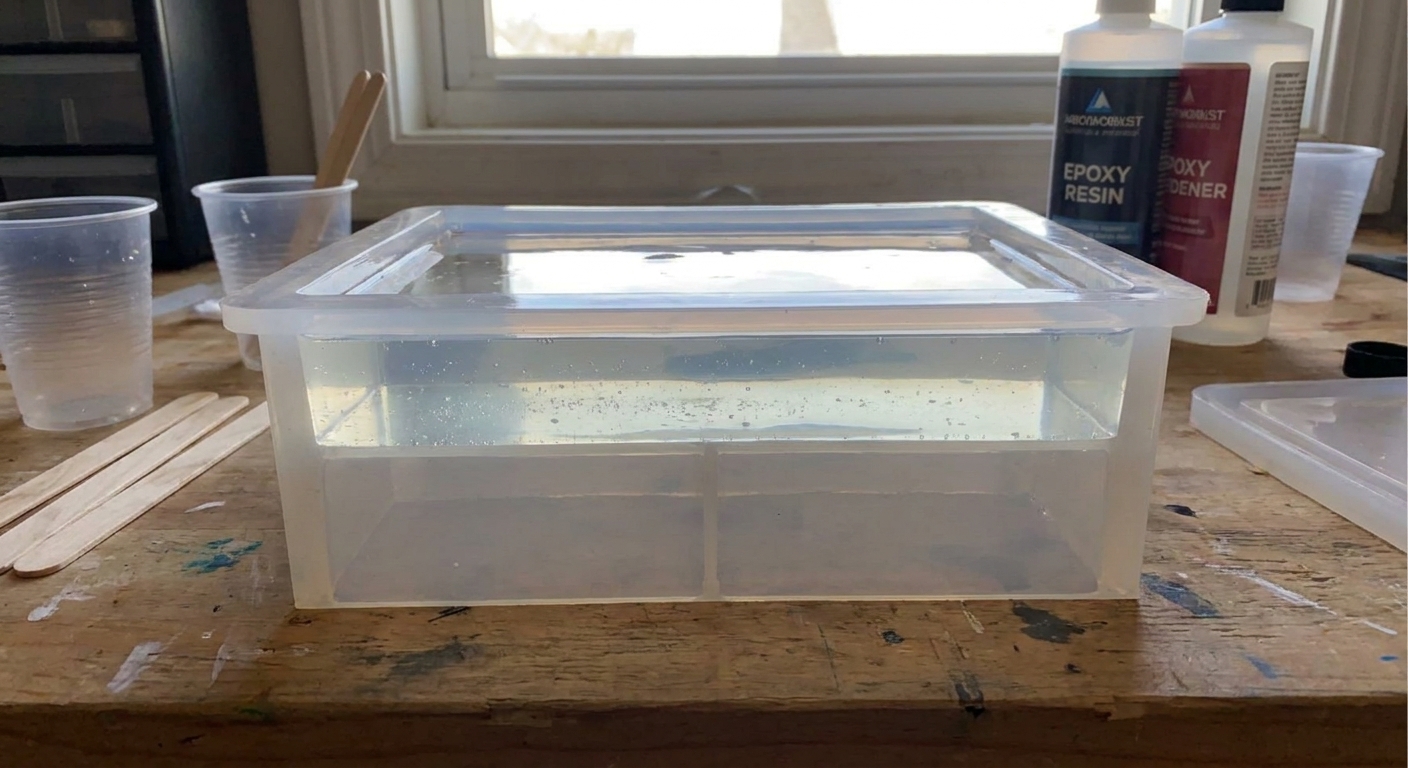
Micro-bubbles can turn a “clear” epoxy pour hazy fast. Learn where they come from, how to prevent them with warm resin and slow mixing, plus the best ways to...
How to Seal and Embed Photos or Paper in Resin

Ruby Fletcher
Ruby Fletcher is a dedicated resin crafter with years of hands-on experience pouring, molding, and creating custom epoxy art. After turning her dining room into a makeshift studio, she developed a passion for helping beginners navigate the sticky, colorful world of resin with confidence. She loves sharing practical tutorials, troubleshooting tips, and essential safety guides to make epoxy crafting accessible for everyone.
Published
The first time I tried to preserve a printed photo in resin, I watched it darken and ripple like it was being dunked in tea. It still cured, but the picture looked… exhausted. Paper and photos are thirsty, and epoxy is nosy. If you do not seal correctly, resin can soak in, push out trapped air, lift ink, and leave you with cloudy patches or weird stains.
This guide walks you through the exact prep I use in my Pacific Northwest garage studio to minimize warping, yellowing, and that dreaded see-through, translucent look when you embed photos, scrapbook paper, stickers, and little paper ephemera.
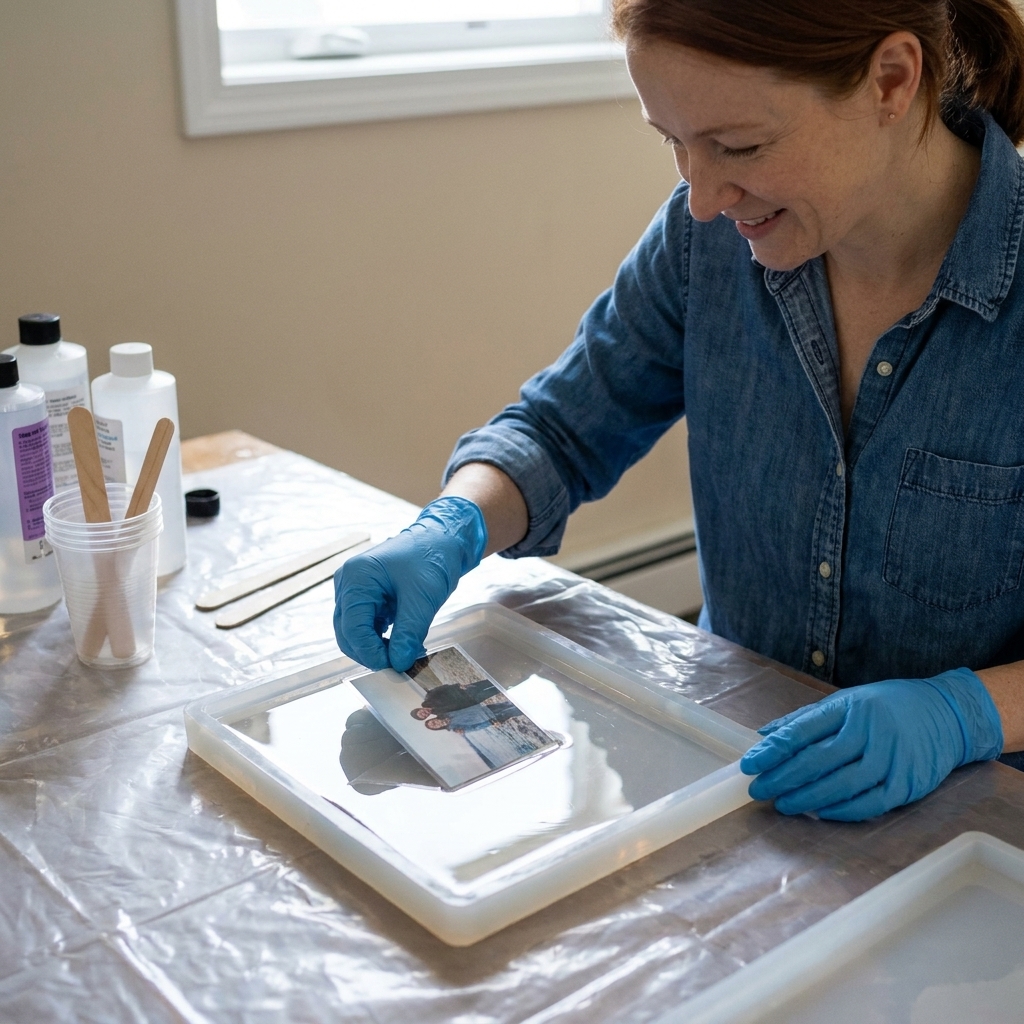
Quick safety setup
Even for small photo embeds, I treat epoxy like a serious chemical project, because it is.
- Work in a ventilated space. Here is how I set mine up: set up a safe, ventilated resin workspace.
- Wear gloves and eye protection. Resin on skin is not a rite of passage: resin safety gear basics.
- Protect your table so sealing overspray and drips do not become permanent decor: mats and coverings for resin spills.
Why paper and photos get damaged
Most paper problems in resin come from one of these:
- Absorption: Paper fibers wick resin, turning light colors darker and making prints look transparent.
- Ink bleed: Dye-based inks (common in home inkjet printing) can run when they meet liquid resin or certain sealers.
- Trapped air: Paper and stickers hold tiny pockets of air that release bubbles along edges and through the paper.
- Moisture: Humid paper can cause cloudiness, poor adhesion, or micro-bubbles as it warms.
- Heat: Thicker pours can warm up during cure and may warp certain photo papers or soften sticker adhesives.
Sealing is basically building a tiny waterproof raincoat around your paper so resin cannot sneak in.
Best sealing options
You have a few reliable sealing routes. The best choice depends on what you are embedding and what finish you want.
Option A: Clear acrylic spray sealer
This is the easiest way to seal scrapbook paper, book pages, ticket stubs, and most printed art. The goal is multiple thin coats, fully dry, on both sides.
- Pros: Fast, thin, low brush marks, good coverage on edges
- Cons: Needs ventilation, and some inks can react if sprayed too wet
Option B: Brush-on water-based sealer
For home-printed inkjet photos, water-based sealers are often gentler than strong spray solvents. That said, some water-based products can still re-wet dye inks (and occasionally even pigment inks) depending on the paper coating. Thin coats and a test strip save a lot of heartbreak.
- Pros: Less solvent shock to sensitive inks, easier indoors
- Cons: Brush strokes possible, can warp thin paper if applied too heavily, can still cause bleed on some ink and paper combos
Option C: Lamination or clear packing tape
For tiny cutouts, labels, and flat stickers, fully encasing the paper in laminate or clear tape works because it creates a physical barrier. Burnish the tape hard to remove air.
- Pros: Simple, strong barrier, very resistant to bleed
- Cons: Edges must be sealed well, tape seams can show, trapped air is common if you rush
Option D: A thin epoxy seal coat
This is a resin-on-resin method: you brush a very thin layer of mixed epoxy onto the paper, let it gel or cure, then embed. It can look beautifully clear, but it is less forgiving and can still pull ink if the print is not stable.
- Pros: Crystal clear, strong, compatible with the final pour
- Cons: Can pull ink if the print is sensitive, can create fisheyes if the surface has oils or residue
What I avoid
- One thick coat of anything: Thick coats trap solvents or water, stay tacky, and cause ripples.
- Unsealed inkjet prints: They are the most likely to smear.
- Super glossy photo paper without testing: Some photo papers have swellable coatings that can haze, ripple, or create halos in resin.
Prep before sealing
1) Choose the right print
- Best: Laser prints, professional lab prints, magazine clippings (often more stable inks)
- Trickiest: Home inkjet prints and thermal receipts
Inkjet note, because it matters: dye inks tend to be more prone to bleeding than pigment inks, but paper coatings vary so much that I still treat every new combo like a mystery until it passes a test.
2) Let fresh prints rest
If you printed it at home, give it time. I like to wait at least 24 hours so ink fully sets before I hit it with any sealer.
3) Flatten and trim cleanly
Trim with a sharp blade or scissors, and keep edges neat. Ragged edges love to trap bubbles.
4) Dry it like you mean it
Paper holds humidity. If it feels even slightly cool or limp, let it sit in a dry room or press it under a book overnight. This matters even more if you are in a humid climate.
5) Plan your edge strategy
If you are cutting detailed shapes, I like to do a couple of light seal coats first, then trim to the final shape, then seal again. It is not mandatory, but it helps lock down fuzzy cut edges that like to burp bubbles.
How to seal paper and photos
Method 1: Acrylic spray sealer
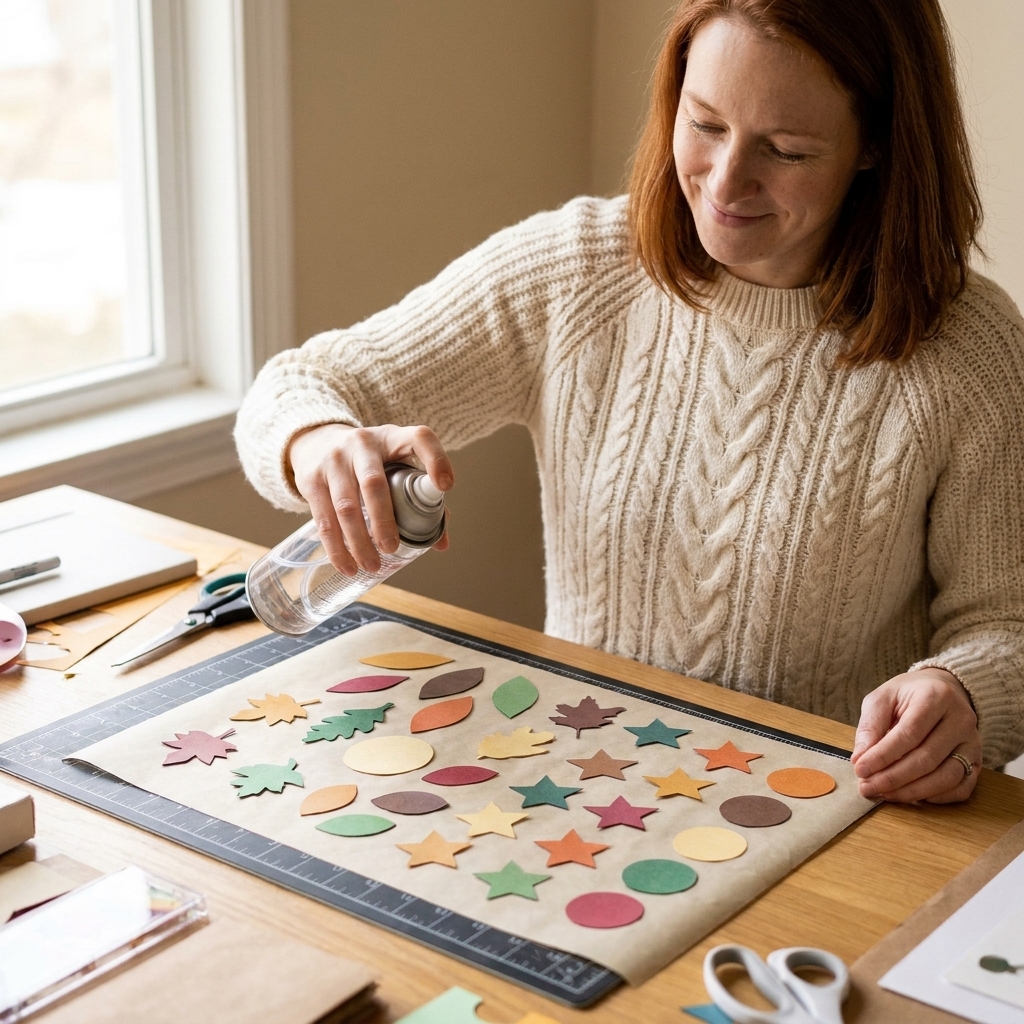
- Protect your area. Use a drop cloth or a spill mat and spray in a ventilated spot.
- Place paper flat. I put mine on parchment or freezer paper so it does not glue itself down.
- Spray light coats. Hold the can at the recommended distance and mist lightly. You want dusting, not wet shine.
- Dry fully. Let it dry, then repeat. I typically do 3 to 6 thin coats.
- Flip and repeat. Yes, both sides. Resin can find its way in from the back or edges.
- Seal the edges. One extra pass aimed at the edges helps a lot.
- Wait for full cure. Follow the sealer label for recoat and cure times. If I am unsure, I wait 24 hours before resin so I am not trapping solvents against the paper.
Method 2: Brush-on water-based sealer
- Use a soft brush or foam brush. Anything stiff can leave ridges.
- Apply a thin coat. Brush from the center outward so you do not curl corners.
- Let it dry completely. If the paper feels cool, it is not dry yet.
- Do 2 to 4 coats. Rotate direction of brush strokes lightly each coat.
- Seal both sides if possible. Especially for thin paper.
Method 3: Lamination or clear tape
- Cover the front. Lay tape or laminate smoothly and burnish with a card.
- Cover the back. Overlap slightly so no paper is exposed.
- Trim. Leave a tiny sealed border so the paper is fully enclosed.
- Check for bubbles. Any trapped air can become a resin bubble later.
After sealing: keep it clean
Once your piece is sealed and cured, try not to touch the surface much. Finger oils and dusty overspray can cause fisheyes or little repelling spots in resin, especially if you do an epoxy seal coat.
Embed method: seal, tack, pour
Even perfectly sealed paper can float or trap bubbles if you drop it into a full mold. My most reliable approach is to build in stages.
Step 1: Mix resin accurately
Paper embeds are unforgiving, so measure and mix like it matters. Because it does.
Follow your resin’s instructions, and if you want a refresher, I walk through it here: how to measure and mix 2-part epoxy resin.
Step 2: Pour a thin base layer
Pour just enough resin to cover the bottom of your mold or bezel. This layer acts like a cushion and helps you position the paper.
Step 3: Let it thicken slightly
Wait until the resin is thick like warm honey. Depending on your resin, room temp, and how much you mixed, that might be 5 minutes or 30 plus. The point is: not fully runny, not cured solid.
Step 4: Place your sealed piece
- Set it face-down if you want the front perfectly smooth against the mold bottom.
- Set it face-up if you plan to dome later or add layers above.
Step 5: Press and wet the edges
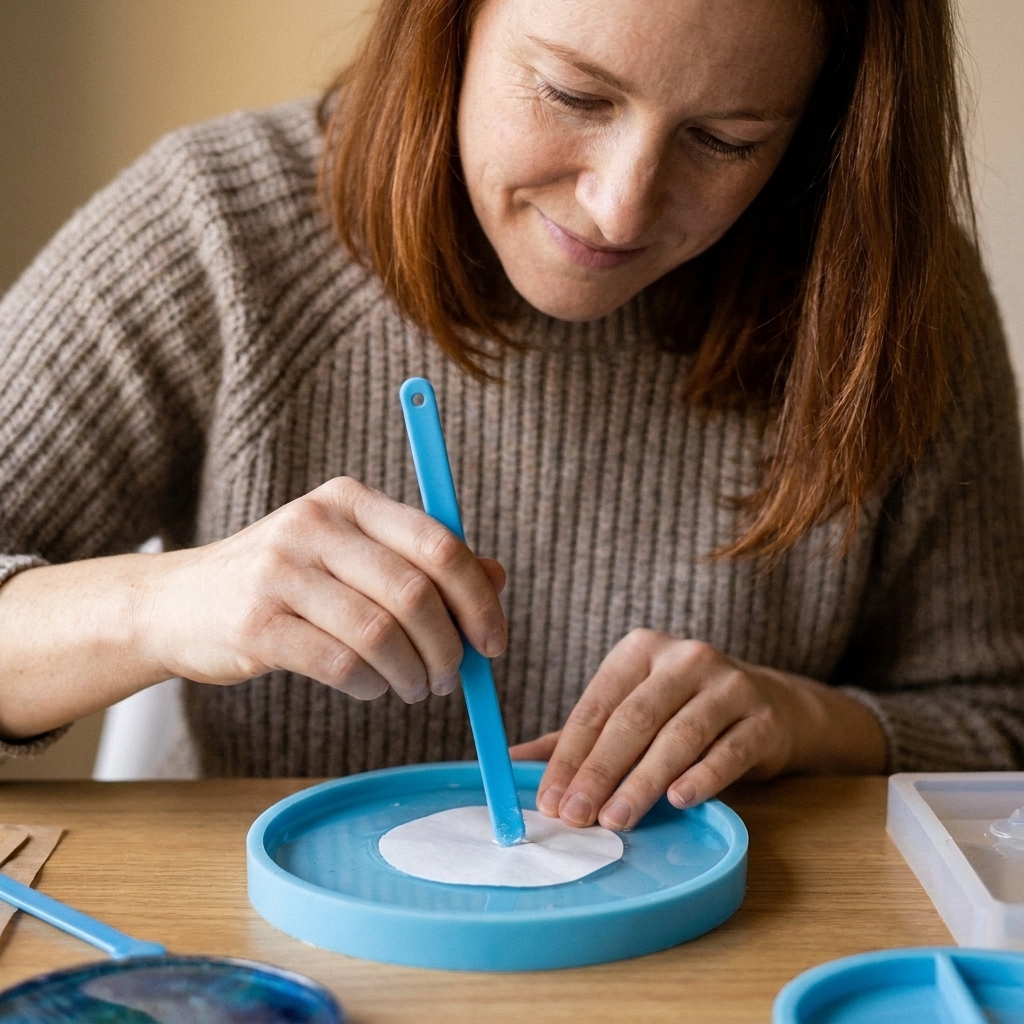
Use a silicone tool, gloved finger, or toothpick to gently press from center outward. I look for silver-looking trapped air, usually a shiny halo near the edges, and push it out.
Step 6: Pour the top layer slowly
Pour along a wall of the mold or onto a tool so the resin flows gently over the paper, instead of blasting directly onto it.
Step 7: Remove bubbles the right way
Paper edges love to release tiny bubbles for the first 10 to 20 minutes. Keep an eye on it and pop them as they rise. If bubbles are a recurring problem for you, my bubble guide is here: prevent and remove micro-bubbles.
Tips by material
Photographs (lab prints)
- Seal both sides with thin coats.
- Use a thin base layer and place the photo face-down for the crispest view.
- Keep pours modest to reduce heat buildup.
Home inkjet prints
- Let the print cure at least 24 hours.
- Choose a gentle sealing method first (thin coats, especially at the start).
- Test a small strip. Ink, paper coatings, and sealers can react in surprising ways.
Scrapbook paper, book pages, maps
- Spray sealer is usually easiest.
- Expect some darkening even when sealed. That is normal because resin changes how light travels through fibers.
- If you want the paper to stay more opaque, do extra seal coats and consider a white backing layer behind it.
Stickers and vinyl
- Some stickers are already non-porous, but the adhesive can trap air.
- Burnish down firmly on a cured base layer first, then pour over.
- If edges keep lifting, a thin resin seal coat brushed over the sticker and edges can help.
Tissue paper and napkins
- These need extra gentle handling and extra coats, because they wrinkle easily.
- Brush-on sealers can tear tissue. Spray works better with very light passes.
Prevent yellowing and discoloration
- Start with a quality resin and cure it correctly. Temperature swings can cause cloudiness and odd color shifts. This guide helps: ideal temperature and humidity for curing.
- Avoid direct sun for display. Even resin labeled UV resistant can amber over time in bright windows.
- Avoid thermal receipt paper. It can darken from heat and pressure, and it can also fade or shift over time. If it is precious, scan it and print a copy on regular paper for embedding.
- Use light layers. Very thick pours generate more heat, which can tint paper and warp prints.
Troubleshooting
The paper turned translucent or darker
- Cause: Resin soaked into fibers or the sealer coat was too thin.
- Fix: Increase seal coats next time, especially on edges and the back. Consider backing the paper with white card stock that is also sealed.
Ink bled or smeared
- Cause: Print was not fully cured, or your sealer (water-based or solvent-based) reactivated the ink or paper coating.
- Fix: Switch sealing method, use thinner coats, and test a strip first. Avoid spraying too wet.
Bubbles keep forming along the edges
- Cause: Air trapped under the paper or in porous edges.
- Fix: Use the tacky base layer method, press from center outward, and do a careful bubble patrol for the first 20 minutes. Sealing, trimming, then sealing again can also help with fuzzy edges.
The piece floated or shifted
- Cause: Base layer was too thin and too runny when you placed the paper.
- Fix: Let the base layer thicken more before placement, or do a two-stage embed: cure the base layer, tack down the sealed paper with a tiny bit of resin, then pour the top layer.
Cloudy areas around the photo
- Cause: Moisture, trapped micro-bubbles, or incompatible sealer that was not fully cured.
- Fix: Dry paper longer, keep your workspace at a stable temperature, and allow sealers to cure thoroughly before resin.
Resin stayed tacky near the paper
- Cause: Incorrect mix ratio, under-mixing, or contamination from certain finishes (some aerosols and craft coatings include waxy additives, oils, or plasticizers that can interfere with cure).
- Fix: Review mixing technique and cure conditions, and stick to sealers that dry hard and clear. My tacky resin guide is here: reasons epoxy resin stays sticky.
Mini tutorial: photo coaster embed
If you want a low-stress first project, coasters are perfect because the pour is shallow and you can practice edge bubble control.
- Seal your photo with 3 to 6 thin coats, both sides, then let it cure fully.
- Mix resin according to your brand instructions.
- Pour a thin base layer into the coaster mold.
- Wait until tacky.
- Place the photo face-down for the clearest view through the coaster top.
- Press gently from center outward to push out air.
- Top up with resin to your desired thickness.
- Bubble patrol for 15 to 20 minutes.
- Cure in a dust-free spot.
If you want extra coaster tips like clean edges and sanding, my coaster walkthrough is here: resin coaster tutorial.
FAQ
Do I have to seal both sides?
If it is paper or anything porous, yes. Unsealed backs and edges are the most common place resin sneaks in and causes darkening or bubbles.
Can I use UV resin for photo embeds?
You can for small, thin pieces, but UV resin can cure fast and trap bubbles if you are not careful. For beginners doing larger photo embeds, I generally prefer 2-part epoxy because you have more working time. If you are choosing between the two, this guide helps: UV resin vs 2-part epoxy.
Why does my photo look dull in resin?
Usually it is one of three things: the paper went slightly translucent, there are micro-bubbles over the surface, or the viewing side is not the glossy side you expected. Placing the image face-down against a smooth mold surface often gives the sharpest, glassiest look.
Will resin ruin original vintage photos?
It can. Between sealing chemistry, resin heat, and the fact that mistakes are permanent, I recommend scanning and printing a copy for embedding, especially for truly irreplaceable photos.
My best tip: test a scrap first
I know it is not the fun part, but a small test strip can save a whole project. Seal one little corner of the same paper or photo, drop it in a bottle-cap sized resin puddle, and see what happens after cure. If it stays crisp and unchanged, you are ready for the real pour.
And if your first attempt still goes sideways, you are in good company. Resin has a learning curve, and paper is one of its favorite things to bully. With the right sealing method and a calm, layered pour, you can lock in photos and paper keepsakes with that clear, glassy finish we are all chasing.