Stop tacky, uncured epoxy. Follow this step-by-step mixing method: confirm ratios, measure by volume or weight, stir slowly while scraping, then do a two-cup...
Resin Coaster Tutorial: Pour, Mix-Ins, and Clean Edges

Ruby Fletcher
Ruby Fletcher is a dedicated resin crafter with years of hands-on experience pouring, molding, and creating custom epoxy art. After turning her dining room into a makeshift studio, she developed a passion for helping beginners navigate the sticky, colorful world of resin with confidence. She loves sharing practical tutorials, troubleshooting tips, and essential safety guides to make epoxy crafting accessible for everyone.
Published · Last updated
The very first resin project I ever finished was a set of coasters, mostly because I wanted something useful after I had already glued myself to a mixing stick trying to preserve pressed garden flowers. Coasters are the perfect beginner win: small pours, quick feedback, and you can experiment with color and mix-ins without committing to a giant tabletop.
This guide walks you through my go-to method for a clean, glossy set of epoxy resin coasters, plus a few ways to level up the look with mix-ins and crisp painted rims.
Before you start: safety and setup
Resin is not a “light a candle and wing it” craft. You can absolutely do this at home, but set yourself up like you mean it.
- Ventilation: Work in a well-ventilated space. If you are building a home setup, follow my full guide on setting up a safe, ventilated resin workspace.
- PPE: Wear nitrile gloves and eye protection at minimum. For many resins, a properly rated respirator is the smart choice. See resin safety gear for my practical recommendations.
- Cover your surface: Use a silicone mat, freezer paper (shiny side up), or a dedicated craft tray. I keep a whole section of my garage dedicated to “oops insurance” with the help of mats and coverings for resin spills.
- Skin contact plan: Even careful crafters get drips. If you do, do not panic and do not use harsh solvents on your skin. Here is my guide to epoxy resin on skin removal and prevention.
Quick comfort check: Coasters cure best when your workspace is in a stable, resin-friendly range. If your garage is chilly like mine in the Pacific Northwest, read ideal temperature and humidity for curing before you pour.
Quick reality check: Resin coasters are for cups and glasses, not hot pans. And “countertop resin” does not automatically mean food-safe. If you need food-contact safety, follow your brand’s labeling and cure guidance to the letter.
What you need (simple list)
You can keep this project simple. I recommend gathering everything before you open the resin bottles, because resin waits for nobody.
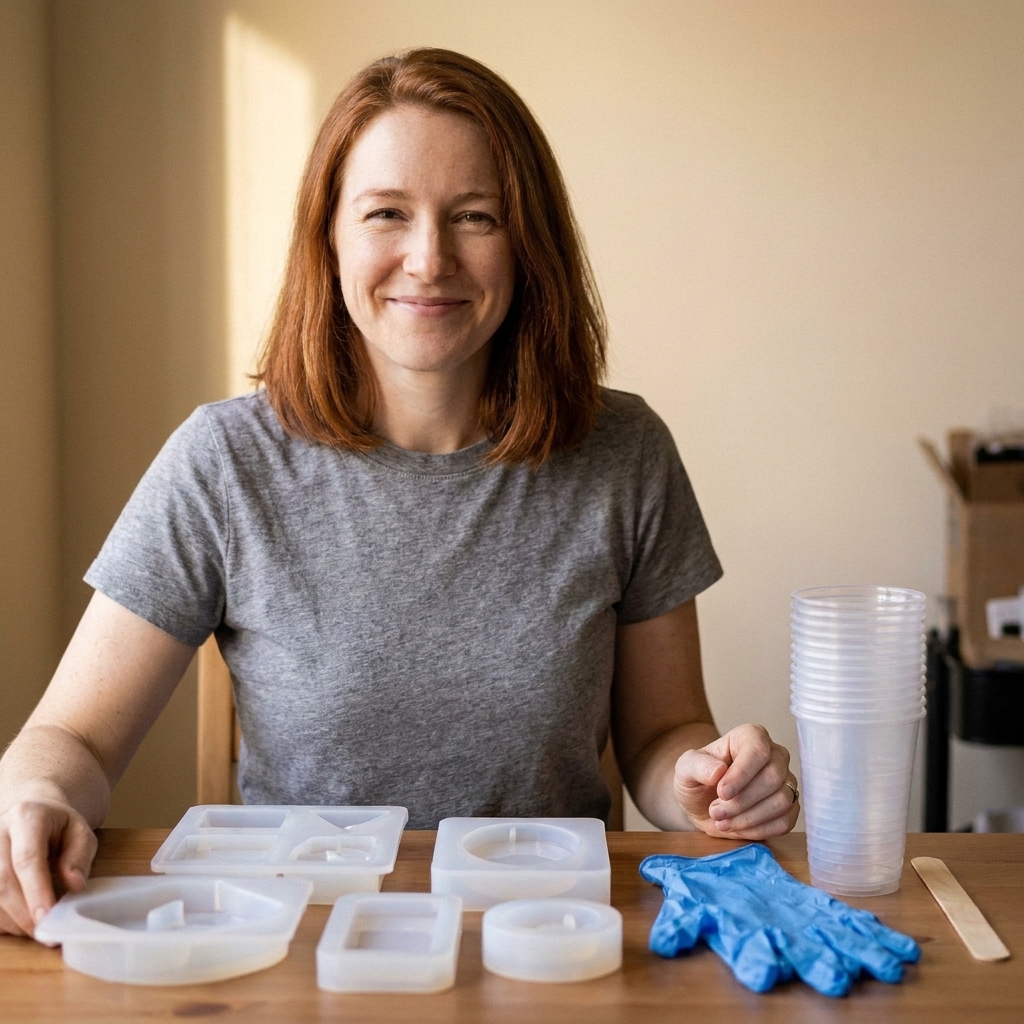
Materials
- 2-part epoxy resin (most art or tabletop epoxies work great for shallow coasters; casting resin is often thinner and can take longer to cure)
- Silicone coaster molds (round, square, or geode style)
- Mix-ins (choose 1 or 2): mica powder, alcohol ink, dried flowers, gold foil, glitter, tiny shells, coffee beans, or vinyl decals
- Acrylic paint (for rims)
- Clear topcoat resin (optional for a final gloss layer)
Tools
- Graduated mixing cups
- Wood stir sticks or silicone stir sticks
- Small disposable cups for dividing colors
- Heat tool: mini torch or heat gun (a lighter is higher-risk and can leave soot or scorch silicone, so I avoid it unless there is truly no other option)
- Tweezers (for placing mix-ins)
- Level (small bubble level)
- Sandpaper: 220, 400, 800, 1000 to 2000 grit (wet/dry is ideal)
- Microfiber cloth
- Optional: painter’s tape for clean paint lines
If you want a full “first pour” checklist, I keep an updated beginner list here: beginner resin art supplies. For mold tips, see choosing and caring for silicone molds.
Step 1: Prep molds and workspace
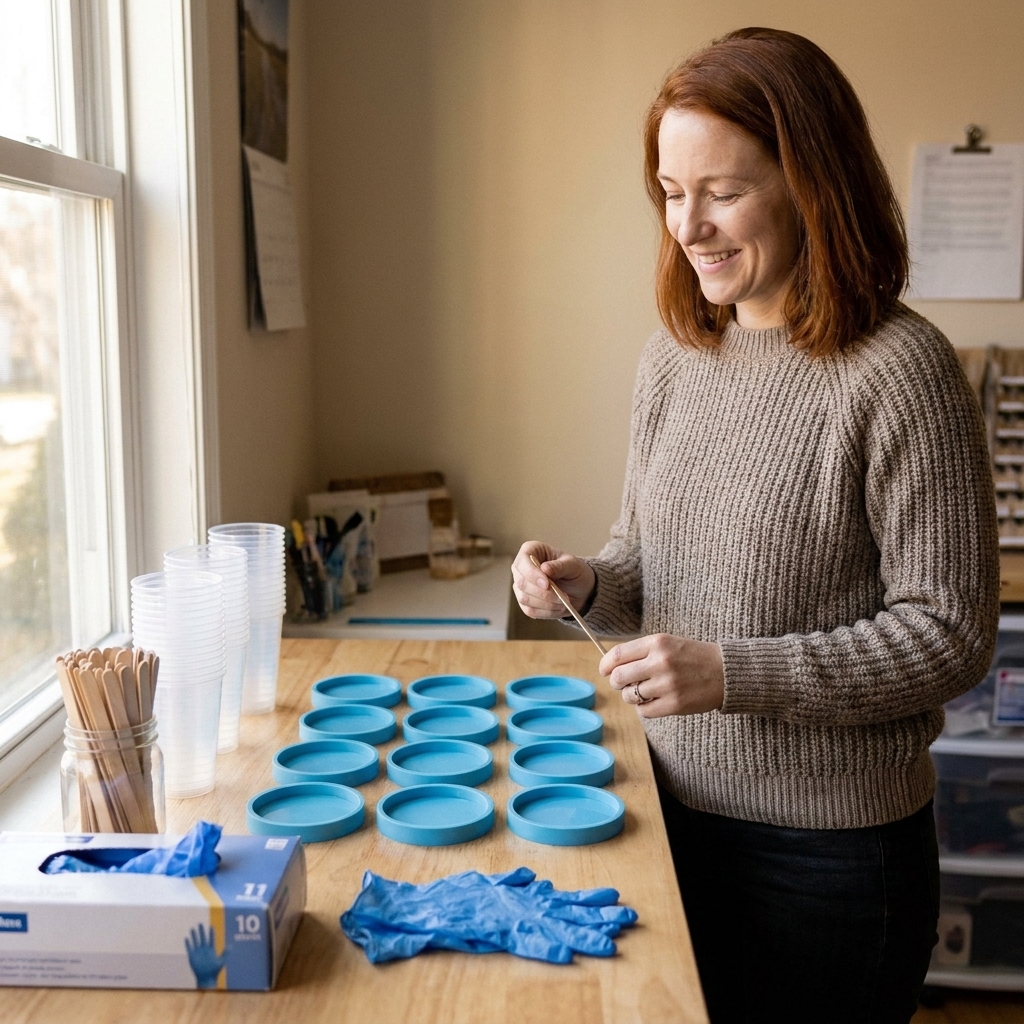
- Clean the molds. Dust is the enemy of glossy resin. Use a lint-free cloth or a piece of tape to lift specks from the mold interior.
- Level your work surface. Place a small level where your molds will sit. Shim with cardstock if needed. Even a slight tilt can create a coaster that looks like it is slowly sliding off a hill.
- Skip mold release (usually). Most silicone coaster molds do not need it. Mold release can also dull your shine, so I only use it when a specific mold is being stubborn.
- Plan your design. Decide now if you are doing:
- a clear coaster with a few embedded mix-ins
- a solid mica color
- a two-tone swirl
- a layered design (my favorite for flowers and foil)
- Warm the resin bottles (optional but helpful). If your resin is thick or your room is cool, place tightly capped bottles in warm water for 5 to 10 minutes. Dry them completely before opening so no water gets into the resin.
Step 2: Measure and mix well
Most coaster problems trace back to mixing. Take your time here and the rest of the project feels almost magical.
Follow your product’s ratio exactly. Some resins are 1:1 by volume, others are 2:1, and some require weight. If you want my detailed walkthrough, see how to measure and mix 2-part epoxy.
How much resin do you need?
Coaster mold volume varies a lot by diameter and thickness. As a loose starting point, many coaster molds land around 20 to 45 ml each.
My most accurate method is boring but flawless: fill one mold with water, pour it into a measuring cup, and note the volume. Dry the mold completely before you pour resin.
Mixing steps
- Pour Part A and Part B into a mixing cup (scrape the sides of the bottles if needed).
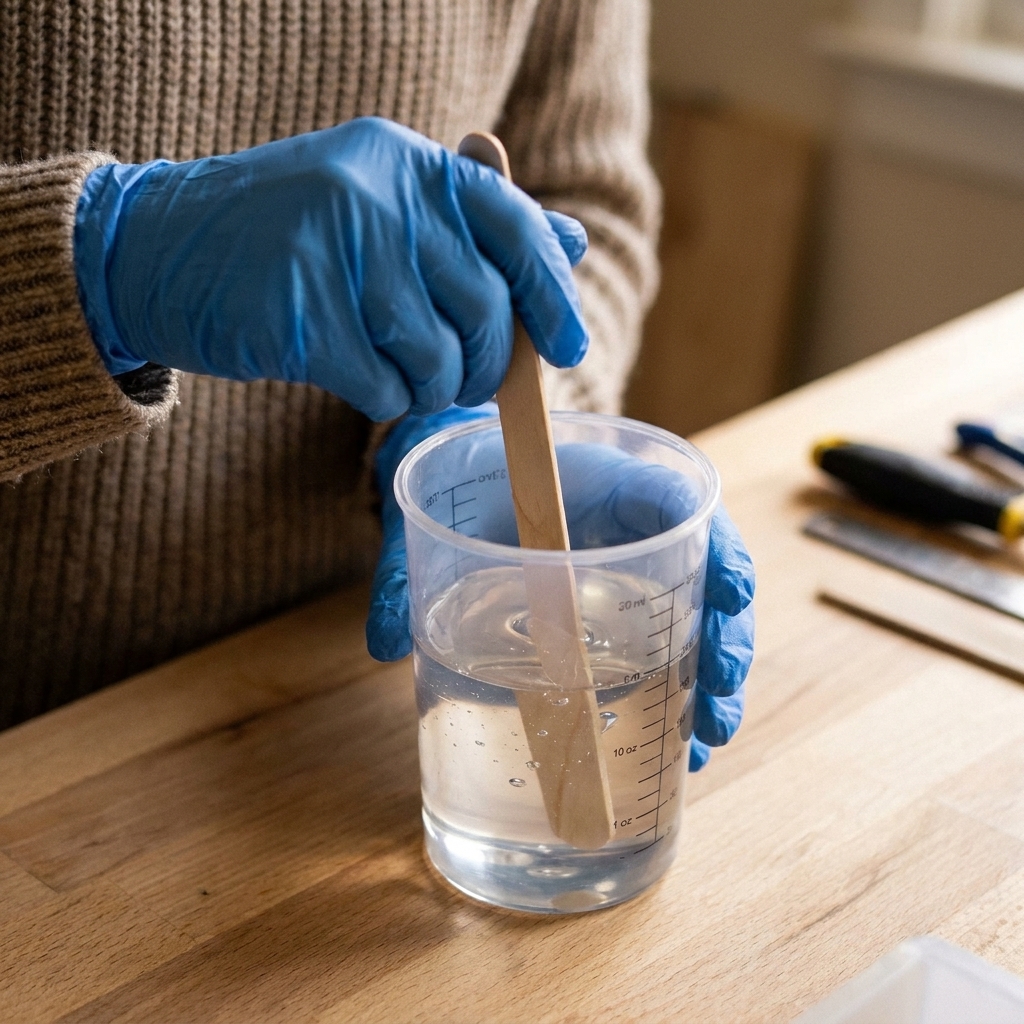
- Mix slowly for 3 to 5 minutes (or your resin’s instructions). Scrape the sides and bottom as you go.
- Transfer and mix again in a fresh cup for 30 to 60 seconds. This “double cup” method dramatically reduces sticky spots caused by unmixed resin clinging to the first cup walls.
Tip from my sticky-finger era: Fast stirring whips in micro-bubbles. Slow and steady wins the gloss.
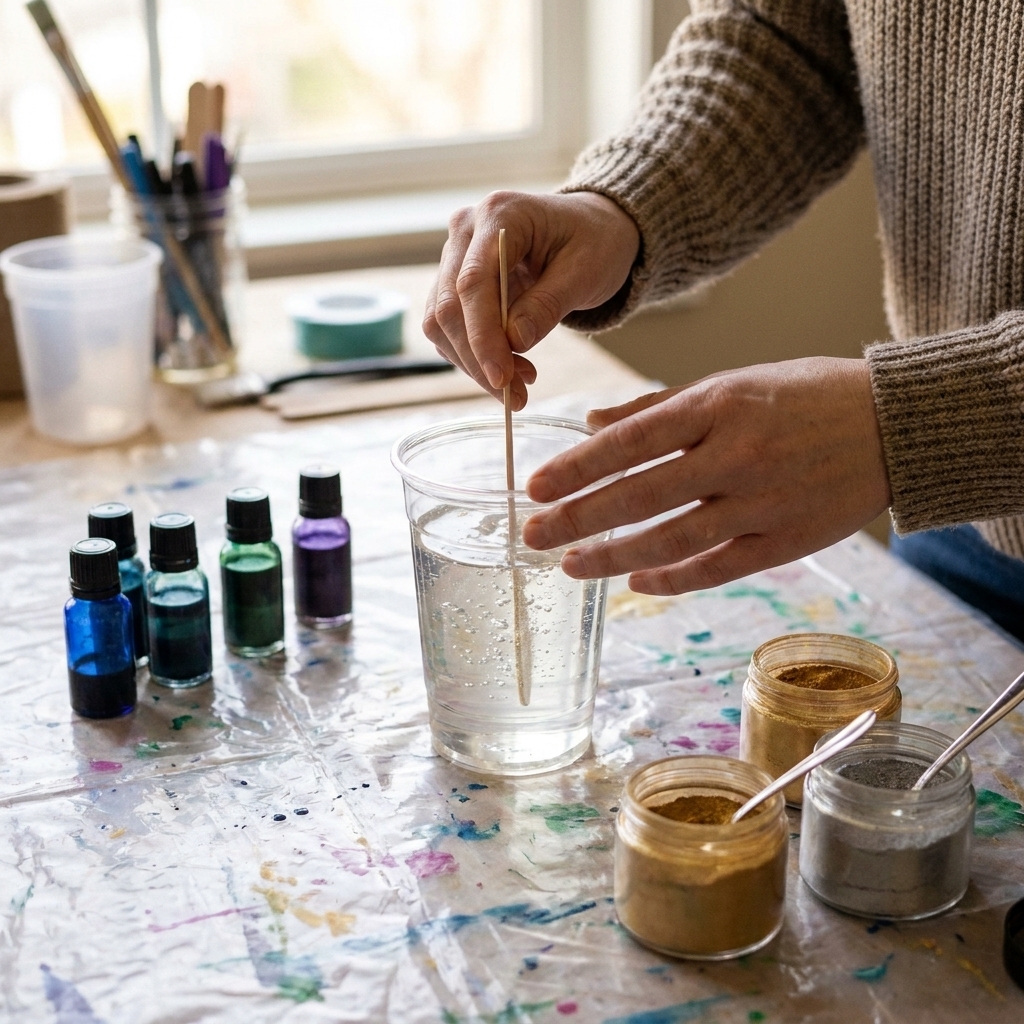
Step 3: Color (optional)
If you want tinted or opaque coasters, add color after your resin is thoroughly mixed.
- Mica powder: A tiny scoop goes a long way. Mix until there are no dry specks. Mica gives gorgeous depth and hides minor bubbles well.
- Alcohol ink: Great for translucent color and petri-style effects, but it can shift during cure depending on resin. Start with a few drops and test.
- Liquid resin dye: More predictable than alcohol ink, especially for consistent sets.
I break down colorants, how much to use, and what plays nicely with epoxy here: how to color epoxy resin.
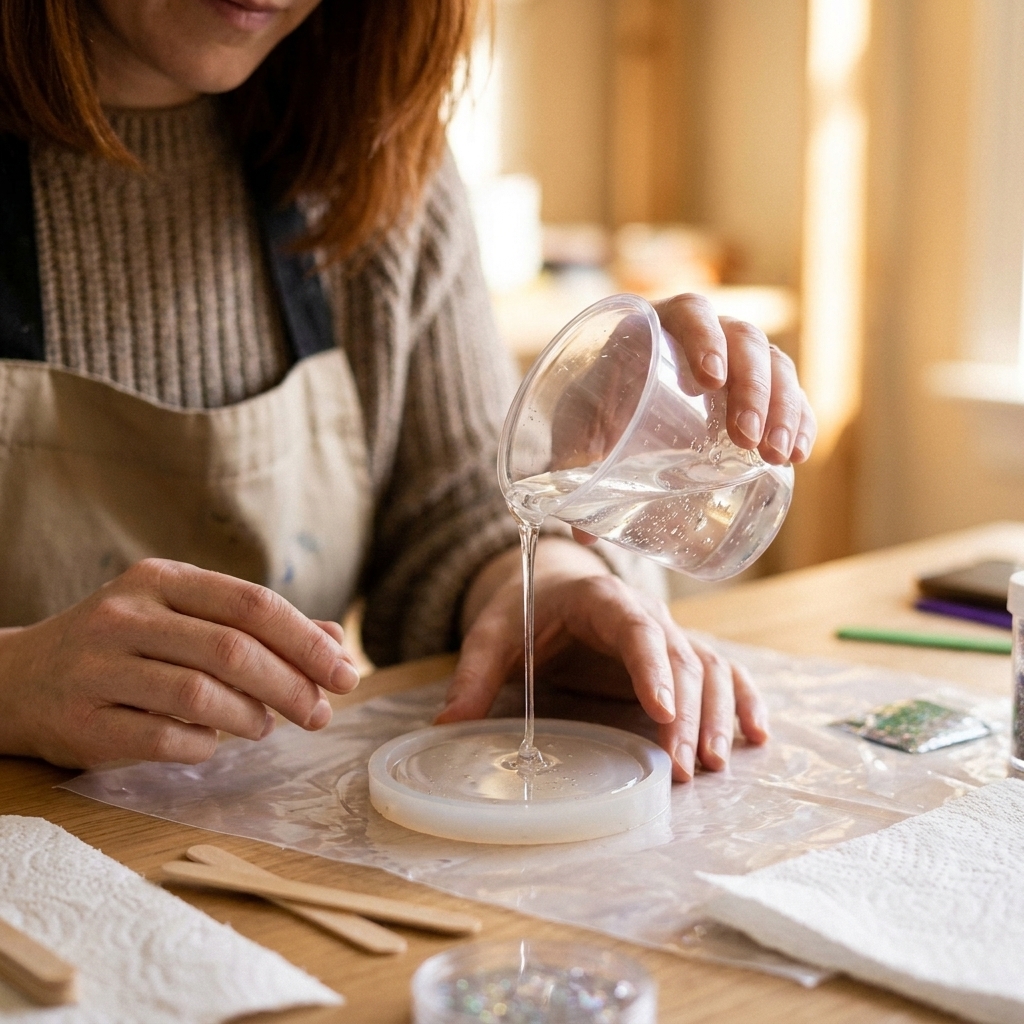
Step 4: Pour the base
For most coaster styles, you have two good options: a single pour (fastest) or a layered pour (best for mix-ins that float or sink).
Option A: Single pour
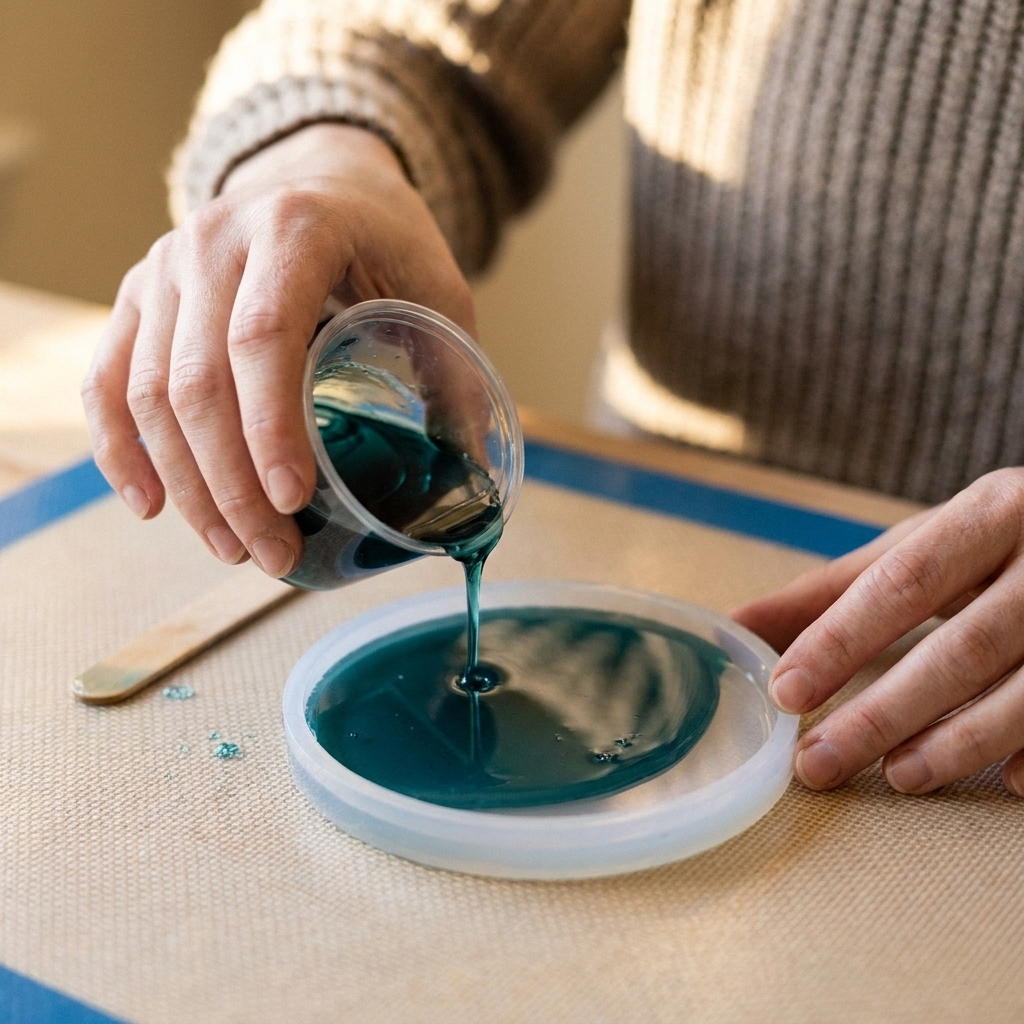
- Pour resin into each mold until it reaches the desired thickness.
- Use a stir stick to guide resin into fine edges or geode points.
Option B: Layered pour
- Pour a thin base layer, just enough to cover the bottom.
- Wait until it thickens to a “honey” stage (often 20 to 45 minutes, depending on resin and room temperature).
- Add mix-ins, then top off with the remaining resin.
Why layer? It helps keep lightweight items (like glitter and petals) from floating up, and it can slow down sinking. Truly heavy embeds (metal charms, stones) may still sink unless the resin is closer to gel stage or the item is supported.
Step 5: Add mix-ins neatly
This is the fun part, and also where beginners accidentally trap bubbles under everything.
Mix-ins that work well
- Gold foil or leaf: Crinkle it lightly, then place with tweezers. Too much foil can look muddy, so use it like seasoning.
- Glitter: Fine glitter disperses evenly, chunky glitter adds drama. Mix slowly to avoid air.
- Dried flowers: Must be fully dried or they can brown or release tiny bubbles. For a full flower method, see how to dry and embed real flowers.
- Vinyl decals: Best placed at the honey stage so they do not drift. Press from the center outward to push out air, and test your vinyl and resin combo first because some adhesives can create a faint “halo” edge.
- Tiny found objects: I love small vintage charms, but keep them thin so your coaster sits flat.
How to place mix-ins
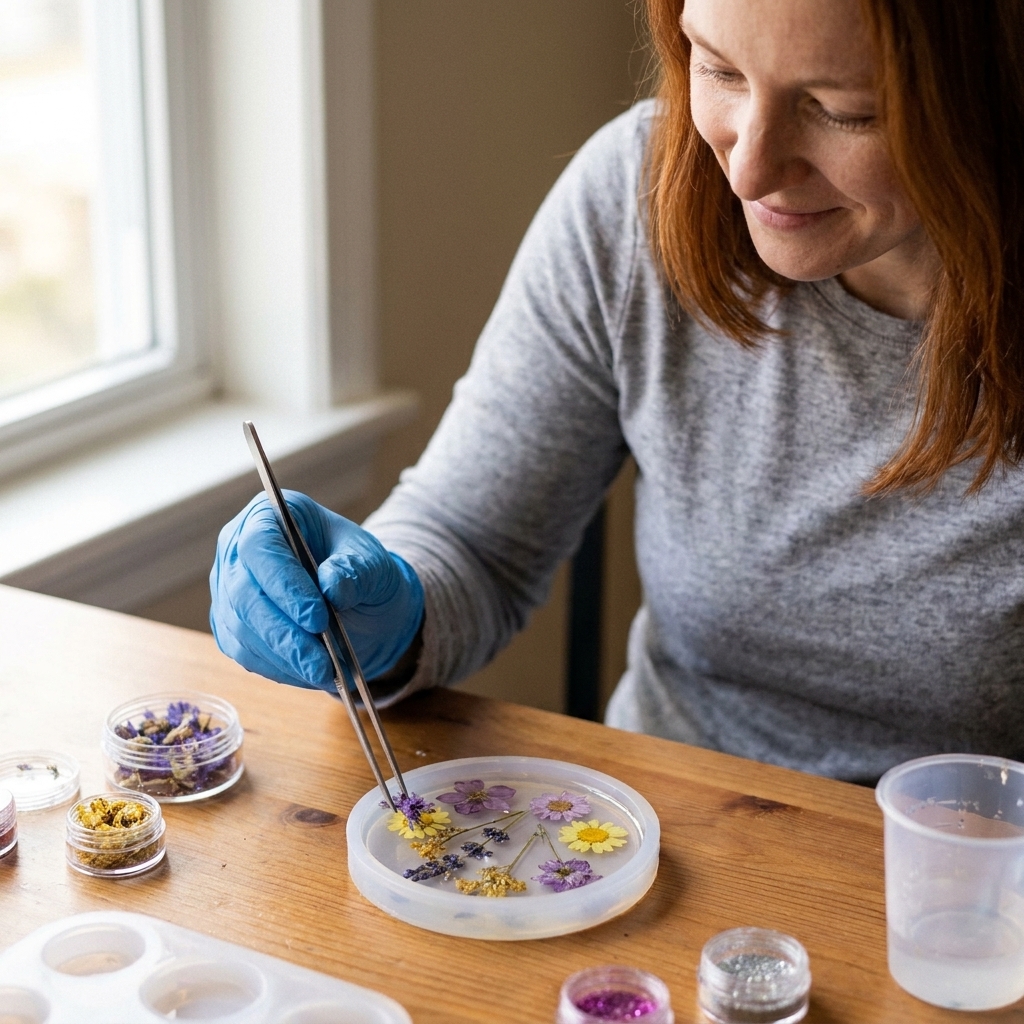
- Use tweezers. Dropping items from above traps air underneath.
- Angle the piece in. Slide one edge into the resin, then lower the rest like you are laying it down on a pillow.
- Nudge bubbles out. If you see a bubble clinging under a flower petal, lift that edge slightly with a toothpick and let resin flow underneath.
Step 6: Pop bubbles
Bubbles happen. The goal is to remove the ones that will be visible on the top surface or trapped under mix-ins.
- Wait a few minutes first. Right after pouring, bubbles rise naturally. I usually give it 3 to 5 minutes.
- Use gentle heat. Pass a torch or heat gun quickly across the surface. Keep moving so you do not scorch the mold or cause a ripple texture.
- Check edges and corners. Bubbles love hiding along the rim where resin meets silicone.
For a full troubleshooting list, including why bubbles show up days later, read how to prevent and remove micro-bubbles.
Step 7: Cover and cure
Dust is sneaky. I cover curing coasters with a clean plastic storage bin or a cardboard box turned upside down.
- Keep it flat and undisturbed.
- Follow your resin’s cure time. Many epoxies demold in 12 to 24 hours, but reach full hardness later.
- Avoid temperature swings. Resin that cures too cold can stay soft, rubbery, or tacky.
If your pieces cure sticky or soft, you are not alone. My troubleshooting guide is here: 8 reasons epoxy resin stays sticky (and how to fix it).
Step 8: Demold and check
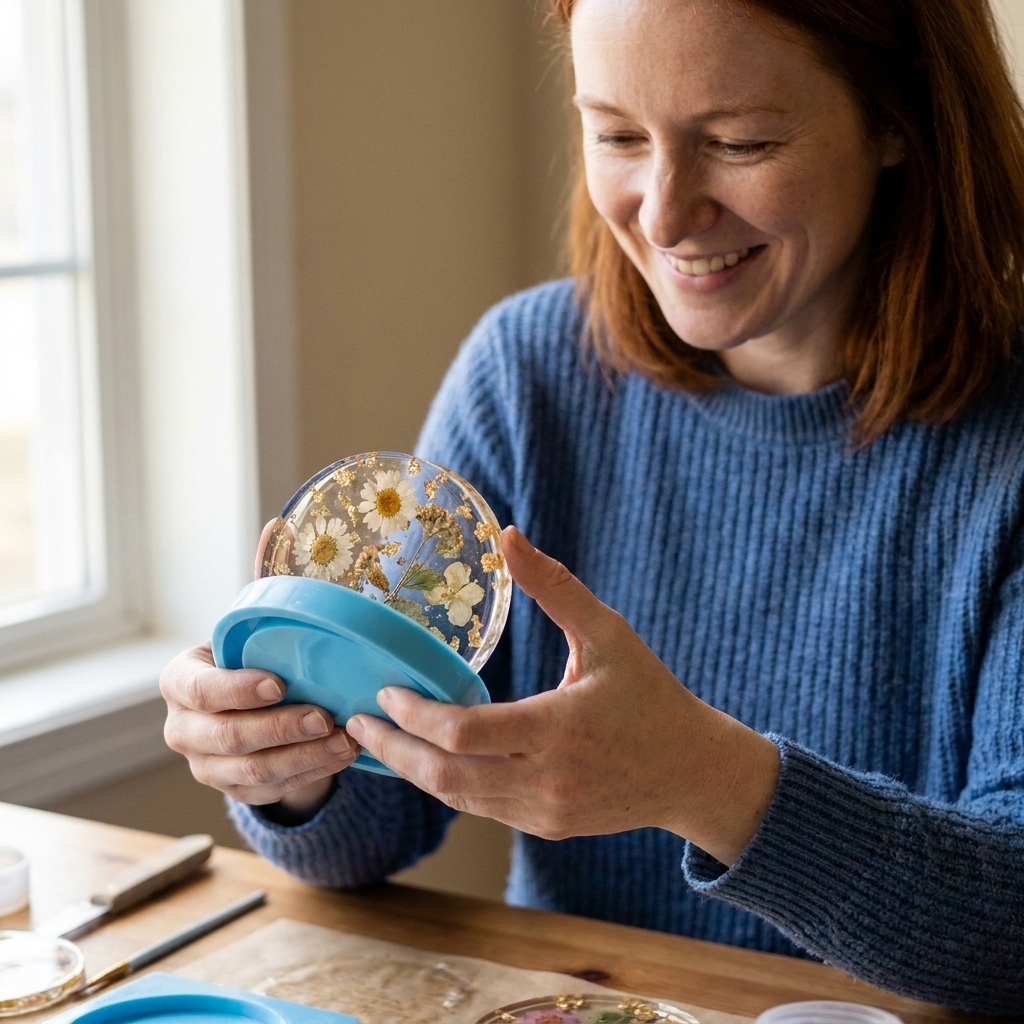
Once the resin is firm and cool to the touch, gently flex the silicone mold to release the coaster.
- If it feels bendy: Give it more time. Demolding too early can warp edges.
- If the back is a little dull: Totally normal. Silicone molds often produce a glossy front and a more satin back, depending on the mold finish.
If you want both sides glossy, you have three easy fixes: a light dome coat on the back, a thin flood coat on a level surface, or sanding and polishing up through high grits.
Step 9: Finish edges
This is where coasters go from “cute craft” to “store-bought looking.” Pick the edge finish that matches your style and patience level.
Option A: Sand smooth
- Trim drips first with small scissors or a craft knife if needed (only if fully cured).
- Dry sand 220 grit to knock down sharp edges and uneven spots.
- Progress to 400, 800, 1000, then 2000 grit for a smoother finish. Wet sanding at higher grits keeps dust down and reduces scratches.
- Rinse and dry thoroughly after wet sanding.
Safety note: Sanding cured resin creates fine dust. Wear a properly rated mask or respirator and clean up carefully.
Option B: Dome coat
If your coaster top is not as glossy as you want, you can add a thin dome layer.
- Place coasters on a perfectly level surface (this matters a lot).
- Mix a small batch of resin.
- Pour or spread a thin layer to the edges, then let it self-level.
- Pop surface bubbles and cover to cure.
Dome coats look amazing, but they can overflow if you apply too much. Start thin.
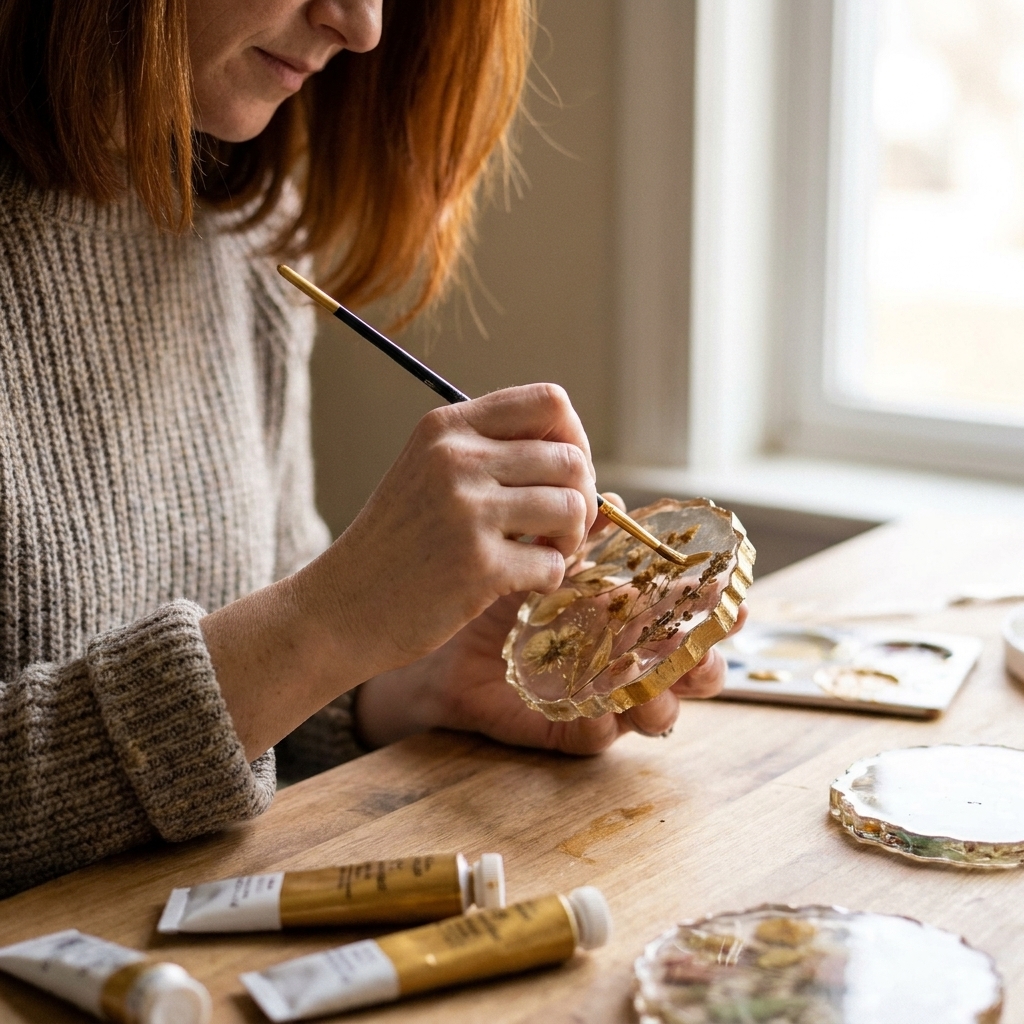
Option C: Paint rims
Painted edges make even simple clear coasters look intentional. Gold, black, and white are classic, but a deep teal rim is my personal weakness.
- Make sure the coaster is fully cured. If it is still slightly flexible, paint can crack later.
- Lightly sand the rim with 400 grit so paint grips better. Wipe off dust.
- Use painter’s tape (optional). If you want a crisp line, tape just inside the rim on the top surface.
- Apply acrylic paint with a small flat brush. Use thin coats. Two light coats look smoother than one thick coat.
- Let it dry completely, then remove tape slowly.
- Seal (optional): For extra durability, you can brush on a thin clear coat of resin along the rim or use a compatible clear sealer. Test first, since some sealers can stay tacky on resin.
Cleanup and disposal
Please do not rinse resin tools in the sink. Uncured epoxy and contaminated solvents do not belong in plumbing.
- Let leftover mixed resin cure in the cup, then peel it out and dispose of it as solid waste if your local rules allow.
- Wipe tools with paper towels while resin is still wet. Then spread used towels out flat in a single layer on a nonflammable surface in a ventilated area to cure. Do not ball them up, because heat can build up in a pile.
I have a full cleanup and disposal walkthrough here: how to clean up uncured resin and dispose of epoxy waste safely.
Common problems
Soft or sticky spots
This is almost always incorrect measuring, under-mixing, or cold curing conditions. Start with this sticky resin guide, then decide whether the piece can be top-coated or needs to be remade.
Tiny bubbles around mix-ins
Try layering, use tweezers to slide items in, and give the resin a few minutes before you use heat. More bubble help here: micro-bubble prevention.
Sharp edges
Sand the rim through a few grits, then paint or dome coat to soften the feel. Sharp edges are common with geometric molds and slightly underfilled pours.
Mix-ins floated or sank
Use the honey-stage method or do a two-layer pour. Lightweight botanicals and foil tend to rise in a single thin pour. For heavy items, wait closer to gel stage or support the embed so it stays put.
Easy design ideas
- Botanical minimal: One pressed flower centered, clear resin, thin gold rim.
- Marbled mica: Two colors swirled gently with a toothpick, no extra mix-ins.
- Terrazzo chips: Let small colored resin “chips” cure, break them, then embed in a clear pour.
- Geode sparkle: Dark base, metallic line work with mica, then a band of glitter along one edge.
- Vintage charm embed: One small flat charm near the edge, paired with subtle tint.
Where to go next
If you liked this project, coasters are a gateway craft in the best way. You can keep building skills by trying cleaner mixes, bolder pigments, and different mold shapes. When you are ready, browse more beginner-friendly projects in Techniques & Tutorials, or jump into functional pieces in Home Decor & Functional Art.