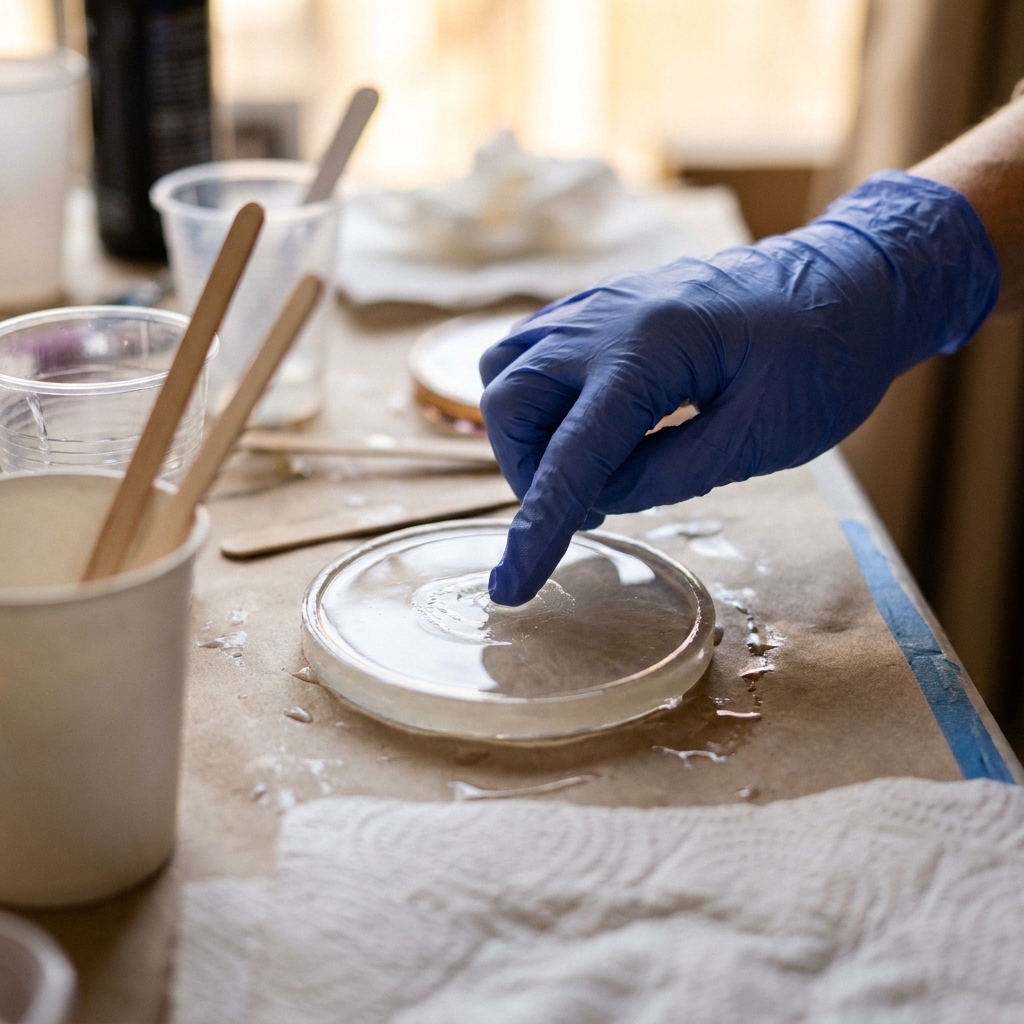
Micro-bubbles can turn a “clear” epoxy pour hazy fast. Learn where they come from, how to prevent them with warm resin and slow mixing, plus the best ways to...
How to Dry and Embed Real Flowers in Epoxy Resin

Ruby Fletcher
Ruby Fletcher is a dedicated resin crafter with years of hands-on experience pouring, molding, and creating custom epoxy art. After turning her dining room into a makeshift studio, she developed a passion for helping beginners navigate the sticky, colorful world of resin with confidence. She loves sharing practical tutorials, troubleshooting tips, and essential safety guides to make epoxy crafting accessible for everyone.
Published · Last updated
The first time I tried to preserve real flowers in resin, I did what a lot of beginners do. I pressed a few blooms from my very overgrown Pacific Northwest garden, tucked them into a coaster mold, poured resin on top, and crossed my fingers. It looked gorgeous for about a day, then tiny bubbles appeared like champagne, the petals went slightly translucent, and one piece developed a faint yellowish halo that screamed “moisture.”
Good news: you can absolutely embed real flowers in epoxy resin successfully. The trick is simple but non-negotiable. The flowers must be fully dry, then sealed, then embedded with a pour plan that does not trap air.
Why flowers rot, bubble, or fade
Epoxy resin is not a dehydrator. If you embed a flower that still has moisture inside, that moisture can try to escape as the resin cures. Some resins also warm as they cure, and that warming is usually stronger in deeper pours or larger masses. That combination leads to problems like:
- Bubbles releasing from the petals and stem, sometimes for hours
- Cloudiness or a hazy ring around the flower
- Browning or dark spots as the flower breaks down
- Floating, because trapped air and lightweight petals want to rise
- Color shift, especially blues and purples, plus general fading over time
Drying solves the rot risk and most bubble issues. Sealing helps lock in color, reduces the “wet look” translucency, and helps reduce outgassing from delicate petal textures.
Quick safety setup
Dry flowers are harmless, but epoxy resin is still a chemical project. Work like you mean it.
- Set up airflow and a dedicated surface you can protect. I like a covered table with a silicone mat or disposable paper layer. Here is my guide to best mats and coverings for resin spills.
- Wear gloves and eye protection. If you are working indoors, use proper respiratory protection. See resin safety gear basics.
- Dial in your room conditions, because curing behavior changes a lot with temperature and humidity. This guide helps: ideal temperature and humidity for epoxy resin curing.
If you get resin on your skin, do not panic and do not scrub with acetone or other strong solvents. Use the safe removal steps here: epoxy resin on skin removal and prevention.
What you need
Drying supplies
- Silica gel (fine crystals or beads) and an airtight container
- Soft paintbrush for dusting crystals off petals
- Tweezers (flowers get fragile fast)
- Optional: coffee filters or a mesh screen to keep tiny petals from sinking too deep
Embedding supplies
- 2-part epoxy resin suitable for casting or molds
- Silicone mold, bezel, or a shallow tray
- Mixing cups, stir sticks, and a scale or measuring cups
- Heat tool (mini torch or heat gun) used lightly
- Sealer: clear-drying glue, spray sealer, or a thin resin “painting” coat
One extra note that saves a lot of heartbreak: follow your resin’s maximum pour depth. Not all epoxies are made for deep casts, and pouring too thick can overheat, yellow, crack, or distort your botanicals.
If measuring and mixing still feels intimidating, keep this open while you work: how to measure and mix 2-part epoxy resin.
Step 1: Choose flowers
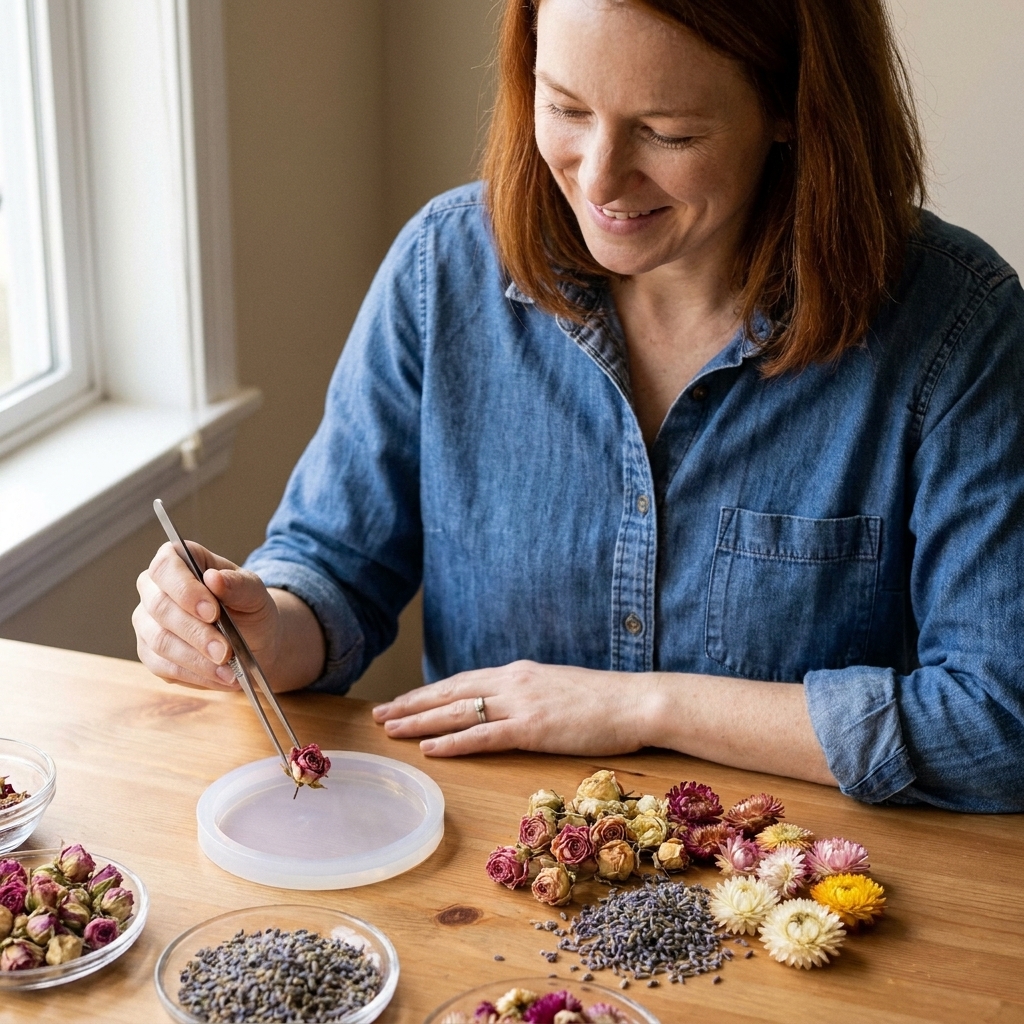
Not every bloom behaves the same in resin. My easiest wins tend to be flowers with naturally lower water content or thinner petals.
Beginner-friendly picks
- Baby’s breath
- Daisies and small wildflowers
- Queen Anne’s lace
- Heather and small clustered blooms
- Ferns and leafy sprigs
Trickier picks
- Roses: thick petals hold moisture deep inside
- Succulents: notoriously difficult due to high water content, and many still discolor or rot
- Very thick stems: slow to dry and can create voids
Be picky about greenery. Fresh leaves and anything with a lot of sap can brown quickly, even when you think it is “dry.” Some white flowers can also yellow over time due to natural pigments and aging. If you are making a keepsake, it is worth testing your exact botanicals first.
Pick the right moment to harvest. Choose flowers that are fully open but not past their prime. Avoid anything with dew, rainwater, or visible pollen dusting everything, unless you want that look sealed in forever.
Step 2: Dry with silica gel
Silica gel drying is my go-to because it dries quickly and helps flowers hold their shape. Pressing works too, but pressed flowers are thin and can look more translucent in resin unless you seal them well.
How to dry flowers in silica gel
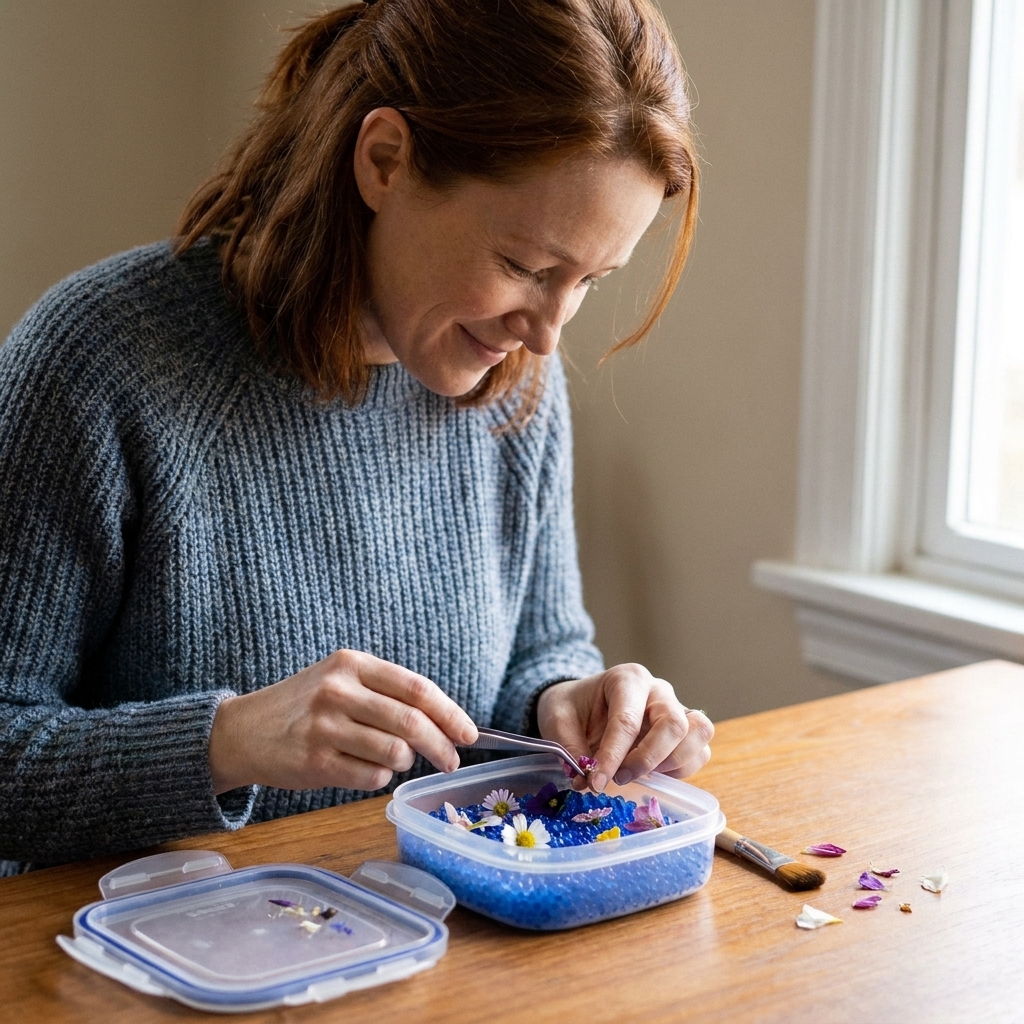
- Prep the container. Pour a 1 to 2 inch layer of silica gel into an airtight container.
- Trim stems. Short stems dry more evenly and fit molds better.
- Position the bloom. Set it the way you want it to dry. Many open blooms do well face-up, but some shapes hold better slightly angled or even face-down.
- Cover slowly. Sprinkle silica gel around the petals first, then over the top. Go slow so you do not crush or fold petals.
- Seal the container. Close it tightly. Keep it at room temperature out of direct sun.
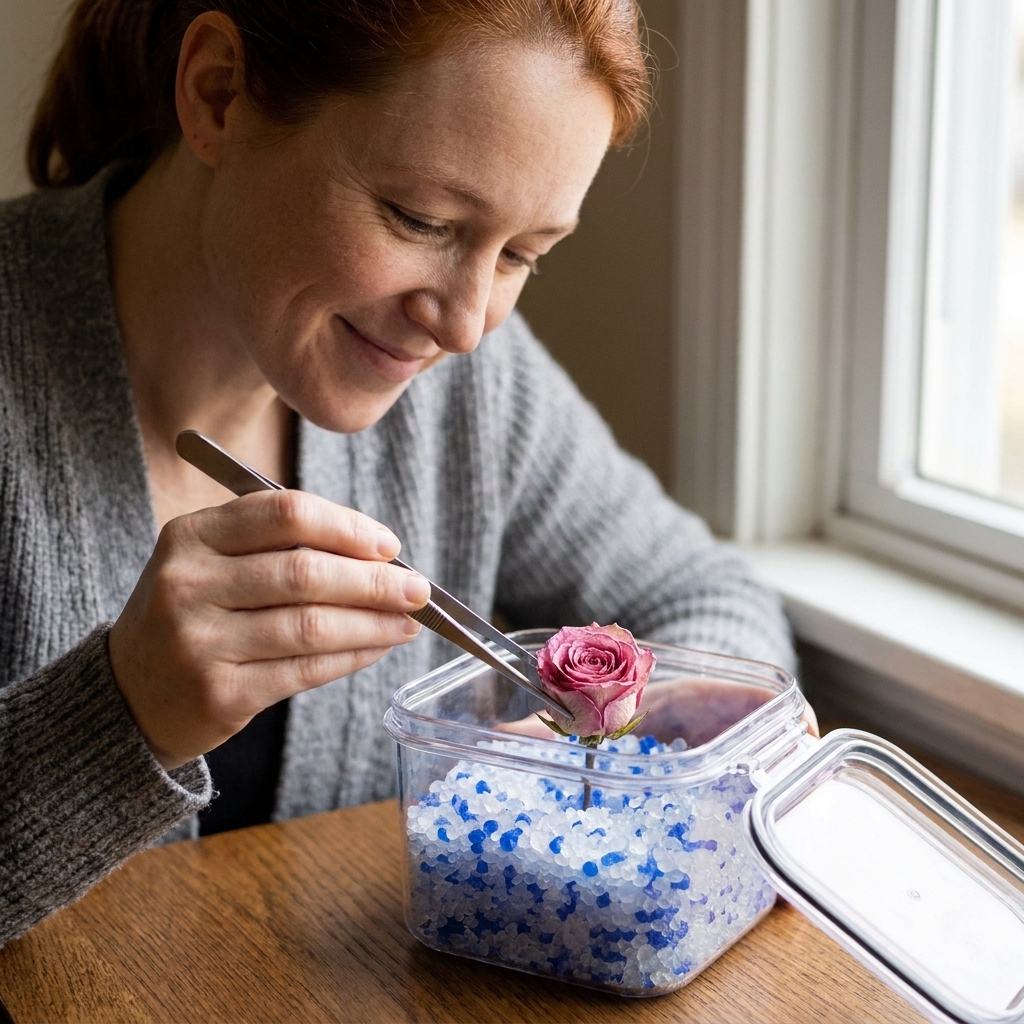
- Wait. Small flowers can dry in 24 to 72 hours. Larger blooms often take 3 to 7 days.
How to know they are fully dry
- Petals feel papery, not cool or flexible
- The flower is lightweight and crisp
- No “soft center” near the base of the bloom
My rule: if you are unsure, give it another day. A single damp flower can ruin a whole pour.
When you remove them, lift gently with tweezers and use a soft brush to dust off silica. Do not use water, even a tiny mist can rehydrate petals.
Step 3: Seal the flowers
Sealing is the step that makes dried flowers look “finished” in resin. It fills tiny air pockets in petal textures and gives the resin less opportunity to sneak into cellular spaces and turn the flower see-through.
Sealing options
- Spray sealer: quick, good for batches. Use multiple light coats and let it dry completely.
- Brush-on clear glue: great control, especially for pressed flowers. Choose a clear-drying craft glue and use a thin layer.
- Thin resin coat: my favorite for 3D blooms. Mix a small amount of resin and “paint” a whisper-thin coat over petals with a disposable brush, then let it gel on a silicone surface.
How to seal without ruining the petals
- Seal in a dust-free area. Petals love grabbing lint.
- Use thin coats. Thick coats can look plasticky and can pool in the center.
- Let it dry fully before embedding. If your sealer is still off-gassing, it can contribute to bubbles.
If you are fighting tiny bubbles in general, you will like this guide: how to prevent and remove micro-bubbles in epoxy resin.
Step 4: Plan your pour
Flowers float. Even when they are dry. Even when you swear you placed them perfectly. The easiest way to win is to pour in layers.
Best approach: the anchor layer
- Mix resin accurately and let it sit for a minute so some bubbles rise.
- Pour a thin base layer into the mold, just enough to cover the bottom.
- Wait for the tacky stage. You want thick syrup to soft gel, where it slowly levels but will briefly hold a ridge if you drag a toothpick through it.
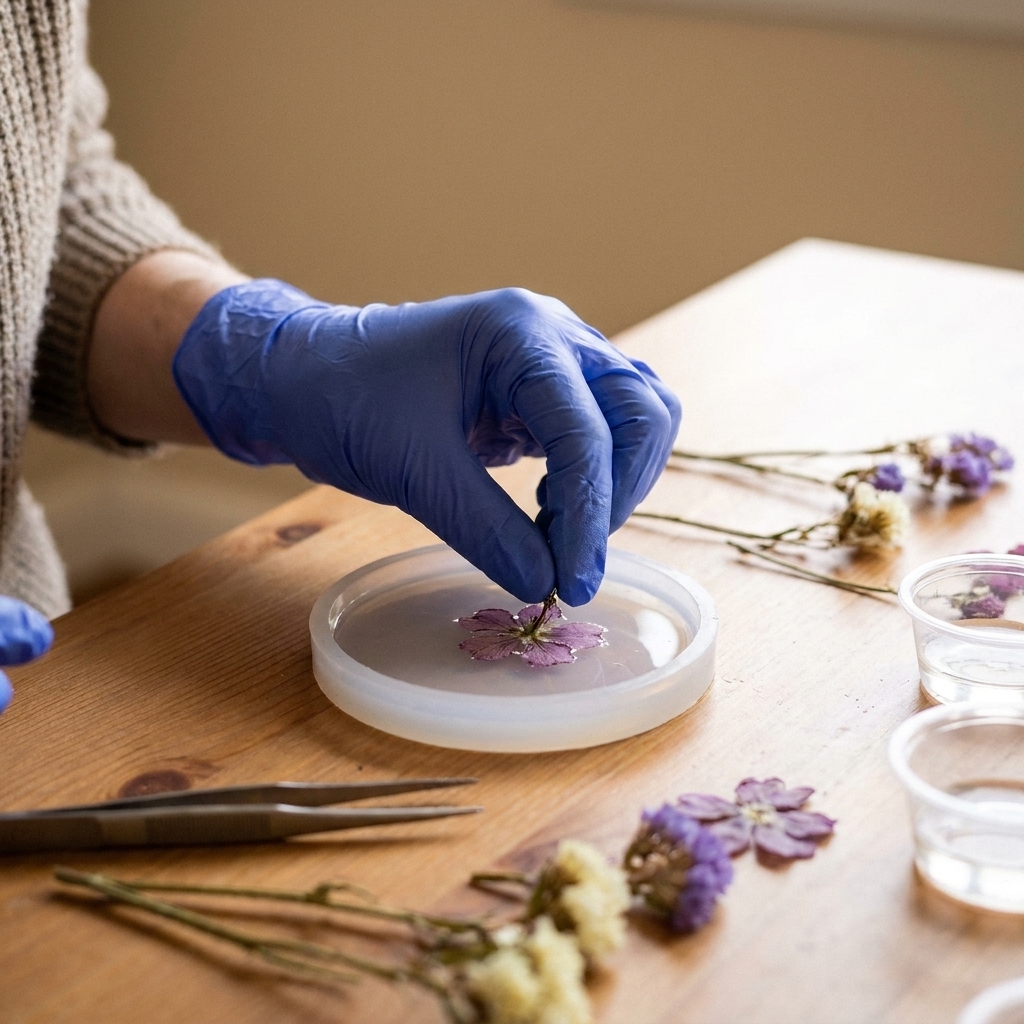
- Place the flower. Set it gently into the tacky layer. This “grabs” it so it does not float.
- Add the flood coat. Pour the rest slowly, aiming at the side of the mold so you do not blast air into petals.
Do not wait too long. If the base layer is fully cured, you can get a visible layer line or weaker bonding between pours, depending on your resin.
If you are new to staging pours and cure timing, it helps to first get comfortable with workspace setup: set up a safe ventilated resin workspace.
Step 5: Pour without bubbles
Mixing tips that matter
- Mix slowly and thoroughly. Fast stirring whips in bubbles that love getting stuck under petals.
- Scrape the sides and bottom of your cup while mixing.
- Do not overheat the resin. Warming can lower viscosity, but overheating can shorten working time and increase bubble activity.
Pouring tips
- Pour in a thin stream to reduce trapped air.
- Pour onto the mold wall and let resin flow around the flower instead of directly onto it.
- Chase bubbles carefully. Use a heat gun or torch lightly and briefly. Too much heat can cause ripples, scorch petals, or trigger a fast cure.
After pouring, do a slow lap with a toothpick or pin along the flower edges and underneath obvious overhangs to gently coax out bubbles clinging to petals. This is especially helpful on flowers with clustered florets like baby’s breath.
Step 6: Cure and demold
Cover your piece while it cures to keep dust and pet hair out. In my house, this is not optional.
- Leave it alone. Bumping molds early can shift the flower or release new bubbles.
- Demold when fully cured. If it feels flexible, give it more time.
- Consider a topcoat. If your piece needs extra gloss or you sanded edges, a thin final coat can make it look glassy again.
If you ever end up with a tacky finish, it is usually a mix, temp, or ratio issue. Here is the rescue guide I wish I had early on: 8 reasons epoxy resin is sticky or soft and how to fix it.
Keeping color longer
Some fading is simply what real botanicals do over time, especially in bright light. You can slow it down a lot.
- Avoid direct sunlight. Display botanical resin pieces away from sunny windows.
- Use fresh, well-dried flowers. Old, partially browned blooms will not improve in resin.
- Seal before embedding. This helps maintain the original look and reduces translucency.
- Choose stable colors when you can. Whites and creams can yellow with age, and intense blues and purples often shift faster than many yellows and muted tones.
If you are making gifts or keepsakes, I tell friends upfront that real flowers are organic. Resin preserves them beautifully, but it does not freeze time the way a museum does.
Troubleshooting
Bubbles keep forming around the petals
- Cause: flower not fully dry, not sealed, or resin too thick and trapping air
- Fix: dry longer next time, seal thoroughly, and use an anchor layer so you can work bubbles out before the flood coat
The flower turned translucent
- Cause: resin soaking into petal structure, common with pressed flowers
- Fix: seal with multiple thin coats, especially on the underside
The flower floated to the top
- Cause: resin poured all at once, flower too light, trapped air underneath
- Fix: anchor layer method, or pour halfway, gel, then place flower and top off
Brown spots or yellow halo appeared
- Cause: moisture, plant sugars, or a bloom that was already degrading
- Fix: use fresher flowers, dry longer, seal better, and avoid thick wet stems
Resin cured weird around the flower
- Cause: inaccurate mixing, low temperature, contamination from certain sprays, or pouring thicker than your resin is designed for
- Fix: verify ratio and mixing method and keep your cure environment stable. Use trusted sealers and let them dry fully. Follow the resin’s pour depth limits.
FAQ
Can I use air-dried flowers instead of silica gel?
You can, but it is less predictable. Air drying often shrinks or curls petals and can take weeks, which increases browning. For resin, I prefer silica gel for shape and speed.
Can I embed flowers in UV resin?
UV resin works best for small, shallow pieces like jewelry bezels. Thick pours can be tricky because UV light cannot penetrate deeply. Many products will cure on top while staying liquid or tacky underneath, and manufacturers usually list a maximum curing depth. If you are deciding between resins, this breakdown helps: UV resin vs 2-part epoxy.
Do I have to seal if the flowers are fully dry?
I strongly recommend it. Even perfectly dried flowers have tiny air pockets that can release bubbles. Sealing also helps reduce translucency.
Should I test a flower before making a keepsake?
Yes. Botanicals vary wildly. If it is sentimental, do one small test with your exact flower, sealer, and resin so you know how it will look once it cures.
How do I dispose of leftover resin after a flower project?
Let mixed resin fully cure in the cup, then dispose of the solid piece according to local rules. For uncured cleanup and safe disposal habits, use this guide: how to clean up uncured resin and dispose of epoxy waste safely.
First project: flower coaster
If you want a low-stress starting point, do a shallow coaster with pressed flowers. Press them first, then seal them, then pour a thin layer, place flowers, and top off with a final flood coat. Shallow pieces cure more evenly and give you fewer bubble surprises than deep casts.
If you are still building your basic kit, I put together the essentials I keep within arm’s reach: beginner resin art supplies.