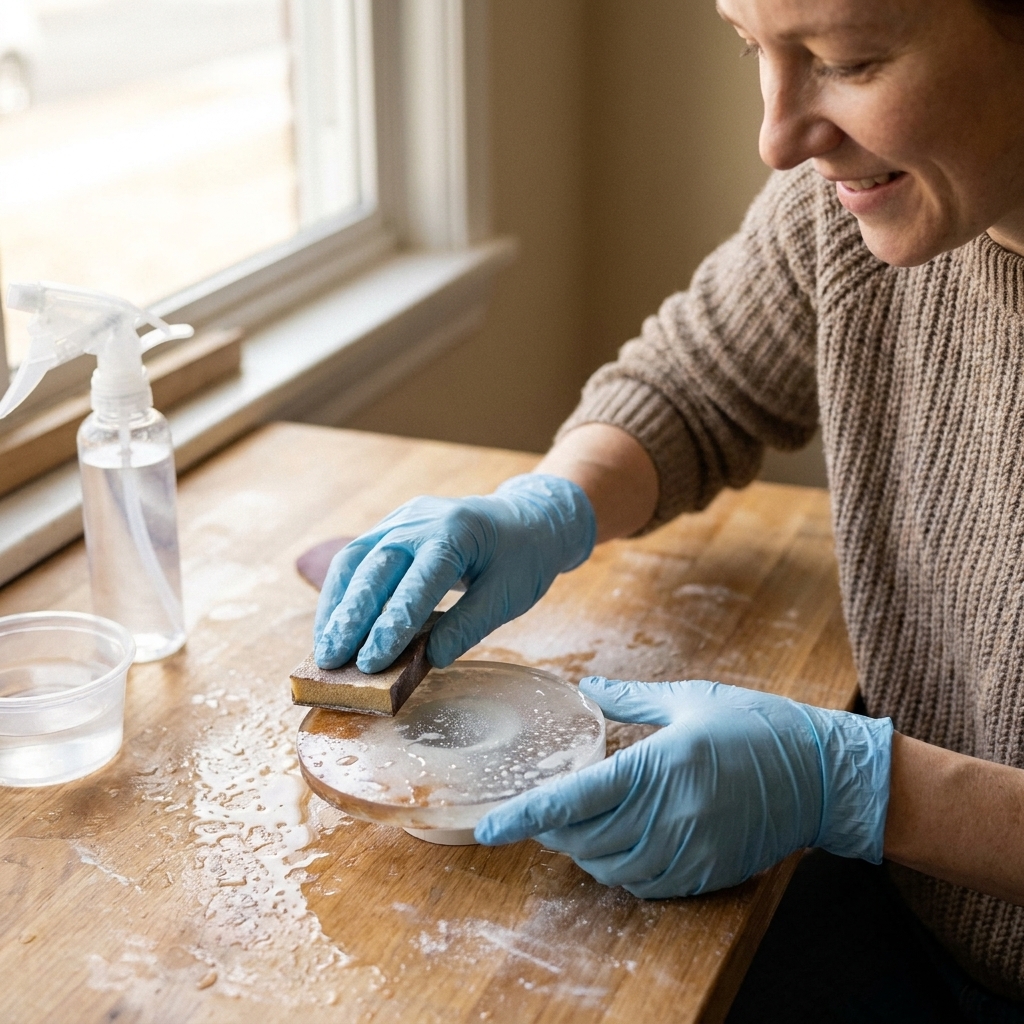
Stop bubbles, haze, and soft spots. Learn the ideal epoxy curing range (72–78°F, 35–50% RH), what goes wrong when it’s too hot/cold or humid, and easy ways t...
Pouring Epoxy Resin in Layers Without Visible Lines

Ruby Fletcher
Ruby Fletcher is a dedicated resin crafter with years of hands-on experience pouring, molding, and creating custom epoxy art. After turning her dining room into a makeshift studio, she developed a passion for helping beginners navigate the sticky, colorful world of resin with confidence. She loves sharing practical tutorials, troubleshooting tips, and essential safety guides to make epoxy crafting accessible for everyone.
Published · Last updated
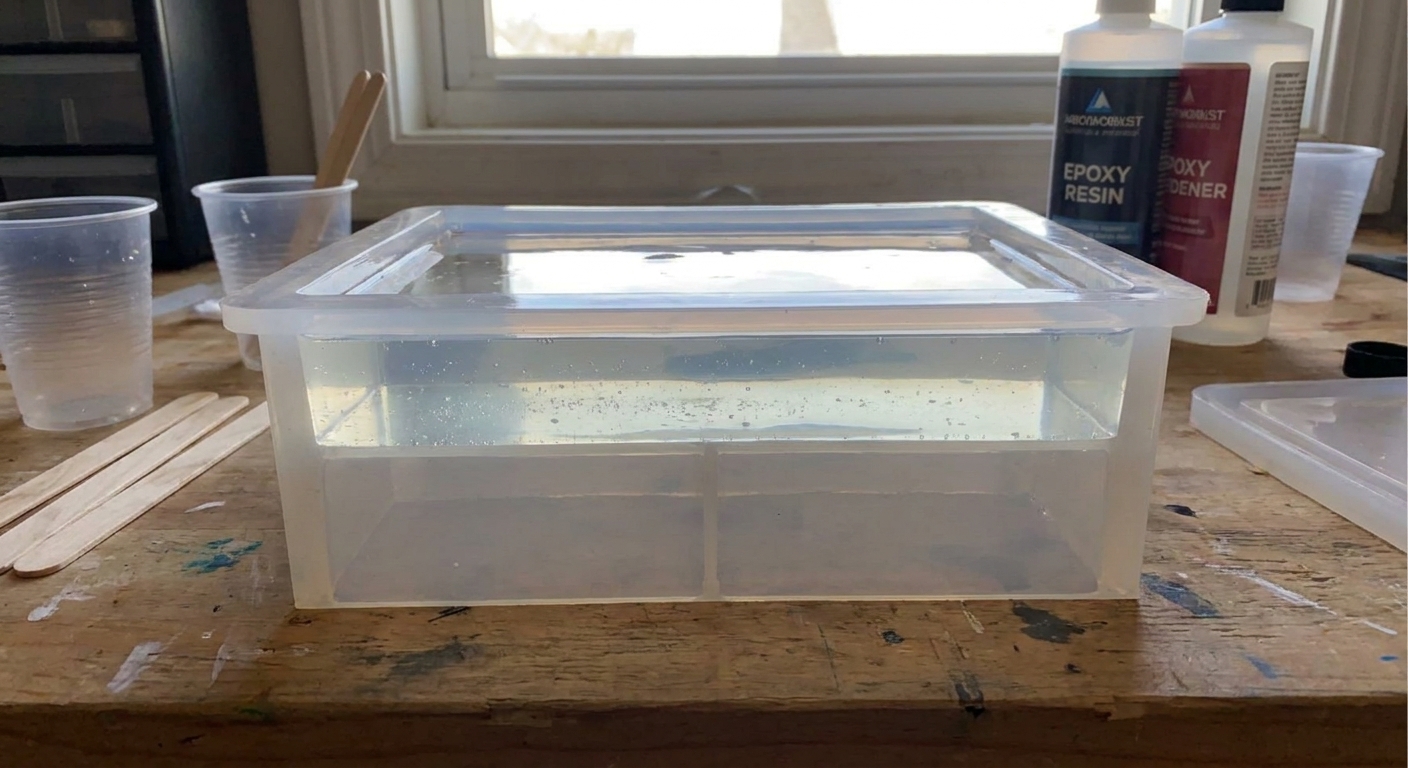
The first time I tried a “deep” pour with a regular 2-part epoxy kit, I did what most of us do. I poured, waited until it looked cured, then poured again. The next morning I had a faint horizon line running through my piece like a tiny acrylic aquarium wall. It was not subtle, and once you see a layer line, you cannot unsee it.
The good news is that clean, seamless layers are totally doable. You just need two things: the right timing and the right surface prep when timing goes sideways. This guide walks you through both, plus my favorite tricks for suspended 3D effects, deep molds, and crystal-clear builds.
Why layer lines happen
Visible lines usually come from one of these situations:
- You poured too late. The first layer fully cured, so the next layer could only stick mechanically. That seam can show as a line, especially in clear pieces.
- You poured too early. If the first layer is still very liquid, the new pour can mix into it, create pigment halos, or trap bubbles and heat.
- Surface contamination. Dust, oily fingerprints, mold release, silicone spray, or amine blush can sit between layers and create a boundary.
- Temperature swings. A cold first layer can contribute to thicker resin at the boundary and make a refractive “step” that reads like a line.
- Different resin batches behave differently. Even with the same brand, slight ratio drift or different pigment loads can change clarity and shrinkage.
Layering well is basically about getting a strong chemical bond when possible, and creating a clean mechanical bond when you miss that window.
Two bonding windows
Chemical bond window
This is when the first layer has started curing, but it is not fully crosslinked yet. The next layer can still “grab” chemically, so the seam nearly disappears.
Target feel: tacky like the sticky side of a Post-it note, or a firm gel that you can press with a gloved finger and leave a slight print without resin coming off on your glove.
Typical timeline: often a few hours after pouring at a stable room temperature, but it varies wildly by brand, pour thickness, and temperature. If your resin label or tech sheet gives a recoat window (sometimes phrased as “recoat within X hours without sanding”), treat that as your first source of truth and use the feel test to confirm.
Mechanical bond window
If the first layer is hard and glossy, the next layer will not fuse chemically. You can still get a strong bond, but you must prep the surface. If you skip prep, you risk visible seams and even delamination later.
Target feel: hard, no tack, you can tap it with a fingernail and it clicks.
Fix: sand, clean, then recoat.
My layering timeline
Resin brands vary, so I do not trust the clock alone. I use a quick checkpoint routine that works on almost every project.
Step 1: Pour Layer 1 and note conditions
- Room temp and humidity (even a rough sense helps). For the sweet spot, see ideal temperature and humidity for curing.
- How thick the layer is (thin coaster layer vs deep mold lift).
- Whether you used pigment, glitter, alcohol ink, or heavy inclusions.
Step 2: Start checking early
For most craft epoxies, I start checking around the 2 to 3 hour mark, but I let the resin tell me when it is ready. Put on gloves and lightly touch an edge or a hidden spot with a toothpick or craft stick.
- Still liquid: wait.
- Honey or syrup: close, but still risky for mixing and sinking inclusions.
- Gel stage: my favorite time to pour the next layer if I want the seam to disappear.
- Rubbery: still may chemically bond, but it is easier to trap air if you pour aggressively.
- Hard: you missed the chemical window. Prep for mechanical bonding.
Step 3: Pour the next layer gently
I pour down a stir stick or along the mold wall to reduce bubbles and avoid “digging” into the tacky surface.
If your resin is thick, warming the closed bottles in a bowl of warm water for 5 to 10 minutes helps it flow and reduces bubbles. I avoid making the mold significantly warmer than the mixed resin, because a warm mold can shorten working time fast.
For mixing and ratio accuracy, I always follow a consistent method like the one in how to measure and mix 2-part epoxy resin.
Layer thickness
There is no universal number because every epoxy has a different max pour depth. The safest rule is: never exceed your resin’s stated maximum pour thickness per layer. If the label does not say, treat it like a thin-coat resin and pour in smaller lifts.
Guidelines I use
- Coasters and trays: 1/8 to 1/4 inch (3 to 6 mm) per layer is usually comfortable for craft epoxy.
- Deep molds (paperweights, pyramids, large blocks): multiple thin to medium lifts are safer than one dramatic pour unless you are using a deep-pour formula designed for thick casts.
- Suspended objects: pour a thin “anchor” layer first, let it reach gel stage, place the object, then pour another layer to lock it in place.
If you are seeing lots of microbubbles at layer edges, how to prevent and remove micro-bubbles helps a lot, because layer seams love to collect tiny trapped air.
The no-line method
If I can control the schedule, this is the cleanest way to layer.
What to do
- Pour Layer 1. Pop surface bubbles as usual.
- Cover while it cures. I use a clean plastic tote or a cardboard box as a dust cover.
- Wait for gel stage. Tacky, not wet.
- Pour Layer 2 slowly. Pour onto a stick or down the side of the mold.
- Repeat as needed. Each new layer gets the same gel-stage check.
How I keep the seam invisible
- Keep layers the same temperature. If Layer 1 cured in a cool room, bring the whole project into a stable temp before Layer 2.
- Mix each batch thoroughly. Under-mixed resin can cure unevenly and create hazy bands.
- Use consistent pigment loads. If you are tinting, measure pigment drops or scoop sizes so you do not create slightly different refractive layers.
- Skip mold release between layers. If you spray release onto a cured layer, you are basically painting a non-stick film between pours.
If you missed the window
Life happens. If your layer cured hard overnight, do not panic. You can still get a strong bond and usually hide the seam visually.
Surface prep steps
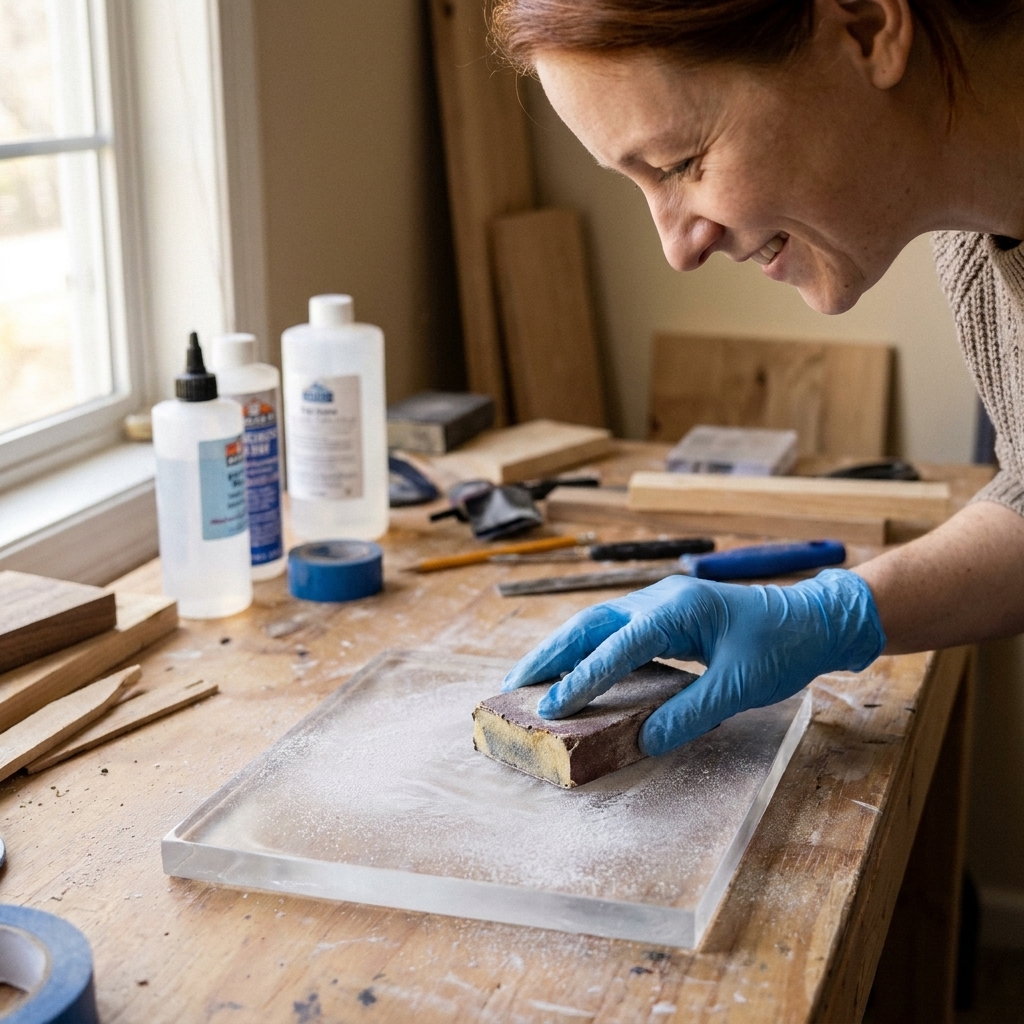
- Wash first if needed. Some epoxies and conditions can create a waxy film called amine blush. If your brand is prone to it, wash with mild soap and water, rinse, and dry fully before sanding.
- Sand the cured layer. Use 220 to 320 grit to scuff the entire surface. You want an even matte finish, especially near the edges where separation loves to start.
- Remove dust completely. Vacuum, then wipe with a clean damp cloth, then let it dry fully. Avoid oily cleaners.
- Pour the next layer. Pour slowly to avoid trapping air in sanding scratches.
After your final cure, you can refine the finish with the same workflow I use in how to sand and polish epoxy resin.
Found a line mid-project?
If you notice a visible line and you still have more pours planned, here is how I decide what to do next:
- If the surface is cured hard and glossy: I scuff-sand the entire layer (not just the line), clean well, then keep going. Spot-sanding only the line can leave a shallow dip that shows later.
- If the piece is clear and the line is optical (not a crack): a thin flood coat near the end can soften how the line catches light, but it will not magically erase a boundary caused by contamination or poor bonding.
- If you suspect contamination (spray, oil, dusty glitter fallout): I wash, sand, and clean more aggressively before I pour again. Contamination is one of the few problems that can get worse with every new layer.
Suspended 3D effects
This is the technique that got me hooked on resin in the first place. I wanted to preserve flowers from my very overgrown garden, and layering is what makes that floating, museum-display look.
Lightweight items
- Seal or prep if needed. Many papers and botanicals release air. Dried flowers work best. For a full flower workflow, see how to dry and embed real flowers.
- Pour a thin base layer. Just enough to cover the bottom.
- Wait for gel stage. Tacky and supportive.
- Place the item. Use tweezers. Press gently so it grabs the gel.
- Pour a cap layer. Pour slowly so you do not push air out of the item.
Heavier items
- Anchor layer first, always. If the base is too liquid, heavy objects sink and can trap a ring of bubbles underneath.
- Consider two locking pours. One to hold it, one to fully bury it.
- Watch overall pour mass and heat. Thickness, total volume, and ambient temperature are the big drivers. Dense objects can hold and move heat through the cast, so I stay conservative with lift thickness.

Bubbles and ripples
- Do not whip your mix. Stir with intention, scraping sides and bottom, then pour into a second cup and stir again if you want extra insurance.
- Pour low and slow. A thin stream helps bubbles rise.
- Warm resin gently. Warm bottles help flow. I avoid a hot mold because it can shorten pot life and turn a calm pour into a rushed one.
- Use brief heat on the surface only. If you use a heat gun or torch, keep it moving. Overheating can cause waves and can make layer boundaries more noticeable.
- Cover between layers. Dust becomes a seam.
If you need a cleanup plan for drips or sticky spills while you are layering, I keep my full process in how to clean up uncured resin and dispose of epoxy waste safely.
Common problems
I can see a line in clear resin
- Cause: slight cure mismatch, temperature difference, or tiny trapped bubbles at the boundary.
- Fix: for future pours, aim for gel-stage bonding and keep the project at a stable temperature. For this piece, a final flood coat can soften how the line catches light. If the line is near the surface, sanding and polishing can help.
Layers separated after demolding
- Cause: poured onto a fully cured glossy surface without sanding, or contamination between layers (including mold release sprayed between pours).
- Fix: sand back to a solid surface and repour. If the resin is still soft or tacky overall, troubleshoot cure issues first using why epoxy resin is sticky or soft.
My second layer wrinkled
- Cause: the first layer was too soft and the new pour disturbed it, or the surface overheated.
- Fix: wait for a firmer gel stage before the next layer and pour more gently. Keep heat tools moving and minimal.
Safety notes
Layering often means you are working around resin multiple times in one day, so your exposure can add up.
- Work in a ventilated space, especially for repeated pours. See how to set up a safe ventilated resin workspace.
- Wear gloves and protect your eyes. My full gear checklist is in resin safety gear.
- If resin gets on your skin, do not scrub with solvents. Use the approach in epoxy resin on skin removal and prevention.
Quick FAQ
How long should I wait between layers?
Wait until the first layer reaches gel stage: tacky, not wet. For many craft epoxies at normal room temperature, that is often within the same day, but always go by feel over the clock and use the product recoat window if it is provided.
Can I pour layers days apart?
Yes, but treat it as a mechanical bond. Sand the cured layer to an even matte finish, clean thoroughly, then pour.
Do I have to sand between layers every time?
No. If you pour in the chemical bond window (tacky gel stage), sanding is usually unnecessary. If the layer is fully cured and glossy, sanding is the safest move.
Why do my inclusions float up?
Your base was too liquid when you placed them or you poured the next layer too early. Let the base reach gel stage so it can grip the inclusions before you cap them.
Is UV resin good for layering?
UV resin can be great for thin layers and small suspended effects, but it behaves differently than 2-part epoxy, especially in thicker casts. If you are deciding between them, see UV resin vs 2-part epoxy.
My layering checklist
- Pour thin to medium lifts within your resin’s safe depth.
- Cover to keep dust off.
- Pour the next layer at gel stage for the most invisible seam.
- If fully cured: wash (if needed), sand 220 to 320, clean, then pour.
- Avoid mold release between layers.
- Pour slowly along a stick or mold wall to avoid bubbles.
- Keep temperature steady from layer to layer.
Once you get the timing in your hands, layering becomes one of the most satisfying resin skills because it unlocks depth, floating designs, and that glassy “I cannot believe I made this” look without the dreaded horizon line.