
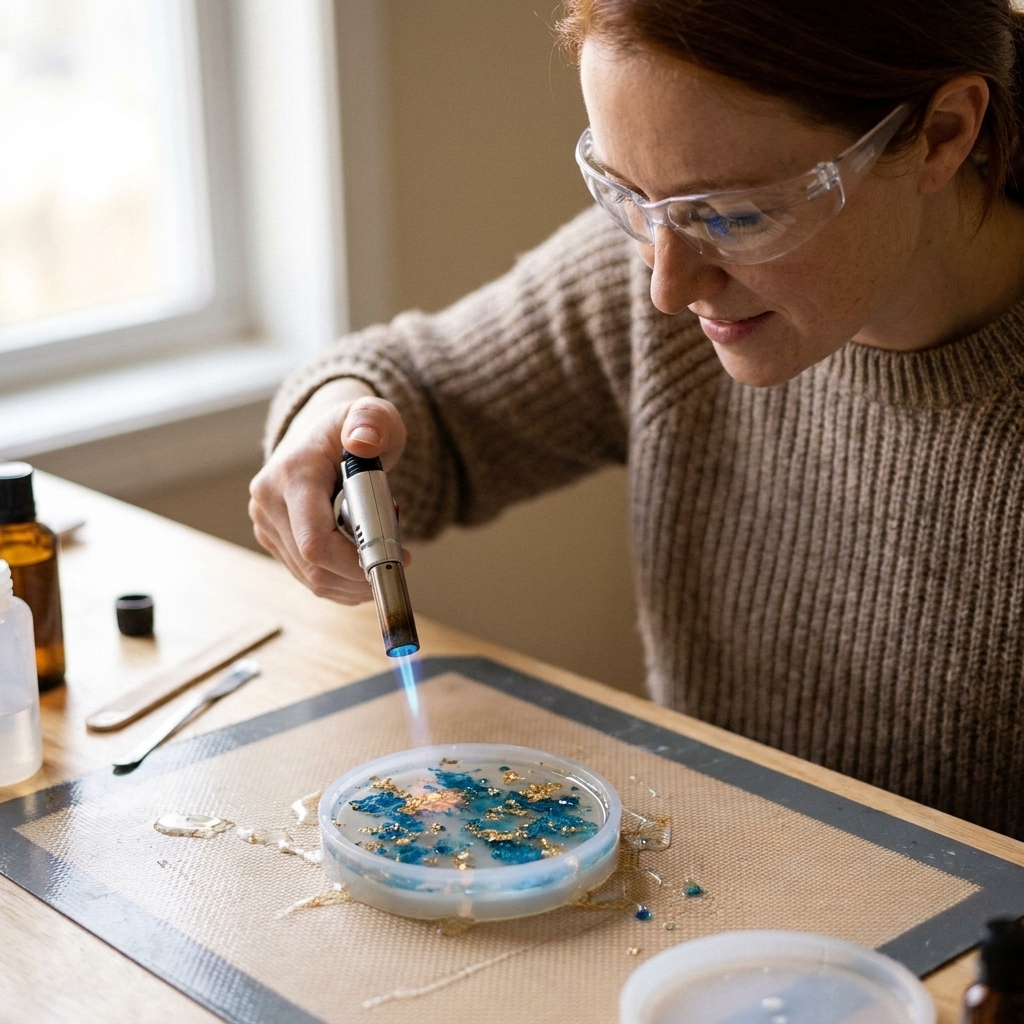
Not sure whether to use a heat gun or butane torch on epoxy resin? Compare speed, safety, clarity, and best uses for molds, coasters, doming, and flat pours.
Resin Ocean Waves on Wooden Charcuterie Boards

Ruby Fletcher
Ruby Fletcher is a dedicated resin crafter with years of hands-on experience pouring, molding, and creating custom epoxy art. After turning her dining room into a makeshift studio, she developed a passion for helping beginners navigate the sticky, colorful world of resin with confidence. She loves sharing practical tutorials, troubleshooting tips, and essential safety guides to make epoxy crafting accessible for everyone.
Published · Last updated
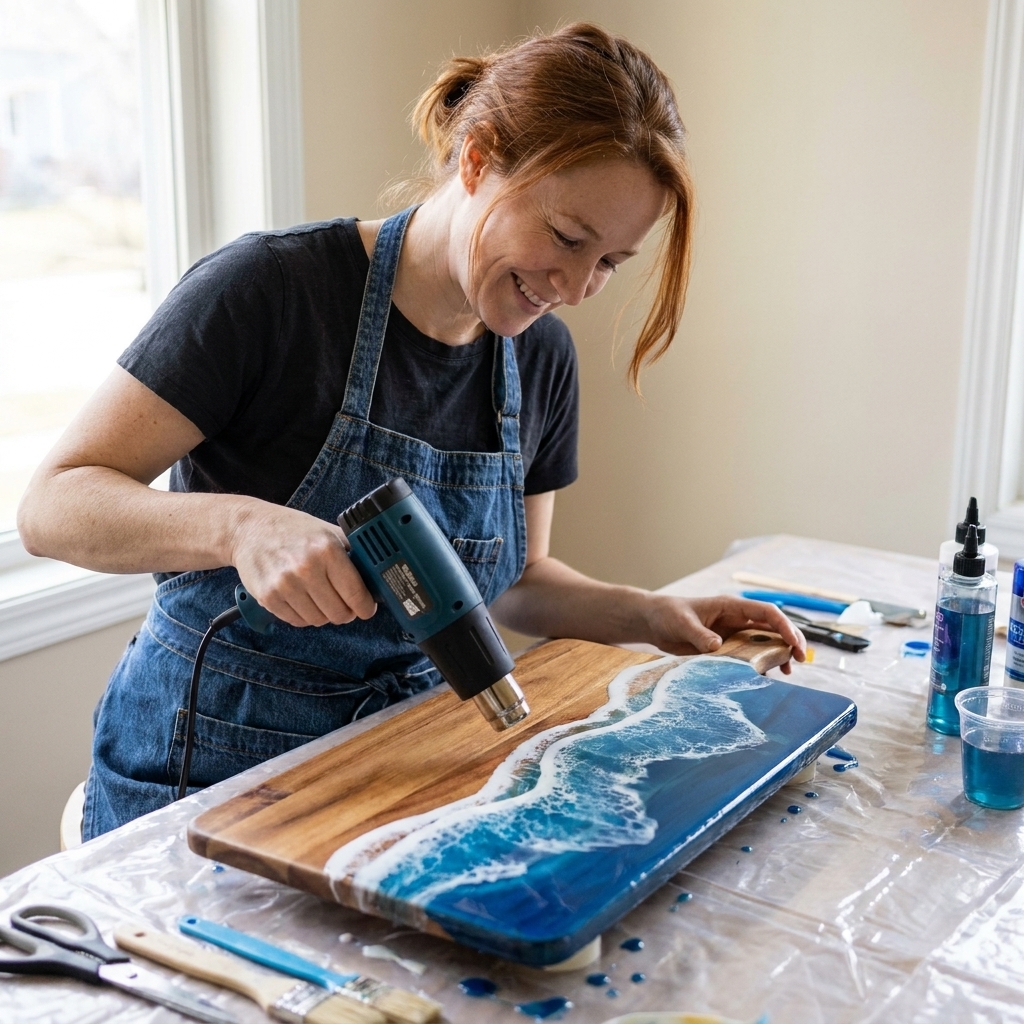
The first time I tried “ocean waves” on a charcuterie board, I treated it like a coaster. I poured, I blasted it with heat, and I felt very proud, right up until I realized I had created a gorgeous ocean scene on a board that was now permanently sticky around the handle cutout. Wood is its own personality, and functional boards have a few extra rules.
This guide is the method I wish I had from day one: how to prep wood so the resin behaves, how to build a clean shoreline, and how to manipulate white-tinted epoxy with a heat gun to get that feathery ocean lacing without scorching your pour.
Before you start: what functional means
Let’s get the big safety and practicality note out of the way: a resin charcuterie board can be functional for serving dry foods, packaged foods, and foods placed on parchment, wax paper, or small bowls. I do not treat the resin area as a chopping surface, and I do not recommend cutting directly on resin. Knife marks are permanent, and repeated wear can create tiny grooves that are harder to keep clean.
If you expect food to touch the resin, use a fully cured epoxy that is labeled by the manufacturer as food-contact safe, and follow their cure schedule before using the board. Many epoxies reach “dry to the touch” fast, but need a longer full cure (often a week or more) before they are truly ready.
If you are brand new to resin handling, set up your workspace and PPE first. My two go-to primers are Getting Started & Safety and how to set up a ventilated resin workspace at home. Vapors, airborne irritants, and sanding dust are not “maybe” problems in my house.
Materials and tools
Board and prep supplies
- Unfinished wooden charcuterie board (hardwoods like acacia, maple, walnut are common)
- Painter’s tape (blue or green)
- Sandpaper (120 grit and 220 grit)
- Vacuum or soft brush for dust removal
- Lint-free cloth or paper towels
- Isopropyl alcohol for wipe-down (optional and light use only)
- Level and leveling shims
Resin and color
- 2-part epoxy resin suitable for coating and art pours
- Transparent pigments for water color (alcohol ink or resin dye), or mica for shimmer
- White pigment paste (best for waves) or white mica (more pearly, less opaque)
- Optional: a touch of metallic pigment for a “sunlit” water line
Tools for waves
- Heat gun (my preferred tool for lacing on boards)
- Silicone mixing cups and stir sticks
- Small measuring cups for splitting colors
- Gloves, respirator, eye protection
- Plastic spreader or silicone squeegee
If you need a refresher on tinting resin without breaking the cure, see how to color epoxy resin.
Quick note on IPA: I usually vacuum first, then wipe with a dry lint-free cloth. If I use isopropyl alcohol at all, it is a very quick wipe, then I let it fully evaporate before pouring.
Step 1: Plan the shoreline and tape
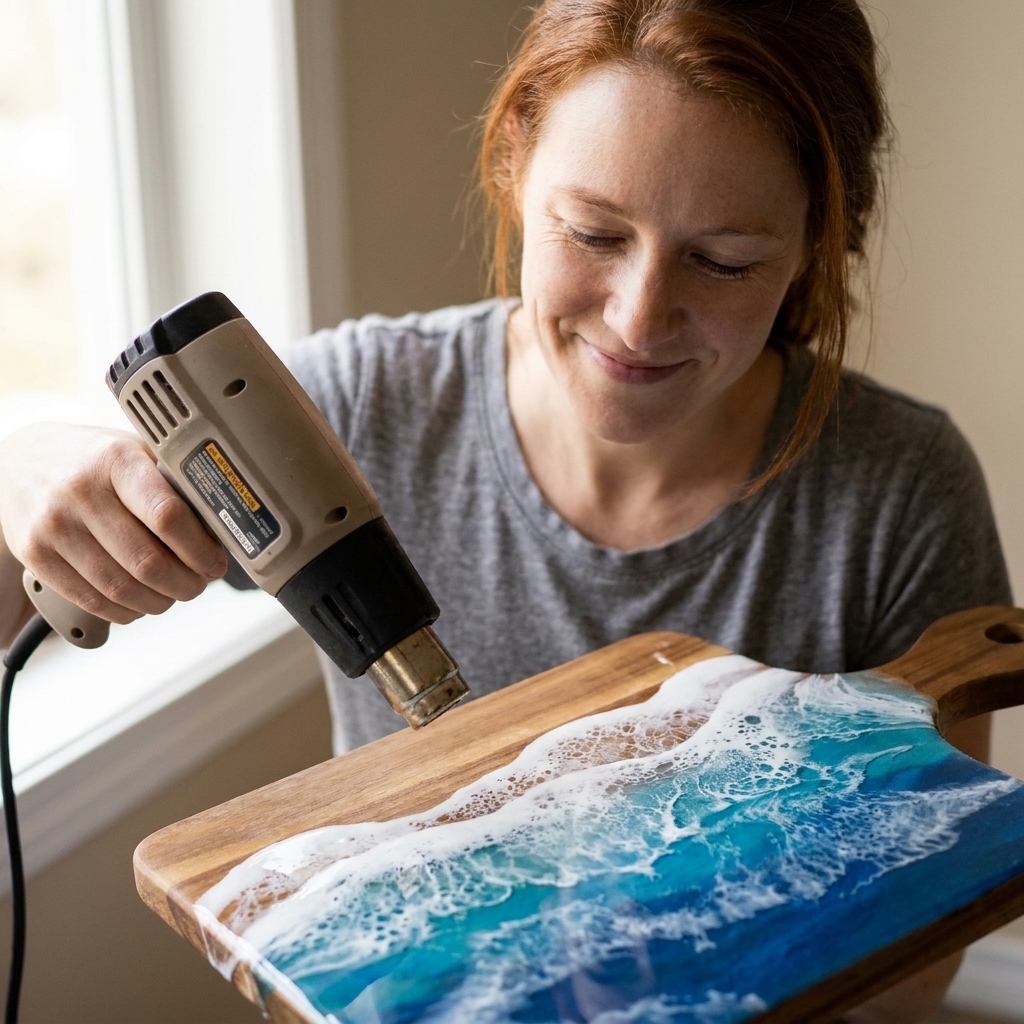
Ocean boards look best when the “shore” makes sense with the board shape. I like a diagonal shoreline that runs from one long edge toward a corner or handle area, because it feels natural and gives your waves room to taper out.
Plan the shoreline with tape. Lay painter’s tape where you want crisp separation between resin and wood. Press the edge down firmly with a fingernail or a plastic card.
Protect the sides and back. If you want the edges clean, tape the underside edge like you are wrapping a present. This prevents drips from becoming permanent stalactites.
Level the board. Resin will self-level. Check level side-to-side and front-to-back, then shim until it is steady. If your board is tilted, your ocean will “walk” to one side and your waves will thin out.
Spill protection is not optional here. I always work over a dedicated barrier. If you need ideas, these mats and coverings for resin spills will save your table and your sanity.
Step 2: Sand and seal the wood
Wood loves to outgas, absorb, and release air. That is why ocean boards can develop mystery bubbles right along the shoreline, and why resin sometimes sinks into end grain leaving a dull, thirsty patch.
Sand the resin area. Scuff sand where resin will sit using 120 grit, then smooth with 220. Vacuum thoroughly, then wipe off remaining dust.
Seal cutouts and end grain first. If your board has a handle cutout, juice groove, or exposed end grain near your pour, seal those areas deliberately. I brush on a thin coat and work it into the inside edges. On really thirsty end grain, I do two thin seal coats rather than one thick one.
Do a thin sealing coat on the resin area. Mix a small batch of clear resin and brush or spread a very thin layer over the resin area and slightly onto the taped line. This locks down the pores so your main pour stays glossy and even.
Pop early bubbles gently. A quick pass of warm air helps release bubbles from the wood. Keep heat moving.
Let it gel within the recoat window. Ideally, you pour your main ocean layer when the seal coat is tacky, not fully hard, and still within the manufacturer’s recoat window. This helps bonding and reduces visible layer lines.
If bubbles are your nemesis, I keep my bubble tactics in how to prevent and remove micro-bubbles in epoxy resin. Temperature and humidity also matter more than most people think, especially with wood. Here is the curing range I aim for.
Step 3: Mix and split your resin
Ocean effects are unforgiving if your mix is off. Waves can look perfect and still cure tacky if your ratio or mixing time is sloppy.
Use the exact method in how to measure and mix 2-part epoxy resin, then split the resin into at least two cups:
- Water cup: clear resin tinted blue, teal, green, or whatever ocean tone you love.
- Foam cup: a small amount of resin tinted opaque white.
Color tips that keep it realistic
- Work in translucent layers. Deep color is better built gradually than dumped in all at once.
- Make three water tones if you can. One darker “deep water,” one mid-tone, and one pale “shore water” makes the whole piece look intentional.
- Go easy on white. Too much white pigment makes waves look chunky. You want creamy and fluid, not paste-like.
Step 4: Pour the ocean base
Pour the darkest water first. Start on the far “deep water” side and let it spread.
Add mid-tone and light tone closer to shore. Slight overlap is good. Ocean color is not a hard stripe.
Blend softly. Use a stick or spreader to nudge the colors into each other. I aim for gradients, not marble swirls.
Let it settle for a minute. A short rest helps bubbles rise and keeps your wave line from dissolving instantly into the base.
Step 5: Add the white wave line
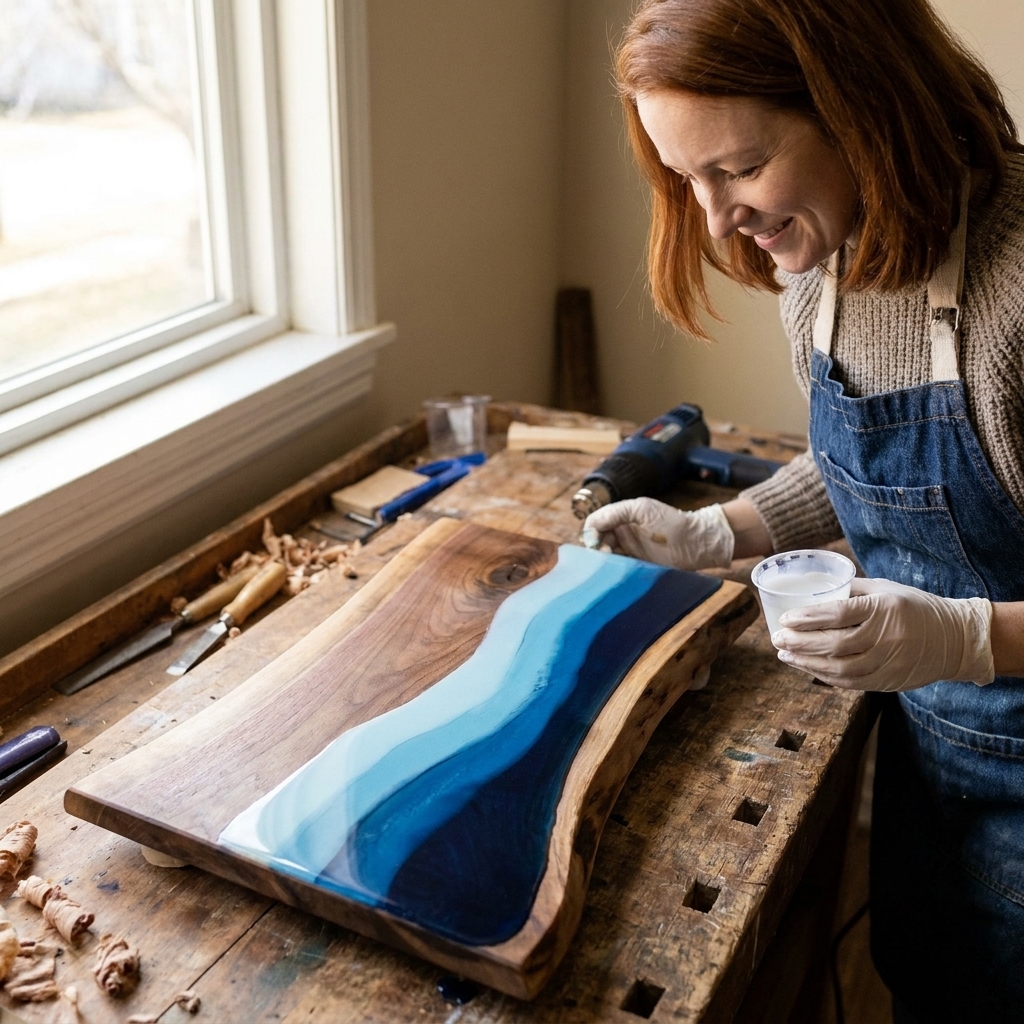
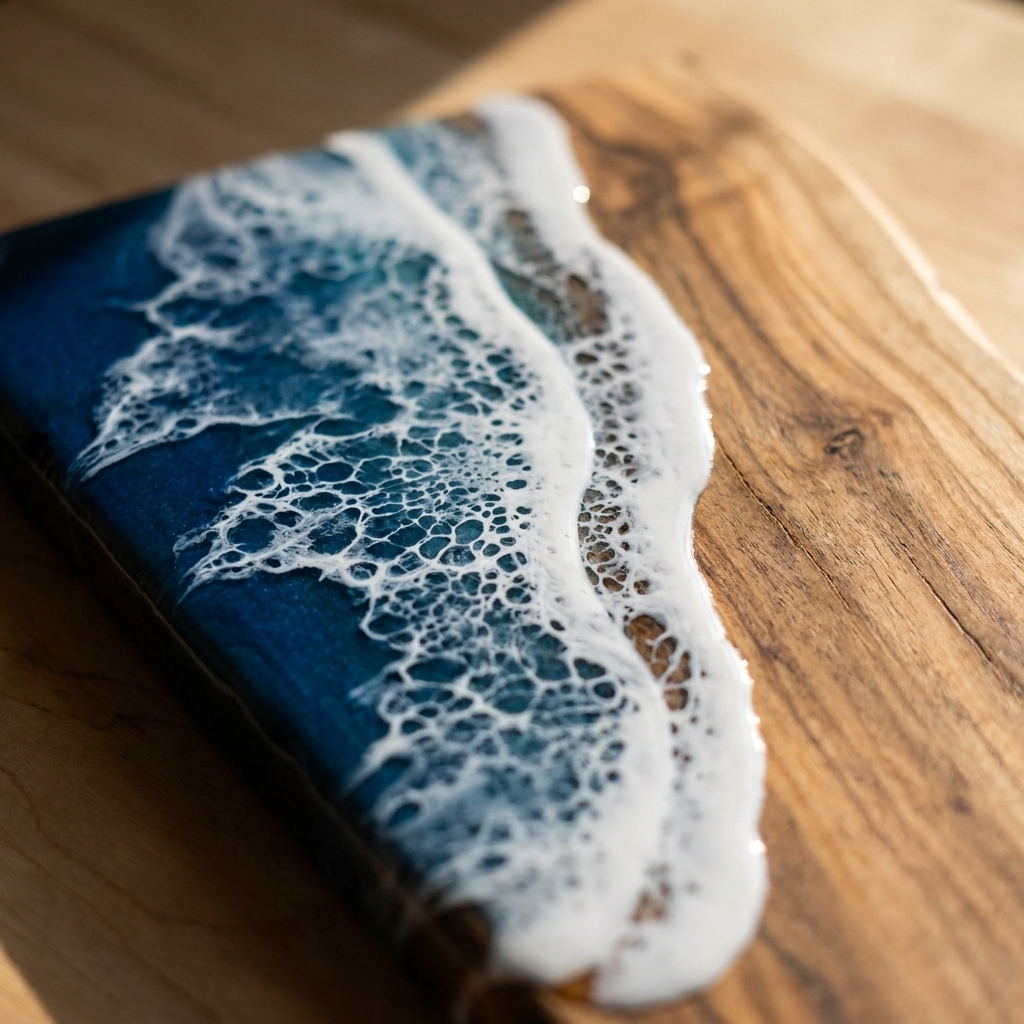
This is the part that feels like magic when it works. What creates lacing is a combination of viscosity, heat movement, and the boundary where white meets clear tinted resin.
Pour a thin white line near the shoreline. I start about 1 to 2 inches from the taped wood line, following the curve or diagonal you planned.
Add a second, even thinner line behind it (optional). This becomes a trailing wave for depth.
Feather the edge lightly. Use a stick to pull tiny wisps of white into the water before you apply heat. Think hairline strokes, not stirring.
Thickness check: If the white sits in a tall ridge, it is too much. If it disappears instantly, the base is too thin or too warm. The sweet spot is a creamy line that holds its shape for 20 to 60 seconds.
Step 6: Lace with a heat gun
I love a heat gun for boards because it gives you controlled airflow without the intense hot spot a torch can create on wood. If you are curious about the differences, I break it down in heat gun vs butane torch for resin bubbles.
Heat gun setup
- Use low heat and low airflow if your tool allows it.
- Hold it higher than you think. Start 6 to 10 inches above the resin.
- Keep moving. Do not park the heat gun in one spot, especially near the taped edge where resin is thin.
The lacing motion
Push the white toward the shore first. Aim the airflow behind the white line, not directly on top of it. You are nudging it forward like a tiny tide rolling in.
Stop before it hits the tape. Leave a sliver of clear water between the wave and the taped wood line. This gap keeps the edge looking crisp and helps prevent white from crawling under the tape.
Then pull back slightly. Give a gentle pass that drags the wave back into the blue just a hair. This is where the lace starts to bloom.
Chase lace, not foam. If you keep blasting, the white becomes a smooth sheet. For lacing, use short passes, pause, then repeat.
What you should see
- Little cells and feathery edges forming along the front of the white line
- Wispy tendrils stretching into the blue
- A soft gradient behind the lace where white thins out
My biggest beginner tip: do one wave, then step back. Ocean boards get overworked fast. If you do not love the lace after 2 to 3 gentle rounds of heat, let it settle. Decide if you want to add a second small white line later rather than scorching the whole surface trying to force it.
Step 7: Pull the tape on time
Tape timing is everything. Pull too early and resin can slump into the wood area. Pull too late and you can chip the cured edge.
I like to pull tape when the resin is gelled but not rock hard. For many art resins, that is several hours into cure. Always follow your resin’s working time, recoat window, and cure schedule.
- How to test: Touch a drip on your mixing stick. If it feels like soft taffy and does not string everywhere, it is usually a good window.
- How to pull: Peel tape back on itself at a low angle, slowly.
Step 8: Cure and finish
Let the board cure flat, covered from dust, for the full cure time listed by your resin. Dry to the touch is not the same as cured enough to handle, especially on a functional item. If you plan for any food contact on the resin, I treat full cure as non-negotiable.
Optional: a final clear top coat
If your ocean pour has texture you can feel, or if you want the easiest wipe-clean surface, a thin clear flood coat after the design layer cures can help. Keep it thin so it does not look like a thick slab, and stay within the manufacturer’s sanding and recoat guidance. If you wait past the recoat window, scuff sanding is usually required for a strong bond.
If you need to sand a sharp ridge
If your shoreline has a raised lip, you can sand and polish after full cure. Start conservative and keep it tidy.
- Wet sand gradually, then polish
- Keep water away from unfinished wood sections as much as possible
- Consider re-coating with a thin clear layer if sanding dulls the gloss
My sanding workflow is in how to sand and polish epoxy resin.
Care for a resin charcuterie board
- Hand wash only. Do not soak. Do not dishwash.
- Avoid high heat. Resin can soften with heat and warp or print from hot items.
- Use it as a serving surface, not a cutting board. If you want to slice, slice on the wood side only.
- Oil the bare wood. Food-safe mineral oil on the wood portion keeps it looking rich. Keep oil off the resin edge during the early cure period, and always follow your epoxy’s full cure time first.
Troubleshooting
My white sank and disappeared
- Cause: Base resin was too warm or too thin, or you waited too long and the white mixed in.
- Fix: Apply the white sooner, or let the base sit 2 to 5 minutes to thicken slightly before adding the wave line.
My wave turned into a solid white band
- Cause: Too much white pigment, or you over-heated and pushed it into a flat sheet.
- Fix: Use less pigment and shorter heat passes. Add a second, thinner white line later for detail instead of one thick one.
I scorched the resin or got ripples
- Cause: Heat gun too close, too hot, or held in one place.
- Fix: Increase distance and keep moving. Work in brief bursts. If you see a skin forming, stop heating immediately.
My resin is sticky or soft after curing
- Cause: Off-ratio mixing, under-mixing, cold cure, or too much colorant.
- Fix: Check my full list in 8 reasons your epoxy resin is sticky or soft and how to fix it. Sticky resin on a functional board needs to be addressed before use.
The ocean looks cloudy
- Cause: Moisture in the wood, high humidity, or micro-bubbles trapped in the pour.
- Fix: Dry the board thoroughly before starting, seal coat the wood, and cure in a stable environment. See why resin turns cloudy for the same core causes and prevention techniques.
I got bubbles along the shoreline
- Cause: Wood outgassing, especially in end grain and cutouts.
- Fix: Do not skip the seal coat, and pay extra attention to handle cutouts and end grain. The most reliable rule is to avoid a temperature rise after you pour. Pour when your wood and resin are stable, and keep the curing space steady so the board does not warm up and push air into the resin.
My beginner wave recipe
If you want a do-this-first version, here is my reliable baseline:
- Sand and tape.
- Seal coat the resin area, including cutouts and end grain.
- Pour a 3-tone ocean gradient.
- Pour one thin white line 1 to 2 inches from shore.
- Heat gun from behind the white line in short passes until lace appears.
- Stop early, let it settle, then decide if it needs one more whisper-thin white line.
Ocean waves look advanced, but they are really just controlled restraint. Once you get a feel for how your resin moves under warm air, you will start seeing the lace happen before it happens.


