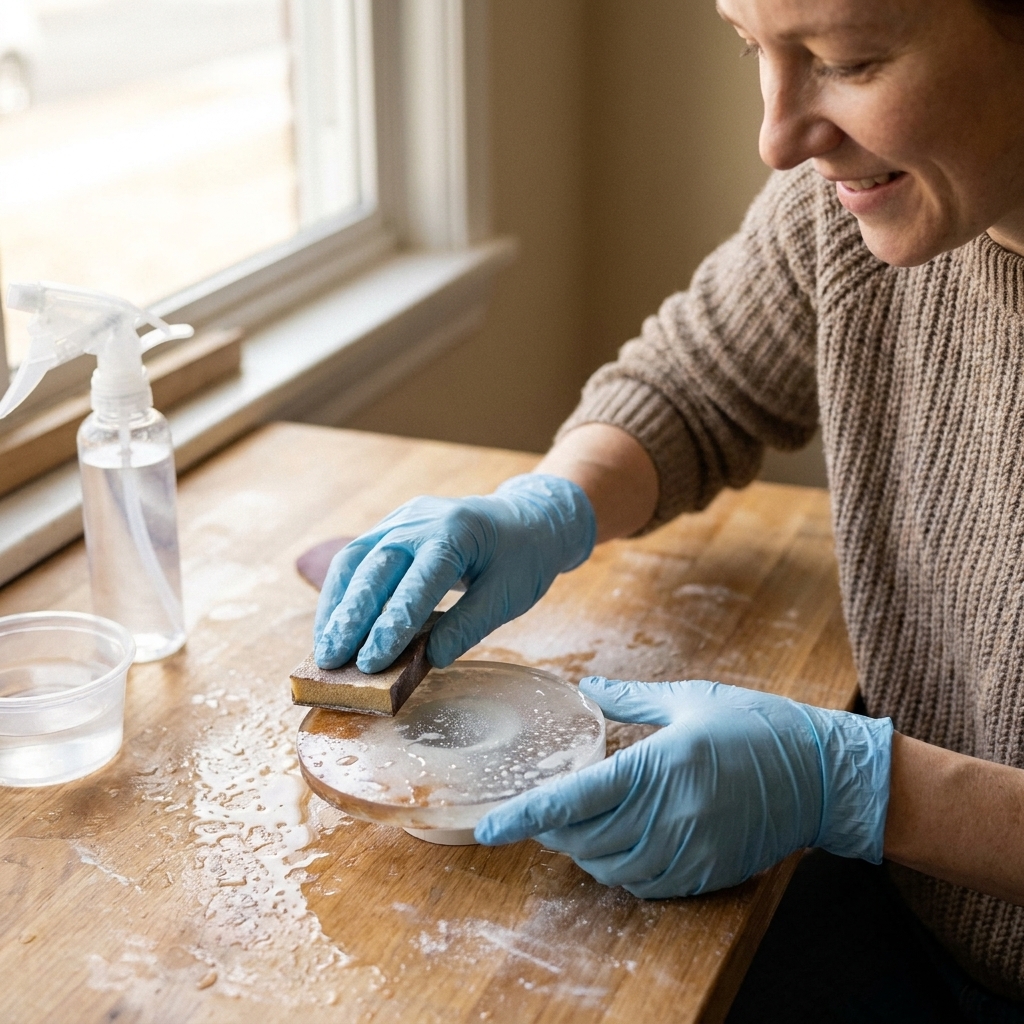
Get cleaner casts and longer-lasting molds with practical tips on choosing beginner-friendly silicone molds, prepping for glossy pours, safe demolding, clean...
Why Your Resin Jewelry Is Cloudy

Ruby Fletcher
Ruby Fletcher is a dedicated resin crafter with years of hands-on experience pouring, molding, and creating custom epoxy art. After turning her dining room into a makeshift studio, she developed a passion for helping beginners navigate the sticky, colorful world of resin with confidence. She loves sharing practical tutorials, troubleshooting tips, and essential safety guides to make epoxy crafting accessible for everyone.
Published
The first time I poured a batch of tiny resin pendants in my dining room “studio,” they came out looking like they’d been left out in a fog. Not bubbles exactly. Not sticky. Just… dull and cloudy, especially on the face that touched the mold.
This guide is geared to 2-part epoxy resin jewelry casting (not UV resin), because the causes and fixes can differ depending on the resin chemistry.
In resin jewelry, cloudiness most often comes from one of these issues:
- Mold surface problems (micro-abrasions, residue, or worn silicone) that imprint a haze onto the resin
- Moisture or contamination (humidity, condensation, water in colorants, wet inclusions, skin oils, cleaning product residue) that interferes with clarity and curing
- Microbubbles or surface film (tiny trapped air that reads like fog, or a humidity-related surface film that can feel waxy)
The good news is you can usually diagnose which one it is in a couple of minutes, then decide whether you need to replace a mold, change your prep steps, or rescue the piece with sanding and polishing.
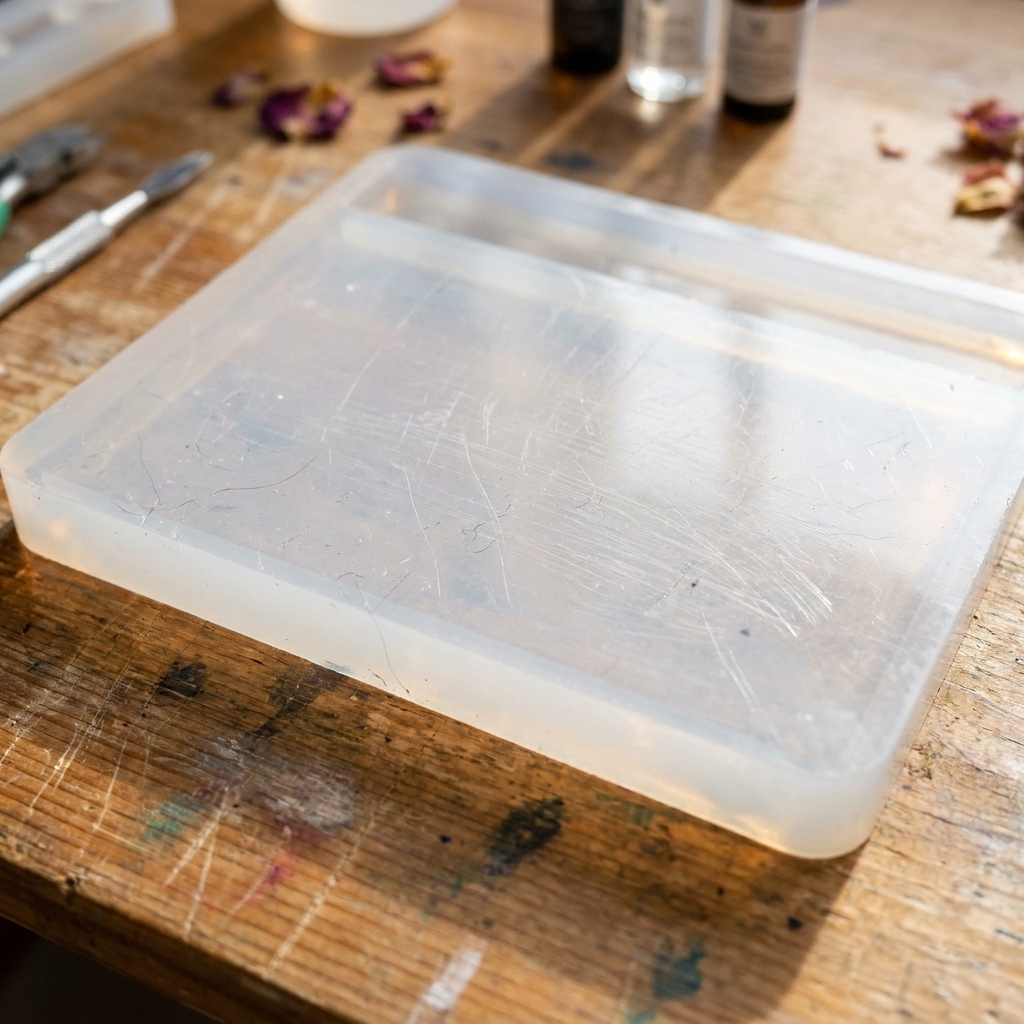
Mold haze vs moisture haze
If you only remember one troubleshooting trick, make it this: look at where the cloudiness sits and how consistent it is.
Most likely a mold issue if…
- The cloudy area is only on the side that touched the mold (usually the domed face or the flat back, depending on the mold style).
- The haze looks even and matte, like frosted glass.
- Multiple pieces from the same cavity have the same dull patch in the same place.
- The piece is otherwise fully cured and hard, with crisp edges.
Most likely moisture or contamination if…
- The cloudiness is inside the piece, not just on the surface.
- You see swirls, milky streaks, or blooms suspended in the resin.
- The surface feels slightly waxy or greasy, or it is unpredictably tacky.
- Clarity varies from pour to pour based on weather, pigments, or what you embedded.
Most likely microbubbles or surface film if…
- The piece looks like it has a fine fog throughout, especially in thicker areas or around details.
- Under a strong light, you can spot tiny pinprick bubbles rather than true milkiness.
- The surface has a thin cloudy film that seems removable (more on this in the moisture section).
If you are also dealing with tackiness or soft spots, troubleshoot that first because incomplete cure can look cloudy. My sticky-resin deep dive is here: 8 reasons your epoxy resin is sticky or soft and how to fix it.
Cloudy from mold issues
Silicone molds act like a tiny mirror for your resin. When the silicone is smooth and clean, you get that glossy, glass-like finish. When it is micro-scratched, lightly scuffed, or coated in residue, it transfers a fine texture to the resin surface. Your eye reads that texture as haze.
Common mold causes
- Micro-abrasions from fingernails, metal tools, or scrubbing the mold
- Residue from mica, alcohol ink, glitter, mold release, baby powder, or cleaners that leave a film
- Heat damage from a torch held too close to the silicone
- Wear and tear in popular cavities you demold constantly (studs, small charms, bezels)
- Lint and dust trapped in the mold and cured into the resin face
If you are using heat, keep the flame moving and well above the mold surface, and do not treat silicone like it is heatproof. A heat gun is often the gentler option for bubbles in small casts. If you want help choosing, see heat gun vs butane torch for resin bubbles.
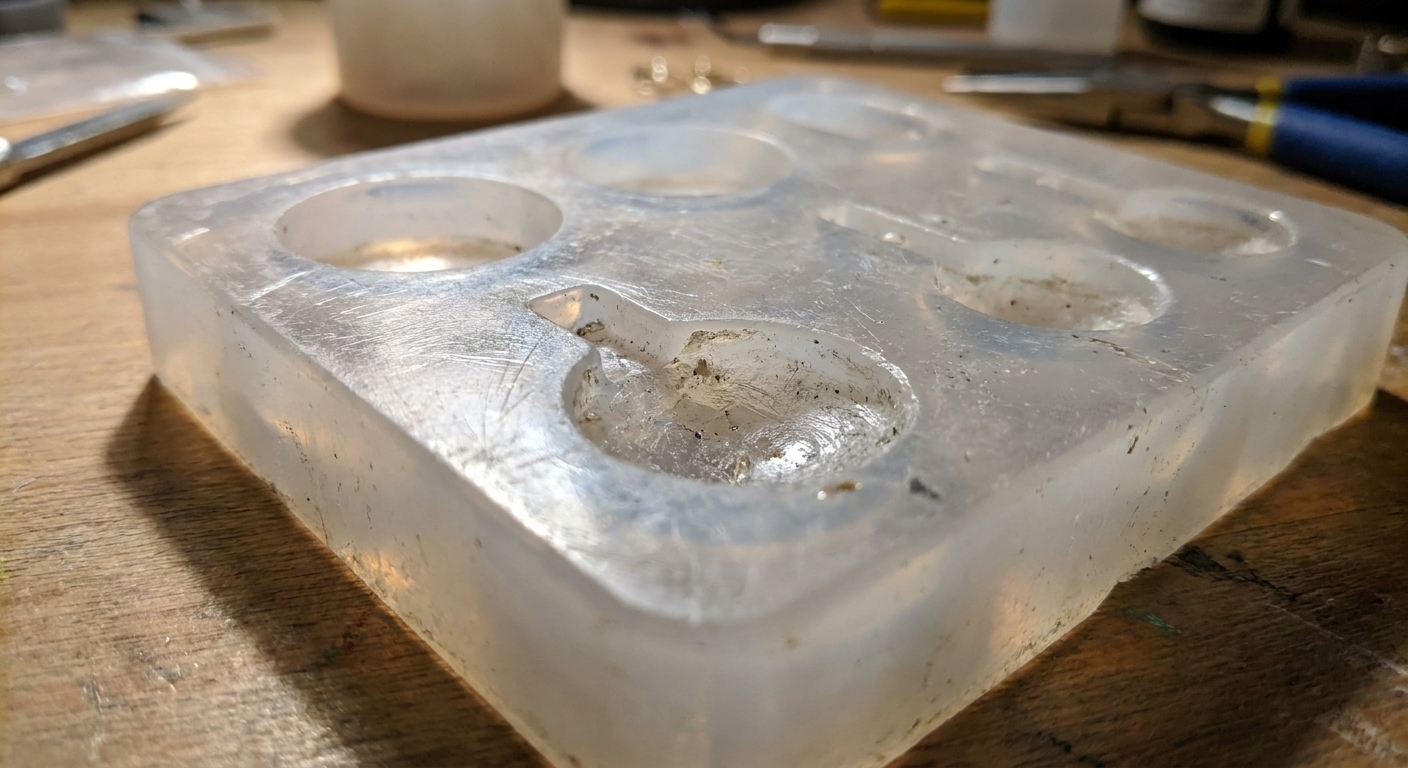
Test your mold fast
1) Flashlight rake test
Hold your phone flashlight low and angled across the mold cavity. Rotate the mold slightly.
- If you see fine scuffs, a dull patch, or an uneven sheen on the silicone, that area will often cast haze into your resin.
- If the silicone looks uniformly glossy but your piece is cloudy inside, you are likely dealing with moisture, contamination, or microbubbles.
2) Clear test dot
Mix a teaspoon of clear resin and drop a small puddle into the suspect cavity (no pigment, no inclusions). Cure normally.
- If the dot cures hazy on the mold-contact side, it is the mold.
- If the dot cures crystal clear, your cloudiness is coming from what you add or from your environment.
If you want a full mold-care refresher (and what not to do, like scrubbing silicone with anything abrasive), I keep my best practices here: Silicone molds for resin: choose, prep, and care.
Fixing mold-caused cloudiness
With mold haze, you are dealing with a surface finish problem. That is great news because surface problems are usually fixable.
Option A: Restore the shine on the piece
- Sand and polish the cloudy face (works best on flat backs, simple domes, and chunky pieces).
- Apply a thin dome coat of fresh resin to create a new glossy surface.
I walk through sanding grits and polishing compounds step-by-step here: How to sand and polish epoxy resin. For dome coats on small jewelry, this guide helps a ton: How to dome resin on jewelry and small crafts.
Option B: Clean and reset the mold
My safest routine for jewelry molds:
- Wash with warm water + a small amount of dish soap.
- Rinse thoroughly.
- Pat dry with a lint-free cloth and let it air dry completely before pouring again.
- Use painter’s tape to lift lint and dust from cavities.
Avoid anything that leaves a film (oily sprays) or anything that scratches (magic erasers, stiff brushes, gritty scrubs). If a cavity is permanently dull, I retire it for matte-finish projects and use a fresh mold for glossy jewelry.
Option C: Replace the mold
If you have one cavity that always produces haze, and polishing the finished piece is becoming your default, your time is worth more than that mold. Jewelry molds are small, and worn cavities can become a clarity bottleneck fast.
Cloudy from moisture or contamination
When resin turns milky, streaky, or cloudy inside the piece, it is usually because something introduced moisture or disrupted the cure. In my Pacific Northwest garage craft room, I treat humidity like an extra ingredient because it absolutely changes outcomes.
Common causes
- High humidity during curing (especially overnight temperature swings)
- Wet inclusions like flowers that still hold moisture, or found objects that were washed and not fully dried
- Water-based colorants or craft paint not meant for resin
- Alcohol ink overload or incompatible additives that can create haze or separation
- Condensation on molds or mixing cups if materials were stored cold
- Skin oils or lotion on hands when handling cured pieces or inserts
- Cleaning product residue in molds (some wipes leave surfactants behind)
One extra thing to know: some epoxies can develop a thin, cloudy, waxy surface film in humid conditions. If the haze seems like it sits on top and can be rubbed or washed away, try warm water and mild dish soap first, then rinse and dry fully. Sanding is the next step, not the first.
Temperature and humidity targets matter a lot here. If your cloudiness seems weather-related, start with this: Ideal temperature and humidity for epoxy resin curing.
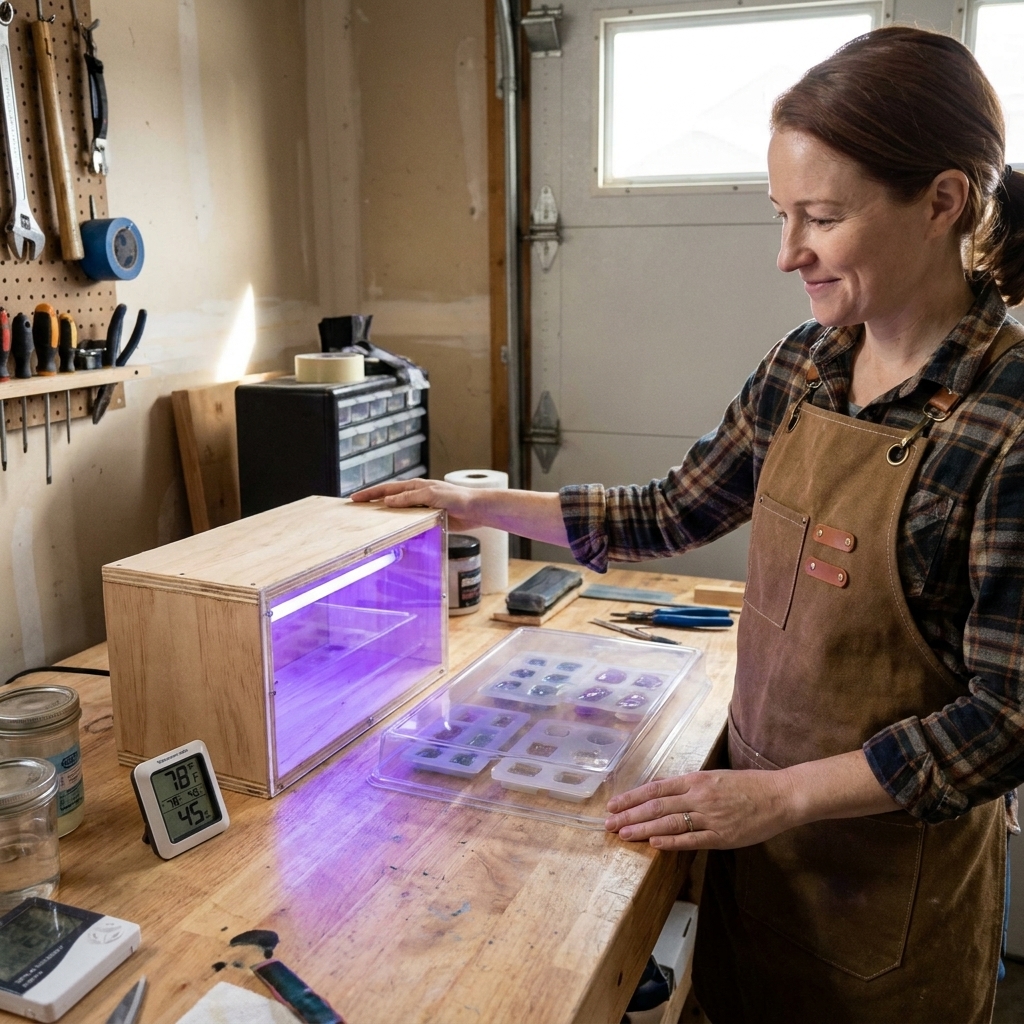
Diagnose moisture errors
Look for these clues
- Milky wisps or veins: often moisture or an additive incompatibility
- Cloudy halo around inclusions: trapped moisture in flowers, paper, wood, or porous items
- Haze that deepens with thickness: thicker pours can show more internal clouding if contamination is present
- Patchy cloudiness across multiple cavities: often environmental or mixing-related, not a single mold problem
Inclusion control test
Pour two small pieces from the same batch:
- One piece clear only
- One piece with your usual additive or inclusion
If the clear one cures glassy but the included one clouds, you found your culprit.
Prevent moisture cloudiness
Dry inclusions thoroughly
Pressed flowers, greenery, and even “dry” botanicals can hold enough moisture to haze resin. If you embed florals, make sure they are fully dried and properly prepped. My full process is here: How to dry and embed real flowers in epoxy resin.
Seal porous items
Paper, photos, some fabrics, and raw wood can release air and hold moisture. Sealing creates a barrier so resin does not soak in and turn cloudy.
For paper and photos, follow this: How to seal and embed photos or paper in resin.
Control your room
- Warm your resin bottles to room temp before mixing.
- Avoid pouring when your workspace is cold and damp, or when temperature will drop sharply overnight.
- Cover molds while curing to reduce dust and airflow shifts.
- Mix accurately and thoroughly. Incomplete mixing can mimic haze and streaking. My ratio and mixing checklist is here: How to measure and mix 2-part epoxy resin.
Use colorants made for resin
Water-based dyes and many craft paints can cloud resin or cause curing weirdness. If you are not sure what is compatible, start here: How to color epoxy resin.
Microbubbles that look like haze
Sometimes the “fog” is just a swarm of tiny bubbles, especially in small jewelry casts where the bubbles do not have far to travel but also do not have much time to escape. This is extra common if your resin is cool, you mix aggressively, or you pour into detailed cavities.
If you suspect microbubbles, go straight to: How to prevent and remove micro-bubbles in epoxy resin.
Can you save a cloudy piece?
Sometimes yes, sometimes sort of, and sometimes it is better to call it a learning piece.
If the cloudiness is on the surface
- Yes: sand and polish, or dome coat to restore clarity.
If the cloudiness is inside the resin
- Maybe: a dome coat can make the surface glossy, but it will not remove internal milkiness.
- Sometimes: turning it into a design choice works. Add an opaque backing, frame it in an open bezel, or pair it with texture so the haze reads intentional.
If the piece is also tacky or soft
- Pause: fix the cure problem first. Cloudiness plus tackiness is a strong sign something went wrong in measuring, mixing, temperature, or contamination. Start here: sticky or soft resin fixes.
Cloudiness checklist
Ask these four questions
- Is the haze only on the mold-contact side? If yes, suspect mold scuffs or residue.
- Is the haze inside the piece? If yes, suspect moisture, additives, inclusions, or mixing issues.
- Does it look like fog made of tiny dots? If yes, suspect microbubbles.
- Did I change anything? New pigment, new glitter, new mold release, washed inclusions, cold resin bottles, or a weather shift. That change is usually the clue.
Safety note
When you sand, polish, or drill resin jewelry, you create fine dust. Wear a properly rated respirator and eye protection, and keep cleanup contained.
If you need a refresher on gear and ventilation, these guides will keep you covered: resin safety gear and set up a safe ventilated resin workspace at home.
FAQ
Why is my resin cloudy but only on the back?
If the back was against the mold and it looks evenly matte, it is usually a mold surface issue or residue in that cavity. Sanding and polishing the back, or adding a thin backing layer, can help.
Why did my clear resin turn milky after adding glitter or mica?
Mica itself usually does not cause milkiness, but too much powder can reduce clarity. Milkiness that looks like wisps is more often moisture, microbubbles, or an incompatible additive. Try a clear-only test dot and add your pigment at a lower load.
Does rubbing alcohol clean silicone molds?
Sometimes it can help with certain residues, but I use it cautiously because it can redistribute pigments or residue and make the problem look worse. If you try it, test a small, inconspicuous area first. For most situations, warm soapy water, a thorough rinse, and full air drying is safer.
Can humidity really make resin cloudy?
Yes. Humidity can contribute to haze, a waxy surface film, and cure issues, especially with overnight temperature drops. If your cloudy pours come in clusters on damp weeks, check your workspace conditions using: ideal temperature and humidity for epoxy resin curing.
What if I am using UV resin?
UV resin can cloud from under-curing, thick pours, or older resin that has started to yellow or thicken. If you are deciding between resin types for jewelry, see UV resin vs 2-part epoxy.