Master resin doming on pendants, charms, and small crafts. Learn prep, leveling, the perfect “thickened” timing, bubble control, and fixes for drips and fish...
Glue and Embed Hardware in Resin Jewelry (No Drilling Needed)

Ruby Fletcher
Ruby Fletcher is a dedicated resin crafter with years of hands-on experience pouring, molding, and creating custom epoxy art. After turning her dining room into a makeshift studio, she developed a passion for helping beginners navigate the sticky, colorful world of resin with confidence. She loves sharing practical tutorials, troubleshooting tips, and essential safety guides to make epoxy crafting accessible for everyone.
Published · Last updated
The first time I made resin earrings, I did everything “right” and still had a post pop off mid-wear. It was one of those humbling, sticky-fingers lessons that sent me down a rabbit hole of glues, surface prep, and better ways to lock hardware into resin without touching a drill.
If you want earring posts, bails, and flatback findings to stay put, you need two things: a strong bond and a little bit of mechanical support. In this guide, I’ll show you the no-drill methods that hold up best, plus which adhesives to grab depending on what you’re making.
Quick note on materials
Three products get mixed up all the time, and using the wrong one is a fast way to get a failure.
- Two-part epoxy adhesive (glue): made for bonding materials like metal to resin. This is what I use to attach findings.
- Two-part epoxy resin (casting/coating resin): made for pouring, doming, and coating. I use this to cap or embed hardware.
- UV resin: a quick-curing resin that’s great for small caps and locking edges, but it is not always a strong metal-bonding glue by itself.
Before you glue anything
Most hardware failures are not because the glue is “bad.” They happen because resin is glossy and non-porous, and smooth metal backs do not give adhesive much to grab. This 60-second prep step makes a dramatic difference.
1) Lightly scuff both surfaces
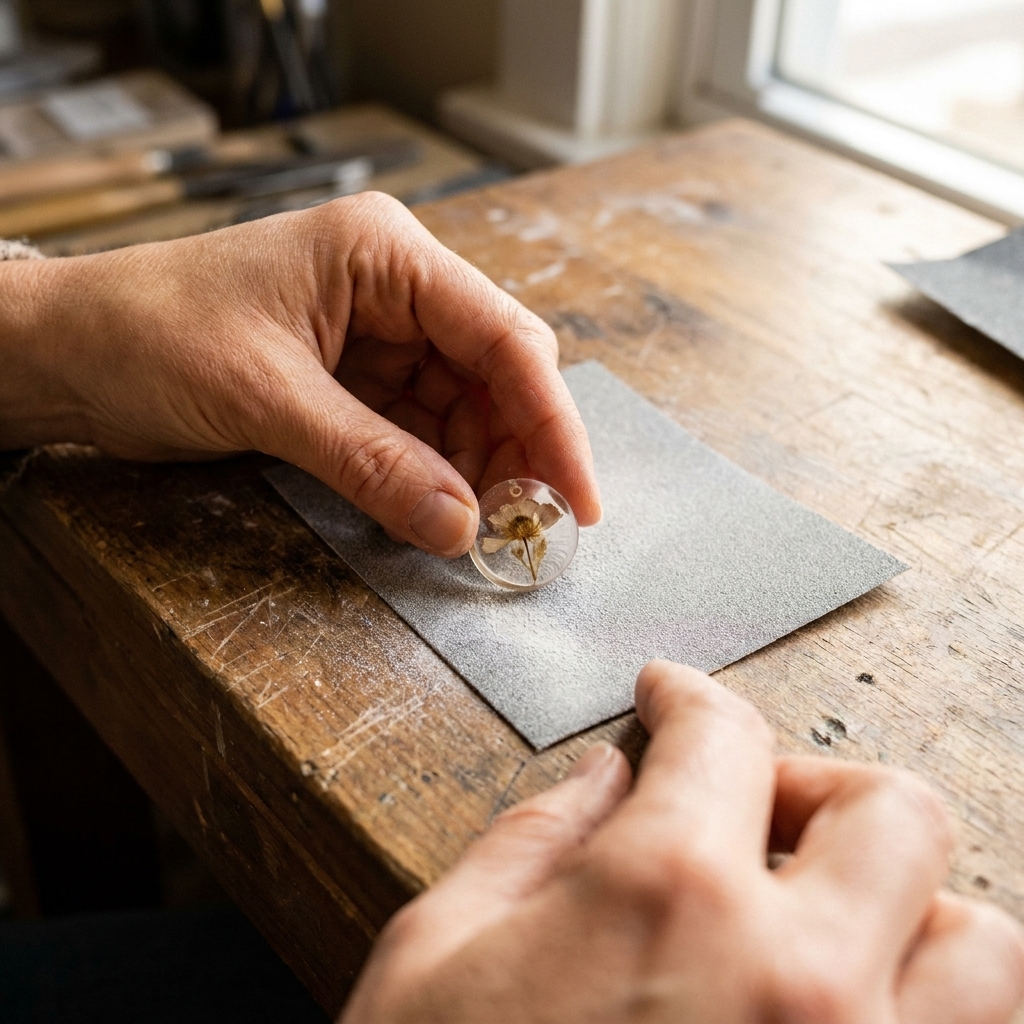
- Resin: Sand the spot where the finding will sit with 320 to 600 grit until it looks evenly matte.
- Metal finding: Scratch the flat pad or post base with sandpaper or a nail file. You want visible micro-scratches, not deep gouges.
2) Clean off dust and oils
- Wipe resin and metal with isopropyl alcohol on a lint-free cloth, then let fully dry.
- Avoid acetone on resin pieces. It can haze or soften some finishes, so if you are unsure, spot-test on a hidden area first.
3) Check your cure and your environment
If your resin is even slightly flexible or “green,” adhesives can fail later. If you suspect a soft cure, troubleshoot first using 8 reasons your epoxy resin is sticky or soft and how to fix it. Also keep your workspace in a good curing range so everything sets properly. My go-to refresher is ideal temperature and humidity for epoxy resin curing.
Best adhesives for resin jewelry
Here is the honest truth: different glues win for different jobs. For jewelry hardware, I reach for only a few.
Two-part epoxy adhesive (top pick for posts and bails)
Best for: metal to resin bonds that need toughness and gap-filling, like earring posts, pendant bails, and flat pads.
- When you can, choose a medium or slower set epoxy. These formulas often cure tougher than 5-minute versions, but brand and formulation matter, so check the manufacturer specs.
- Epoxy adhesive is thicker than super glue, so it fills small uneven areas and grips better.
Watch-outs: Needs steady positioning while it cures. Also, measure and mix thoroughly. If you want a refresher on clean mixing habits, see how to measure and mix 2-part epoxy resin.
Thick gel cyanoacrylate (CA, “super glue gel”) for quick fixes
Best for: fast tack, tiny parts, and quick repairs.
- Use gel, not watery CA. Thin CA can wick onto your finish and fog it.
- CA bonds can be brittle. For pieces that get flexed or tossed in bags, I treat CA as “temporary” unless it is reinforced with a resin cap.
UV resin as a locking topcoat
Best for: sealing the edges of a finding, making a smooth dome over a pad, and adding mechanical hold.
- UV resin can bond poorly to smooth, bright-finish metals if they are not scuffed. It shines when paired with a real adhesive underneath and a properly sanded surface.
- If you are doming small backs, the technique is similar to doming fronts. This guide helps: how to dome resin on jewelry and small crafts.
What I avoid for long-wear jewelry
- Hot glue: too flexible and heat-sensitive.
- White glue or craft glue: not strong enough for metal to resin.
- Silicone sealant: great for waterproof sealing, not great for rigid jewelry findings.
Method 1: Glue + resin cap
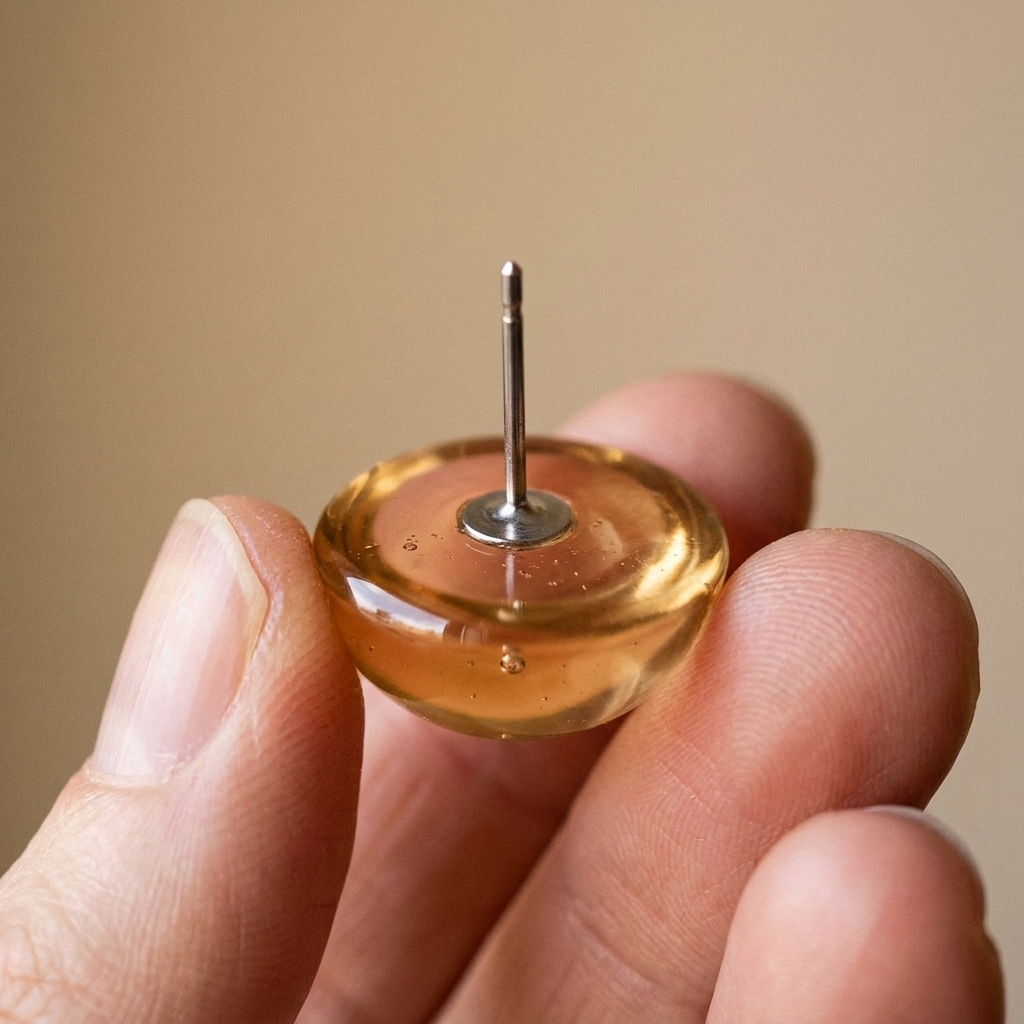
If you only do one thing from this article, do this. The idea is simple: glue the post, then add a thin “cap” of resin over the post base so the post is not relying on glue alone.
What you need
- Scuffed and cleaned resin stud or charm back
- Good-quality posts. If you have sensitive ears, choose higher-grade metals from a reputable supplier. Many “surgical steel” listings are not standardized, and plated posts can be unpredictable once scuffed.
- Two-part epoxy adhesive (or gel CA in a pinch)
- A tiny amount of 2-part epoxy resin (or UV resin for the cap)
- Painter’s tape or putty to hold the post upright
- Nitrile gloves and ventilation
Steps
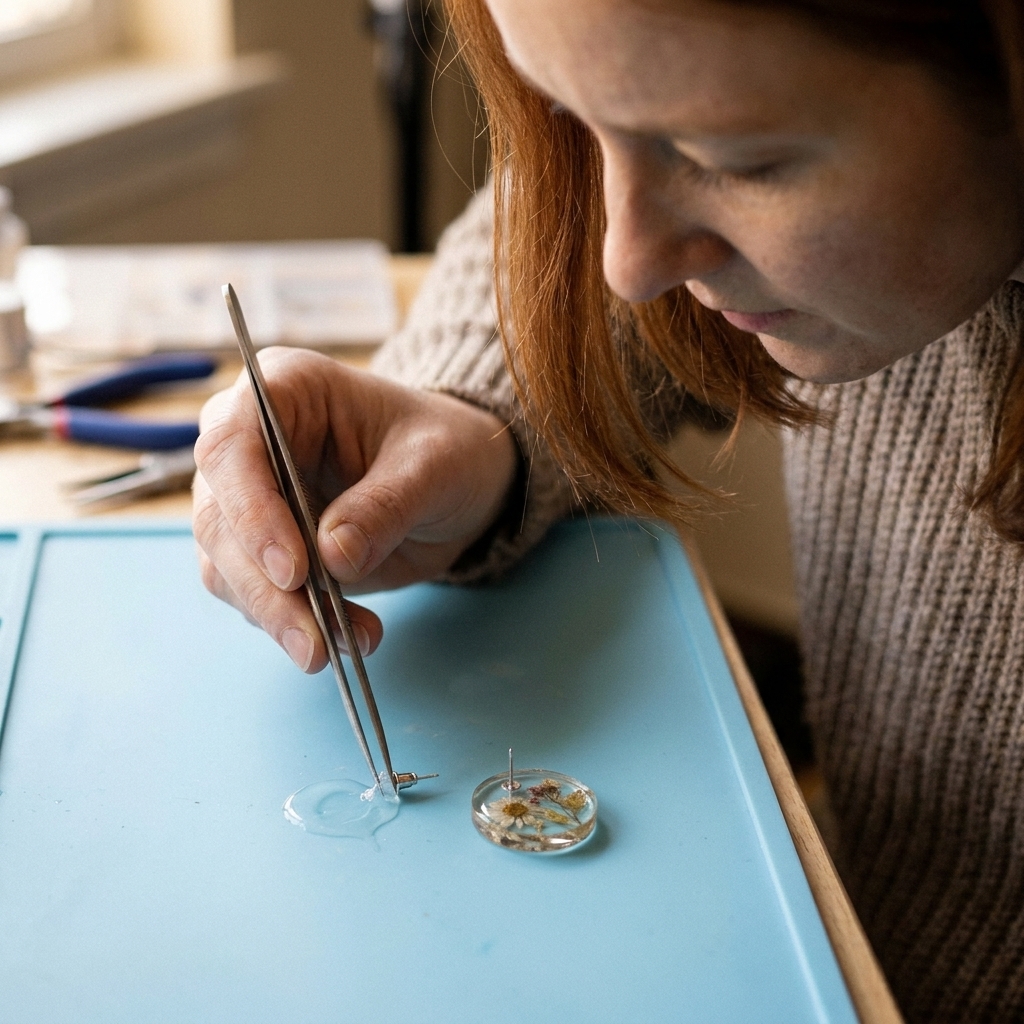
- Mark placement. Dry-fit the post so it sits centered and flat.
- Glue the post. Mix epoxy adhesive and apply a small mound. Press the post base into it. You want a little squeeze-out around the edges, not a dry joint.
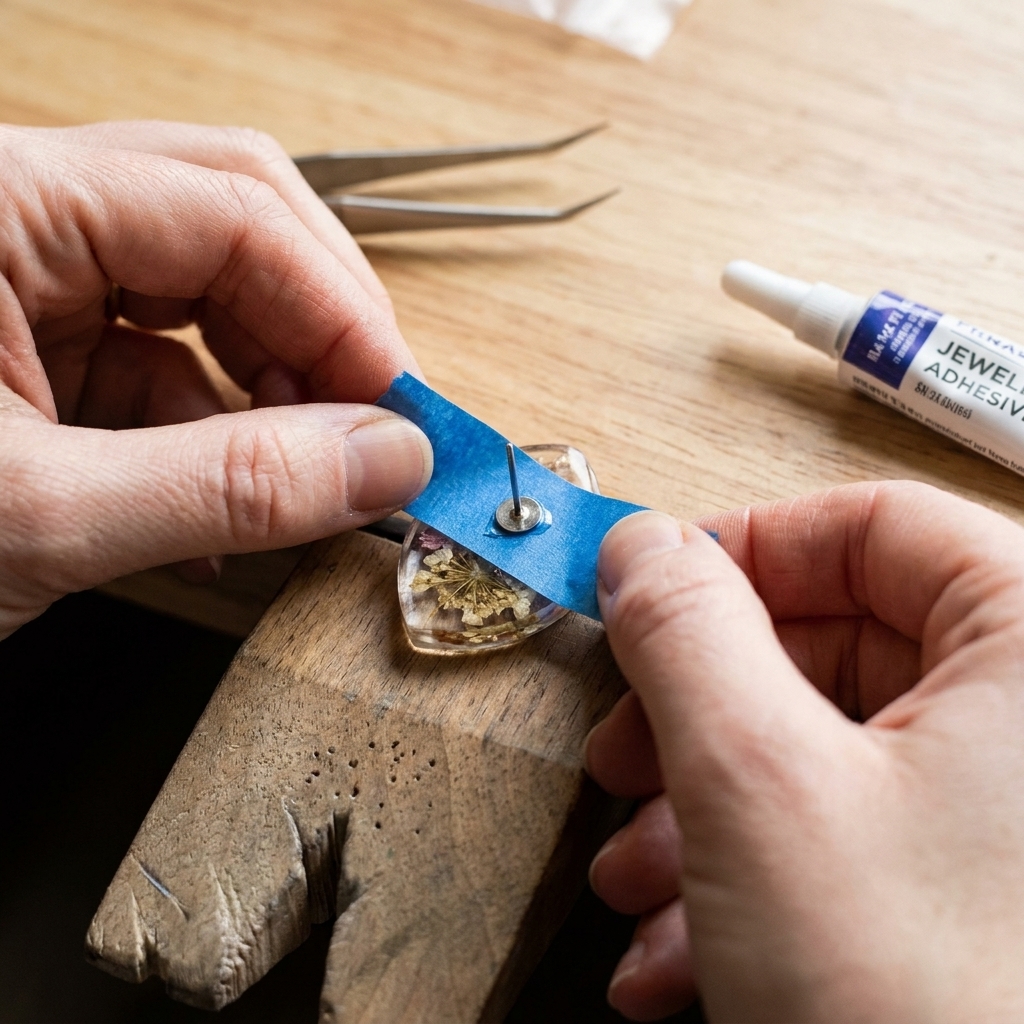
- Stabilize on a level surface. Set the piece front side down so the back faces up and you can see the post base. Use tape or a blob of putty to keep the post from sliding while the adhesive cures.
- Let the adhesive cure fully. This is where most rushed repairs fail. Handle strength is not full cure. Follow the label, and when in doubt, give it extra time.
- Add the resin cap. After the glue cures, apply a thin layer of resin over the post pad and slightly beyond it. Think of it like frosting that overlaps the edge of the metal by a couple millimeters.
- Cure level. Keep the piece perfectly flat so the cap does not run. For epoxy resin, cover from dust and let cure. For UV resin, cure in short bursts and check for shadows under the metal.
Why it works: The cap creates a physical “lip” over the hardware. This only pays off if the cap has a wide overlap and a well-sanded surface to bite into, so do not skimp on scuffing or edge coverage.
Method 2: Embed a flat pad during the pour
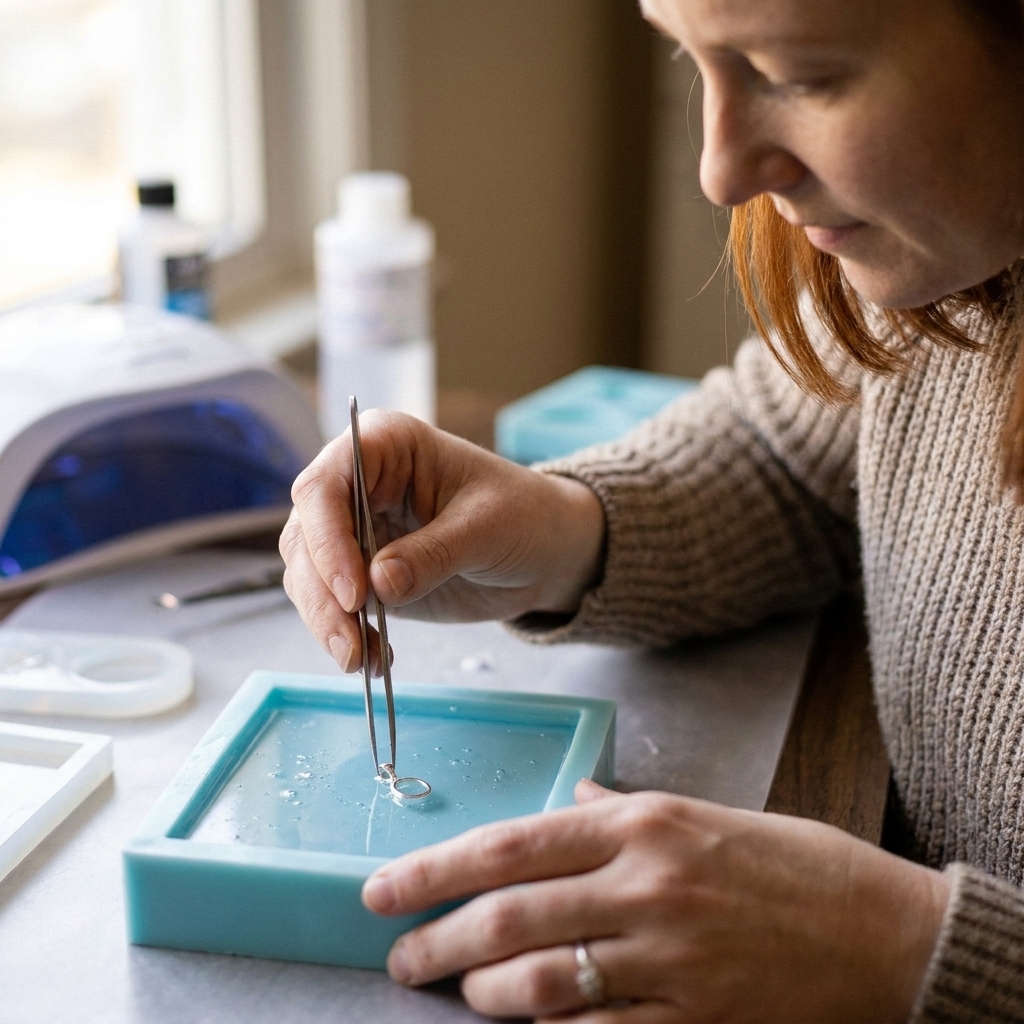
This is my favorite for flat pendants and statement earrings: you set the hardware into a partially poured layer, then pour a second layer to bury it. No drilling, and you get a true embed.
Best hardware for this method
- Flat pad bails
- Flatback posts
- Thin metal blanks or backing plates
Steps for a clean embed
- Pour a base layer. Fill your mold partway and pop bubbles as needed. If bubbles are a struggle for you, see how to prevent and remove micro-bubbles in epoxy resin.
- Wait for the gel stage. You want the resin thick like honey so hardware will not sink to the front.
- Place the finding. Lay the pad into the gelled resin. If it wants to float, press it in gently and hold it for a moment.
- Seal edges. Use a toothpick to nudge resin around the pad so there are no trapped air pockets under it.
- Top layer pour. Pour the remaining resin to fully cover the finding. I aim for about 1 to 2 mm over the hardware when the piece design allows, and more for larger pieces that will see more stress.
- Full cure. Demold only after the resin is truly hard.
Tip from my own trial and error: If your finding is shiny and the embed line is visible from the front, choose thinner pads and keep them closer to the back surface. You can also tint the backing layer slightly so the hardware disappears visually.
Method 3: Build a back pocket
For pieces that are already cured, you can build a shallow pocket on the back with resin, then set the hardware into that pocket and seal over it.
Best for
- Small charms that feel too thin to hold a post
- Lightweight pendants where you want a smoother back
Steps
- Sand and clean. Matte the back where the pocket will go.
- Build a shallow resin bed. Apply a controlled puddle of epoxy resin (or UV resin) where the finding will sit.
- Set the finding. Press the pad into the resin bed.
- Seal with a second thin coat. Once the bed reaches a tacky or gel stage where it holds shape and will not self-level completely, add a final layer that overlaps the pad edges.
This is basically the “glue + cap” idea, but using resin as the main body. For heavier earrings, I still prefer epoxy adhesive under the pad, then resin on top as insurance.
Pick the best no-drill option
| Finding | Best no-drill approach | Best adhesive | My main tip |
|---|---|---|---|
| Earring posts (studs) | Glue + resin cap | Epoxy adhesive, then resin cap | Scuff the post pad and overlap the cap beyond the metal edge |
| Flat pad bails | Embed during pour or glue + cap | Epoxy adhesive for glue method | Place at gel stage to prevent air pockets and sinking |
| Flatback blanks/backing plates | Embed during pour | Usually none needed if truly embedded | Aim to cover with enough resin thickness to handle stress |
| Pinch bails (no drill) | Use only on light pieces | Not applicable | They rely on pressure, so they can slip on slick resin |
Keep hardware from sliding
- Painter’s tape bridge: Tape over the post and stick tape ends to your mat so the post stays centered.
- Sticky putty: Press the post into a tiny blob so it stands upright while glue cures.
- Silicone work surface: It helps drips release later. If you are still setting up your crafting table, my full guide is best mats and coverings for resin spills.
When no-drill is not enough
No-drill methods are great for studs, light dangles, and many pendants. But if a piece is heavy, gets yanked a lot, or is meant for daily wear, there is a point where I stop gambling on surface bonds alone.
- If your design allows it, a drilled connection with an eye pin or proper hardware is the most durable route. This tutorial walks through it step by step: how to drill cured resin and attach eye pins.
- If you are staying no-drill, use a larger pad, epoxy adhesive, and a wider resin cap overlap to spread stress.
Common failures and fixes
The post popped off cleanly
This usually means the surface was too smooth or oily.
- Sand both surfaces, wipe with isopropyl alcohol, then reattach.
- Switch to epoxy adhesive and add a resin cap.
The glue held, but the resin cap peeled
This happens if the cap was applied to a glossy back, the overlap was too narrow, or the edge was too thin.
- Sand a wider area before capping.
- Feather the cap so it overlaps beyond the metal by a couple millimeters.
- Make the edge thick enough that it cannot peel like a thin film.
There is a bubble under the pad
- If it is small and cosmetic only, you can leave it.
- If it compromises the bond, remove the finding, sand back to solid resin, and reattach.
The back looks messy or sharp
Once everything is fully cured, you can refine it the same way you would clean up any resin edge: sand progressively and polish. See how to sand and polish epoxy resin.
Safety notes I do not skip
Adhesives and resins both deserve respect, especially in small indoor spaces. I started at my dining room table years ago, so I get the “just one pair of earrings” temptation. Still, protect yourself.
- Wear gloves and avoid skin contact. If it happens, use my cleanup steps at epoxy resin on skin removal and prevention.
- Work in a ventilated space and use the right protective gear. My full setup is here: set up a safe ventilated resin workspace at home and resin safety gear: respirators, gloves, and eye protection.
- Dispose of waste properly, especially uncured leftovers: how to clean up uncured resin and dispose of epoxy waste safely.
Quick FAQ
Can I attach posts with just UV resin?
You can, but I do not recommend it for everyday wear unless the hardware is also mechanically trapped. UV resin is best as a locking topcoat over a real adhesive bond and a properly scuffed surface.
Do I have to sand the back if my resin is already matte?
If it is truly matte and clean, you can often skip sanding. I still do a quick scuff on the metal pad every time.
How long should I wait before wearing them?
Follow the cure time on your adhesive and any resin cap you used. Many epoxies reach handling strength faster than full cure, which can take 24 to 72 hours depending on the product and conditions. When in doubt, I give it an extra day so hardware does not shift under pressure.
What is the strongest no-drill method overall?
For studs: epoxy adhesive plus a resin cap with a wide overlap. For pendants: embedding the pad during a layered pour.