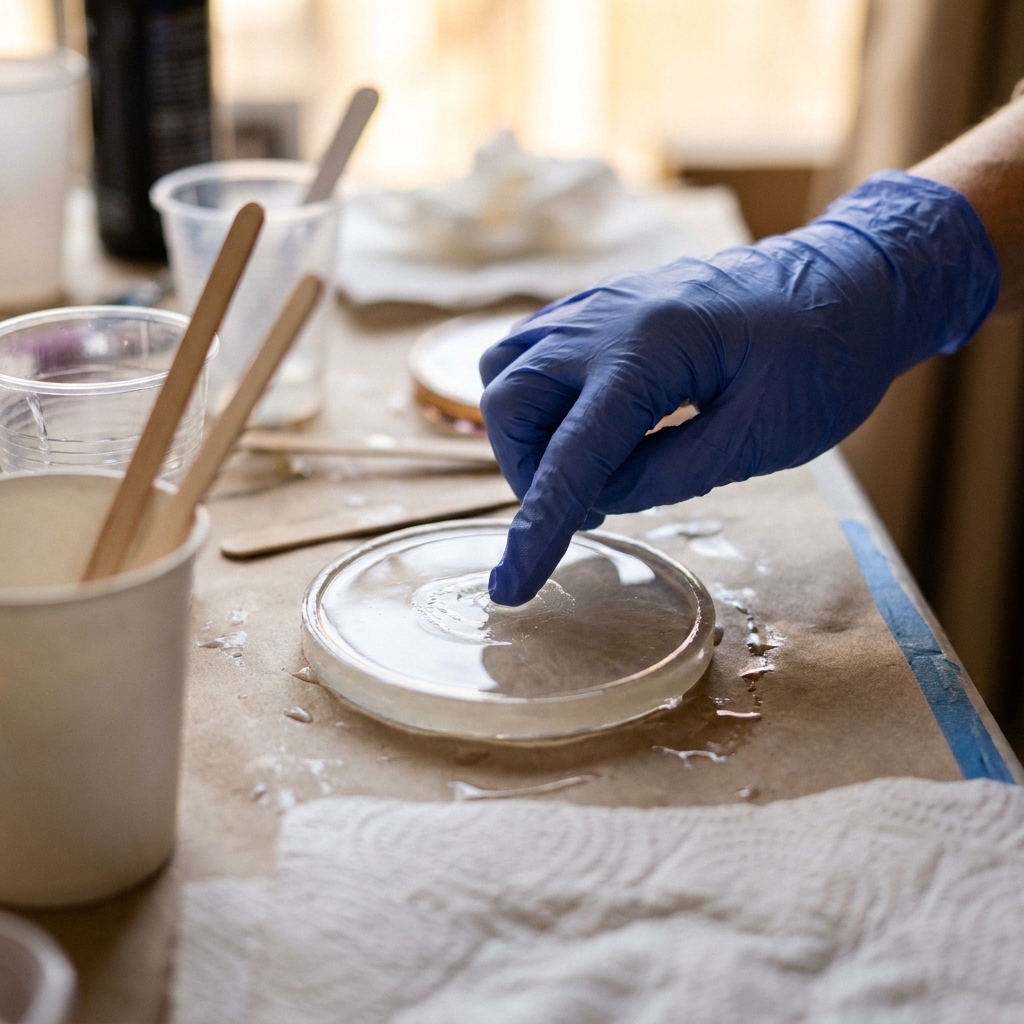
Stop tacky, uncured epoxy. Follow this step-by-step mixing method: confirm ratios, measure by volume or weight, stir slowly while scraping, then do a two-cup...
DIY Resin Bookmarks That Cure Flat

Ruby Fletcher
Ruby Fletcher is a dedicated resin crafter with years of hands-on experience pouring, molding, and creating custom epoxy art. After turning her dining room into a makeshift studio, she developed a passion for helping beginners navigate the sticky, colorful world of resin with confidence. She loves sharing practical tutorials, troubleshooting tips, and essential safety guides to make epoxy crafting accessible for everyone.
Published · Last updated
The first time I made resin bookmarks, I was picturing crisp, glassy little page savers. What I got instead was a slightly wavy noodle with bendy edges that wanted to cling to paper like a static-charged sweater. Bookmarks are sneaky like that. They are thin, they reach a handleable stage quickly, and they will absolutely show every little mixing or setup issue.
Below is exactly how I pour bookmarks that cure flat and rigid, plus what to do when the ends curl, edges stay flexible, or the surface feels grabby against pages. I will also walk you through adding tassels without cracking the hole area or tearing your book.
Safety and setup first
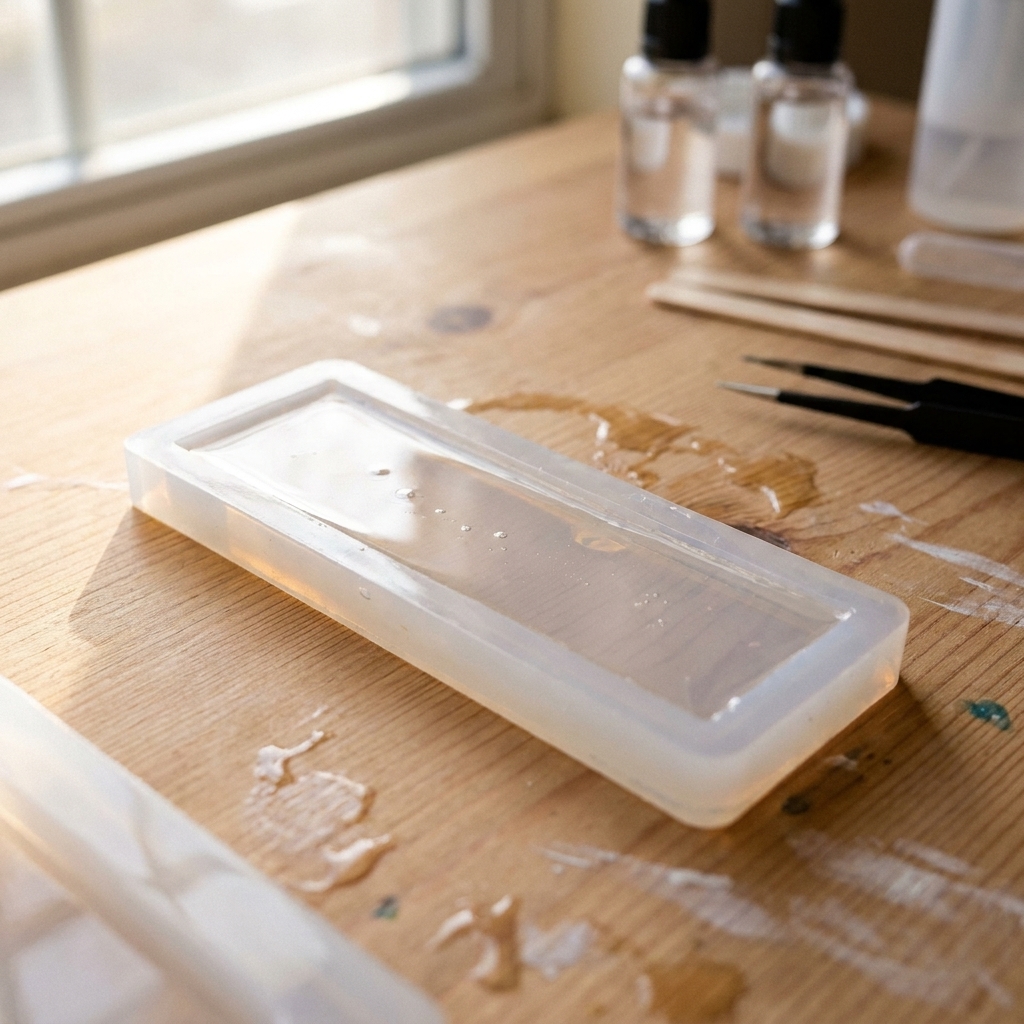
Bookmarks use a small amount of resin, but that does not make them a low-safety project. I pour in my craft space in the garage with ventilation running, gloves on, and a protected work surface.
- Ventilation and PPE: Start with Getting Started & Safety, then double-check respirators, gloves, and eye protection if you are new.
- Protect your table: Bookmark molds are shallow, so even a small bump can slosh resin over the edge. I like a dedicated barrier. Here is my deep-dive on mats and coverings for resin spills.
- Level matters: If your table is even slightly off, resin will creep to one end and cure thicker there, which encourages warping. Use a small level or a leveling app and shim with cardboard.
Why bookmarks warp or get bendy
Most bookmark problems come from one of these:
- Too thin overall: Many bookmark molds are very thin. If you underfill even a little, the edges cure flexible.
- Uneven thickness: A non-level surface or tilted mold gives you a thick end and a thin end. Thin areas can feel rubbery longer and curl first.
- Undermixing or ratio errors: In thin pours, a slightly undercured mix can feel fine in the center but stay soft at the edges. If you suspect cure issues, see how to measure and mix 2-part epoxy resin and my troubleshooting guide why epoxy is sticky or soft.
- Temperature swings: Cold resin is thicker, which makes bubbles harder to rise and release. Cold rooms also slow curing and can leave pieces flexible longer. I keep my cure space steady. More on that here: ideal temperature and humidity for curing.
- Demolding too early: Bookmarks often feel solid before they are truly rigid. If you demold at “firm but bendy,” they can take on a curve while finishing the cure in open air.
Supplies for flat, rigid bookmarks
- 2-part epoxy resin (a casting or coating formula can work for many bookmark molds, as long as your brand allows thin pours or small castings and you stay within its max pour depth and cure guidance)
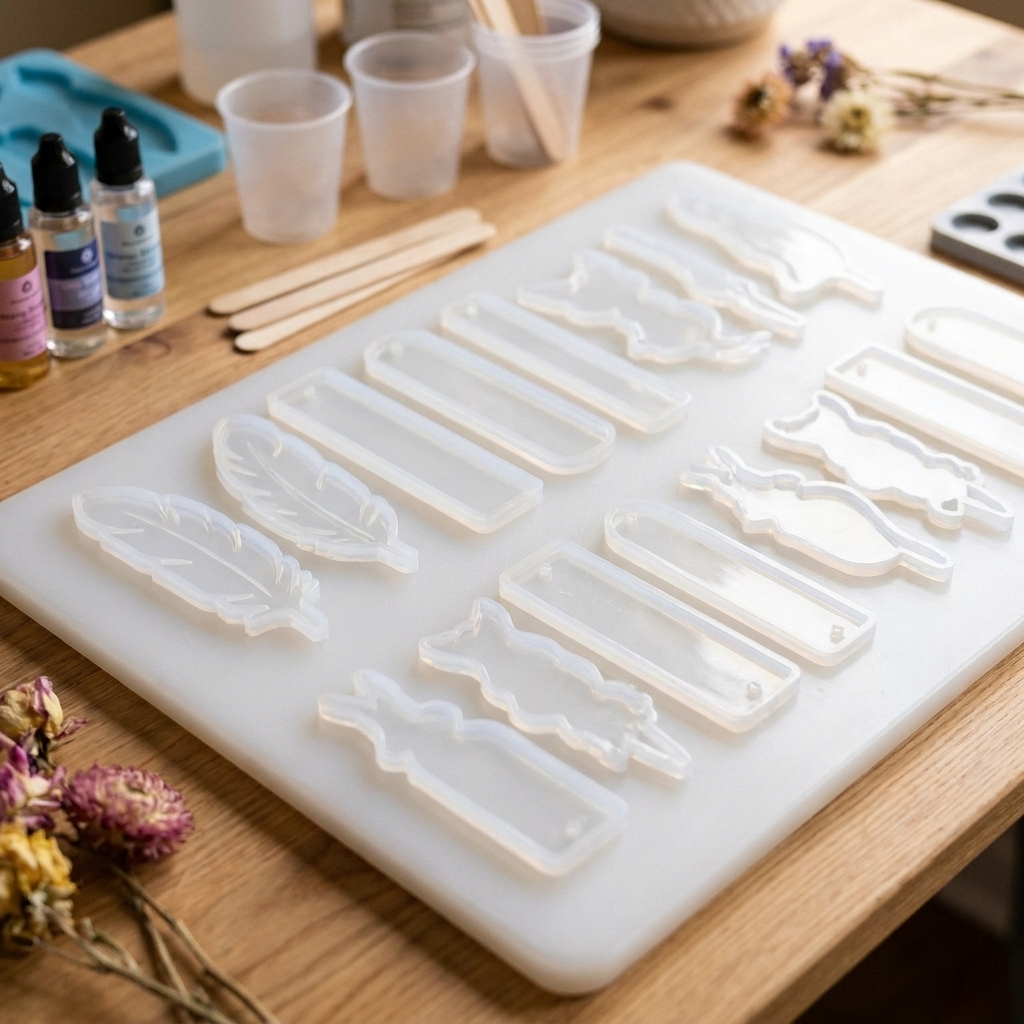
- Silicone bookmark mold with a clean tassel hole area
- Nitrile gloves, respirator if recommended by your resin brand, and eye protection
- Mixing cups with volume marks and flat stir sticks
- Kitchen scale (optional but helpful for resins that mix by weight)
- Isopropyl alcohol (IPA) in a spray bottle for surface bubbles (optional and brand dependent). Test first and use sparingly.
- Heat tool for bubbles: heat gun or torch used carefully. I break it down here: heat gun vs butane torch.
- Pigment (mica, paste, transparent dye). If you are not sure what plays well with epoxy, see how to color epoxy resin.
- Flat curing board (a smooth cutting board, acrylic sheet, or melamine board)
- Painter’s tape (helpful for stabilizing molds)
- Tassel cord, embroidery floss, thin suede lace, or pre-made tassels
- Jump ring (optional) and small pliers
- Microfiber cloth for final wipe
Step by step: bookmarks that cure flat
1) Prep the mold
Dust and lint are extra obvious in a thin bookmark. Rinse the mold with mild soap and water, let it dry fully, then do a quick pass with tape to lift any remaining fuzz.
Set the mold on a rigid, flat board you can move without flexing. Thin silicone can sag if it is sitting on a soft mat. If the mold wants to bow, I tape the edges down to the board with painter’s tape so it cannot “smile” upward at the ends.
2) Measure right, then mix longer
Measure according to your resin’s instructions, then stir slowly and scrape the sides and bottom for the full recommended time. With bookmarks, I also do the double-cup method when I want maximum reliability: mix in cup one, then pour into cup two and mix again for another 30 to 60 seconds.
Quick measuring note: Some resins are 1:1 by volume, but not 1:1 by weight. If your label says “by volume,” do not switch to a scale unless the brand provides weight ratios.
If you need a refresher, my full walkthrough is here: How to measure and mix 2-part epoxy resin.
3) Let bubbles rise, then pour in a thin stream
After mixing, let the cup sit for 2 to 3 minutes. Then pour in a thin stream into the mold, aiming for one end and letting the resin flow across. This reduces trapped air compared to dumping it in the center.
Fill to the designed top edge. In most bookmark molds that means right up to the rim line, with a slight meniscus. Underfilling is the fastest route to bendy edges.
4) Pop bubbles gently
For bookmarks, I use the least aggressive bubble removal that works. A quick pass of warm air from a heat gun held far back is usually enough. Once the surface looks glassy, stop. Overheating is how you get waves and ripples.
If you use IPA, mist lightly and give it a moment to flash off. Do not use a torch anywhere near fresh IPA fumes. Pick one method or the other, and keep open flame out of the equation if you have used alcohol recently.
Need a bubble strategy? Here is my full guide: prevent and remove micro-bubbles.
5) Cover and cure on a stable surface
Dust is bookmark enemy number one. I cover molds with a clean plastic bin or a cardboard box. Then I leave them alone. No “just checking” and moving the board around. Moving while the resin is in gel stage is a classic way to set a subtle curve.
6) Demold late, not early
If your resin says 24 hours demold, I often wait closer to 36 for bookmarks, especially in cooler Pacific Northwest weather. What you want is rigid, not “firm.” If it flexes easily, it is not ready.
Demold time is not full cure. Many epoxies keep hardening for several days (often 3 to 7). A bookmark can feel fine, then get noticeably stiffer as it finishes curing.
Prevent bendy edges
- Support the mold: Place it on a hard board, not a squishy silicone mat.
- Fill fully: Thin edges happen when resin pulls away from the rim or you stop short.
- Keep your room steady: Cold slows cure and increases flexibility for longer.
- Do not demold early: The center can feel cured while the edges lag behind.
- Avoid too much early heat: Overheating can thin the resin and encourage it to run away from edges before it gels.
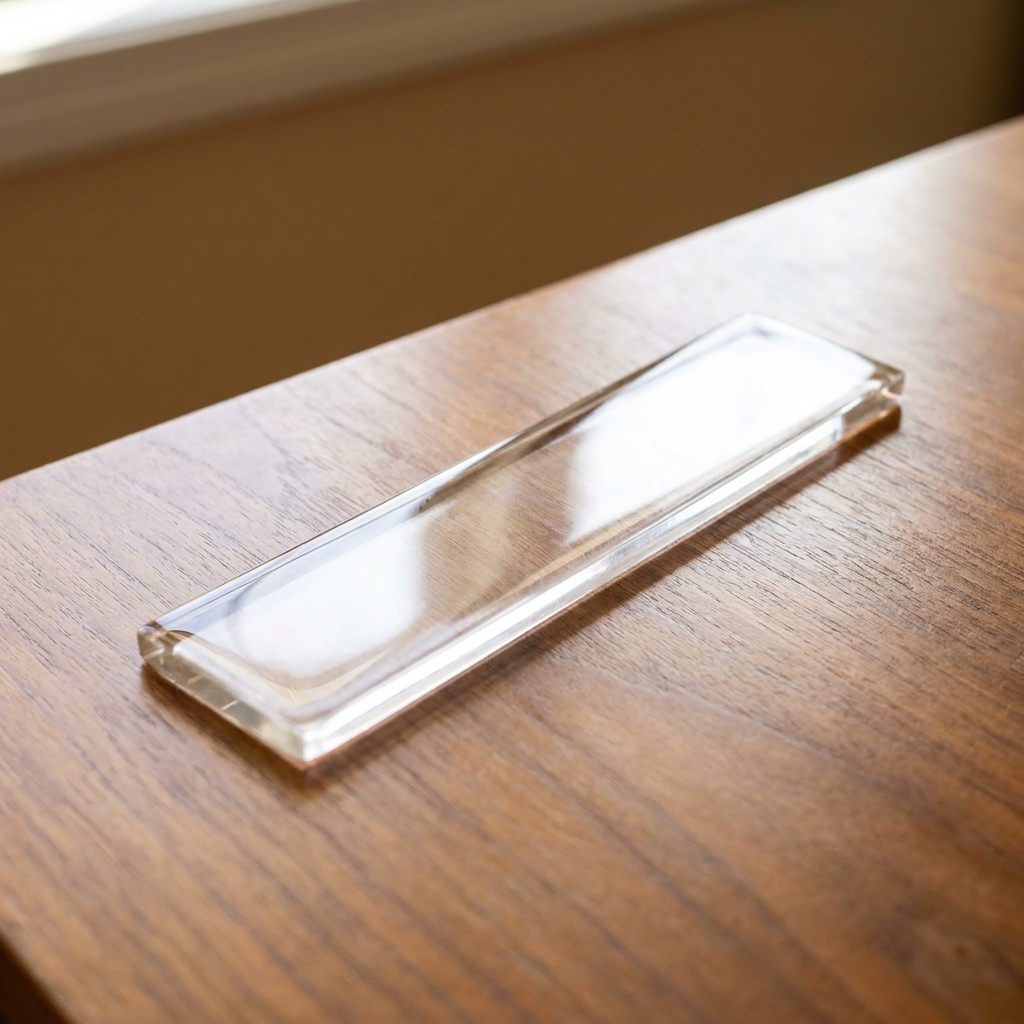
If your bookmark is already demolded and slightly flexible, do not panic. Many will firm up over the next 24 to 72 hours as the cure completes, assuming your mix ratio was correct.
Fix warped bookmarks
Warping usually means the piece cured unevenly or finished curing while unsupported. Here are my most reliable fixes, from gentle to more involved.
Fix 1: Press flat while it post-cures
If the bookmark is only 12 to 48 hours old and still has a little give, press it flat between two smooth, rigid surfaces:
- Place parchment paper on both sides (so nothing sticks).
- Lay the bookmark flat, then top with a cutting board or book.
- Add light weight and leave it 24 to 48 hours.
This works best when the resin is still in its post-cure window.
Fix 2: Gentle warmth, then press flat
If it is fully cured but warped, you can sometimes relax it with gentle warmth and then press it flat. Use caution and test on a less-loved piece first. Overheating can cause ripples, surface dulling, or new warps.
- Warm the bookmark gradually (think warm, not hot).
- Press it between two flat boards with parchment.
- Let it cool completely under pressure.
Fix 3: Re-coat on a flat surface
For a thin bookmark that keeps curling, the most durable fix is often adding a thin, even layer to increase rigidity. Use the same resin, mix carefully, and pour a controlled coat with the piece sitting perfectly level. If you want a glossy top coat technique, doming skills apply even though the shape is longer. This guide helps: how to dome resin.
Stop bookmarks from sticking to pages
A properly cured epoxy bookmark should feel slick, not tacky. If pages cling or the surface feels grabby, it is usually one of these:
- Under-cured resin: Re-check mixing ratio and stirring. Use my fix list here: sticky or soft resin fixes.
- Blush or cloudiness from moisture: High humidity can mess with some formulas and leave a hazy or draggy surface. See why resin turns cloudy and temperature and humidity tips.
- Micro-scratches: A scratched surface can feel less smooth against paper. Sanding and polishing can bring back glide. Here is my method: how to sand and polish epoxy resin.
Important: If the bookmark is truly tacky, do not put it in a book yet. It can transfer residue to pages. Let it cure longer in a warm, stable spot, then reassess.
Add tassels without cracking
The tassel hole is the weak point on most resin bookmarks. If you tug hard, it can chip, especially if the hole area cured thin or has a sharp corner. My goal is to create a flexible connection that takes the stress, not the resin.
Option A: Cord through the hole
- Check the hole: If there is flashing or a sharp edge, lightly sand just the inner edge with fine grit sandpaper and wipe clean.
- Use a soft cord: Embroidery floss, satin cord, or thin suede lace are gentle on books and do not saw at the hole.
- Make a lark’s head knot: Fold the cord in half, push the loop through the hole, then feed the tails through the loop and snug it down.
- Add tassel: Tie the tassel onto the tails or make your own by wrapping floss around a piece of cardboard, tying the top, and trimming the ends.

Option B: Add a jump ring
If your tassel has a thicker loop, a small metal jump ring reduces pulling on the resin.
- Open the jump ring sideways with pliers.
- Slide it through the bookmark hole.
- Add the tassel loop.
- Close the ring fully so it cannot catch book pages.
Reinforce a thin hole area
If the hole area looks a little skimpy, I mix a tiny bit of resin and add a small collar around the hole on one side, keeping it neat and thin so it still sits flat in a book. Let it cure fully before attaching the tassel.
Finishing touches
A bookmark can be beautiful and still feel awful in a book if the edges are sharp.
- Trim flashing: If there is a thin resin skirt, trim it carefully, then sand.
- Soften corners: A couple of gentle passes with fine grit sandpaper on the corners makes it feel more store-bought.
- Polish if needed: If sanding dulls the shine, polish using my full method: sand and polish epoxy resin.
Before gifting, I always do a quick test: slide the bookmark in and out of a paperback a few times. It should glide without snagging, and the tassel should not shed or scratch.
Troubleshooting FAQ
My bookmark is hard in the middle but flexy at the ends. Why?
Usually uneven thickness from a non-level surface or underfilled ends. Let it post-cure longer, and next time tape the mold to a rigid board and verify level.
It cured with a curve even though my table was level.
This often happens when demolding too early, then the piece finishes curing while unsupported. Try the flat sandwich method for 24 to 48 hours.
Can I use UV resin for bookmarks?
You can, especially for thin, clear styles, but it is easy to end up with uneven cure if your lamp does not reach every area consistently. If you are deciding between resin types, this comparison helps: UV resin vs 2-part epoxy.
My tassel hole cracked when I pulled the cord tight.
The hole edge was likely sharp, thin, or stressed. Sand the inner edge next time, use a softer cord, and consider a jump ring as a stress buffer.