Not sure whether to start with UV resin or 2-part epoxy? Compare cure time, working time, bubbles, strength, cost, and the best picks for jewelry, coasters, ...
Fast UV Resin Pendants in Small Silicone Molds

Ruby Fletcher
Ruby Fletcher is a dedicated resin crafter with years of hands-on experience pouring, molding, and creating custom epoxy art. After turning her dining room into a makeshift studio, she developed a passion for helping beginners navigate the sticky, colorful world of resin with confidence. She loves sharing practical tutorials, troubleshooting tips, and essential safety guides to make epoxy crafting accessible for everyone.
Published
The first time I tried UV resin for tiny pendants, I was convinced it was going to be my “instant gratification” craft. Two minutes under a lamp and done, right? Then I popped a sweet little charm out of a silicone mold and promptly fingerprinted the back into a cloudy, sticky mess.
UV resin can cure fast, but small silicone molds have their own quirks: curved walls that create shadows, backs that stay soft, and some formulas that leave a tacky surface. Here is how I pour and cure small UV resin pendants so they come out hard, clear, and wearable in minutes.
Safety first, even for “quick” UV resin
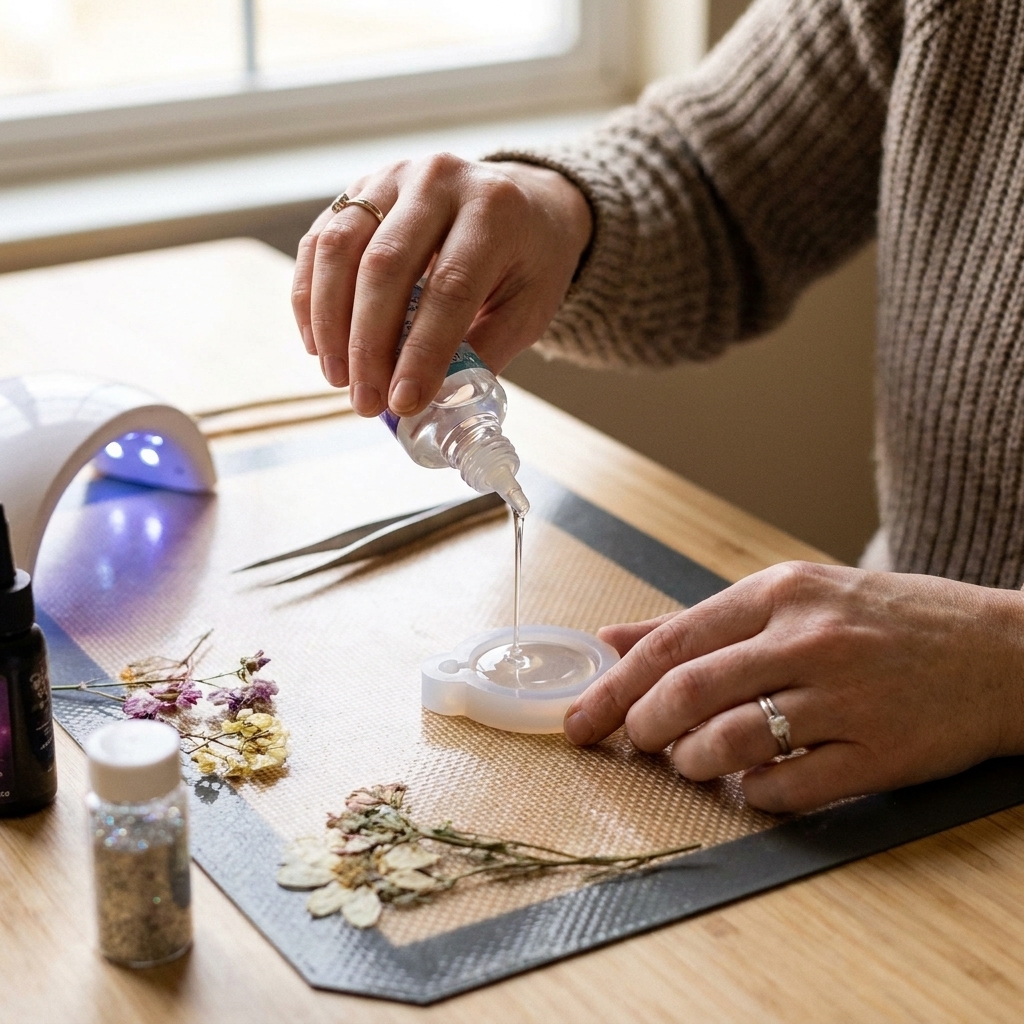
UV resin feels simpler than 2-part epoxy, but it still deserves real safety habits. My rule is to set up like I am doing a full pour, just smaller.
- Ventilation: Work in a well-ventilated spot. If you are building a safer setup, see Set Up a Safe, Ventilated Resin Workspace at Home.
- Gloves and eye protection: Uncured resin is a skin irritant. I keep nitrile gloves on and avoid touching my phone, lamp buttons, and door handles with resin gloves. For a gear rundown, read Resin Safety Gear: Respirators, Gloves, and Eye Protection.
- Skin contact plan: If you do get resin on your hands, do not scrub with solvents. Use the safer removal approach in Epoxy Resin on Skin: Removal and Prevention.
And yes, I still protect my table. UV resin drips cure hard and sharp. A mat saves your sanity. My favorites are covered in Best Mats and Coverings for Resin Spills.
Why small silicone molds are tricky
If your UV pendants cure unevenly, it usually comes down to one of these:
- Light cannot reach everywhere. Deep cavities, steep sides, and opaque silicone create shadows.
- You poured too thick. UV resin cures where the light reaches. A thick pour can skin over on top while staying under-cured underneath.
- Surface tackiness. Some UV resins can stay slightly tacky on the surface when exposed to air, especially on flat “open” backs. It varies by brand and formula.
- Dirty or hazy molds. Dust, residue, or scratched silicone can scatter or block light. That can contribute to haze and under-curing in shadowed spots.
None of this is a dealbreaker. You just need a method that is built for tiny, shadowy shapes.
Choosing molds that cure fast
Use the clearest silicone you can
For UV resin, clear or translucent silicone is your best friend because light can penetrate the walls. Very pigmented silicone molds are great for epoxy, but they can leave UV resin gummy on the sides and back.
Shallow beats deep
If you are learning, start with molds that are:
- Shallow (think charms and small cabochons)
- Wide enough to angle the lamp and reach all edges
- Smooth and glossy inside
If you need help choosing and caring for silicone molds in general, I have a full guide here: Silicone Molds for Resin: Choose, Prep, and Care.

My fast UV pendant steps
This is the routine I use when I want a solid cure without babysitting sticky backs.
1) Prep your mold and workspace
- Wash the mold with mild soap and water if it has dust or lint, then let it dry completely.
- Use a lint-free cloth or tape to lift stray glitter or fuzz from cavities.
- Level your surface. Tiny molds exaggerate “one side thicker,” and thicker areas cure slower.
2) Match your lamp to your resin
This one saves a lot of frustration. Many UV resins cure best in the 365 to 405 nm range, but not all lamps output the same wavelengths. Nail lamps, flashlights, and craft lamps can behave very differently. If your resin label mentions a wavelength, treat that as law.
3) Warm the resin gently if it is cold
In the Pacific Northwest, my craft room runs cool. Cold UV resin is thicker, traps bubbles, and can cure more slowly. I like to let the bottle sit in a warm room for 10 to 15 minutes before pouring. If you use a warm water bath, keep it gentle (not hot), keep the cap tight, and keep the bottle dry.
4) Pour in thin layers
For small pendant molds, I aim for 2 to 3 mm per layer. Thin layers cure faster and more evenly, and you get fewer surprise soft spots. This matters even more if you add pigments, mica, or anything opaque, since those can block UV light and reduce depth of cure.
- Fill the mold about one-third to one-half full.
- Pop bubbles (more on that below).
- Cure that layer.
- Add the next layer and repeat until full.
5) Bubble control without overheating
UV resin is often easier than epoxy for bubbles, but tiny molds love to trap air at sharp corners and around embeds.
- Use a toothpick or silicone stir stick to gently trace along edges and corners right after pouring.
- Let it sit 30 to 60 seconds so micro-bubbles can rise.
- Use brief heat only if needed. A quick pass with warm air can help bubbles release, but too much heat can warp silicone and can make resin move or overflow. Keep heat away from the mold when your UV lamp is on so you do not accidentally flash-cure the surface while bubbles are still trying to escape.
If you want a deeper bubble toolkit that also applies to epoxy, see How to Prevent and Remove Micro-Bubbles in Epoxy Resin and Heat Gun vs Butane Torch for Resin Bubbles.
6) Cure in short rounds
Lamps vary a lot, so always follow your resin brand instructions. When I am working with small molds, my baseline is:
- Distance: about 2 to 8 cm (roughly 1 to 3 inches) from the resin surface, unless the resin brand says otherwise.
- Time: 30 to 60 seconds per round for thin layers, then assess and repeat as needed.
- Angle: rotate the mold 90 degrees between rounds if your lamp is directional.
- Chase the shadows: if the mold has tall edges, reposition the lamp so light hits the walls, not just the top.
7) Flip-cure for hard backs
If your mold is clear and your lamp is strong, you can often cure through the mold. But for consistently hard, tack-free pendants, I do this:
- Cure the final layer until it looks set.
- Demold carefully.
- Place the pendant front side down on a smooth silicone mat or a nonstick sheet.
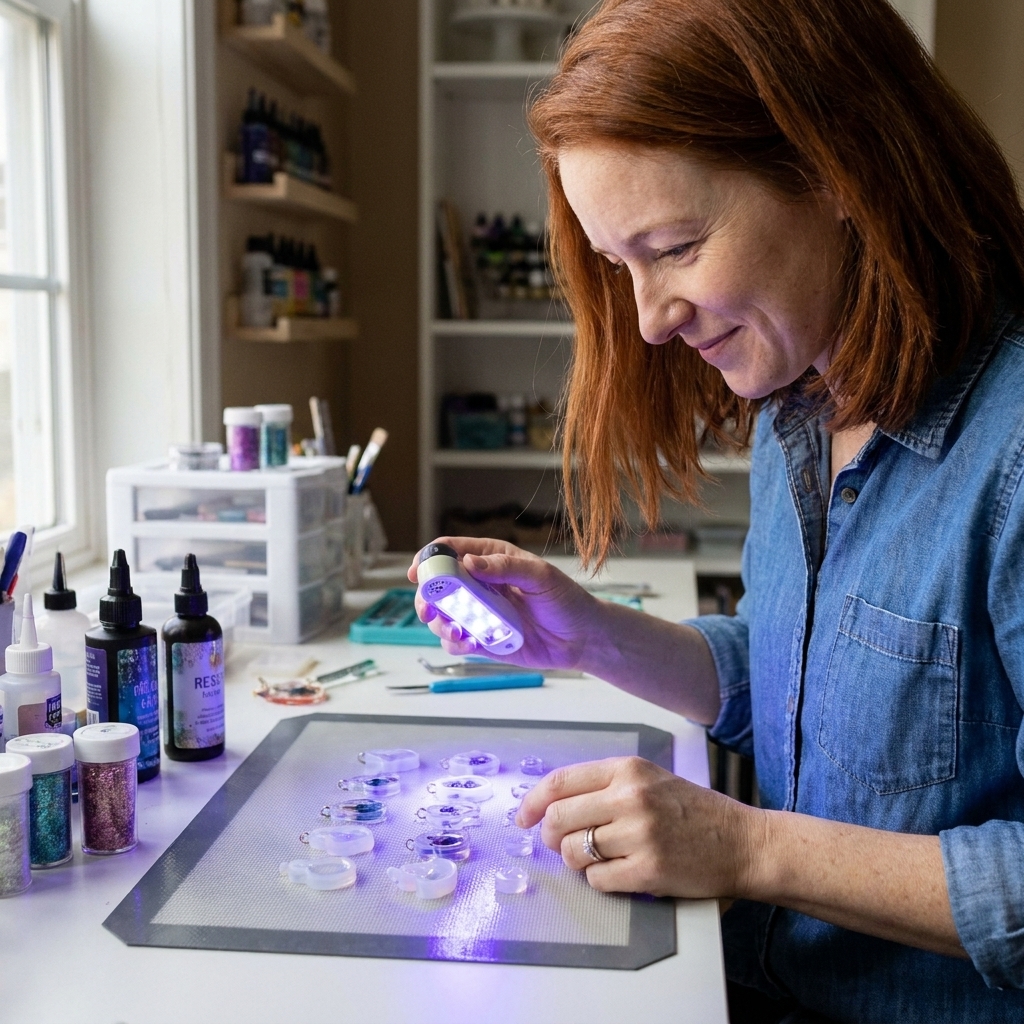
- Cure the back for another short round.
This flip-cure step is what fixed most of my early sticky-back problems.
Tacky surfaces: prevent and fix
A pendant can feel hard and still have a tacky film. Here is what helps most.
Prevent tackiness
- Use thin layers. Thick pours can trap under-cured resin beneath a cured skin.
- Give the final layer a little extra time. Especially if the pendant has a flat open back, deeper walls, or any colorant.
- Topcoat for a glassy finish. If your mold leaves a matte back, paint on a very thin layer of UV resin as a topcoat and cure again. This is basically the UV version of doming. If you want a doming mindset, this guide helps: How to Dome Resin on Jewelry and Small Crafts.
Fix tackiness
- Re-cure first: Before you do anything else, try another cure cycle and a flip-cure. Sometimes it just needs more light.
- Wipe and re-cure: If the resin brand allows it, wipe the surface gently with isopropyl alcohol on a lint-free wipe to remove any tacky film, then cure again. Test first on a spare piece, since some formulas can haze or dislike solvents.
- Seal with a thin UV topcoat: Brush on a whisper-thin layer and cure thoroughly.
- If it is soft, not just tacky: It needs more UV exposure, thinner layers, or both. Cure longer, then flip-cure. If it is still rubbery, you may need to scrape out and repour in thinner layers.
For general “why is my resin still sticky” troubleshooting, my epoxy-focused guide is still useful for diagnosing causes like temperature, contamination, and under-curing: 8 Reasons Your Epoxy Resin Is Sticky or Soft and How to Fix It.
Embedding without floating or sinking
My weekend habit is hunting for tiny vintage trinkets I can turn into pendants. UV resin is perfect for that, as long as you treat embeds like a layering project.
My embed method
- Pour a thin base layer and cure it until firm.
- Place the embed on the cured base so it cannot drift.
- Add a second thin layer to lock it in, then cure.
- Finish with a final fill layer and flip-cure.
For glitter and leaf that likes to migrate, the principles in this guide translate beautifully to UV resin: How to Suspend Glitter, Beads, and Gold Leaf Without Sinking.
Clean edges and hardware
Prevent overflow lips
- Stop just shy of the rim, then let the resin self-level for 10 to 20 seconds.
- Use a toothpick to pull resin away from the edge if it creeps up.
- If you do overflow, cure first. Smearing uncured UV resin is how you get sticky fingerprints everywhere.
Trim and finish
For cured drips or sharp edges, trim carefully, then sand and polish if needed. My sanding workflow is here: How to Sand and Polish Epoxy Resin. The same grits and patience apply to UV pieces.
Add hardware after curing
If your pendant mold does not include a built-in loop, you have options:
- Drill and add an eye pin once the piece is fully hard: How to Drill Cured Resin and Attach Eye Pins.
- Glue hardware on when drilling is not ideal: Glue and Embed Hardware in Resin Jewelry.
Quick fixes
Top is hard but back is soft
- Cause: Light is not reaching the back through silicone, or the layer is too thick.
- Fix: Demold and flip-cure. Next time, pour in thinner layers and use clearer molds.
Cloudy or hazy pendant
- Cause: Scratched mold, dusty mold, micro-bubbles, too much pigment, or overheating during cure.
- Fix: Clean the mold, pour slower, trace corners with a toothpick, and cure in shorter rounds to keep heat down.
Bubbles stuck in details
- Cause: Resin is thick (often because it is cold), or you poured too quickly into a detailed cavity.
- Fix: Warm the bottle gently, pour a small amount first, then coax resin into details before filling the rest.
Sticky film that will not go away
- Cause: Under-curing, a formula that tends to be surface-tacky, or a top surface that did not get enough direct light.
- Fix: Re-cure and flip-cure. If needed, wipe (if compatible) and re-cure, or apply a thin UV topcoat and cure again. If the piece is truly soft, it needs more exposure or a repour in thinner layers.
UV resin vs epoxy for pendants
UV resin shines for quick jewelry parts, tiny domes, and small molds where I want a finished piece right away. I still reach for 2-part epoxy when I need deeper casts, larger pieces, or extra working time for complex arrangements.
If you are deciding between the two, this breakdown is a good starting point: UV Resin vs 2-Part Epoxy: What Beginners Should Choose.
Quick checklist
- Use clear or translucent silicone molds when possible.
- Make sure your lamp wavelength matches your resin (often 365 to 405 nm).
- Pour in thin layers, about 2 to 3 mm, especially with pigments or mica.
- Chase bubbles with a toothpick, especially in corners.
- Cure in short rounds and rotate to hit shadowed walls.
- Demold and flip-cure for reliable hard backs.
- Topcoat with a thin layer if you want extra gloss or to seal a tacky finish.
Once you get your lamp rhythm down, UV resin pendants really can be a “minutes not hours” project. The trick is treating small molds like a layering game, not a one-and-done pour.