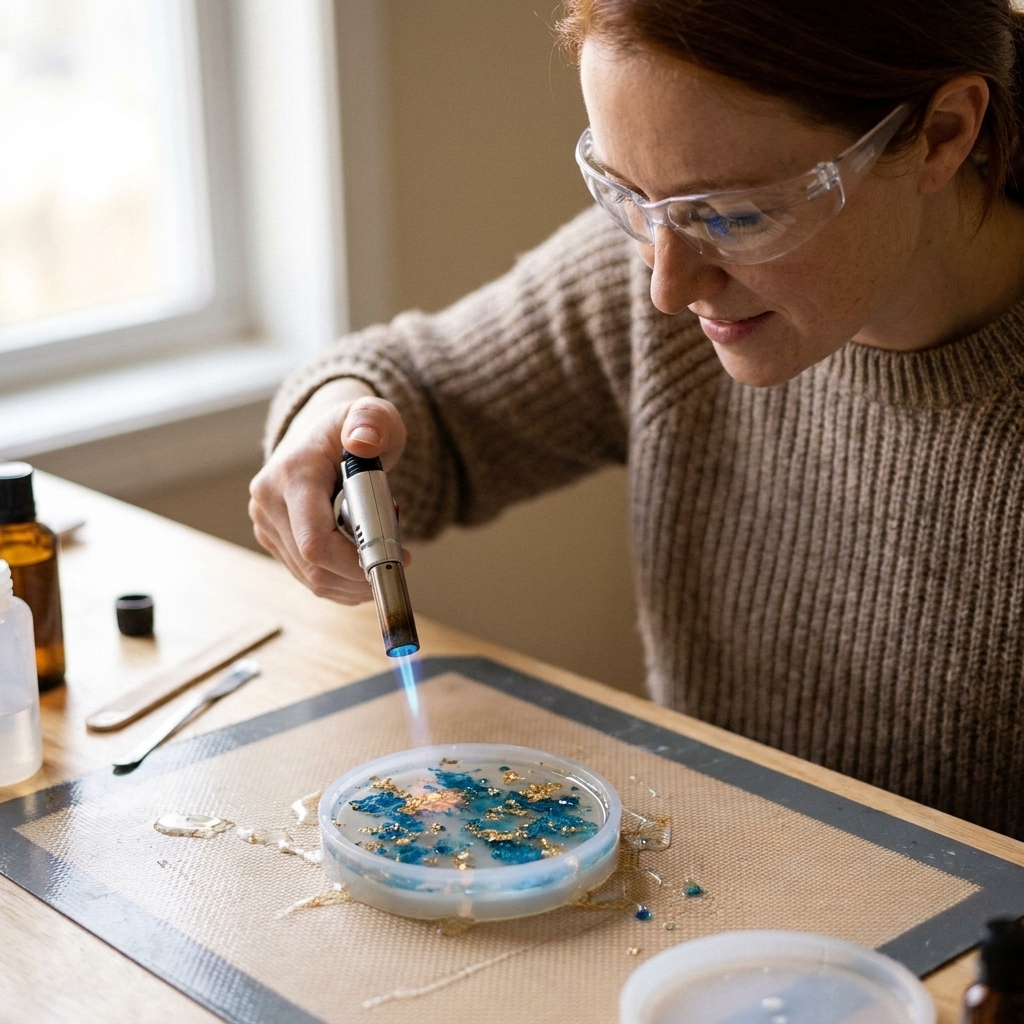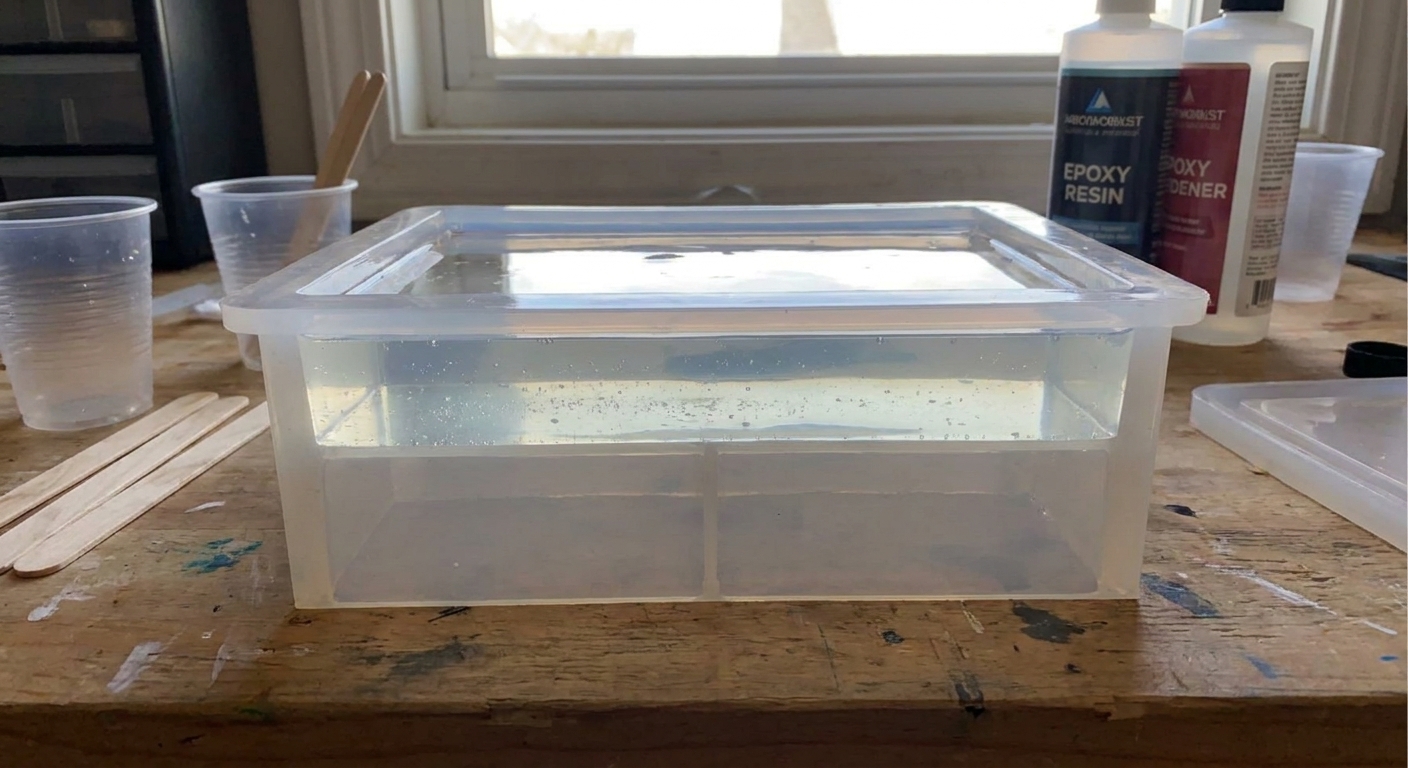
Stop the dreaded “horizon line” in layered epoxy. Learn the gel-stage recoat window, when to sand for mechanical bonding, and how to avoid bubbles and delami...
How to Suspend Glitter, Beads, and Gold Leaf in Resin Jewelry Without Sinking

Ruby Fletcher
Ruby Fletcher is a dedicated resin crafter with years of hands-on experience pouring, molding, and creating custom epoxy art. After turning her dining room into a makeshift studio, she developed a passion for helping beginners navigate the sticky, colorful world of resin with confidence. She loves sharing practical tutorials, troubleshooting tips, and essential safety guides to make epoxy crafting accessible for everyone.
Published · Last updated
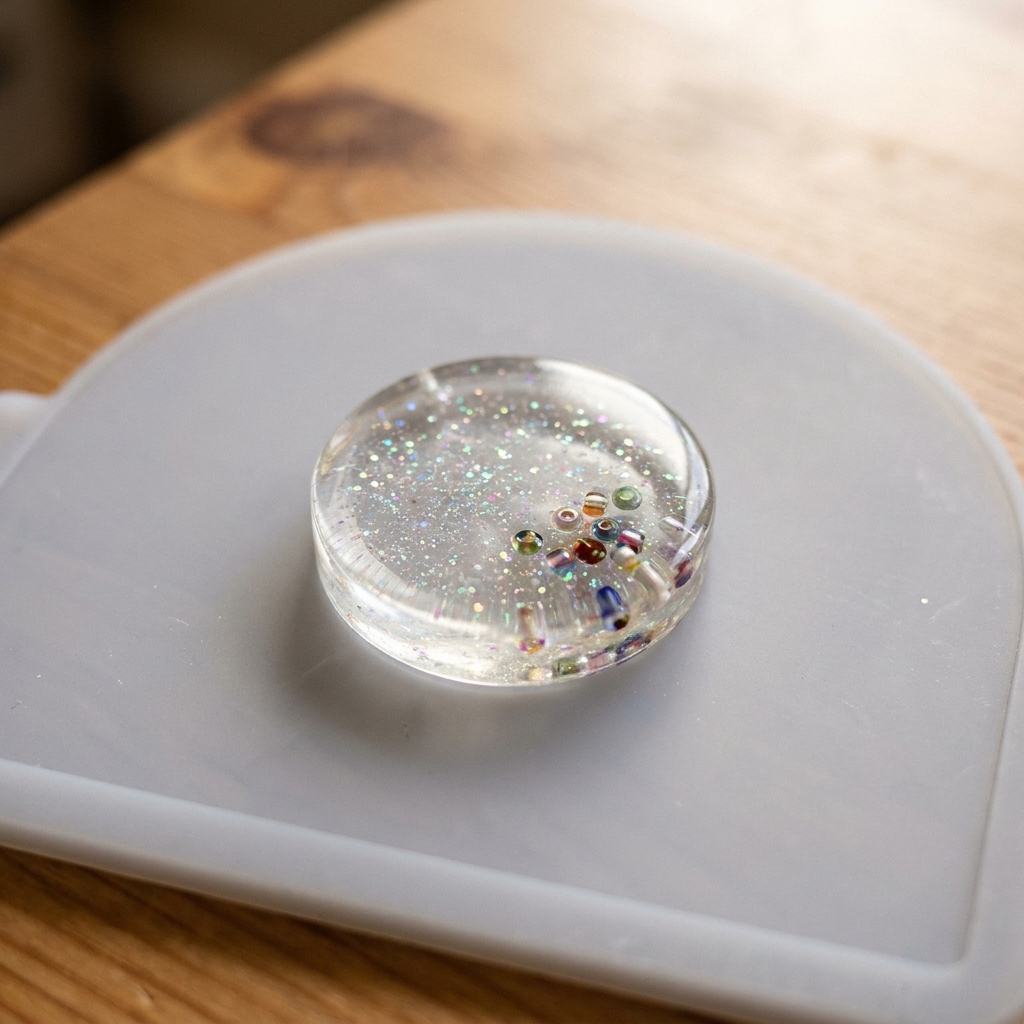
The first time I tried to “float” a tiny bead cluster in a pendant, it sank like a rock and parked itself smugly on the bottom like it paid rent. If you have ever watched your gorgeous mix-ins slowly drift downward while your resin cures, you already know the frustration.
The good news is that suspending inclusions is not luck. It is timing, viscosity, and a little bit of patience with layers. Once you learn what the thickening stages look like in your workspace, you can reliably keep glitter, beads, sequins, and gold leaf right where you intended.
Why things sink (and what stops it)
Most sinking comes down to one of these:
- Your resin is too thin when you add the inclusions, so gravity wins.
- Your inclusions are heavy or smooth (glass beads, metal charms) and slide through low-viscosity resin easily.
- You pour too deep at once, so there is a long distance to fall before the resin thickens.
- Your room is warm, which speeds curing overall but the early minutes can still be water-thin. That means you can miss the sweet spot fast.
- Your batch size changes the clock. A larger cup of mixed resin tends to kick faster (more heat buildup), while tiny pendant batches usually give you a longer, calmer window.
What stops sinking is not “more glitter” or “stirring harder.” It is one of two strategies:
- Increase viscosity before placement: wait until resin thickens, then add inclusions.
- Use layers as shelves: pour a base layer, let it thicken or partially cure, then add inclusions and cap with a top layer.
If you are newer to mixing, make sure your resin is measured and mixed correctly first. Even slightly off-ratio resin can cure oddly and stay loose long enough for pieces to drift. This walkthrough helps: How to Measure and Mix 2 Part Epoxy Resin.
Stage cues you can use
Resin brands vary, so I go by what I can see and feel instead of strict minutes. Here is the simple ladder I use:
- Watery stage: runs off the stir stick in a fast stream.
- Honey stage: drips slow down and look ropey, like warm honey.
- Gel stage: resin clings and holds soft peaks for a moment. It feels thicker and more “grabby.”
Timing can be all over the place depending on resin, room temperature, and how much you mixed. For small jewelry batches, the honey-to-gel window is often somewhere around 10 to 40 minutes, but do not treat that like a promise. Always use your resin’s stated pot life as your guide and trust the stage cues above.
Choose resin and molds that cooperate
Deep pour formulas are tricky for tiny jewelry
For pendants and bezels, a typical jewelry or casting epoxy with a reasonable working time gives you a predictable window to catch the honey or gel stage. Long-pot-life and deep-pour formulas often stay low-viscosity for longer, which means heavier pieces have more time to sink before the resin thickens.
Molds that make layering easy
Flat-backed pendant molds and open-back bezels are great for layered suspension because you can see what is happening and correct quickly.
If you are working with bezels, you may also like: Resin Jewelry With Open Back Bezels.
Temperature and humidity matter
Your wait time changes with your room conditions. A cool room slows curing and gives you a longer placement window. A warm room shortens it and can make resin thicken suddenly.
For a practical range and troubleshooting: Ideal Temperature and Humidity for Epoxy Resin Curing.
3 ways to suspend glitter, beads, and leaf
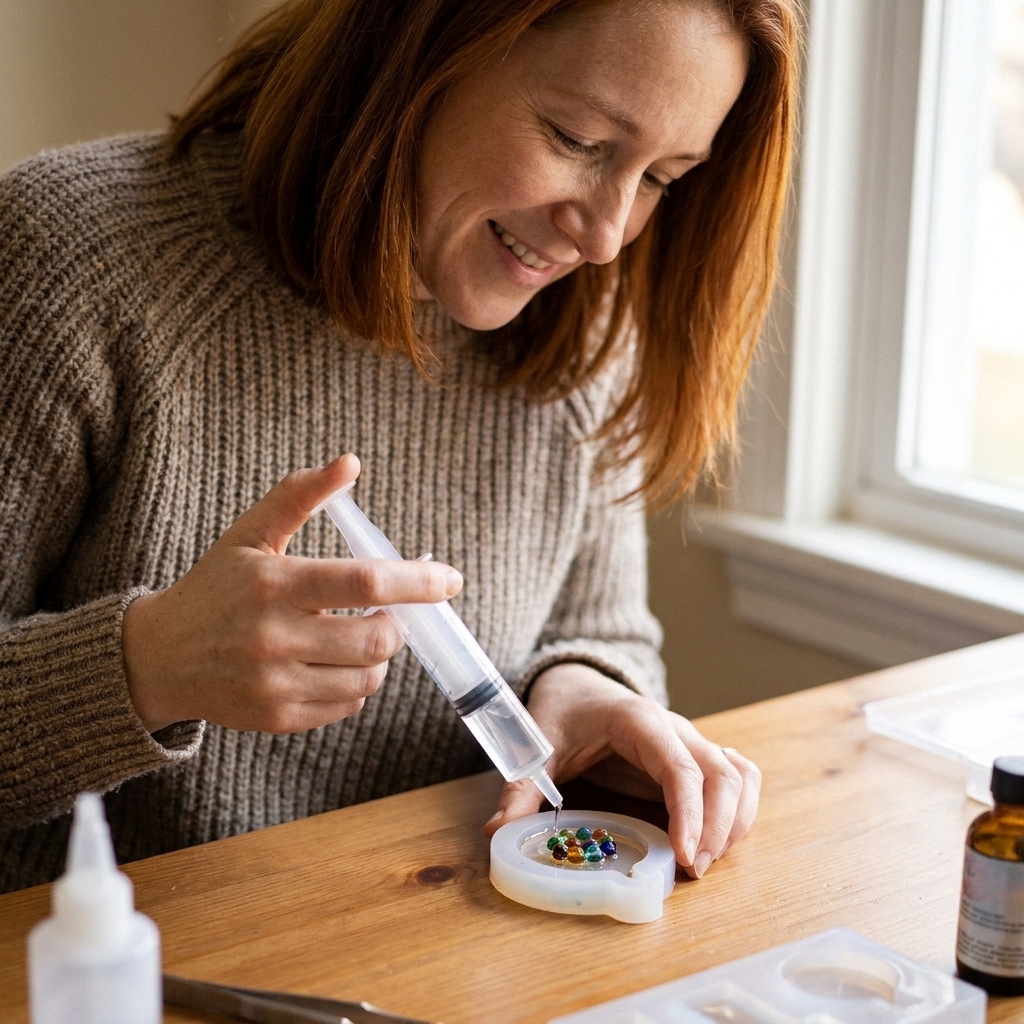
Method 1: The honey-stage sprinkle (best for fine glitter)
This is my go-to when I want fine glitter or tiny confetti to hover through the middle instead of settling on the back.
- Mix resin thoroughly, then let it sit for a minute so bubbles rise.
- Pour a shallow base layer into your mold or bezel. Think: just enough to cover the bottom.
- Wait for the honey stage: when you lift your stir stick, the drips slow down and look ropey. (For small batches this is often 10 to 40 minutes, but follow your resin’s pot life and your room temperature.)
- Sprinkle glitter gradually. Add a pinch at a time. If it sits on top like dry snow and will not sink at all, you waited too long and are drifting into gel. If it rockets to the bottom, you were too early.
- Seal with a thin top layer once you like the distribution, then pop surface bubbles gently.
Bubble tip: Glitter increases surface area, which can mean more trapped micro bubbles. Keep bubble removal gentle. This guide helps you choose tools and avoid scorching: Heat Gun vs Butane Torch for Resin Bubbles.
Method 2: The shelf layer (best for beads, chunky glitter, sequins)
Heavier inclusions need a physical stop. The shelf method gives them one.
- Pour the first layer to about one third to one half depth.
- Let it partially cure until it is gel-like or just barely tacky to the touch with a gloved fingertip. You want it firm enough to support weight, but still able to bond with the next layer.
- Place inclusions using tweezers. Do not drop from height. Set them gently so they do not punch through.
- Pour the next layer slowly along the side of the mold or bezel to avoid dislodging your layout.
Bonding reality check: The cleanest bond happens when your next layer goes on while the first is still tacky, or within the manufacturer’s recoat window. If your base layer cures fully hard and glossy, scuff it lightly, remove dust, and then pour the next layer for a stronger mechanical bond. If you want a cleaner finish after, you can polish later: How to Sand and Polish Epoxy Resin.
Method 3: The resin putty dab (best for focal pieces that cannot move)
If you need a bead cluster or a tiny charm to stay exactly centered, you can use thickened resin as a gentle adhesive.
- Mix a small batch of resin.
- Wait for the gel stage, when it holds a soft peak on a toothpick.
- Place a tiny dab where you want the inclusion to sit.
- Press the inclusion into the dab, then let it rest a few minutes so it grips.
- Flood coat gently with your remaining resin to finish the piece.
This is also useful if you are embedding findings or hardware in jewelry without drilling. I wrote out my favorite approaches here: Glue and Embed Hardware in Resin Jewelry No Drilling Needed.
Material tips
Glitter
- Ultra-fine glitter suspends easiest but can clump if you dump it in. Sprinkle and stir gently.
- Chunky glitter behaves more like sequins. Use a shelf layer, or sprinkle later when you are closer to gel.
- Too much glitter can thicken resin, trap bubbles, and reduce clarity. Add slowly until it looks right.
Seed beads and glass micro beads
- Assume they will sink in the watery stage. Use the shelf layer method.
- Place with tweezers and avoid stirring them through the whole pour. Stirring often creates a “bead pile” at the bottom later.
- If beads keep sliding, let the base layer firm up longer before placement.
Gold leaf and imitation leaf

- Leaf is light, so it can cling near the top due to surface tension if you add it very late. If you want it centered, add it around the honey stage and cap with a layer. If your resin is already thick enough, you can also place leaf exactly where you want and it will stay put.
- Break it into smaller pieces and place with dry tweezers. Big sheets love to fold and trap air.
- Seal it: leaf can trap tiny bubbles on its surface. A thin seal coat under it often looks cleaner than mixing it into a full-depth pour.
Metal charms and stones
- These almost always require a shelf layer or a resin putty dab.
- If they are very heavy, consider a three-layer build: base shelf, placement, then two thin caps instead of one thick cap.
Porous items (paper, wood, botanicals)
- Porous inclusions can burp bubbles and sometimes discolor if they are not sealed first.
- If you are embedding paper or photos, sealing is worth it: How to Seal and Embed Photos or Paper in Resin.
- If you are working with dried flowers, this guide helps prevent surprise browning and bubbles: How to Dry and Embed Real Flowers in Epoxy Resin.
Common problems
Everything sank anyway
- You likely added inclusions in the watery stage. Next time, wait for honey or use a partial-cure shelf.
- Your pour may have been too deep. Use two or three thinner layers.
- If your resin is staying thin for a long time or curing soft, double-check ratio and mixing. If pieces stay sticky or tacky, troubleshoot here: 8 Reasons Your Epoxy Resin Is Sticky or Soft and How to Fix It.
My glitter clumped in one spot
- Sprinkling in one big pile causes clumps. Add in pinches and stir gently.
- Static can make glitter jump and cluster. A quick wipe of your tools and workspace helps, and a silicone mat makes cleanup less miserable: Best Mats and Coverings for Resin Spills.
I got a visible line between layers
- Pour the next layer while the first is still tacky, or within the recoat window your resin recommends.
- Pour slowly down the side to avoid disturbing the layer boundary.
- For more control with layered pours: Pouring Epoxy Resin in Layers Without Visible Lines.
I trapped bubbles around beads or leaf
- Place inclusions slowly and press gently to help trapped air escape.
- Warm your resin bottles in a water bath before mixing (sealed bottles only), and keep water away from caps and threads. Dry the bottles completely before you open them so moisture does not sneak into your resin.
- Micro bubbles are sneaky, especially with textured inclusions: How to Prevent and Remove Micro Bubbles in Epoxy Resin.
Safety notes
I know, I know. You came for floating glitter, not a safety pep talk. But jewelry pours often happen in small spaces, and the small batches trick people into thinking ventilation and gloves do not matter.
- Work in a ventilated space and protect your skin and eyes.
- Clean uncured resin safely. Do not wash resin residue down the sink.
If you want my full setup checklist for home crafting, start here: Set Up a Safe, Ventilated Resin Workspace at Home and Resin Safety Gear: Respirators, Gloves, and Eye Protection.
My center-suspended pendant workflow
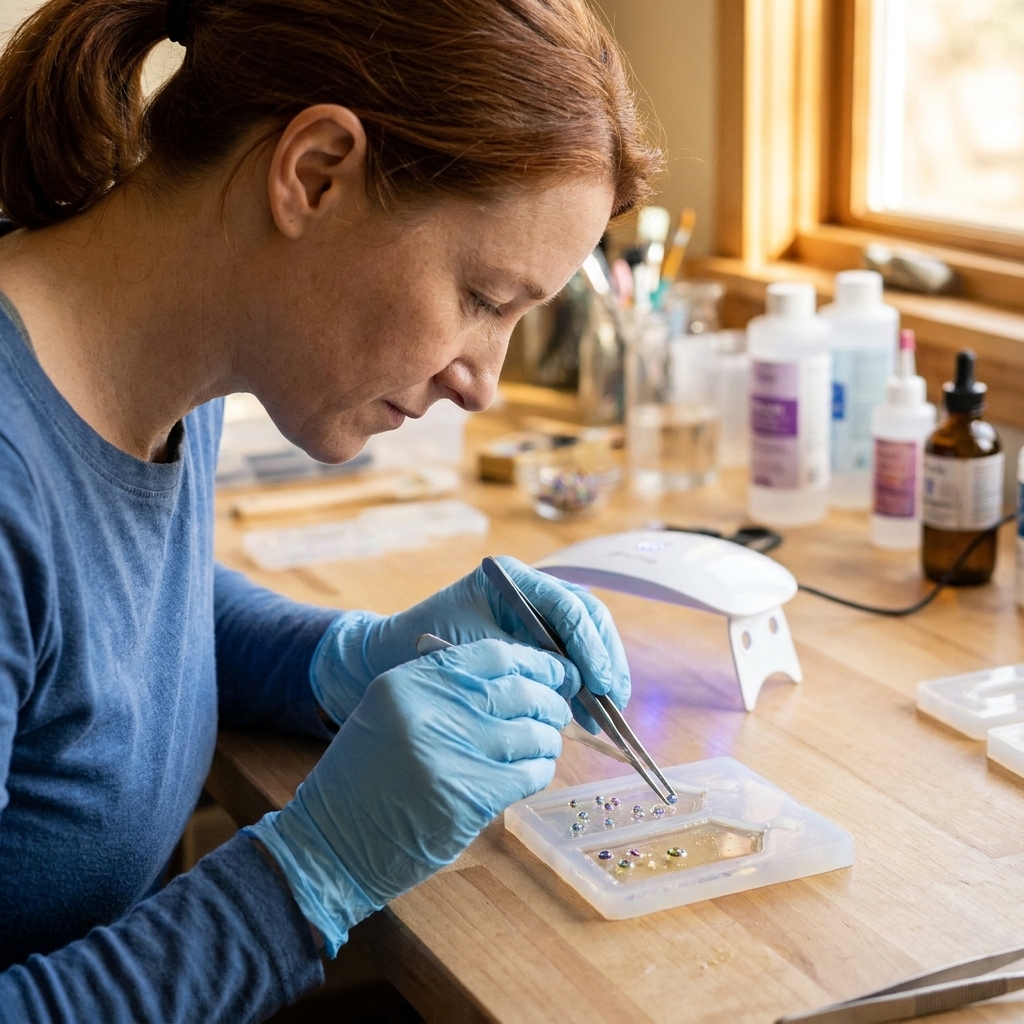
- Prep your mold or bezel on a level surface.
- Mix resin carefully and scrape sides and bottom while mixing.
- Pour a base layer (one third to one half depth).
- Let it reach gel-like or tacky.
- Place beads or leaf with tweezers. For fine glitter, sprinkle at the honey stage instead.
- Pour a thin cap layer, pop bubbles gently, then cover to cure dust-free.
Once cured, you can dome the top for that glassy jewelry finish if needed: How to Dome Resin on Jewelry and Small Crafts.
FAQ
Can I thicken resin with additives to stop sinking?
For jewelry, I prefer timing and layers over additives. Powders and fillers can change cure behavior and clarity. If you want a more opaque look, use colorants designed for resin and keep additions modest. This guide walks through safe color options: How to Color Epoxy Resin.
Should I mix glitter into resin first or sprinkle it in?
For an even sparkle throughout a thin piece, mixing works. For a clean suspended band in the center, sprinkle into resin at the honey stage, then cap. Sprinkling gives more control and fewer clumps.
Why does my gold leaf float to the top?
Leaf is extremely light and can catch surface tension if you place it when the resin is already very thick or nearly set. To keep it centered, place it earlier (around honey stage) and cap with a thin layer to lock it in. If your resin is at the right viscosity, leaf can also stay exactly where you press it.