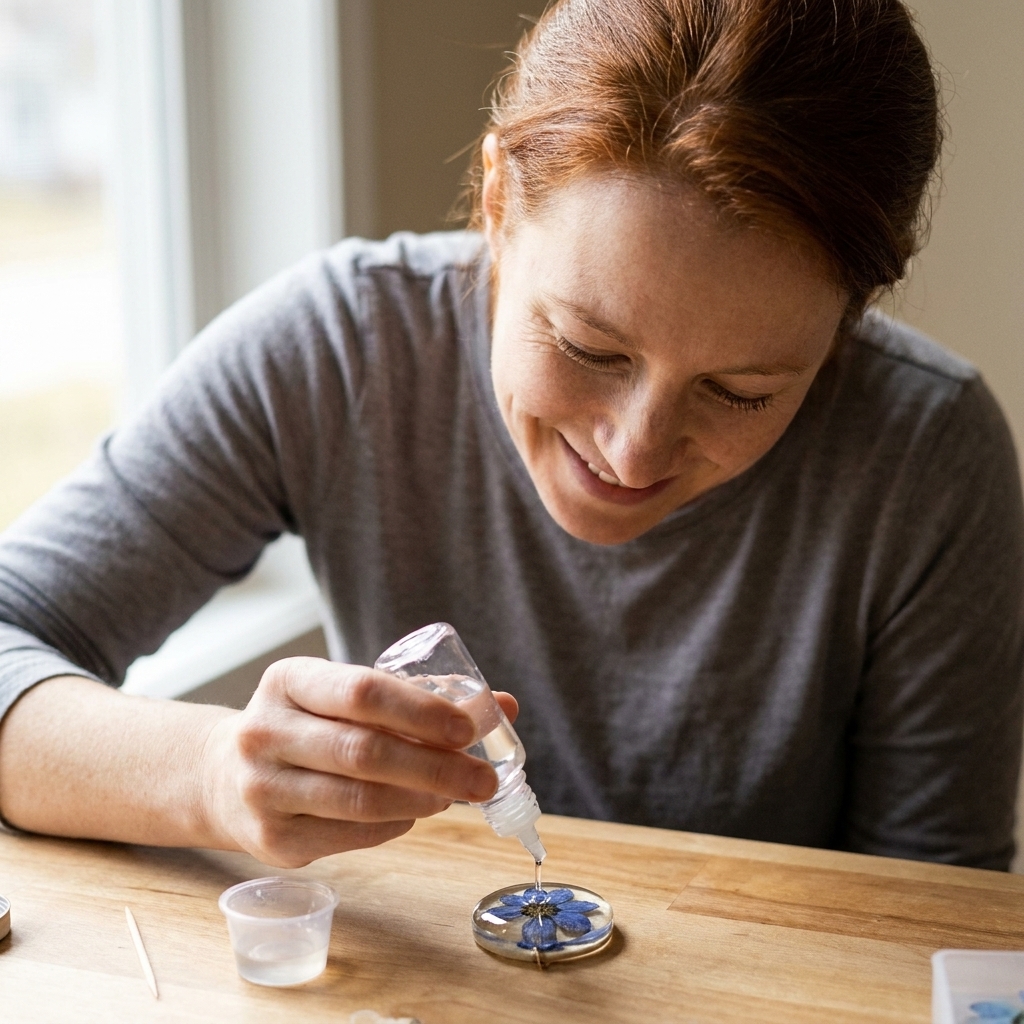
Master resin doming on pendants, charms, and small crafts. Learn prep, leveling, the perfect “thickened” timing, bubble control, and fixes for drips and fish...
Resin Jewelry With Open Back Bezels

Ruby Fletcher
Ruby Fletcher is a dedicated resin crafter with years of hands-on experience pouring, molding, and creating custom epoxy art. After turning her dining room into a makeshift studio, she developed a passion for helping beginners navigate the sticky, colorful world of resin with confidence. She loves sharing practical tutorials, troubleshooting tips, and essential safety guides to make epoxy crafting accessible for everyone.
Published · Last updated
The first time I tried an open back bezel, I confidently poured resin like it was a normal mold. Ten seconds later, my pendant was doing a slow, tragic drip right onto my work mat. Open back bezels are absolutely beginner-friendly, but they are picky about one thing: your tape seal.
This guide walks you through my no-leak method using resin tape, whether you are working with UV resin or 2-part epoxy. I will show you how to burnish the tape, where leaks really start, and how to get clean edges you will actually want to wear.
What is an open back bezel
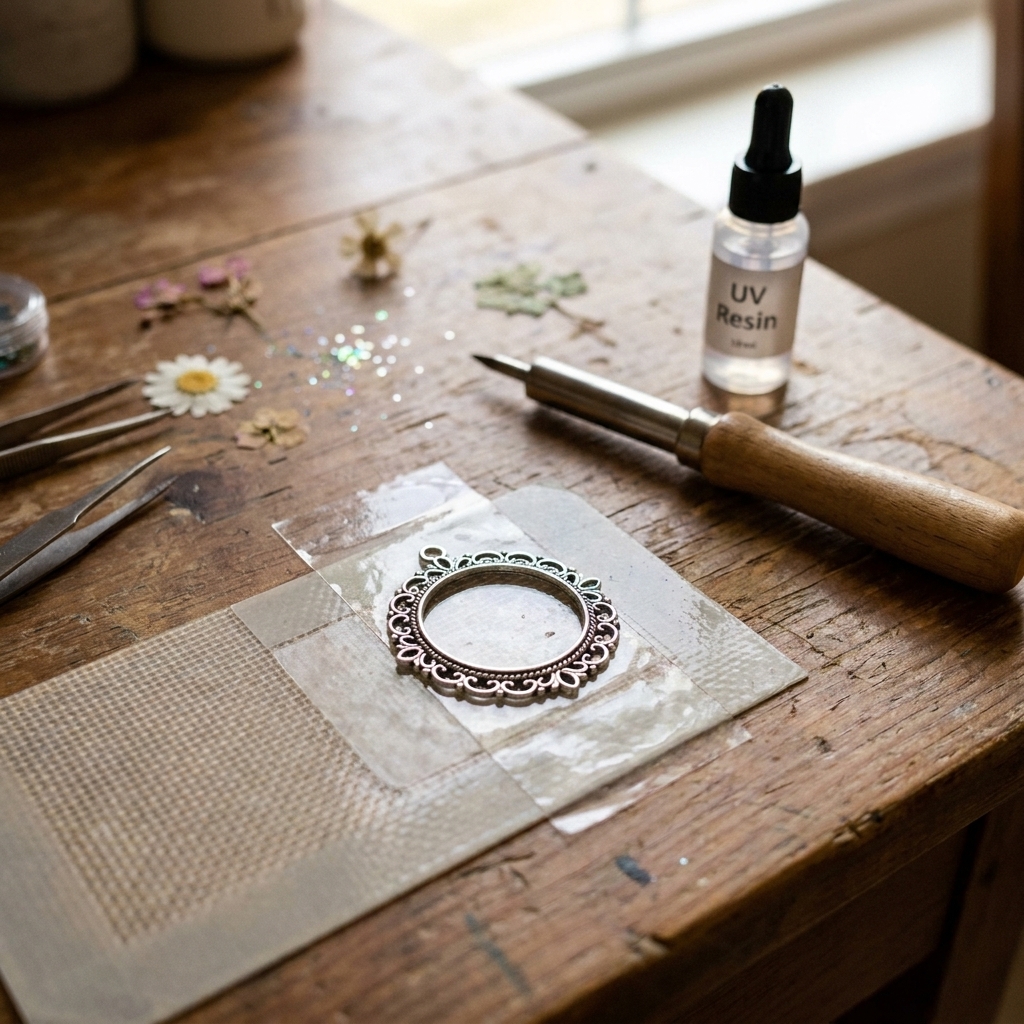
An open back bezel is a metal pendant frame with no solid backing. Instead of pouring into a closed mold, you create the bottom using tape, then fill the bezel with resin. If the tape does not bond tightly to the bezel rim, resin finds the smallest gap and escapes.
There are two common resin options:
- UV resin: fast cures, small pours, great for thin layers and quick projects.
- 2-part epoxy resin: longer working time and great clarity and depth in many formulas, but it depends on the brand and it requires accurate mixing and cure time.
If you are still deciding, I break down the beginner tradeoffs in UV resin vs 2-part epoxy.
Safety setup
Even jewelry-sized pours deserve real safety habits. I started in my dining room years ago, and learning to ventilate properly was the difference between fun hobby and why does my head hurt.
- Work in a ventilated area and protect your surface. My go-to options are in best mats and coverings for resin spills.
- Wear nitrile gloves and eye protection. For resin fumes and sanding dust, use the right respirator setup from resin safety gear.
- If resin gets on skin, do not panic. Use the safe removal steps in epoxy resin on skin: removal and prevention.
Supplies
Core supplies
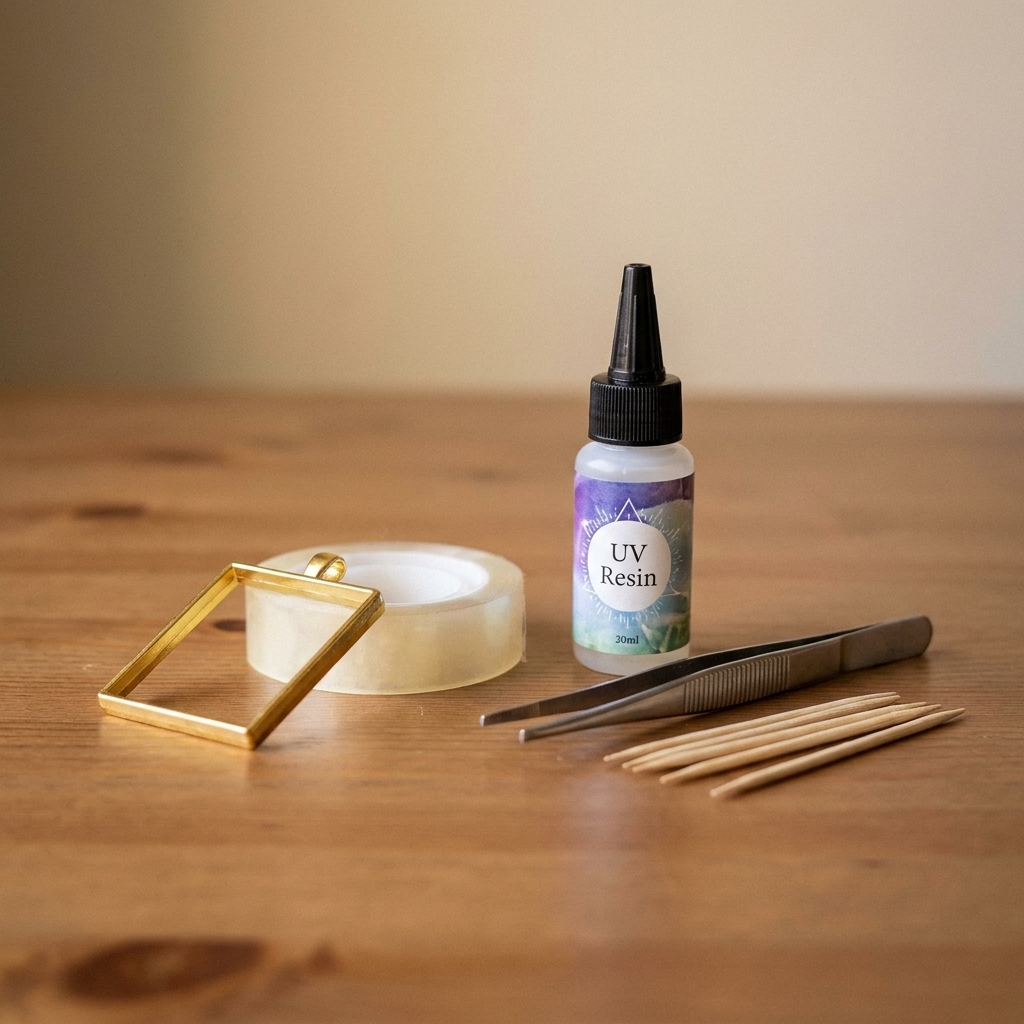
- Open back bezel (metal frame pendant)
- Smooth clear tape for resin work: what matters is a smooth, glossy film, strong adhesive, and a surface resin will release from cleanly once cured. Many rolls sold as resin tape are basically high quality clear packing tape. Avoid low tack or easy release tapes, since they are more likely to lift at the rim.
- UV resin or 2-part epoxy resin
- Mixing cup and stir sticks (for epoxy)
- Toothpick or micro spatula (for guiding resin into corners)
- Tweezers (for placing inclusions)
- Isopropyl alcohol (rubbing alcohol) and lint-free wipes (for cleaning metal)
- UV lamp (if using UV resin)
Nice-to-have extras
- Burnishing tool, popsicle stick, or old gift card (for sealing tape)
- Resin for doming: often the same resin works if it domes well, or you can use a thicker doming resin if you have one
- Heat tool for bubbles (use carefully). See heat gun vs butane torch for resin bubbles.
- Sandpaper and polish for cured edges, if needed. My process is in how to sand and polish epoxy resin.
How to tape an open back bezel
Step 1: Check the rim and flatten it
Before you even clean it, look at the bezel from the side. Some bezels have one rim that is flatter and more tape-friendly than the other. Tape to the flattest rim.
If the bezel is slightly warped, gently straighten it with flat pliers. Warped bezels are leak magnets.
Step 2: Clean the bezel thoroughly
Finger oils are sneaky. They weaken tape adhesion and create micro-gaps.
- Wipe the bezel rim with isopropyl alcohol (rubbing alcohol).
- Let it fully dry.
- Try not to touch the rim again.
Step 3: Tape sticky side down (my default)
For most people, the least fussy method is to tape directly to your work surface:
- Lay a strip of tape sticky side down on the table, longer than the bezel by a couple of inches.
- Press the tape flat so there are no wrinkles or bubbles.
Alternate method: Some makers prefer tape sticky side up so the bezel never touches the table surface. That works too, but you must anchor the ends so the tape stays tight and perfectly flat.
Step 4: Press the bezel down and burnish the seal
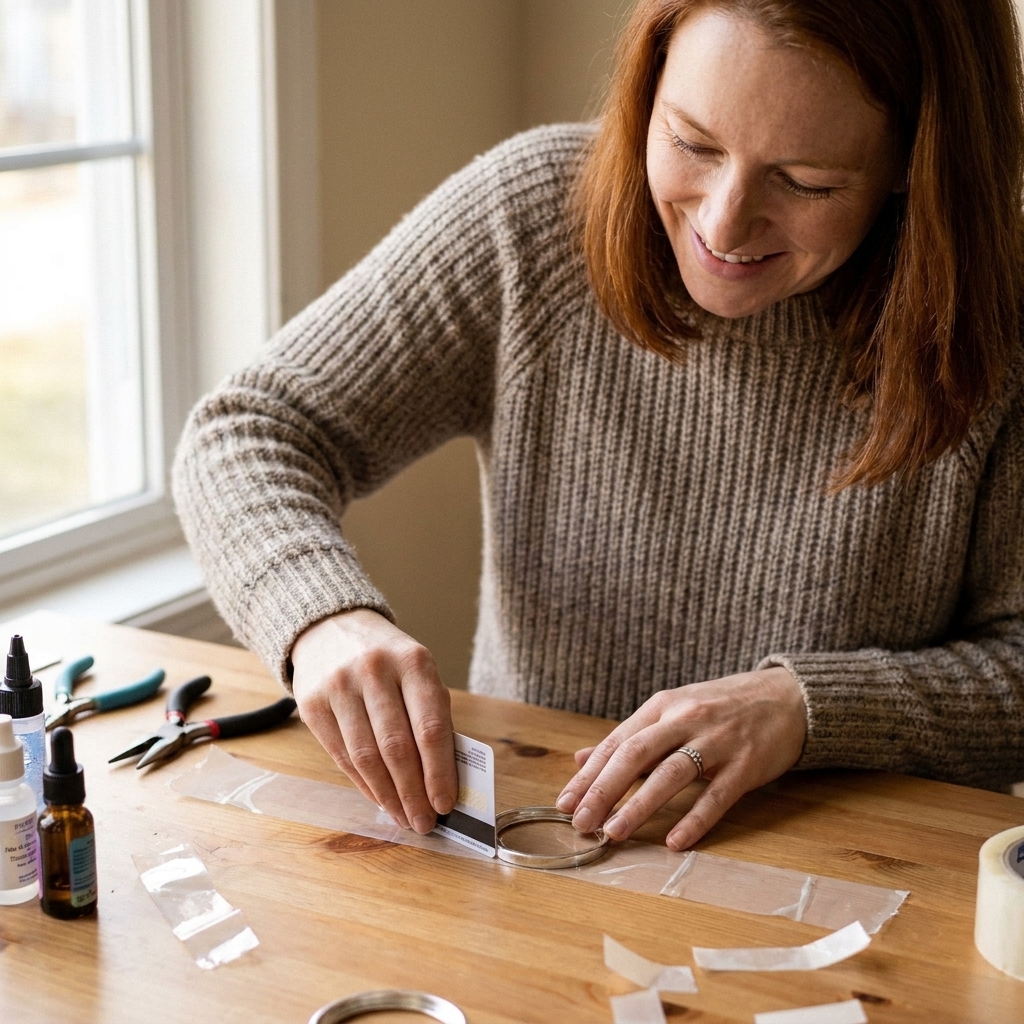
Place the bezel open side up and press the rim firmly into the tape. Then burnish the tape along the rim. This is where leak prevention really happens.
- Use a popsicle stick, a plastic card, or the back of tweezers.
- Press all the way around the perimeter, especially corners, points, and filigree edges.
- Look from the side. You want to see tape hugging the metal with no air channels.
If your bezel is plated or easily scratched, burnish from the tape side and stick to plastic tools. Metal tools can scuff finishes fast.
Step 5: Add a second tape layer for tricky bezels
If your bezel has a textured underside, scallops, or tiny gaps, add insurance:
- Apply a second strip of tape across the back, overlapping the first by at least 1/2 inch.
- Burnish again along the rim.
Step 6: Trim the tape (optional)
You can leave extra tape as a handle, or trim close to the bezel to keep everything tidy. If you trim close, do it after you burnish so you do not accidentally lift the edge.
Filling with UV resin
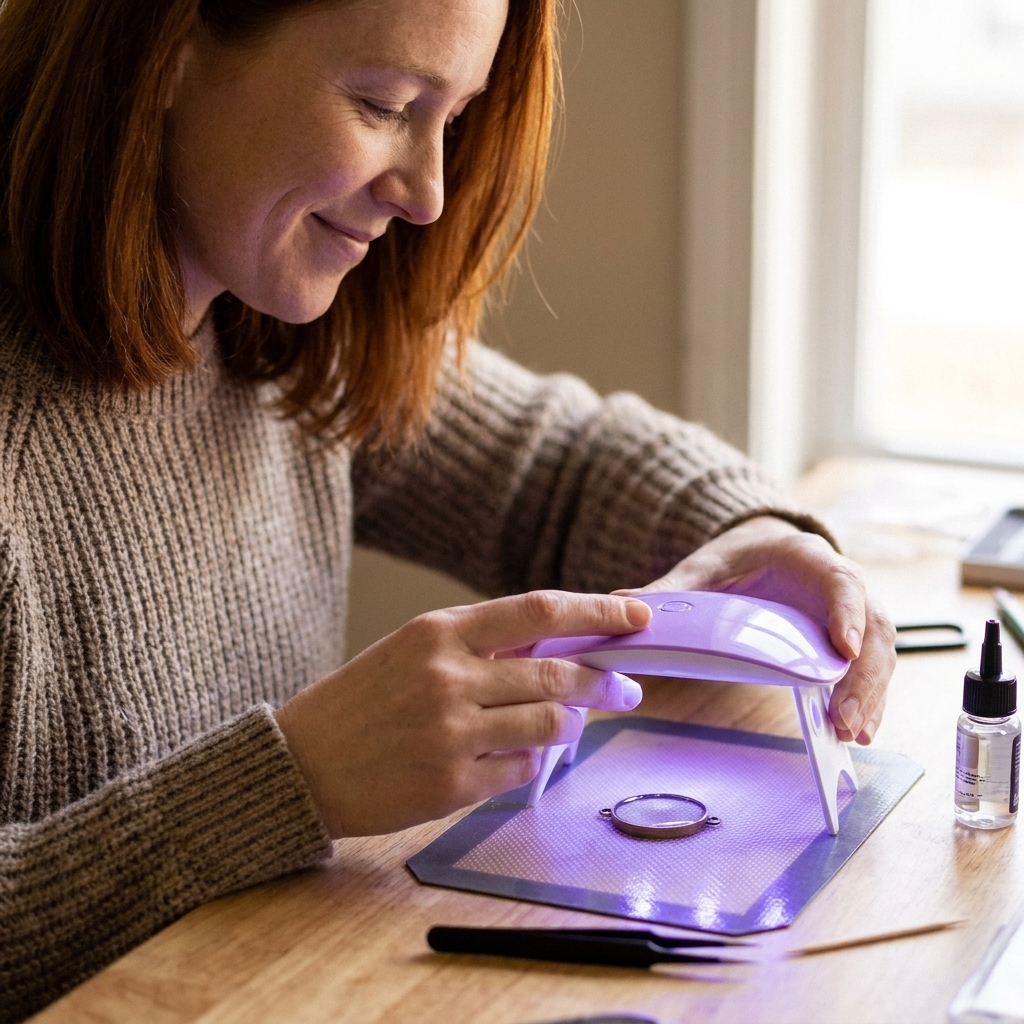
UV resin is my favorite for open back bezels when I want quick layers and lots of control.
Step 1: Add a thin seal coat
Add a small amount of UV resin and use a toothpick to push it right up against the metal edges. This coat can help lock down the perimeter, but it only works if your tape contact is already solid. If there is a gap, resin will still find it.
Step 2: Flash cure
Cure just long enough to set the edge layer. Times vary by resin and lamp strength. If your resin instructions give a time range, start on the low end and check.
Step 3: Add inclusions in layers
If you are adding glitter, dried flowers, foil, or tiny charms, do it in layers so pieces do not float and the resin cures evenly.
For flowers specifically, I recommend drying and sealing properly so you do not get trapped bubbles or discoloration. See how to dry and embed real flowers in epoxy resin.
Step 4: Fill to the top, then cure fully
Once you are close to the top, let the resin self-level, then cure until hard. If you want a slightly domed top, you can add a final thin layer and surface cure again.
If the surface stays tacky
Some UV resins can cure with a slightly tacky surface, especially with weaker lamps, thick layers, or certain formulas. Usually, an extra cure cycle fixes it. If it is still tacky, follow your manufacturer guidance for wiping or topcoating. When in doubt, I treat tackiness as under-curing and cure again rather than reaching for solvents.
Filling with 2-part epoxy
Epoxy is wonderful for crystal-clear depth, but it only behaves if you measure and mix accurately. If you are new to it, follow how to measure and mix 2-part epoxy resin before you start.
Step 1: Mix slowly and thoroughly
- Measure exactly according to your resin instructions.
- Stir slowly, scraping sides and bottom.
- Let the cup sit a minute so some bubbles rise.
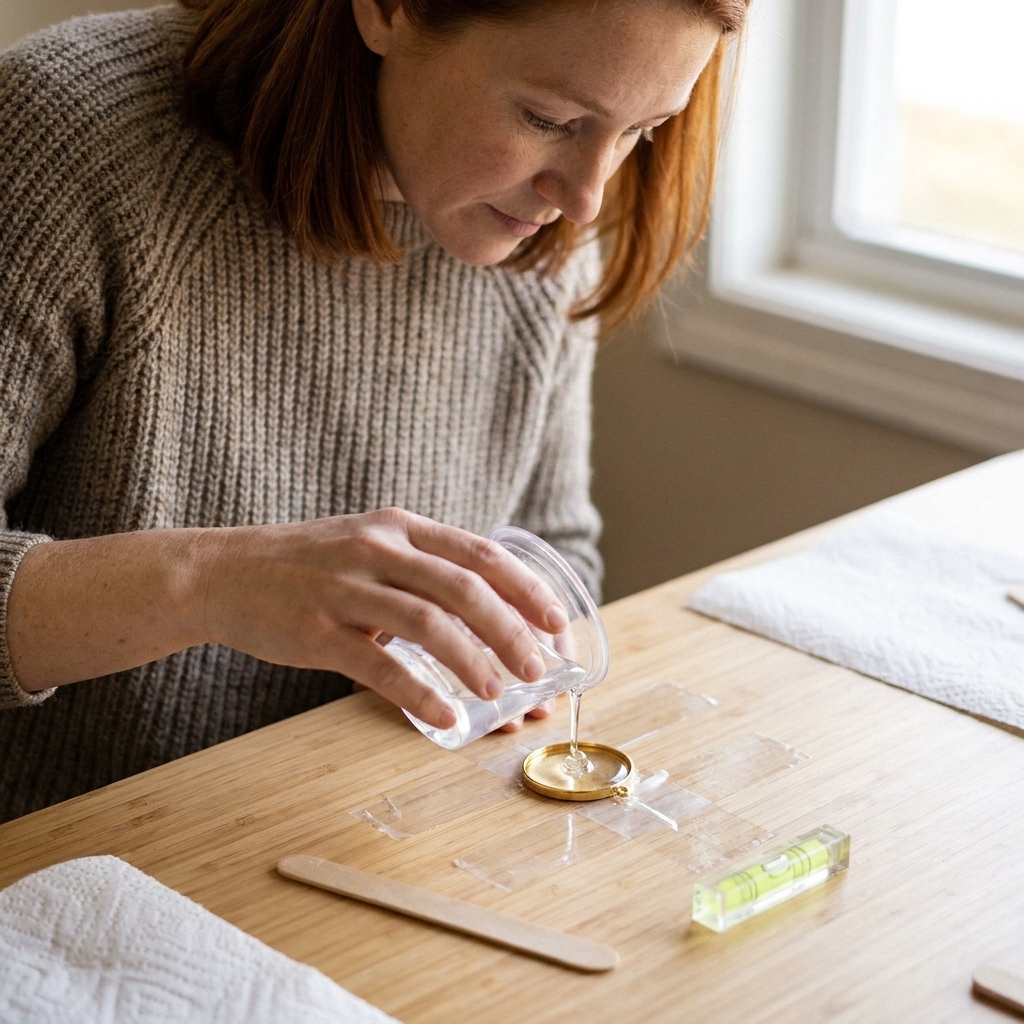
Step 2: Pour in thin layers
Deep pours in one go can overheat or trap bubbles. I prefer two thinner pours rather than one thick one. If you want blended layers without visible lines, use the timing tips in pouring epoxy resin in layers without visible lines.
Step 3: Pop bubbles gently
Jewelry bezels do not need aggressive heat. A quick pass with gentle warm air is usually enough. For micro-bubbles and the best prevention habits, see how to prevent and remove micro-bubbles.
Step 4: Cure flat in the right conditions
Open back bezels show every tilt. Cure on a level surface, protected from dust. Temperature and humidity matter more than most beginners expect. I keep a simple checklist in ideal temperature and humidity for epoxy resin curing.
Why leaks happen
When a bezel leaks, it is almost never bad luck. It is usually one of these:
- Unclean rim: oils or dust break the tape bond.
- Wrinkled tape: a wrinkle becomes a resin highway.
- Not burnishing enough: you must press tape tight to the entire rim.
- Textured or uneven underside: use a second tape layer and extra burnishing.
- Overfilling too fast: resin pressure pushes into tiny gaps. Add resin gradually.
My quick leak test
Before resin, add one or two drops of water into the bezel and wait about 30 seconds. If it seeps, re-tape and burnish.
Important: Water is fine as a test, but it must be fully dried before resin. I blot with a lint-free wipe, then let it air dry for several minutes. If your bezel has crevices, give it extra time. I skip alcohol for the test because it can affect some adhesives and it does not behave like resin.
Clean edges and finish
Remove the tape
Once fully cured:
- Peel the tape back slowly at a low angle.
- If tape feels stuck, warm it slightly with your hands and try again.
- If a thin resin skirt formed under the bezel, trim it with small scissors or a craft knife once it is fully hard.
Dome the top (optional)
If you want that glassy jewelry look, a doming layer is the finishing move. I walk through the technique in how to dome resin on jewelry and small crafts. For open back bezels, doming is easiest after the piece is removed from tape and the back is clean.
Sand and polish
If you have sharp edges or a slightly uneven top:
- Wet sand in grits from coarse to fine.
- Polish to restore shine.
The full process is in how to sand and polish epoxy resin.
Design ideas
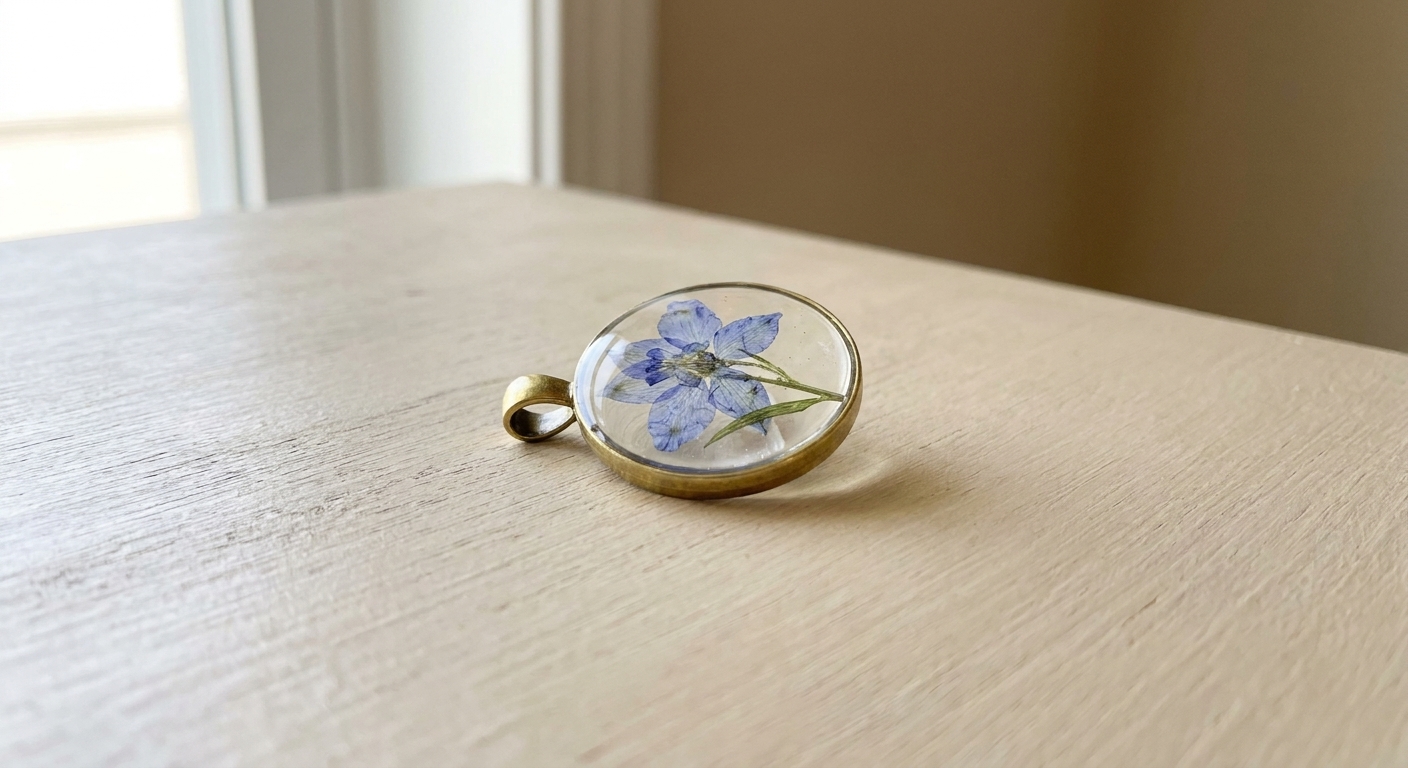
- Pressed flowers: my original resin obsession. Use tiny petals or thin blooms for the best clarity.
- Gold leaf and foil flakes: add sparkle with almost no bulk.
- Mica swirls: mix a pinhead amount of mica for soft movement. See how to color epoxy resin.
- Photo fragments: seal paper first so it does not darken or bubble. See how to seal and embed photos or paper.
Troubleshooting
My resin is sticky or soft
This is usually a mixing ratio issue (epoxy), under-curing (UV), or curing conditions. Use the fixes in 8 reasons your epoxy resin is sticky or soft.
I still got a leak
- If it is uncured: contain it right away so it does not spread. If it is very runny, you can wait just until it starts to gel (so it lifts instead of smears), then scrape it up. Do not let it fully cure on your surface. My cleanup steps are in how to clean up uncured resin and dispose of epoxy waste safely.
- If it cured: peel away tape, trim drips, then sand and polish if needed.
Cloudy patches or lots of bubbles
Cloudiness can come from moisture, overheating, or aggressive stirring. Bubbles often come from pouring too fast or stirring too hard. Start with micro-bubble prevention and check your workspace conditions in temperature and humidity for curing.
FAQ
Can I use regular packing tape instead of resin tape
Sometimes, yes. A lot of what gets sold as resin tape is essentially a smooth, glossy clear packing tape with reliable adhesive. Look for tape that lays flat without wrinkles and does not feel low tack. The biggest downside is that some tapes wrinkle easily or leave residue on metal. If you can, test a small bezel first.
Do I need to seal the bezel before pouring
If your bezel underside is smooth and you burnish well, you can usually pour immediately. If the bezel is textured or has tiny gaps, I recommend a second tape layer and extra burnishing. A thin UV resin seal coat can help, but it is not a substitute for good tape contact.
What if my bezel is slightly warped
Gently straighten it with flat pliers before taping. If you cannot get it flat, consider switching to UV resin in thin layers because it puts less pressure on the tape seal than a single deep epoxy pour.
How do I attach a chain or findings
Many open back bezels come with a loop built in. If yours does not, you can drill cured resin and add hardware. See how to drill cured resin and attach eye pins.
Where to go next
If you are building out your jewelry setup, start with my essential first pour supply list, then browse more projects in Resin Jewelry Making. Open back bezels are one of those techniques that feel fussy for the first pendant, then suddenly click. Once your tape seal is solid, the rest is just the fun part: color, sparkle, and tiny treasures from your craft stash.