Stop the dreaded “horizon line” in layered epoxy. Learn the gel-stage recoat window, when to sand for mechanical bonding, and how to avoid bubbles and delami...
Faux Geode Resin Wall Art on Wood Panels

Ruby Fletcher
Ruby Fletcher is a dedicated resin crafter with years of hands-on experience pouring, molding, and creating custom epoxy art. After turning her dining room into a makeshift studio, she developed a passion for helping beginners navigate the sticky, colorful world of resin with confidence. She loves sharing practical tutorials, troubleshooting tips, and essential safety guides to make epoxy crafting accessible for everyone.
Published · Last updated
The first time I tried faux geode wall art, it happened for a very Pacific Northwest reason: it was raining sideways, my garden flowers were done for the season, and I needed a project that felt bright. I grabbed a wood panel, dumped out a jar of crushed glass I had been hoarding, and learned quickly that geode style resin is less about “one big pour” and more about planning your sections like you are building a tiny landscape.
This tutorial walks you through designing, sealing, and pouring a geode-inspired piece on a wooden canvas, with crushed glass and crystal clusters that look dramatic but stay securely locked in epoxy.
What makes geode resin art look real
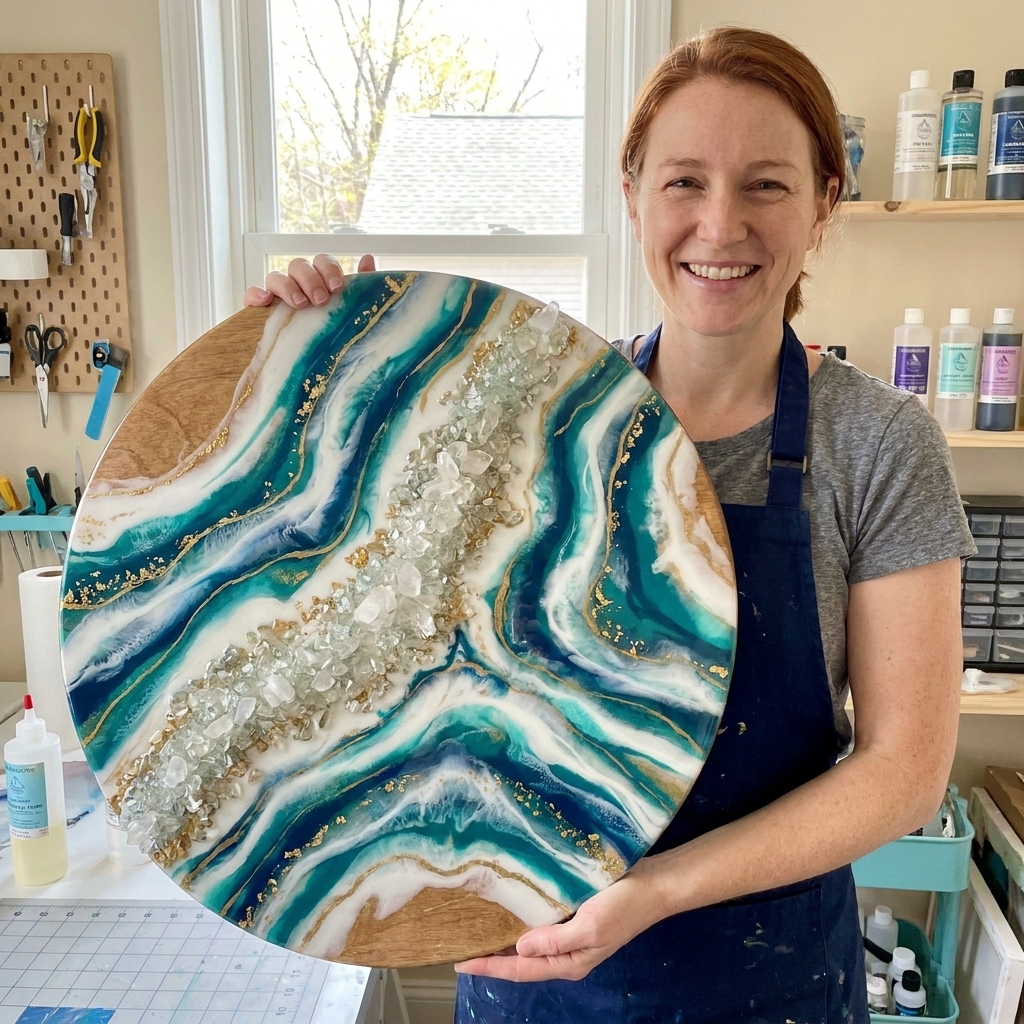
Real geodes have three things we want to mimic:
- A defined “rift” or center seam where crystals live.
- Banding that fades from opaque to translucent, usually light to dark.
- Depth, created by layering, negative space, and sparkle at different heights.
The secret is doing this in controlled stages. If you pour everything at once, the colors blend, the glass sinks, and the whole thing turns into a pretty puddle instead of crisp bands.
Supplies for a wood-panel geode
Base and barriers
- Wood panel (cradled wood, birch panel, or smooth plywood). A 10 x 10 in or 12 x 16 in is beginner-friendly.
- Painters tape (blue or green) to mask edges and create clean borders.
- Level (seriously, this matters more on wall art than coasters).
Resin and color
- 2-part epoxy resin suitable for art/topcoat pours.
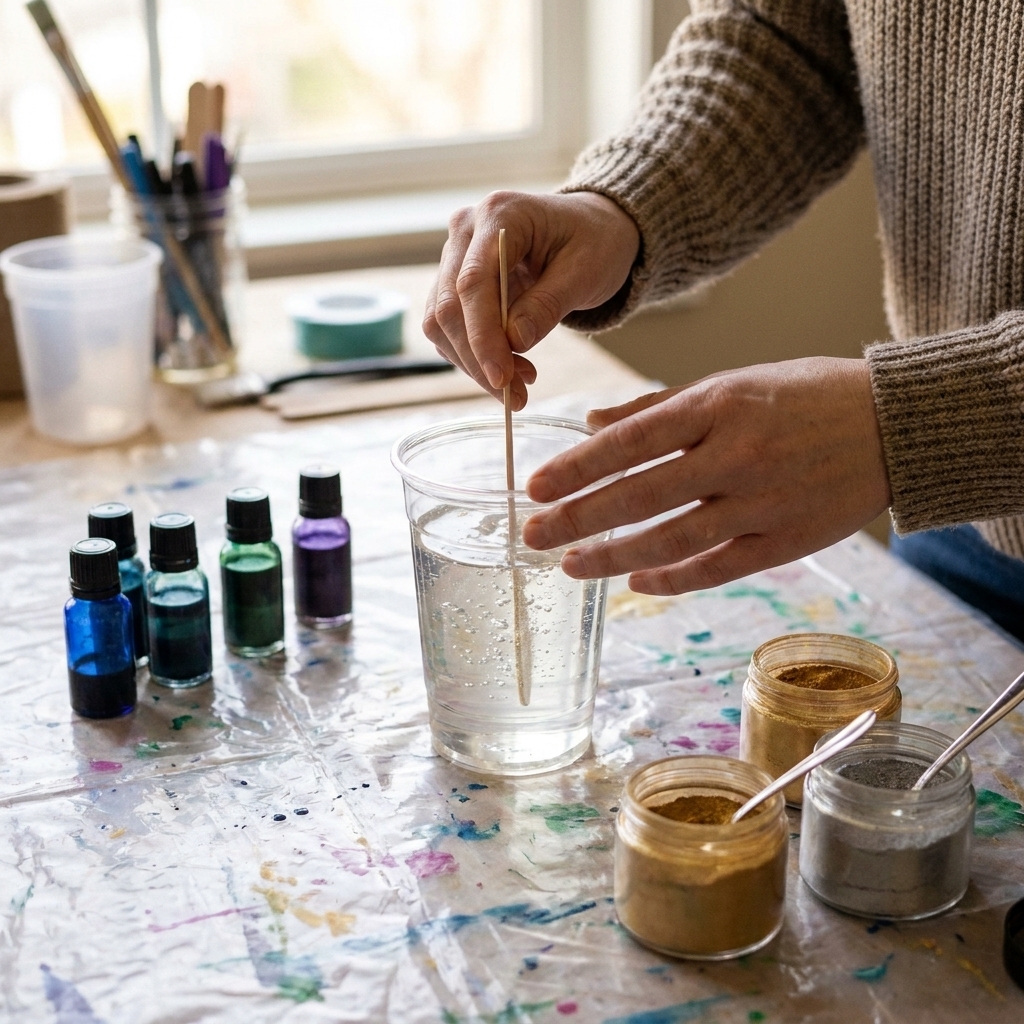
- Colorants: mica powders, paste pigments, resin dyes, and metallic pigment for a “gold vein.”
If you are brand new to tinting, I break down the basics in How to Color Epoxy Resin.
Crushed glass and crystals
- Crushed glass (fine or medium). Keep a mix of sizes if you can, it looks more natural.
- Crystal chips or small quartz points (optional).
- Glitter or gold leaf for a secondary sparkle band.
Tools
- Mixing cups (graduated if possible), stir sticks, silicone spatula
- Nitrile gloves, safety glasses
- Torch or heat gun for bubbles
Not sure whether to torch or heat gun? Here is my real-world take: Heat Gun vs Butane Torch for Resin Bubbles.
Protection and cleanup
- Table covering (resin drips will happen)
- Paper towels, isopropyl alcohol for tools and hard surfaces (not for cleaning resin off skin)
My go-to setup for saving your table is in Best Mats and Coverings for Resin Spills.
Safety first
Crushed glass is beautiful and also exactly what it sounds like: tiny sharp edges. I treat this project like a “gloves and glasses every time” pour.
- Wear eye protection when pouring, sprinkling, or pressing glass into resin.
- Wear gloves and do not brush glass off your skin with your bare hand.
- Consider a dust mask when handling dry crushed glass, especially fine grades. That dust is a sneaky irritant.
- Use ventilation and respiratory protection appropriate to your resin, not just an open window and hope.
If you need a refresher on safe setup, start here: Set Up a Safe, Ventilated Resin Workspace at Home and Resin Safety Gear.
If resin gets on your skin, skip the solvent scrub. Use a safer removal method (and then wash up): Epoxy Resin on Skin: Removal and Prevention.
Step 1: Prep and seal the wood panel
Wood is porous. If you pour tinted resin directly onto raw wood, you can get micro-bubbles, pinholes, and dull spots where resin soaks in. Sealing prevents that and keeps your colors crisp.
Mask the edges
Run painters tape along the sides and slightly under the back edge. This catches drips and makes peeling the tape oddly satisfying.
Beginner edge options
- Tape dam: If you want a cleaner edge, build a short “wall” by running tape up above the top edge (think: a shallow collar). Press the tape down hard, especially at corners.
- Natural drips: If you like organic edges, tape just the underside and let resin flow over. You will sand and tidy later.
Tip to prevent seepage: After taping, run a fingernail or plastic scraper along the tape edge, then do your seal coat. A well-burnished tape edge plus a thin seal coat helps keep resin from crawling under.
Seal coat options
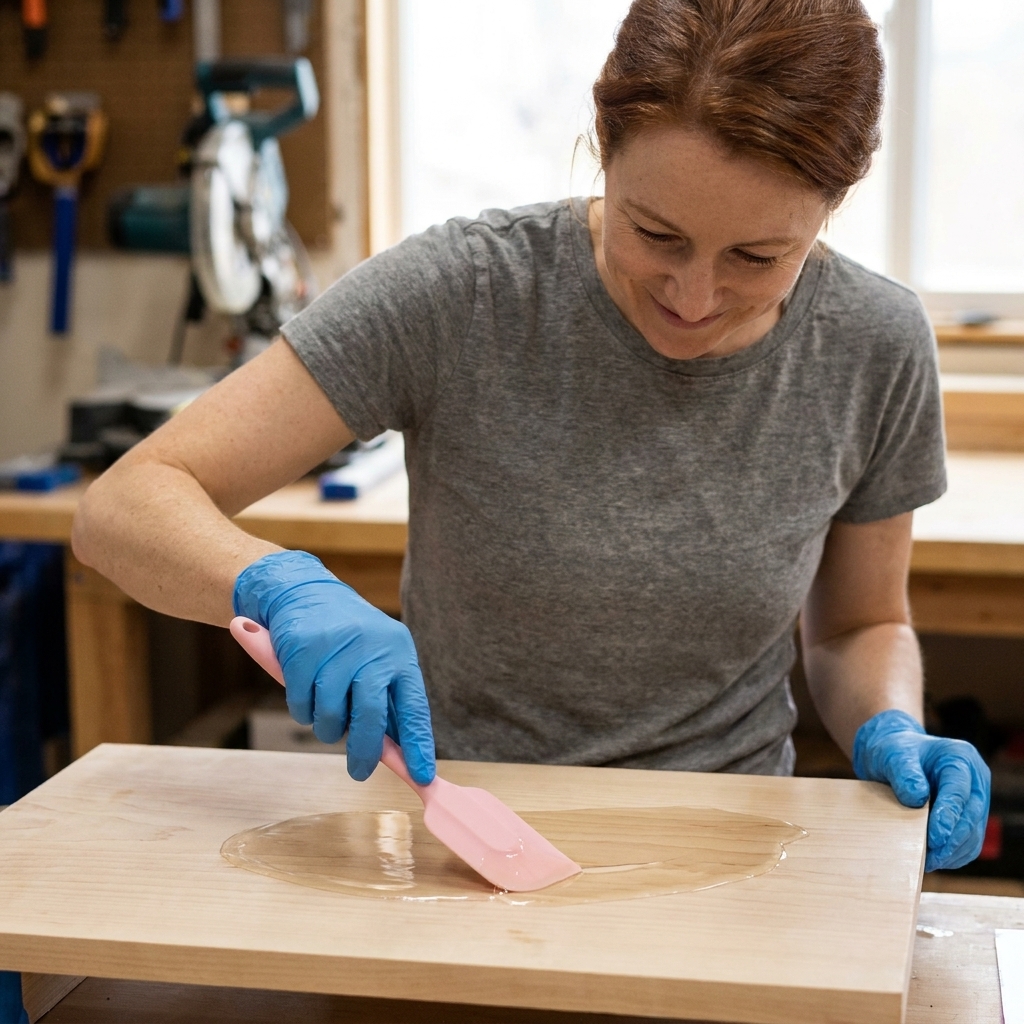
- Thin resin seal coat: Mix a small batch of clear resin and spread a very thin layer over the entire face of the panel.
- Clear acrylic sealer first: If you have one already, you can seal wood before resin. Let it dry fully and follow the product directions.
Let your seal coat get to a firm tack or cure fully (depending on your resin) before moving on. The goal is a smoother surface, not a thick dome.
Step 2: Plan the geode layout
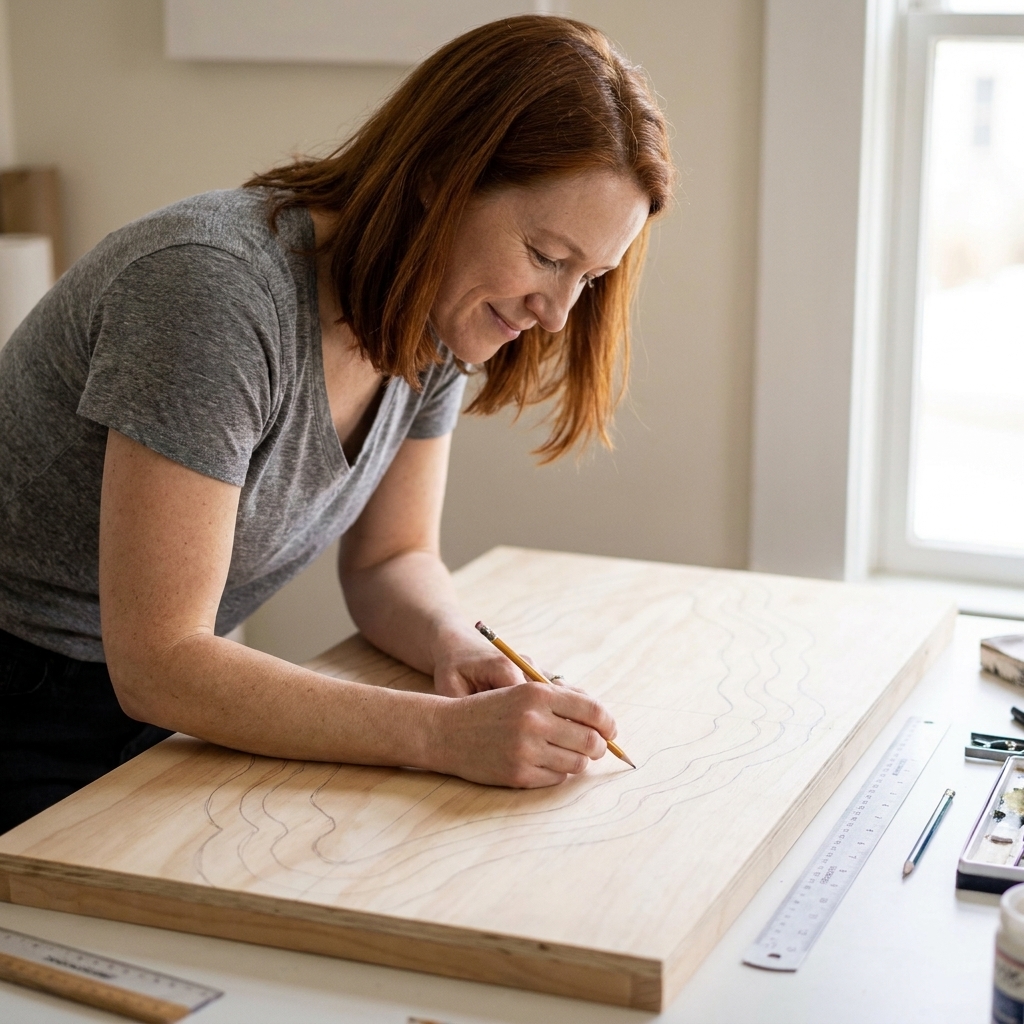
Before mixing any color, decide where your “crack” lives and how wide your bands will be.
Quick layout method I use
- Draw a wavy line lightly in pencil where the crystal rift will go. Keep it organic, like a river.
- Mark 3 to 6 bands on each side of that line. Narrow bands look more realistic than giant chunky stripes.
- Plan your color story: I like an inner bright white or pearl, then translucent color, then a deep edge color to frame it.
Leave negative space on purpose
Not every inch needs pigment. A clear or lightly tinted section makes the glass sparkle harder, and it keeps the design from looking heavy.
Step 3: Mix resin and split colors
Geode art takes longer than a single-color pour, so accurate mixing is non-negotiable. Undermixed resin loves to stay tacky in thin bands.
Follow your resin’s ratio exactly and scrape the sides and bottom of your cup as you stir. If you want the full step-by-step mixing routine I use, it is here: How to Measure and Mix 2-Part Epoxy Resin.
How much resin do you need?
For a first geode panel, I usually aim for about 1/8 in to 1/4 in total build across most of the surface, then a little extra for sealing glass and any final topcoat. That range works for a lot of art resins, but always check your product’s recommended max thickness and avoid deep pooled areas that can overheat.
Quick rule of thumb: For a flat coat, you are typically looking at roughly 1 oz of mixed resin per 12 x 12 in area at about 1/16 in thickness. Geode art is not a perfect flat coat, so I plan to mix a moderate batch, pour my bands, then mix a second smaller batch if needed. It keeps you from racing a giant cup that is heating up.
Step 4: Pour the bands in stages
I like a two-stage approach: a band pour that creates the design, then a lock-in pour to secure the glass and give you a safer finish.
Stage A: Band pour
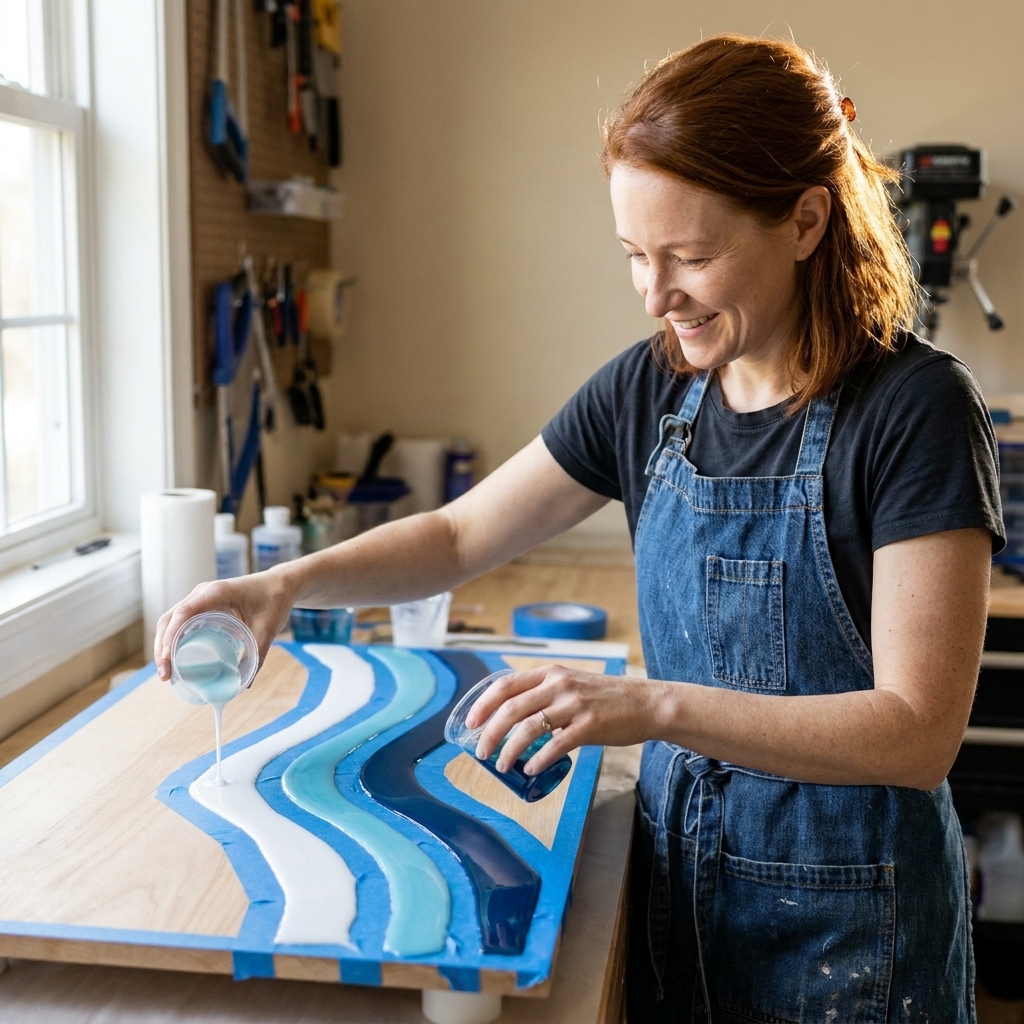
- Pour your lightest band first near the center line (pearl white or translucent milky).
- Add the next colors outward, working light to dark.
- Use a stir stick to coax edges into that natural geode wiggle. Tiny movements look better than major swirls.
- Add metallic vein lines by drizzling a thin line of metallic-tinted resin between bands.
Bubble control: Use gentle heat. Too much heat can push pigments around and blur band edges. If micro-bubbles are a chronic issue for you, see How to Prevent and Remove Micro-Bubbles in Epoxy Resin.
Stage B: Let it thicken, then build the rift
This is the part that is easy to rush. I usually place the crushed glass in the same session, but later in the pot life, once the resin has thickened. You want the bands mostly done moving before you start piling glass in the center.
For the center seam, I usually do one of these:
- Clear channel: Leave the center line mostly clear, then add glass into clear resin so the sparkle reads bright.
- Tinted channel: Add a whisper of color (smoke gray, pale teal, pale lavender) so the glass looks like it sits “inside” the stone.
Step 5: Add crushed glass and crystals
This is where geode art goes from pretty to jaw-dropping. It is also where pieces can shed glass later if it is not embedded correctly.
When to add glass
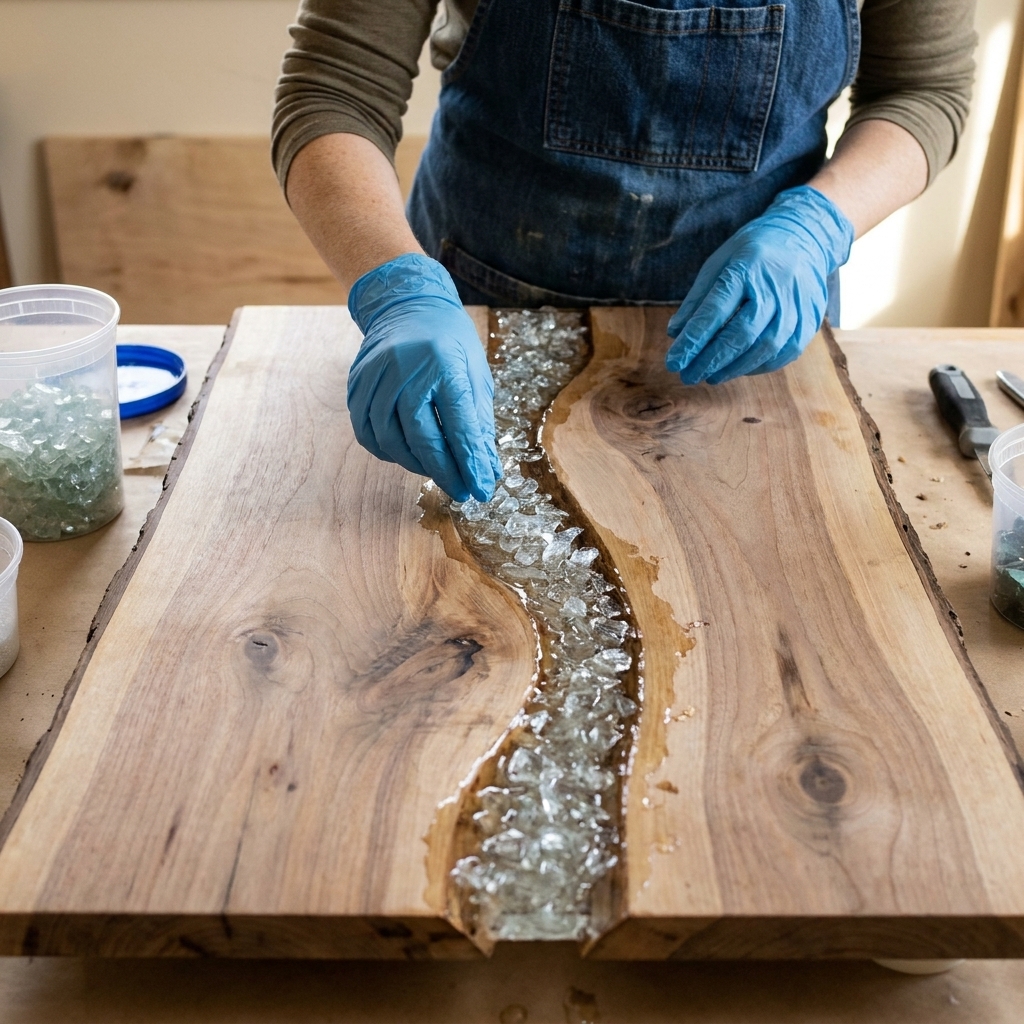
Add crushed glass when the resin is thicker like warm honey, and you have a more measurable cue: when a drizzle of resin briefly holds a soft ridge (or a mound) for a few seconds instead of instantly flattening. Too early and glass sinks. Too late and it will not grab.
How to place it cleanly
- Spoon, do not sprinkle from height. Pouring from high up bounces shards into your wet bands.
- Create a raised ridge. Build a mound in the center seam with larger chunks first, then fill gaps with smaller pieces.
- Press gently with a gloved finger or silicone tool so the bottom edges touch resin.
- Spot-seal dry-looking areas with a small drizzle of clear resin so nothing is left “dusty.”
Optional: crystal clusters
If you want a few quartz points, place them like accents, not a full line. I aim them in slightly different directions so it looks natural.
Step 6: Do the lock-in pour
Crushed glass can have sharp peaks. For wall art, I strongly recommend a final coat that seals everything so you are not brushing past exposed edges forever.
Two ways to finish
- Domed topcoat: Pour a clear layer over the entire panel. Use a spreader to guide resin across the surface and let it self-level.
- Targeted sealing: If you love texture and want the glass ridge to stay raised, brush or pour clear resin only over the glass area and surrounding bands, letting some height remain.
Keep your panel level during this step. A slightly slanted table turns your gorgeous geode into a resin landslide.
Cure time and conditions
Geode pieces are often thicker in the center, so they can take longer to firm up than a simple flat coat. Follow your resin’s cure schedule, but here is my general rule: do not move it until it is firm enough that the glass ridge cannot shift.
Temperature and humidity make a huge difference in clarity and cure. I keep a close eye on this in my garage studio, especially in wet months: Ideal Temperature and Humidity for Epoxy Resin Curing.
Peel tape, sand, and polish
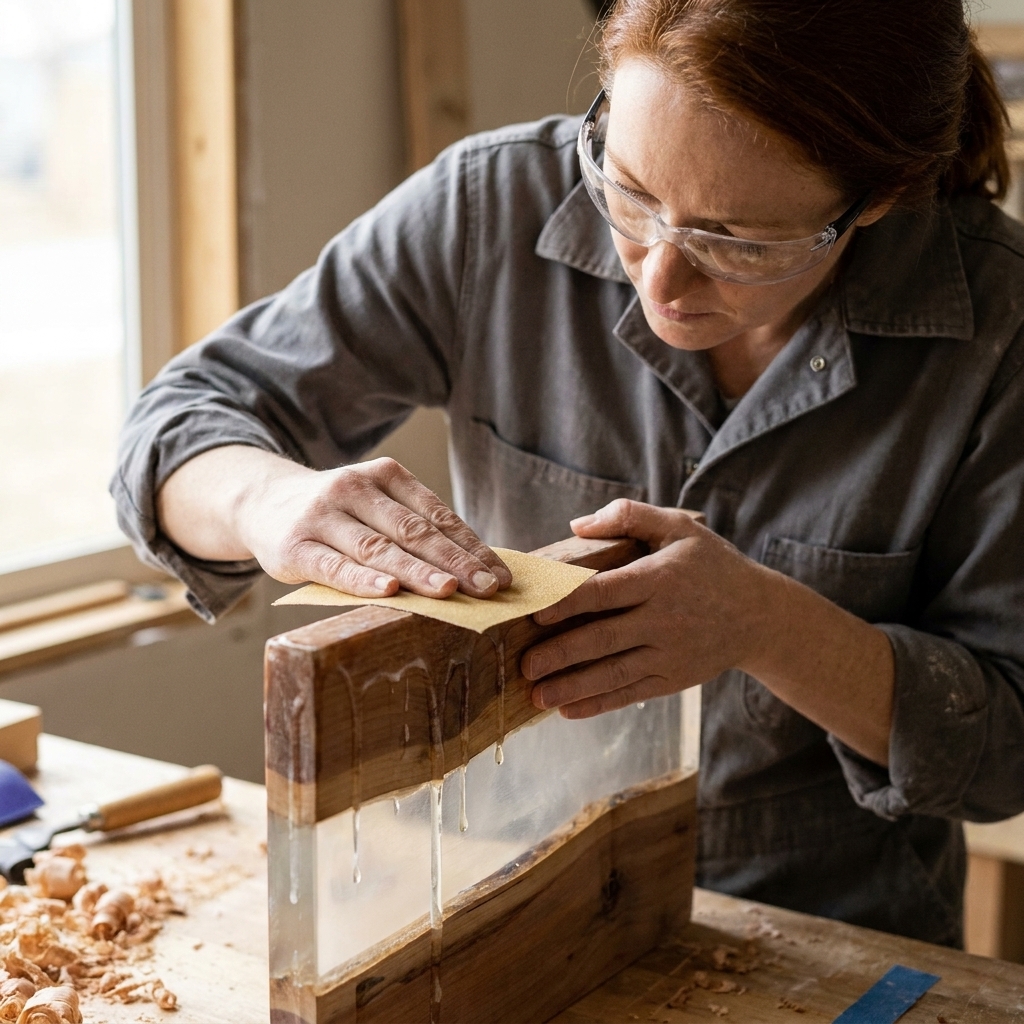
Once fully cured, peel the tape. If you have drips on the back edge, trim or sand them down.
- For rough edges or sharp cured resin, sand gradually through grits.
- If you want a glossy edge again after sanding, polish or add a thin edge coat.
I walk through the full sanding and shine process here: How to Sand and Polish Epoxy Resin.
How to hang it safely
Because resin adds weight, especially with glass, I prefer solid hardware rated well above the finished piece’s weight. If your panel is cradled wood, two D-rings (one on each side) tends to feel more secure than a single sawtooth hanger.
- If you use wire, use picture wire rated for the weight and attach it to two D-rings, not one.
- Mount into studs when possible. If you cannot, use drywall anchors that are rated for the load and appropriate for your wall type.
- Avoid sawtooth hangers for heavier pieces or anything with a chunky glass ridge.
If you are unsure, weigh the panel after curing and choose hardware accordingly. The goal is “does not budge,” not “probably fine.”
Troubleshooting
My resin bands blurred together
- You poured too warm or too much at once, so it flowed and mixed.
- Fix next time by pouring in smaller amounts and letting resin thicken slightly before nudging edges.
Glass sank or disappeared
- Resin was too thin when you added it.
- Use a thicker stage (later in pot life), or do a thin “grab layer,” add glass, then lock in with a topcoat.
Sticky or soft spots in thin bands
- Usually undermixing, ratio issues, or cold curing conditions.
- Start here: 8 Reasons Your Epoxy Resin Is Sticky or Soft and How to Fix It.
Cloudy clear sections
- Often humidity, moisture contamination, or overheating.
- My full cloudy-resin checklist is here: Why Your Resin Is Cloudy.
Pinhole bubbles over wood grain
- The wood outgassed air into your resin.
- Seal the panel first and consider warming the workspace slightly so the wood is not releasing air as resin cures.
Sharp glass points after curing
- Add a clear sealing coat over the ridge, or spot-coat and let it self-level around the sharpest peaks.
- If needed, knock down peaks carefully with sanding and recoat.
Fast geode color palettes
- Ocean geode: pearl white, translucent aqua, teal, deep navy, silver vein.
- Amethyst geode: pearl white, lavender, violet, deep plum, gold vein.
- Neutral stone: warm white, champagne, smoke gray, espresso, copper vein.
- Sunset geode: pearl, peach, magenta, wine, gold leaf accents.
If you are mixing pigments for the first time, keep at least one band translucent so light can travel through and bounce off the glass. That is where the “stone” illusion comes from.
Aftercare
Once your piece is cured, it is tough, but it is not a fan of constant direct sun. If you can, hang it out of harsh, prolonged sunlight to slow yellowing over time.
Cleanup and disposal
Let leftover resin in cups cure fully, then peel out the solid waste. For sticky spills, handle them while still uncured, but do it safely and with ventilation.
For crushed glass dust, I do not “dry sweep” with my hands. I either vacuum carefully (with a shop vac if you have one) or use a damp paper towel method so the dust does not go airborne.
I keep a full cleanup and disposal guide here: How to Clean Up Uncured Resin and Dispose of Epoxy Waste Safely.
My best first-geode advice
If you only remember three things, make it these:
- Seal the wood. It prevents a surprising number of frustrations.
- Work in stages. Band pour, thicken, glass, then lock-in coat.
- Use mixed glass sizes. Big pieces make structure, small pieces make it look finished.
Geode art looks fancy, but it is really just thoughtful sectioning and patience. Once you do one panel, you start seeing all the little places you can add depth, and that is when it gets addictive.