New to coloring epoxy resin? Learn when to use pigments, alcohol inks, and mica powders, plus beginner-safe amounts, mixing steps, and tips to avoid soft cur...
Resin Petri Dish Effect with Alcohol Inks

Ruby Fletcher
Ruby Fletcher is a dedicated resin crafter with years of hands-on experience pouring, molding, and creating custom epoxy art. After turning her dining room into a makeshift studio, she developed a passion for helping beginners navigate the sticky, colorful world of resin with confidence. She loves sharing practical tutorials, troubleshooting tips, and essential safety guides to make epoxy crafting accessible for everyone.
Published · Last updated
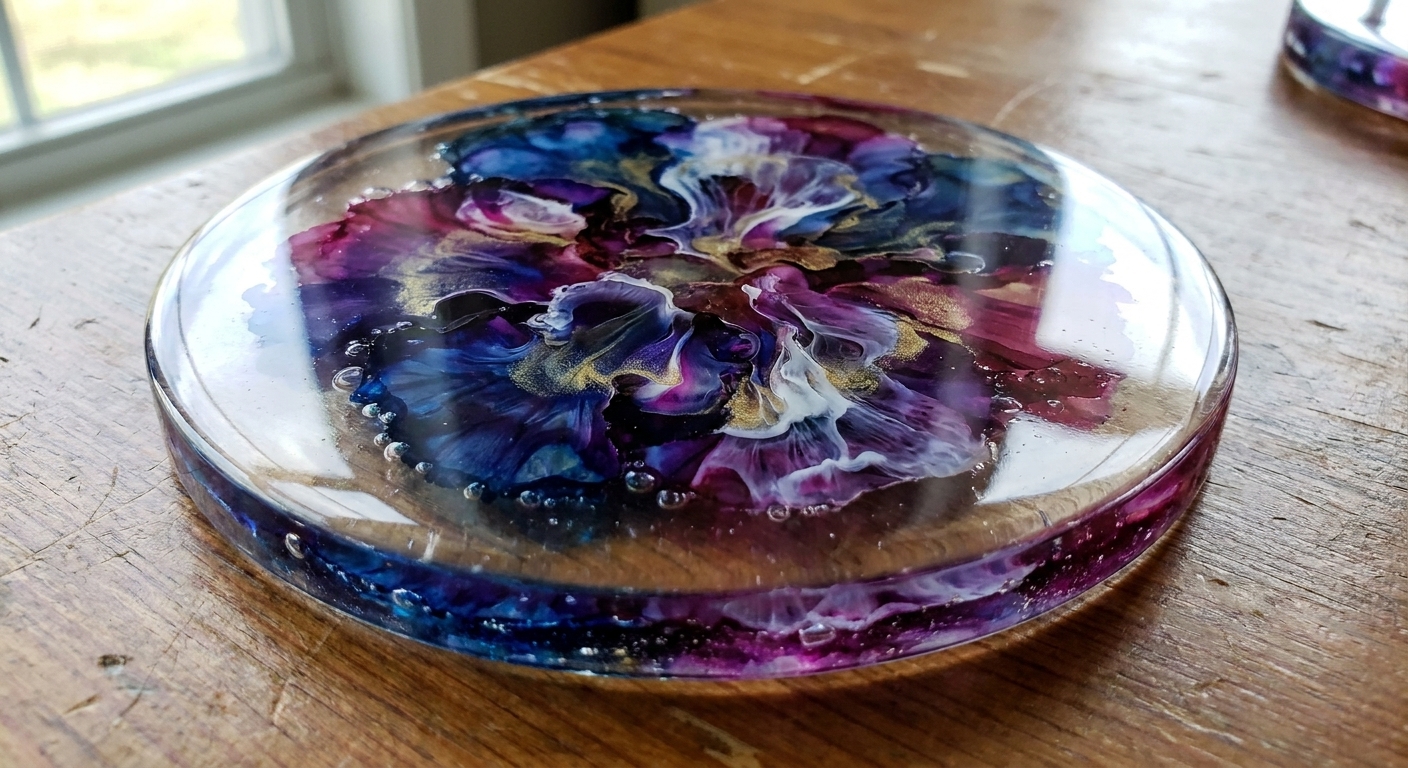
The first time I tried a petri dish effect in resin, I was so sure I had ruined the whole piece. I had these gorgeous drops of color sitting on top like little oil slicks, and nothing was “blooming.” Then I added the heavy white ink and watched it pull the color down into wispy, 3D tendrils like magic. If you have ever wanted that suspended, underwater look in your molds, this is the technique.
What the petri effect is
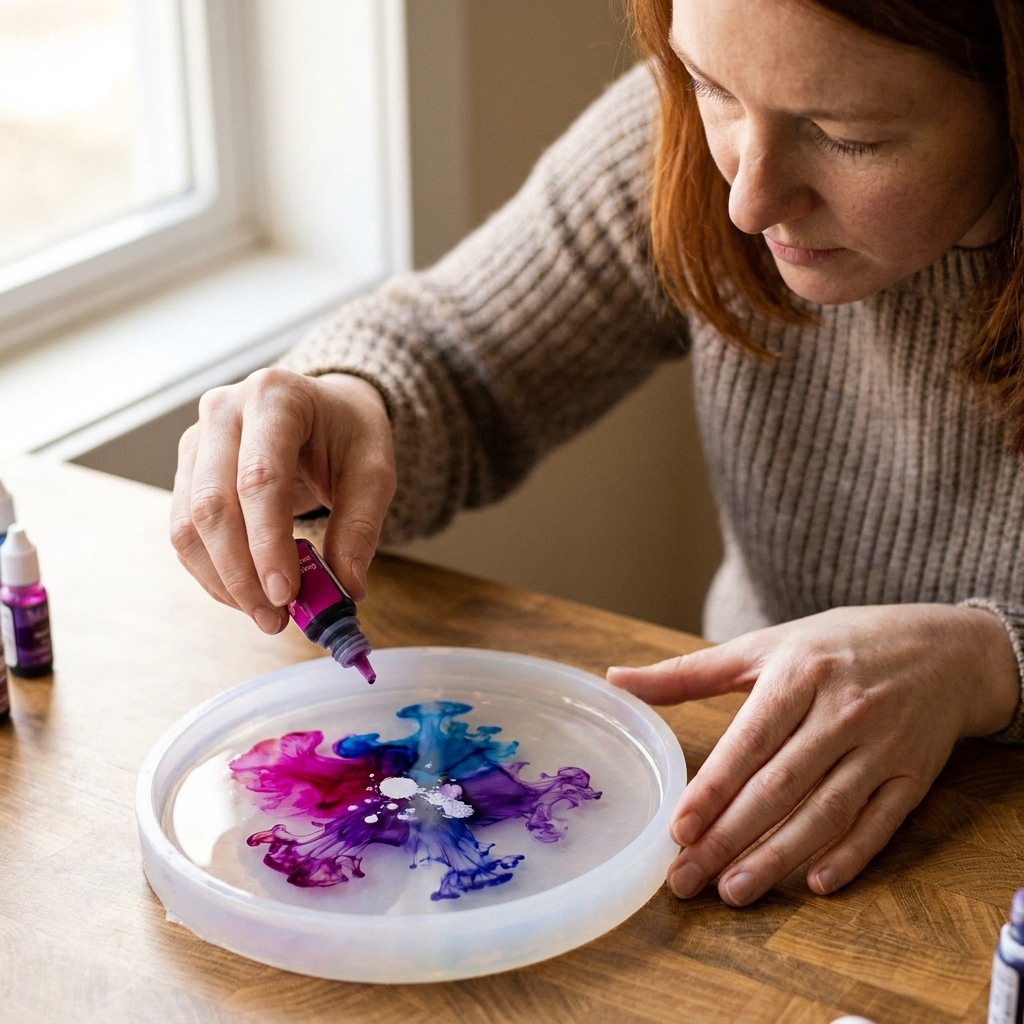
The “petri dish” look happens when white sinker ink drops down through resin and drags the colored ink with it, creating those 3D plumes. Crafters often describe it as “the heavier ink sinks,” and that is the visible part of it. What is really happening is a combo of ink formulation plus resin viscosity at the moment you drop it. Timing is everything.
The key player is white sinker ink (often labeled “sinker” or “heavy white”). Regular alcohol ink by itself tends to float, spread, or lightly diffuse on the surface, especially in fresh, thin resin.
Think of it like this:
- Color ink gives you the bright bloom shades.
- White sinker ink acts like the pull that carries color downward into tendrils.
- Resin timing determines whether you get crisp strings, soft clouds, or a muddled blend.
Safety and setup first
Alcohol inks contain solvents, and epoxy resin can give off odors and vapors while it cures. Depending on the product, those vapors can be irritating and epoxy can be a sensitizer over time, so I treat safety like part of the craft. Follow your resin’s SDS guidance, ventilate well, and protect your skin and lungs.
- Work in a well-ventilated space. My go-to is a garage setup with airflow. If you need help building a safe routine, start with Getting Started & Safety and setting up a ventilated resin workspace.
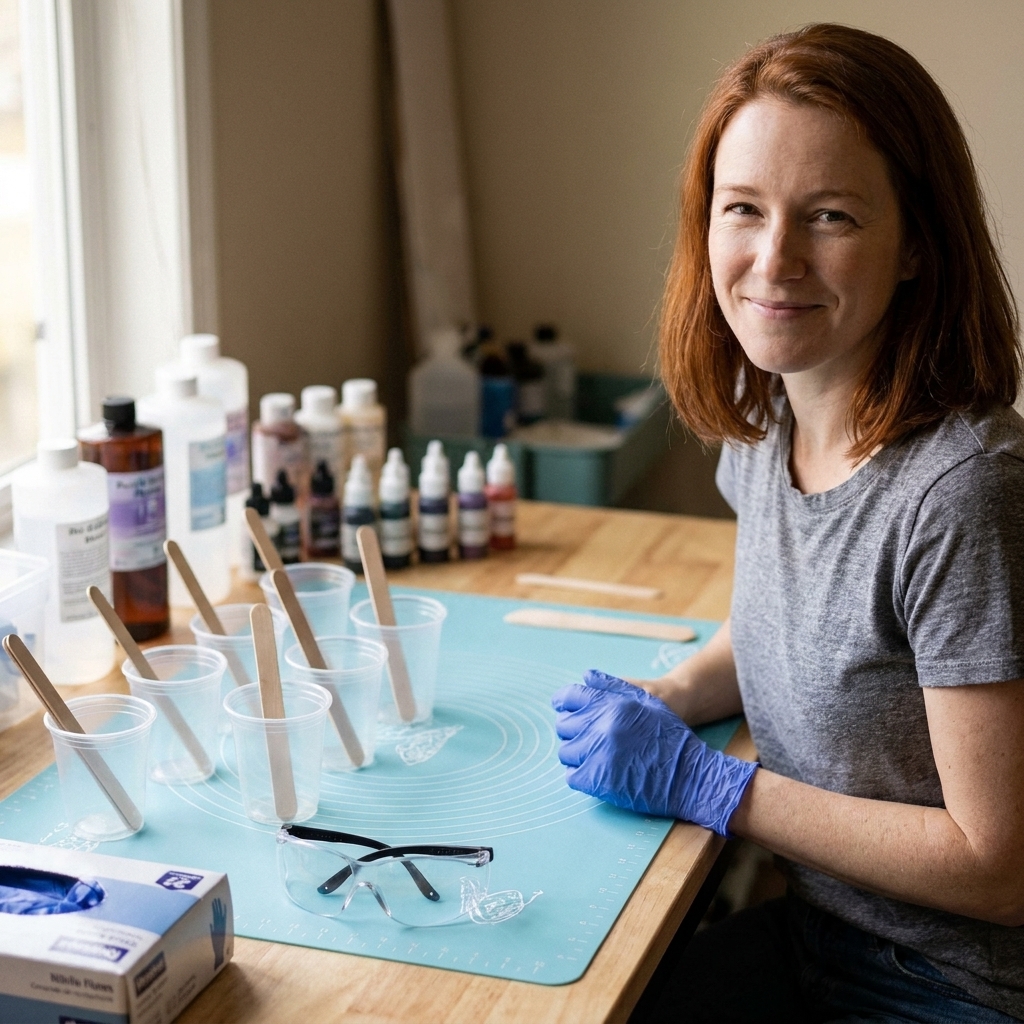
- Wear nitrile gloves and eye protection. A proper respirator is worth it for regular crafting. See resin safety gear.
- Protect your table. Resin drips are forever. I keep a dedicated mat down. Here are my favorites: best mats and coverings for resin spills.
Materials you need
Resin and molds
- 2-part epoxy resin. Both coating and casting resins can work, but for petri, a slower, longer-working resin is usually easier to control because you get more time before it thickens.
- Silicone mold with a flat bottom. Coaster molds, trinket dish molds, and shallow rounds make learning much simpler.
If you are new to mixing, read how to measure and mix 2-part epoxy resin before you start. Petri is not hard, but it is timing-sensitive, so solid mixing matters.
Inks and tools
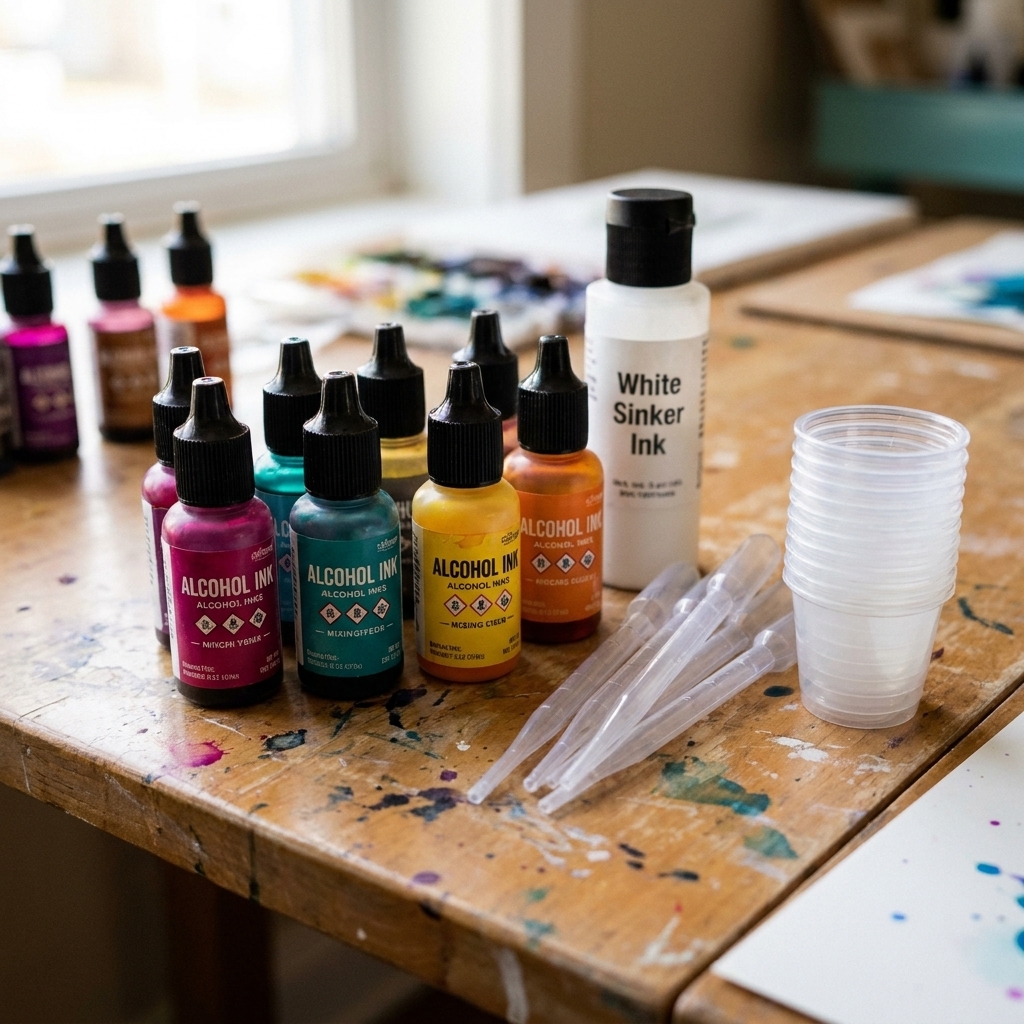
- Alcohol inks in your chosen colors (transparent inks tend to look the most “glowy”).
- White sinker ink (heavy white specifically, not just any white).
- Droppers (the ink bottles usually have them). Optional: disposable pipettes for more control.
- Mixing cups and sticks.
- Toothpick or stir stick tip for tiny nudges (optional).
- Heat gun or torch for surface bubbles, used carefully. If you are unsure which is safer for you, see heat gun vs butane torch.
One important note: alcohol ink is still a liquid solvent. If you flood your surface with ink, it can contribute to soft spots, surface tackiness, or strange cure issues. For petri, a light hand gives you better blooms and a happier cure.
Molds and depth
Petri looks most dramatic when the resin has enough depth to show the fall. Too much depth can make it harder to predict where plumes will land. For learning, I recommend starting in the range many coaster and trinket molds fall into:
- Depth: roughly 1/4 inch to 1/2 inch is a beginner-friendly range that is easy to control. Deeper molds can still work, they just give the ink more room to wander.
- Mold shape: round coasters and shallow trinket dishes show the effect beautifully.
- Color plan: 2 to 4 colors max for the first try. Too many colors can quickly turn brown or muddy.
Need help picking molds and caring for them? This guide is my go-to: silicone molds for resin: choose, prep, and care.
Step-by-step petri effect
Step 1: Mix resin thoroughly
Mix according to your resin’s instructions and scrape the sides and bottom of your cup. Under-mixed resin can cure soft or stay tacky, and petri pieces are hard to “save” if the base never cures right.
For troubleshooting, bookmark 8 reasons your epoxy resin is sticky or soft (and how to fix it).
Step 2: Pour and wait for the right moment
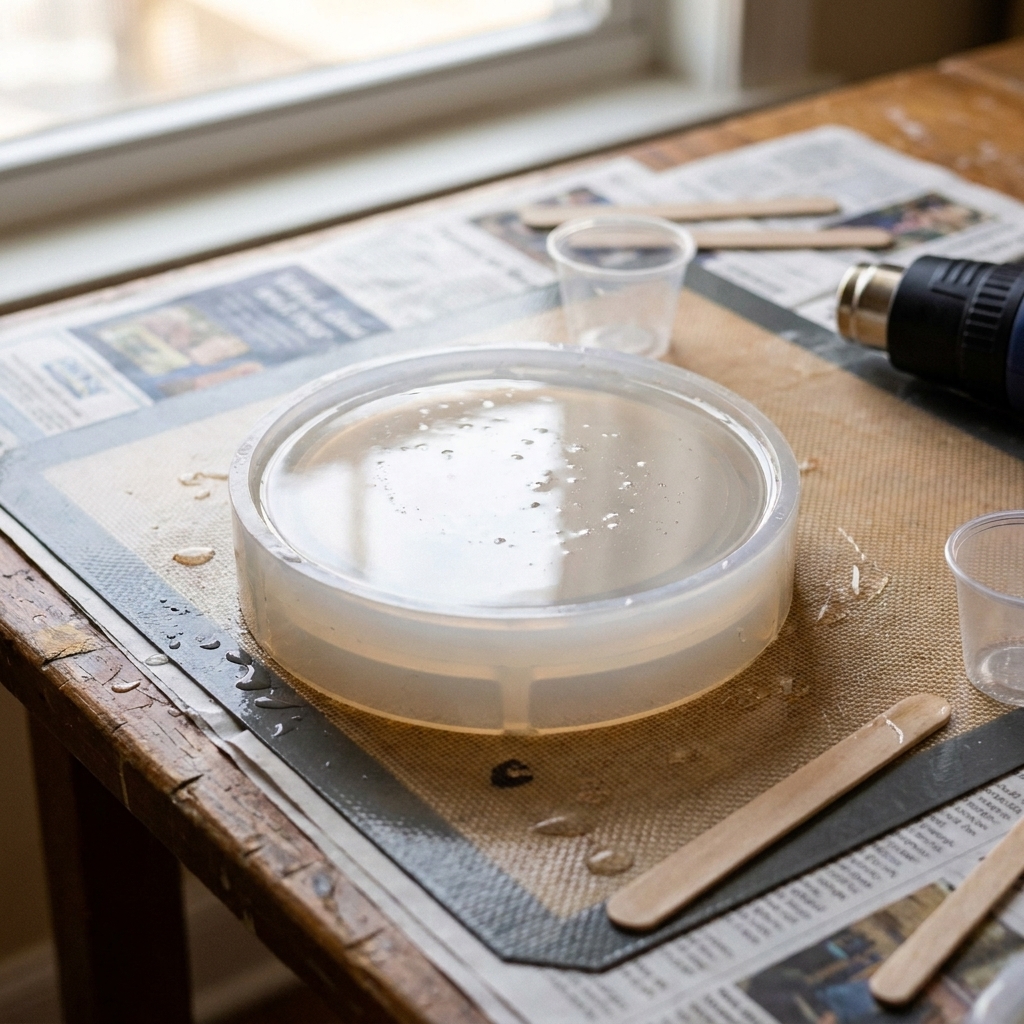
Pour your resin into the mold, then let it sit until bubbles rise and the resin starts to thicken slightly. The goal is not water-thin and not jelly-thick.
Two cues that help beginners:
- Stick test: lift your stir stick and watch how the resin falls. You want it to ribbon off the stick for a second before it melts back into the surface.
- Surface test: the resin should look smooth and glossy, but feel a touch more “honey-like” than fresh-poured when you drag a stick lightly across the top.
Temperature and humidity matter a lot here. If your resin has been unpredictable lately, check ideal temperature and humidity for epoxy resin curing.
Step 3: Add a few drops of color
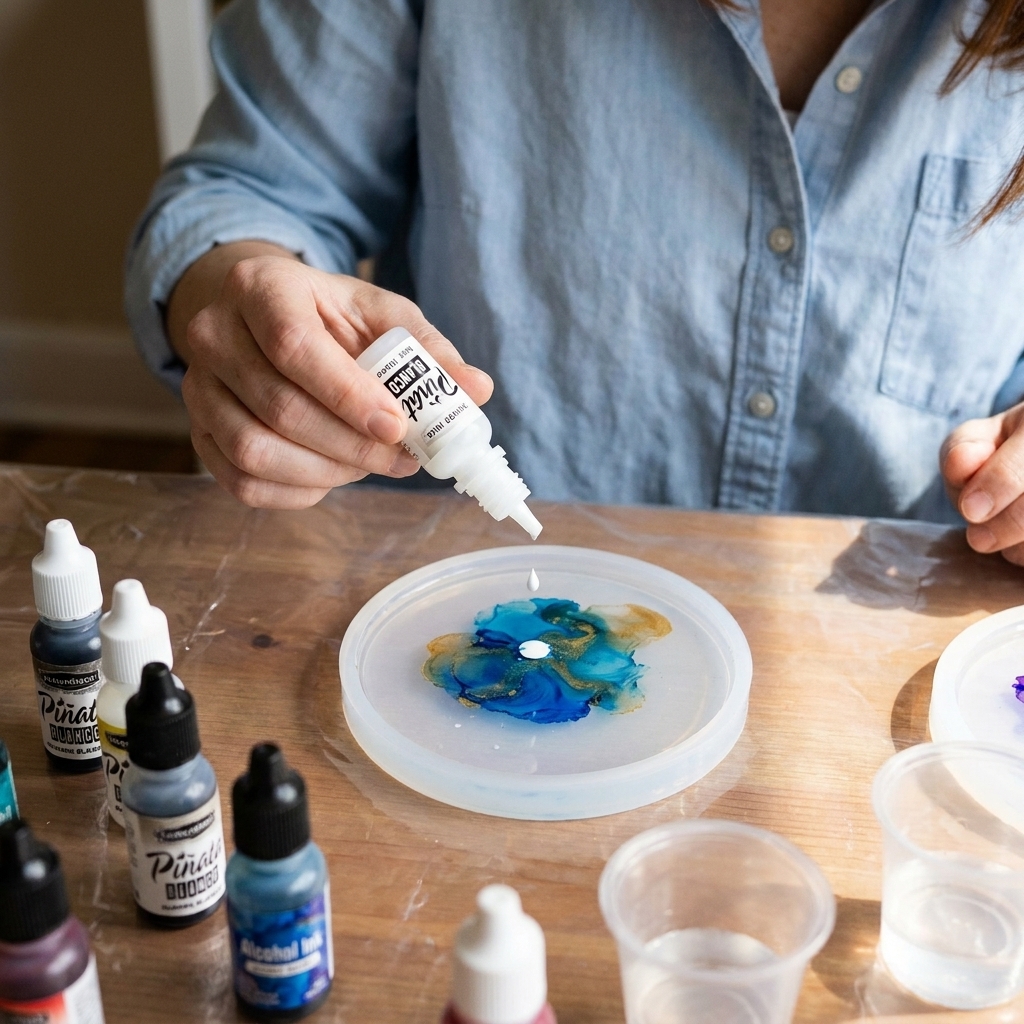
Hold the bottle close to the surface and add 1 to 3 drops of one color in the area you want the bloom. Leave space between colors. You can create a clustered bloom by dropping colors near each other, or a more airy look by spacing them evenly.
My beginner rule: less ink than you think. You can always add another drop. You cannot un-brown a muddy swirl.
Also, you do not need to pre-mix inks. Just drop them straight in.
Step 4: Add white sinker ink on top
This is the signature move. Add 1 drop of white sinker ink directly onto each color drop. If you want a stronger pull, add a second drop of white, but do it slowly.
Depending on your resin brand, room conditions, and how thick your resin is at this moment, you may start to see the white descend within seconds or over the next minute or two. That slow fall is what builds the bloom.
Can you use regular white alcohol ink? Sometimes it will haze or spread, but for true petri plumes you usually need a formula labeled heavy white or sinker.
Step 5: Let it bloom, then stop touching it
This is where beginners accidentally erase the effect. Stirring, poking, or repeatedly adding ink can turn crisp tendrils into a blended haze.
- If nothing happens after a couple of minutes, your resin may be too thick, or the white is not a true sinker ink.
- If it explodes outward into a cloud immediately, your resin is probably too thin or you used too much ink.
Step 6: Pop surface bubbles carefully
If you need to pop bubbles, do it lightly. Keep your heat source moving and stay about 6 to 8 inches above the surface. Too much heat, or hovering in one spot, can push inks around and flatten your bloom. For bubble control tips beyond heat, I rely on how to prevent and remove micro-bubbles in epoxy resin.
Step 7: Cover and cure fully
Cover your mold to keep dust and pet hair out (I use a clean plastic bin as a dome), then let it cure undisturbed. Demolding early can distort the effect and leave fingerprints.
3 easy designs to try
1) Classic deep sea
- Colors: teal, blue, a tiny bit of purple
- Drop colors in a loose circle, then top each with white sinker
- Keep the center a little clearer for depth
2) Garden bloom
- Colors: magenta, orange, yellow
- Create 3 to 5 clusters like little flowers
- Add one extra white drop in the center of each cluster for a stronger stem effect
3) Minimal monochrome smoke
- Colors: one color only (black, indigo, or deep green)
- Few drops total, spaced out
- One drop of white each, then hands off
Common problems
The ink sits on top
- Cause: resin is too thick, or your white ink is not a sinker formula.
- Fix: try earlier next time, and confirm you are using heavy white sinker ink.
Everything turns muddy brown
- Cause: too many colors, too much ink, or colors that neutralize when blended.
- Fix: use 2 to 3 colors max and reduce the number of drops. Keep complementary colors separated.
The bloom looks flat
- Cause: resin layer is too shallow, or resin was too thin and the inks diffused.
- Fix: use a slightly deeper mold, or wait a little longer before dropping ink so the resin can support those plumes.
Soft or sticky spots
- Cause: measurement or mixing issues, curing conditions were off, or you used too much ink.
- Fix: start with this sticky resin troubleshooting guide, then check temperature and humidity. For your next piece, reduce ink drops and avoid pooling.
Layering petri
Yes, and layered petri can look incredible. The trick is to pour in thin layers and let each layer reach a firm gel stage before adding the next, so your blooms do not blur together.
If you want clean, intentional layers without obvious lines, follow pouring epoxy resin in layers without visible lines. It is one of those skills that upgrades everything you make, not just petri.
Finishing and shine
Most petri pieces come out glossy if your mold is smooth. If you have sharp edges or a matte spot, you can sand and polish after a full cure.
- For cleanup and shine: how to sand and polish epoxy resin
- If you accidentally get uncured resin on your tools or table: how to clean up uncured resin and dispose of epoxy waste safely
Quick checklist
- Measure and mix resin correctly.
- Pour, then wait until resin is slightly thickened.
- Add 1 to 3 drops of color.
- Add 1 drop of white sinker directly on top of each color drop.
- Let it bloom. Do not stir.
- Use minimal heat only if needed for bubbles.
- Cover and cure fully before demolding.
More color ideas
If petri has you hooked, color is a deep rabbit hole in the best way. These guides pair nicely with this technique: