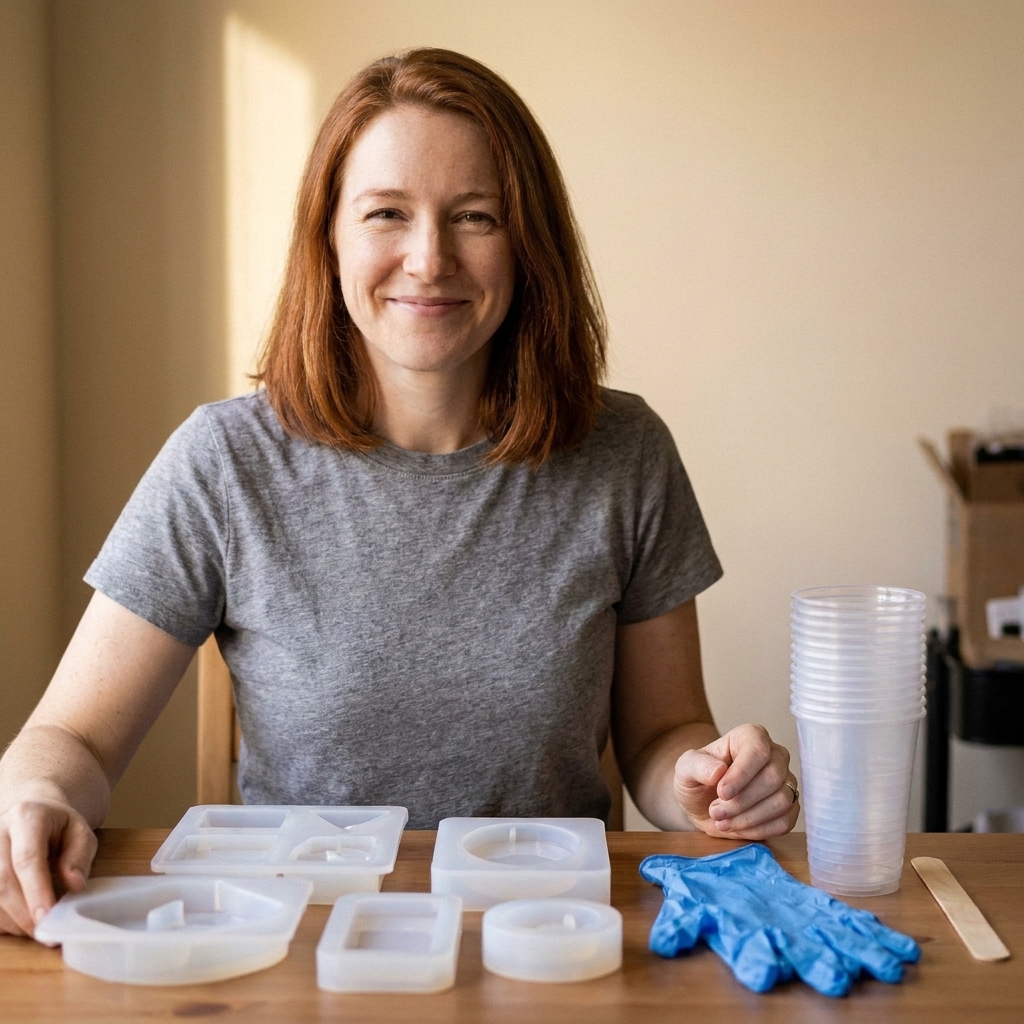
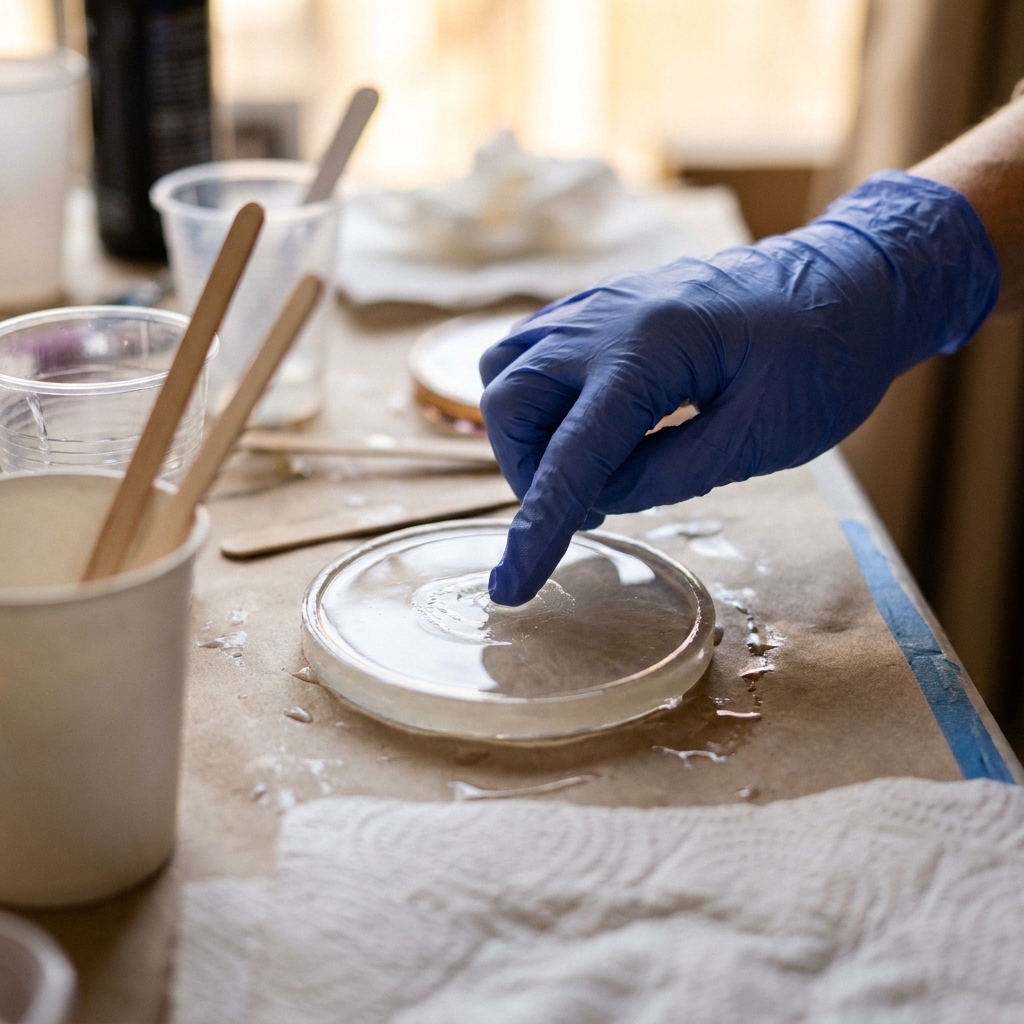
Stop tacky, uncured epoxy. Follow this step-by-step mixing method: confirm ratios, measure by volume or weight, stir slowly while scraping, then do a two-cup...
Casting Custom Resin Drawer Knobs

Ruby Fletcher
Ruby Fletcher is a dedicated resin crafter with years of hands-on experience pouring, molding, and creating custom epoxy art. After turning her dining room into a makeshift studio, she developed a passion for helping beginners navigate the sticky, colorful world of resin with confidence. She loves sharing practical tutorials, troubleshooting tips, and essential safety guides to make epoxy crafting accessible for everyone.
Published
The very first time I tried making resin drawer knobs, I did it for a chipped thrift-store dresser that I was pretending did not wobble. The knobs were beyond saving, and I wanted something that looked intentional, not “I grabbed the cheapest pack online.” Resin was the perfect answer because you can match your exact paint color, add shimmer, embed tiny vintage bits, and end up with hardware that feels custom.
Here’s how to cast your own resin knobs using small silicone molds and threaded inserts so they screw on like real hardware, not like a craft that is about to fall off mid-tug.
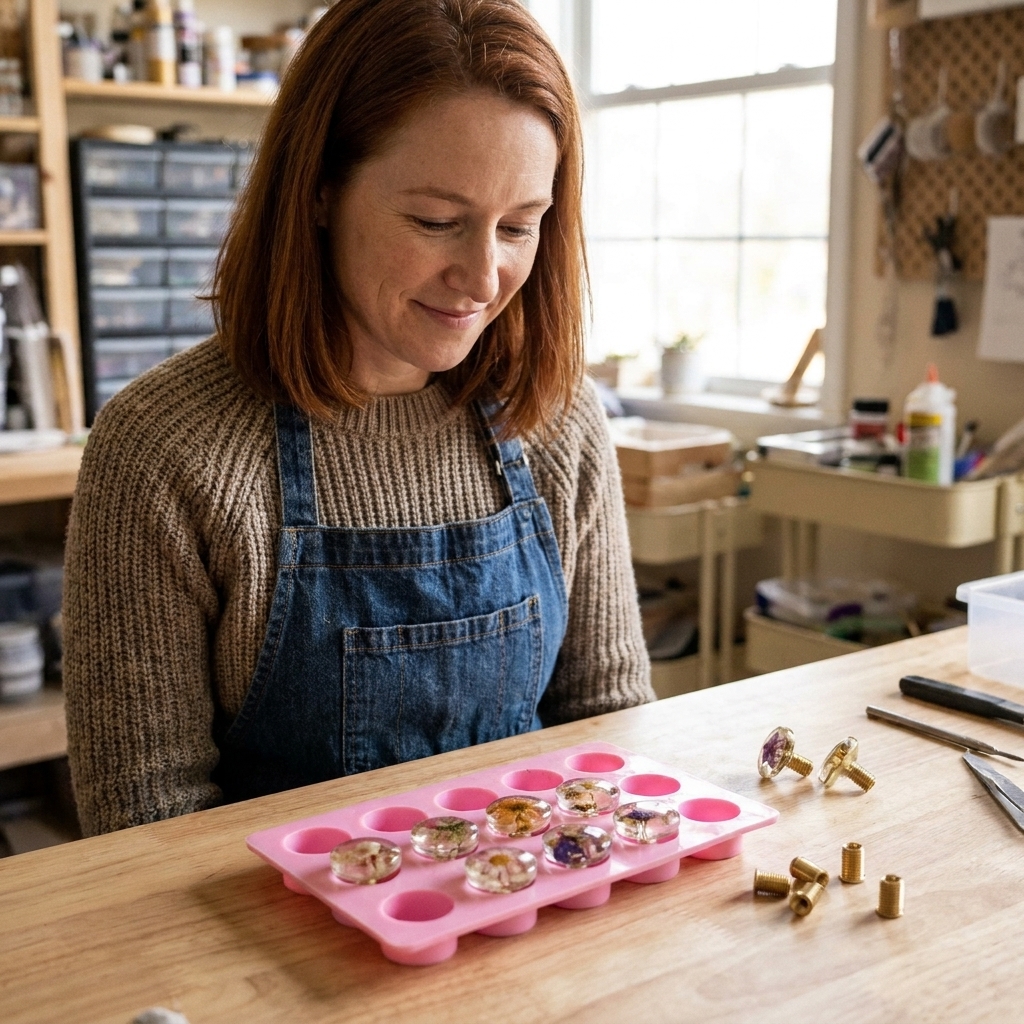
What makes a resin knob durable
Drawer knobs take more abuse than most resin projects. They get twisted, yanked, bumped by laundry baskets, and cleaned with whatever spray happens to be nearby. For knobs that last, focus on three things:
- A solid mechanical connection: a metal threaded insert or embedded hardware gives the screw something real to bite into.
- Enough thickness around the insert: resin is strong, but thin walls around metal can crack under torque.
- A full cure: “Hard to the touch” is not the same as fully cured. A knob installed too early is more likely to dent or warp.
If you are new to mixing epoxy, I highly recommend reading How to Measure and Mix 2-Part Epoxy Resin first. Knobs are small, so tiny ratio errors can create a whole batch of tacky, unusable pulls.
Supplies for casting drawer knobs
You do not need a full workshop for this. You do need the right few items so the hardware is safe and repeatable.
Resin and color
- 2-part epoxy resin (a casting or general-purpose epoxy works well for small knobs)
- Pigment: mica powder, resin dye, or paste. For a beginner-friendly breakdown, see How to Color Epoxy Resin.
- Optional add-ins: fine glitter, gold leaf, tiny dried flowers, or small flat confetti
Molds and hardware
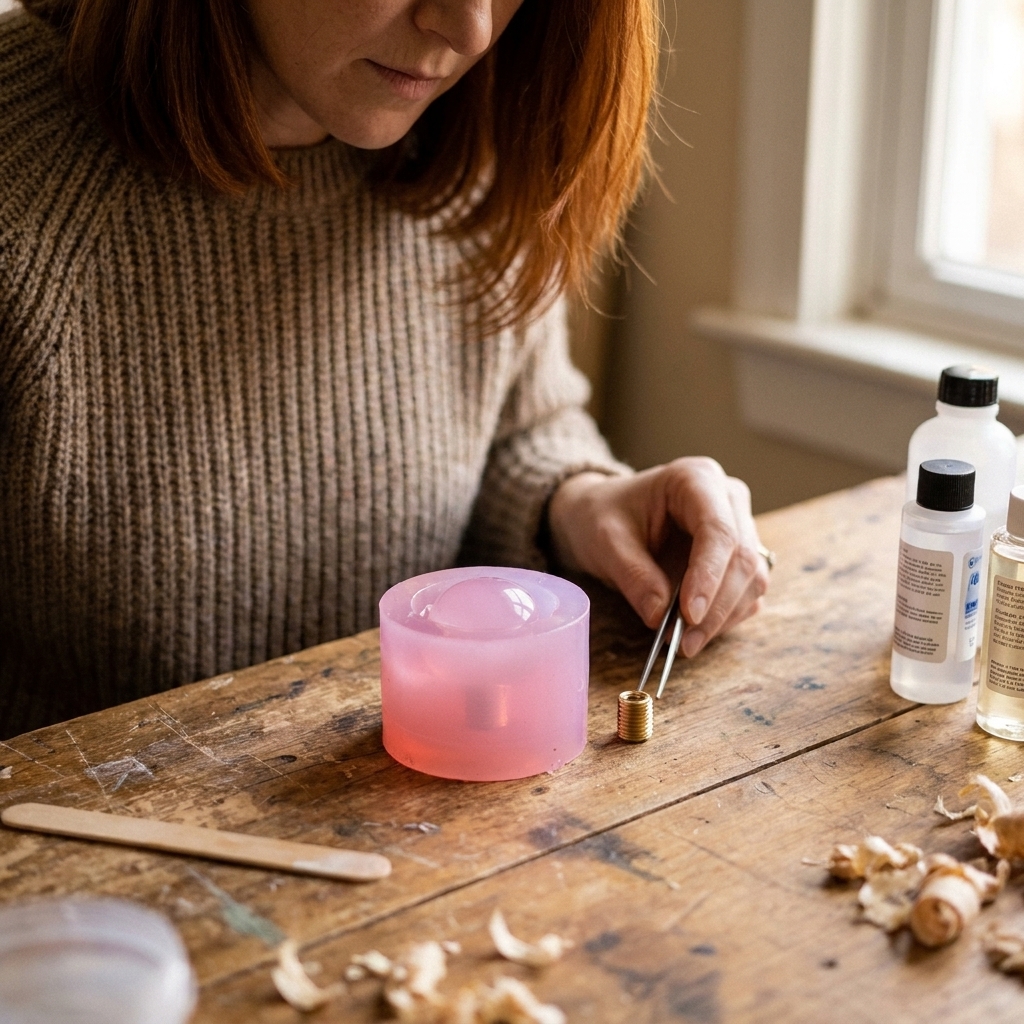
- Small silicone knob molds or any silicone mold with a knob-like dome and a flat back
- Threaded inserts (the type meant to be embedded). Look for knurled or ridged inserts that resin can grip. If you see “heat-set inserts,” those are made for melting into thermoplastics, so they are not the best match for epoxy casting.
- Matching screws (typically cabinet machine screws). Choose the screw thread to match your insert, not the other way around.
Tools and safety
- Nitrile gloves and eye protection
- A respirator suitable for resin work when needed and good ventilation. Start here: Getting Started & Safety and Set Up a Safe, Ventilated Resin Workspace at Home.
- Mixing cups, stir sticks, and a small scale if your resin is weight-based
- Isopropyl alcohol for cleaning tools and work surfaces (not for skin). If resin gets on you, use the safer method in Epoxy Resin on Skin: Removal and Prevention.
- A heat gun or small torch used carefully for bubbles. I compare the two here: Heat Gun vs Butane Torch for Resin Bubbles.
- Silicone work mat or protective covering. See Best Mats and Coverings for Resin Spills.
Choosing a mold that works for furniture
When you are picking molds, think like a cabinet, not like an artist.
- Flat back is your friend. A flat-backed knob sits tight and does not wiggle. If the back is curved, you will fight rocking and gaps.
- Leave room for the insert. Your insert should be fully surrounded by resin, not kissing the surface. Aim for several millimeters of resin around it in every direction.
- Make sure your screw can reach. Before you pour, test your screw length against the mold depth. You want solid thread engagement inside the insert (roughly 5 to 8 mm is a practical minimum on many small knobs) without bottoming out.
- Comfort matters. Overly sharp edges look cool on the bench and feel terrible in daily use. Rounded profiles are more forgiving.
- Match the style of the piece. Geodes and glitter can be gorgeous, but a vintage dresser sometimes wants subtle marbling or a creamy opaque with a soft shimmer.
If you want a deeper dive on mold care and prep, Silicone Molds for Resin: Choose, Prep, and Care will save you a lot of frustration.
Step by step: Cast knobs with inserts
This is my dependable workflow for knobs that screw on cleanly and feel sturdy.
1) Set up your workspace
- Cover your surface and level it. Knobs cast on a slant will cure with a lopsided face.
- Bring resin bottles to room temperature before mixing. Cold resin traps bubbles.
- Lay out your inserts, screws, and a scrap of cardboard or silicone to rest sticky tools on.
For curing consistency, temperature and humidity matter more than most beginners expect. I keep a simple guide here: Ideal Temperature and Humidity for Epoxy Resin Curing.
2) Prep the inserts for a stronger bond
Many inserts have ridges or knurling that resin grabs naturally, but I still like to:
- Degrease inserts with isopropyl alcohol and let them dry fully.
- Lightly scuff very smooth inserts with fine sandpaper so resin has tooth.
Skip this step only if your inserts are already aggressively knurled and clean.
3) Mix a small batch accurately
Measure carefully and mix slowly, scraping the sides and bottom of the cup. Knob batches are often tiny, which makes eyeballing ratios extra risky.
If you are prone to tacky cures, bookmark 8 Reasons Your Epoxy Resin Is Sticky or Soft and How to Fix It. It is basically my “I learned this the hard way” list.
4) Pour a base layer
Pour resin into the mold until it is about one-third to one-half full. This gives you a bed to set the insert into without immediately sinking to the surface.
Pop bubbles gently using a heat gun or torch held at a safe distance. Tiny molds heat up fast, so use quick passes, not long blasts. Keep your work area clear of paper towels, alcohol, and other flammables while you use a torch, and stick with ventilation even if the pour is small.
5) Place the threaded insert straight
Set the insert into the resin with the threaded opening facing out (toward the back of the knob). You want it centered and level so the knob tightens evenly later.
- Goal: the insert should sit below the back surface, with enough resin over it for strength, but not so deep that your cabinet screw barely catches.
- Check alignment: look from the side and from above.
If your insert wants to float or tilt, let the base layer thicken for a few minutes, then try again. Resin has a sweet spot where it is thick enough to hold hardware but still bonds seamlessly to the next pour.
Optional trick (especially for picky inserts): Thread your screw into the insert a few turns and use the screw like a handle to hold it centered while the resin thickens. If you do this, keep resin out of the screw head and do not glue the screw in place.
6) Fill the mold to the top
Pour the rest of the resin slowly, letting it flow around the insert. If you are doing a design, this is where you add it:
- Marble: pour two tinted colors and swirl gently with a toothpick.
- Shimmer: mix mica thoroughly so it does not clump.
- Gold leaf: use tiny pieces and place them with a stir stick so they do not bunch.
- Dried botanicals: only use fully dried pieces. If you want to embed flowers, my process is here: How to Dry and Embed Real Flowers in Epoxy Resin.
7) Cure completely
Cover the molds to protect them from dust and let them cure for the full time on your resin label. For hardware, I like to wait longer than I do for jewelry pieces. If your resin says 24 hours demold, consider giving it 48 before you install knobs on a working drawer.
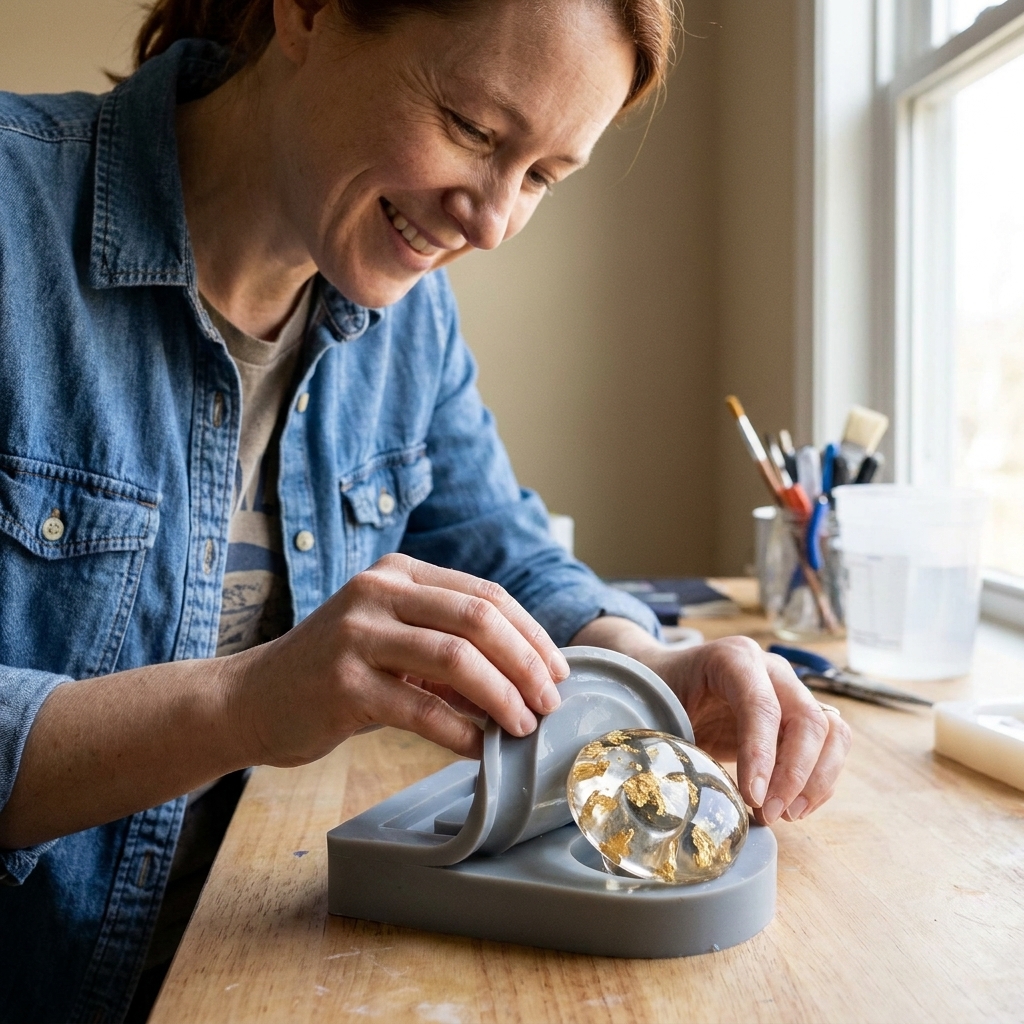
8) Demold and test-fit
Demold gently. Thread a screw into each insert by hand to confirm the insert stayed aligned and the threads are clean.
Finishing: smooth edges and flat backs
Even with a great mold, you might have a thin lip of flash around the back edge, or a slightly sharp rim that feels scratchy.
Trim and sand
- Trim thin flash with small scissors or a craft knife once the resin is fully cured.
- Wet sand the back edge if it needs to sit flatter. Start around 400 grit and move up.
- Sanding cured resin creates fine dust that can irritate. Wear a respirator and clean up carefully.
- For a full polishing routine, follow How to Sand and Polish Epoxy Resin.
Make the back sit flush
If the back of the knob is not perfectly flat, it can rock slightly on the drawer face. Light sanding on a flat surface usually fixes this. I put sandpaper on a tile, then move the knob in small circles.
Optional topcoat
If you sanded the face and dulled it, you can re-gloss by doming a thin layer of resin on top. My doming method is here: How to Dome Resin on Jewelry and Small Crafts.
Installing your resin knobs
Once the knobs are fully cured and finished:
- Use the right screw length. Cabinet screws come in different lengths. You want enough engagement in the insert, but not so long that it bottoms out and stops tightening.
- Do not overtighten. Resin can crack from excessive torque, especially if the insert is too close to the surface.
- Add a washer if needed. A small washer inside the drawer can help if your screw head wants to dig into wood or if the hole is slightly oversized.
If your dresser already has holes drilled, match the screw size to the hole and hardware standard as closely as you can. If you need to drill new holes, make sure the drawer face is supported to avoid splintering.
Troubleshooting
The insert spun or pulled out
- Insert was too close to the surface. Cast thicker knobs or set the insert deeper.
- Resin was not fully cured when installed. Let future batches cure longer.
- Insert was too smooth. Degrease and scuff next time.
Knobs cured tacky or soft
- Most often: inaccurate measuring or undermixing. Review measuring and mixing and the sticky-resin fixes in this troubleshooting guide.
- Cold workspace can slow cure dramatically. Check temperature and humidity.
Bubbles clustered around the insert
- Warm your resin bottles in a warm water bath (sealed) before mixing. Keep water out of your resin and hardener, since even a little moisture can cause cloudiness and cure trouble.
- Pour slowly and pause so resin can flow into threads and ridges.
- Use gentle heat in quick passes. Too much heat can cause ripples or early gel.
Cloudy knobs
Cloudiness can come from moisture, cold conditions, or incompatible colorants. Start with Why Your Resin Is Cloudy and apply the same fixes to hardware.
Design ideas that look custom
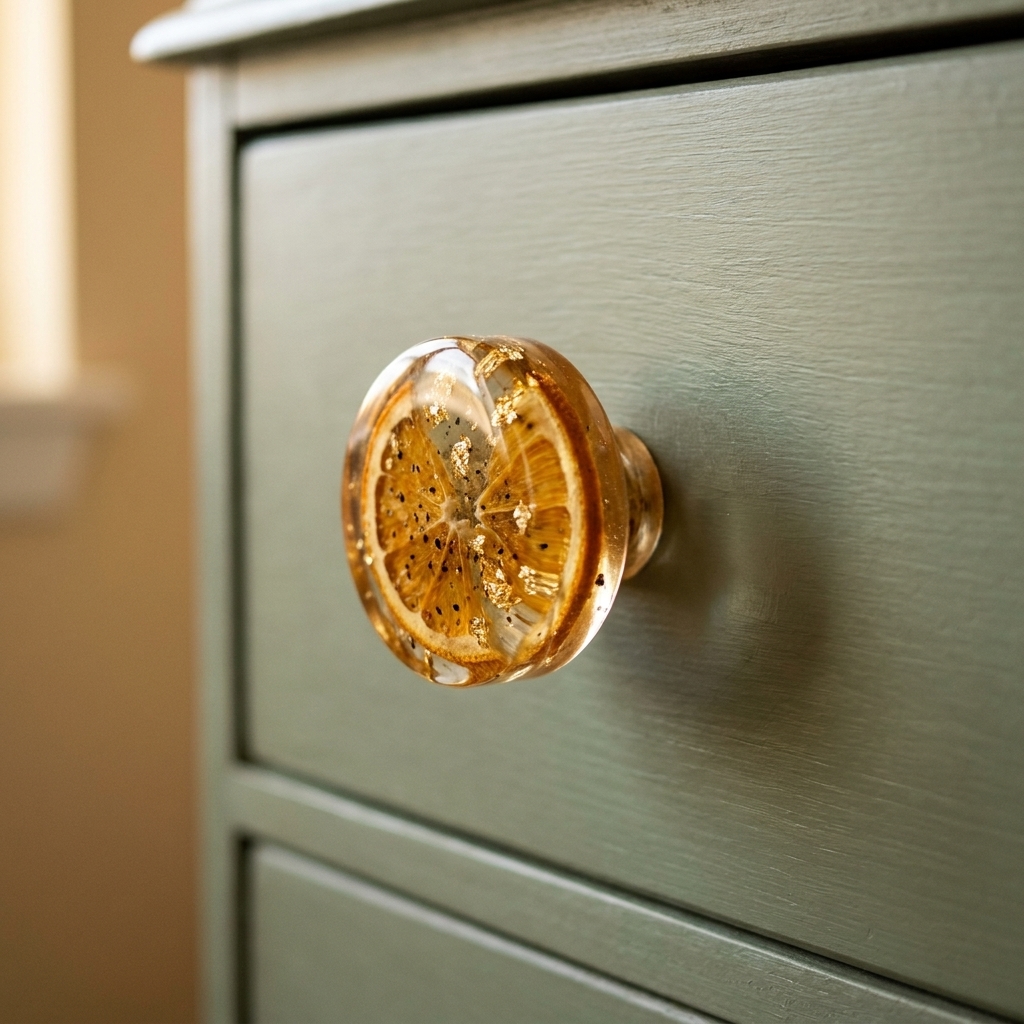
- Vintage-glam: clear resin with a whisper of gold mica and a few tiny gold leaf flecks.
- Modern matte look: opaque white with a drop of beige, then sand the face to a satin finish.
- Ocean glass vibe: translucent seafoam with subtle glitter that only catches in sunlight.
- Botanical: a single tiny dried flower centered like a cameo. Keep it minimal so it stays timeless.
- Terrazzo: small chips of colored resin from cured scraps, suspended in a milky base.
If you love functional resin projects, you will probably also enjoy the ideas in Home Decor & Functional Art.
Cleaning and long-term care
Fully cured epoxy is durable, but it is not invincible. For knobs that stay pretty:
- Clean with a soft damp cloth. Avoid abrasive scrubbers.
- Skip harsh solvents. Gentle soap and water is plenty.
- If your knobs get micro-scratches over time, you can re-polish them using the steps in my sanding and polishing guide.
If you ever get uncured resin on your hands during the process, do not panic and do not scrub with solvents. Use this safety-focused method: Epoxy Resin on Skin: Removal and Prevention. And if you have leftover mixed resin to dispose of, follow How to Clean Up Uncured Resin and Dispose of Epoxy Waste Safely.
Quick FAQ
Do I need threaded inserts, or can I just push a screw into resin?
For furniture that gets daily use, use an insert. Resin alone does not hold threads reliably long-term under repeated twisting.
Can I use UV resin for drawer knobs?
I do not recommend UV resin for full-size knobs because you need a deep, even cure around metal hardware. UV resin shines for small, thin pieces. If you are deciding between resin types, see UV Resin vs 2-Part Epoxy.
How many knobs can I pour from one batch?
It depends on mold volume, but knobs are deceptively resin-hungry. Mix slightly more than you think you need, especially if you are embedding inserts and want full coverage without scrambling mid-pour.