Micro-bubbles can turn a “clear” epoxy pour hazy fast. Learn where they come from, how to prevent them with warm resin and slow mixing, plus the best ways to...
Chunky Resin Bangles: Pour, Cure, Demold Without Snapping

Ruby Fletcher
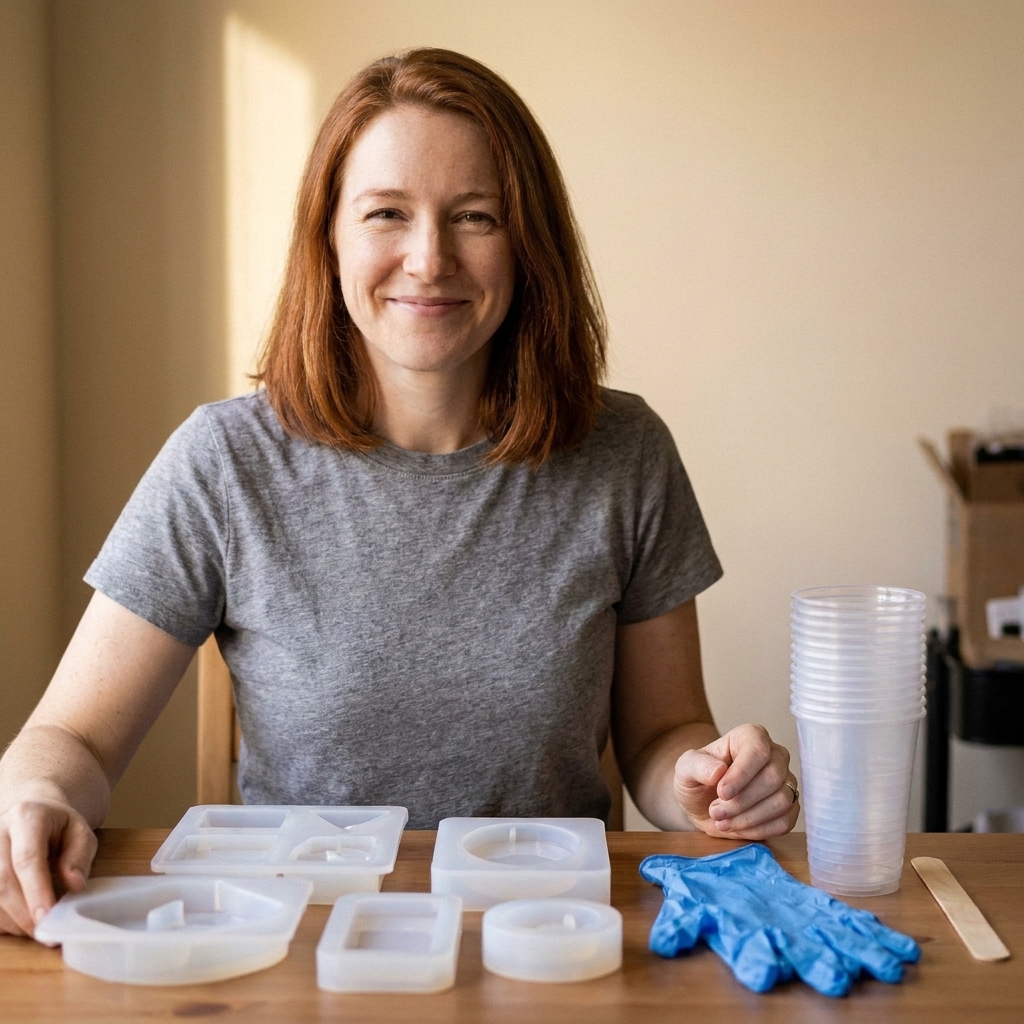
Ruby Fletcher is a dedicated resin crafter with years of hands-on experience pouring, molding, and creating custom epoxy art. After turning her dining room into a makeshift studio, she developed a passion for helping beginners navigate the sticky, colorful world of resin with confidence. She loves sharing practical tutorials, troubleshooting tips, and essential safety guides to make epoxy crafting accessible for everyone.
Published · Last updated
The first time I poured a chunky resin bangle, I treated it like a coaster: pour, pop bubbles, walk away. The next morning I tried to “just tug it out” of the curved mold and heard that awful little crack that makes your stomach drop. Bangles are sneaky: they look simple, but the shape creates stress points, and deep cavities love trapping bubbles.
This guide is how I pour and demold thick resin bangles now, without snapping them, and without turning the inside of the bangle into a bubble cave.
Before you start: the mold matters
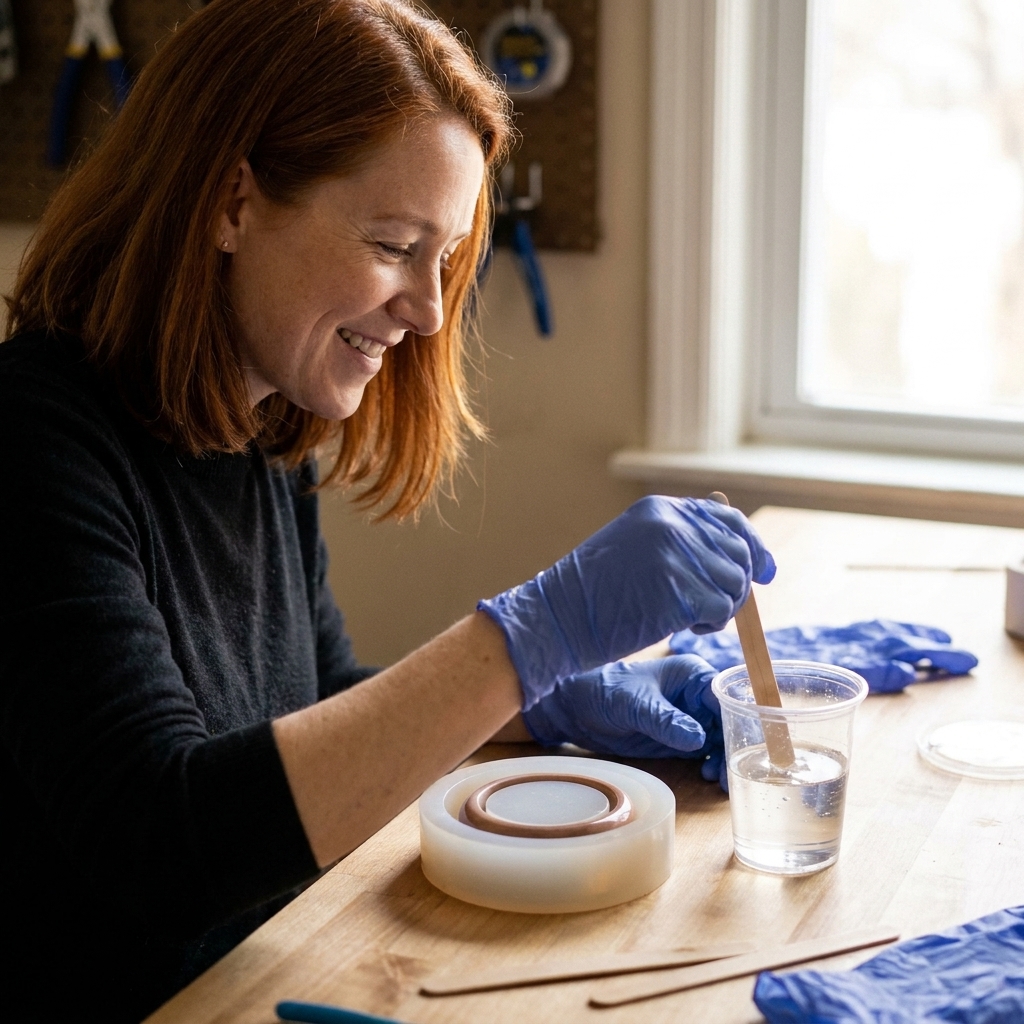
Curved silicone bangle molds come in a few styles, and each one demolds a little differently:
- One-piece ring molds (a single donut-shaped cavity). These look seamless but can grip tight, especially with very thick bangles.
- Split or slit molds (a subtle cut line). These demold easiest because the silicone can open slightly.
- Two-part molds (less common). These are usually easier to release but require careful sealing.
Whatever style you have, check the silicone before pouring: if it feels tacky, dusty, or has cured resin residue, it will cling harder and increase your snap risk. A quick wash with mild soap and warm water, fully dried, goes a long way. I also keep bangle molds dedicated to bangles because repeated flexing shortens a mold’s life.
More mold care basics here: Silicone molds for resin: choose, prep, and care.
Safety and setup
Chunky bangles are a deep pour in a small space. That means heat can build quickly, especially if you mix a big batch at once or use a fast-curing resin. Too much heat can trigger yellowing, warping, surface ripples, or in worst cases a smoky runaway cure.
- Ventilation: Work in a ventilated space you have set up for resin, not your kitchen counter. My dining room phase was real, but I am glad I graduated from it. See: Set up a safe, ventilated resin workspace at home.
- PPE: Nitrile gloves and eye protection. For fumes and vapors, follow your resin’s SDS and use a NIOSH-approved respirator with organic vapor cartridges when recommended. Guide: Resin safety gear.
- Protect your surface: Bangles spill easily because you are pouring into a ring. Use a non-stick mat or disposable covering: Best mats and coverings for resin spills.
- Level your mold: A bangle mold that is even slightly tilted can cure with a thick “heavy side” that stresses the bangle during demolding. I use a small bubble level and shim with cardstock.
Choose the right resin
If your resin cures too brittle, your bangle will be more likely to crack when you flex it out of the mold or when you put it on your wrist.
- Look for jewelry or casting epoxy that cures hard but not glass-brittle. Some “tabletop” coatings cure very rigid and can be less forgiving in thick cross sections.
- Check max pour depth: Before you commit, look up your brand’s maximum casting depth and compare it to your mold thickness. Bangles can exceed what a coating resin can safely handle in one go.
- Mind pot life and cure speed: For beginners, longer working time helps bubbles rise before gel phase. Fast resin can trap bubbles and generate more heat in deep cavities.
- UV resin is usually not the move for chunky bangles: Most UV resins cure best in thin layers, so thick bangles can end up with under-cured pockets. There are deeper-curing UV products and multi-stage curing approaches, but for a thick, one-shot bangle pour, 2-part epoxy is far more reliable. If you are deciding between types: UV resin vs 2-part epoxy.
Also check your room conditions. Cold resin gets thick and holds bubbles, and hot rooms can push you into a flash cure. This guide helps dial it in: Ideal temperature and humidity for epoxy resin curing.
What you need
- Curved silicone bangle mold
- 2-part epoxy resin and hardener
- Graduated measuring cups and mixing sticks
- Nitrile gloves
- Isopropyl alcohol in a mister bottle (optional for surface bubbles, if compatible with your resin)
- Heat tool for bubbles (more on this below)
- Toothpicks or a thin skewer for guiding resin into tight spots
- Mix-ins (mica, glitter, dried flowers, etc), fully dry and sealed if needed
If you are building your basics from scratch, my beginner supply list is here: Beginner resin art supplies.
Step-by-step: how I pour chunky resin bangles
1) Warm the resin, gently
If your resin is chilly, it pours thicker and traps bubbles. I warm the closed bottles in a bath of warm tap water for 5 to 10 minutes, then dry them completely before opening. Do not microwave resin.
Some makers pre-warm molds to help bubbles rise, and that can work for some projects. For bangles, I avoid significantly warming the silicone because softened silicone can flex more under the weight of a deep pour and can make it easier to end up with uneven thickness.
2) Measure accurately
Deep pours often fail because the center stays soft or rubbery if the mix is off. Measure exactly as your brand instructs by volume or by weight, and do not swap methods unless the manufacturer says it is okay.
I walk through the no-drama method here: How to measure and mix 2-part epoxy resin.
3) Mix slowly, then let it rest
Stir slowly, scraping the sides and bottom. When it looks clear, I still mix an extra minute. Then I let the cup sit for 2 to 3 minutes so bubbles can rise. For bangles, that short rest makes a noticeable difference.
4) Pour in thin streams and rotate the mold
Here is the trick that stopped my inner-ring bubbles: I pour in a thin stream at one point on the ring while I slowly rotate the mold with my other hand (like I am turning a lazy Susan, just gentler). This helps resin “chase” air out of the curved cavity instead of sealing bubbles in place.
- Avoid dumping resin into the mold in one big gulp.
- Use a toothpick to tease resin into the tight inner curve, where bubbles love to cling.
5) If your bangle is extra thick, pour in two layers
With very chunky molds, I often do a two-stage pour. It reduces heat and gives bubbles a second chance to escape.
- First layer: pour to about 50 to 70 percent full and pop bubbles.
- Second layer: pour once the first layer reaches a “gel” stage where it is still tacky but not liquid. This helps the layers bond without a visible seam.
If you want a deeper dive on timing layers cleanly: Pouring epoxy resin in layers without visible lines.
6) Pop bubbles carefully
I prefer a short, controlled approach rather than blasting heat into the cavity.
- Quick passes only: Use a heat gun or torch briefly over the top surface, then stop. Do not aim heat down into the ring for long.
- Look for “bubble highways”: Bubbles often collect along the inner rim. I poke stubborn ones with a toothpick to break the surface tension, then do one quick heat pass.
- If you use alcohol: Mist lightly and test first. Some resin brands warn against alcohol sprays, and overdoing it can cause surface issues.
If you are deciding between tools, I wrote out the pros and cons here: Heat gun vs butane torch for resin bubbles. And if micro-bubbles are your nemesis, this guide helps: How to prevent and remove micro-bubbles.
7) Cover while curing
I tent my bangle mold with a clean plastic bin or a cardboard box to keep dust and pet hair out. Do not seal it airtight. Resin likes a normal, stable room environment.
8) Advanced option: pressure pot
If you have ever watched videos of perfectly clear castings and thought, “Okay but how,” the answer is often a pressure pot. It is an advanced tool that compresses bubbles so they cure invisible. You do not need one to make great bangles, but it is the next step if you are chasing glass-clear results in deep molds.
When to demold
Most snapped bangles I see were demolded before they were truly ready. A bangle can feel firm on the outside while the core is still gaining strength.
Use these cues:
- Wait longer than the package minimum if your room is cool or your bangle is very thick.
- Press test through the mold: Gently press the thickest area through the silicone. If it dents or feels rubbery, wait.
- Temperature is one clue: If the piece still feels warm, it is likely still reacting and needs more time. If it feels room-temp, it can still be under-cured, so use the other cues too.
If your resin is sticky or soft after cure time, do not force demolding. This troubleshooting guide will help you pinpoint what happened: 8 reasons your epoxy resin is sticky or soft (and how to fix it).
How to demold without snapping
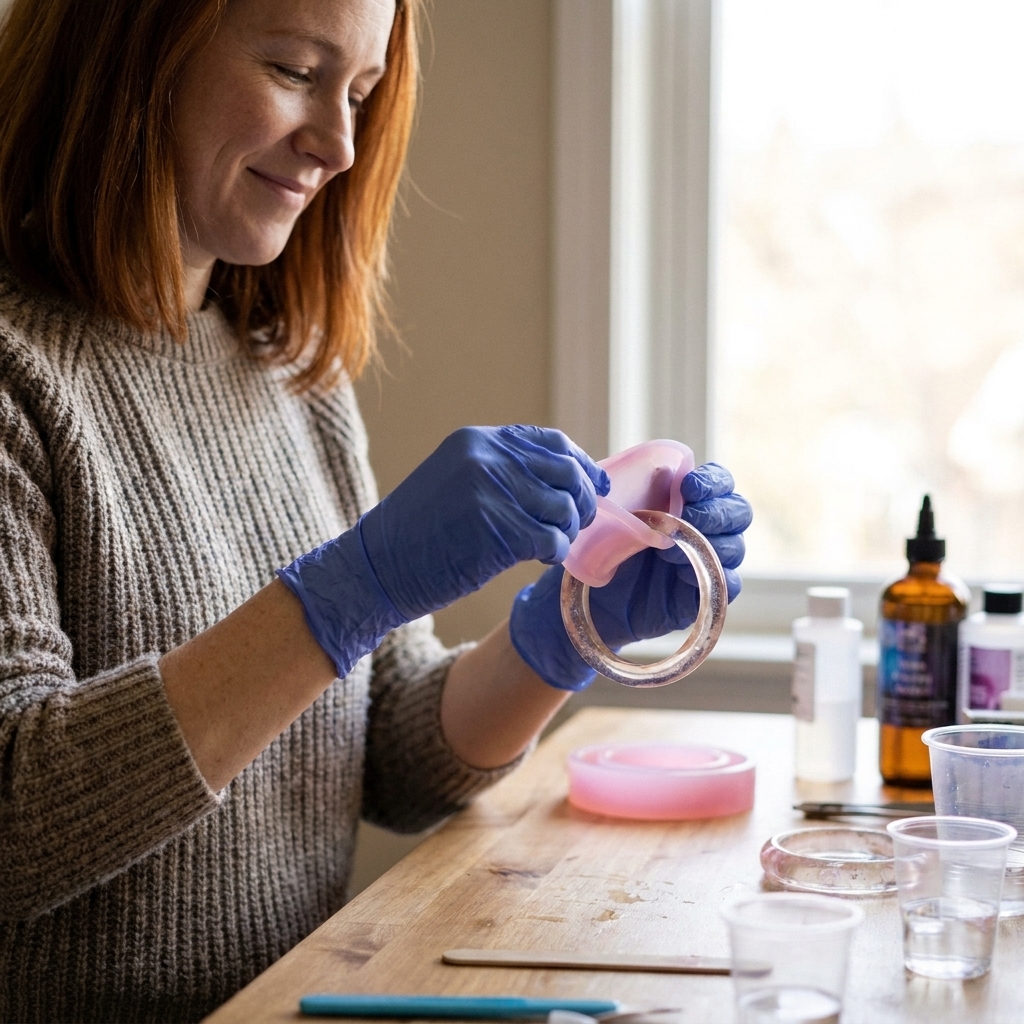
My rule is simple: peel silicone away from resin, not resin away from silicone. Pulling the bangle out puts all the stress on the resin. Peeling the mold back spreads the stress through the flexible silicone instead.
Step-by-step demolding
- Clean hands, gloves on: Gloves help you grip the silicone without fingernails digging into the resin surface.
- Break the seal: Starting at any edge, gently peel the silicone away until you get a small pocket of air between mold and resin. You will often hear a soft “release” sound.
- Work in inches: Keep peeling the silicone back along the outer rim, then the inner rim, alternating. Do not try to free the whole outer side first.
- Support the bangle shape: Keep one hand inside the ring as support so the bangle is not flexing sharply at one point.
- Finish with a slow roll-out: Once most of the silicone is peeled, the bangle should roll out with minimal bending.
If it feels stuck, do not yank
Try one of these gentle options:
- Give it more time: An extra 12 to 24 hours can make a huge difference in strength.
- Cool it briefly: 10 to 15 minutes in a cool room can help the resin contract slightly. Skip this if the piece still feels “green” or bendy, since some resins get more brittle when chilled. I also avoid long freezer sessions because condensation can happen fast.
- Soapy water on the outside of the mold: A tiny bit of soapy water on your hands can help you peel the silicone without gripping too hard. Do not pour water into the mold.
Fixes for common problems
Problem: Big voids or trapped bubbles on the inner curve
- Cause: Pouring too fast, resin too thick, or air trapped in the tight inner rim.
- Fix next time: Warm bottles, pour in a thin stream, rotate the mold, and tease the inner curve with a toothpick.
- Fix this bangle: Small surface pits can sometimes be filled with a tiny resin top-up and sanded smooth once fully cured. Deeper voids are hard to hide on a bangle because your eye catches the inside curve.
Problem: Bangle cracks during demold
- Cause: Demolding too early, resin formula too brittle, or excessive bending at one point.
- Fix next time: Wait longer, use the peel-back method, and consider a more jewelry-friendly resin.
Problem: The bangle comes out warped or uneven
- Cause: Mold not level, or the mold shifted during cure.
- Fix next time: Level your surface, and place the mold on a rigid board you can move without flexing. Do not pick it up by the silicone once filled.
Problem: Sticky surface or soft spots
- Cause: Off ratio, under-mixing, cold cure, or contamination.
- Fix next time: Measure carefully and mix thoroughly. Keep conditions stable. Full guide: Sticky or soft resin fixes.
Finishing: smooth and glossy
Most bangle molds give you a nice shine right out of the silicone, but the seam area or pour line may need a little love.
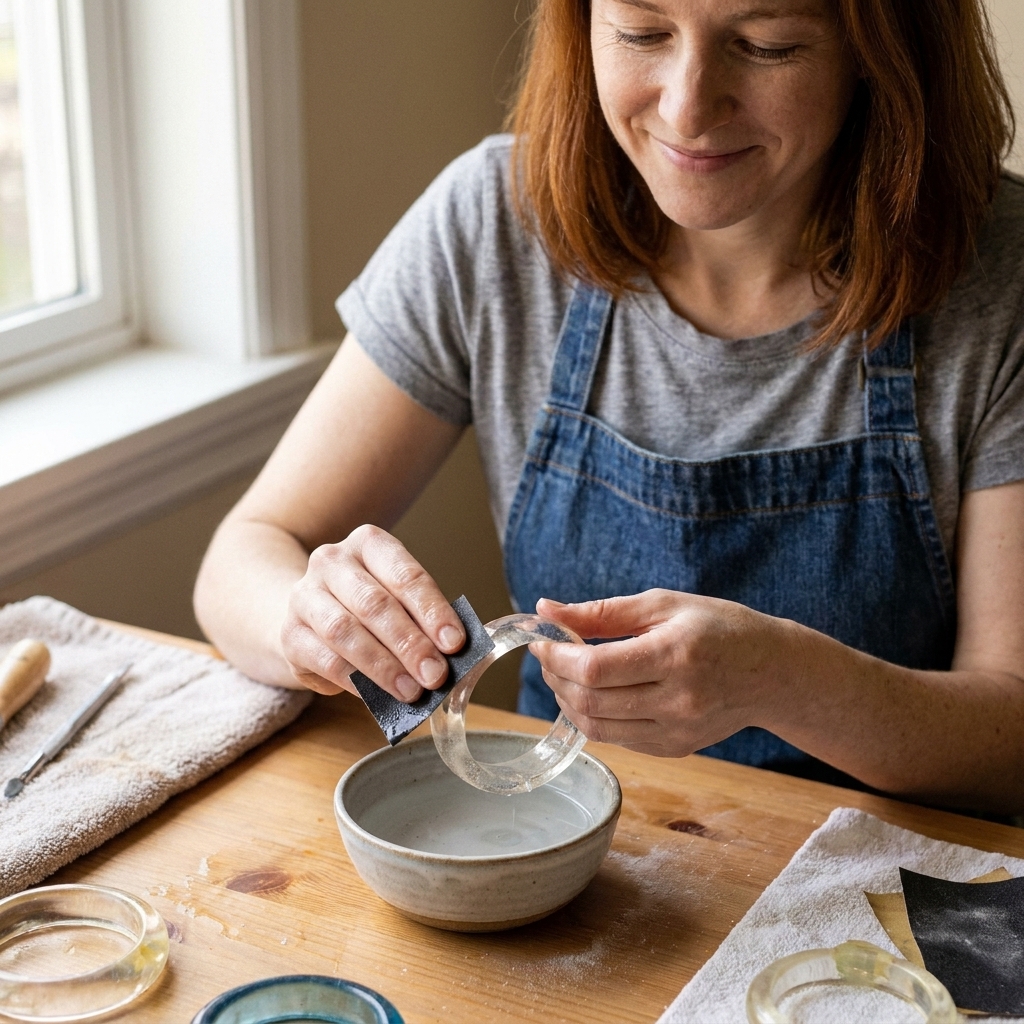
- Sand wet, not dry: Wet sanding keeps dust down and helps prevent deep scratches.
- Work through grits: As a starting point, I often go 400, then 800, then 1500, then 3000 (adjust based on how rough the edge is).
- Polish: A plastic polish or resin polish brings back clarity on clear bangles.
I cover the full sand-to-gloss process here: How to sand and polish epoxy resin.
FAQ
Should I use mold release spray?
Usually, no. Good silicone does not need it, and mold release can dull the surface or create fish-eyes in some pours. If you have an older mold that is gripping, mold release can help, but test it on a small piece first and keep it light.
Can I embed flowers or charms?
Yes, but plan your placement. For dried flowers, make sure they are fully dry and ideally sealed so they do not release air. My step-by-step flower prep is here: How to dry and embed real flowers in epoxy resin.
Why do bubbles keep appearing after I popped them?
In deep cavities, bubbles rise slowly. You may pop the top layer, then more bubbles drift up as the resin warms and thins. I do a quick bubble check at about 10 minutes, then again around 20 to 30 minutes if the resin is still fluid.
What if I got resin on my skin?
Wash promptly and avoid solvents on skin. I keep a full, safety-first cleanup method here: Epoxy resin on skin: removal and prevention.
My quick “no snap” checklist
- Level the mold and keep it on a rigid board
- Check your resin’s max pour depth (layer if needed)
- Warm resin bottles, mix slowly, let bubbles rise
- Pour in a thin stream while rotating the mold
- Tease the inner curve with a toothpick
- Use minimal heat, in quick passes
- Let thick bangles cure longer than you think
- Demold by peeling silicone away from resin, supporting the ring shape
Once you get the feel for it, chunky bangles are ridiculously satisfying. It is like demolding a glossy little sculpture you can wear, and when it pops free cleanly, it feels like magic every single time.