
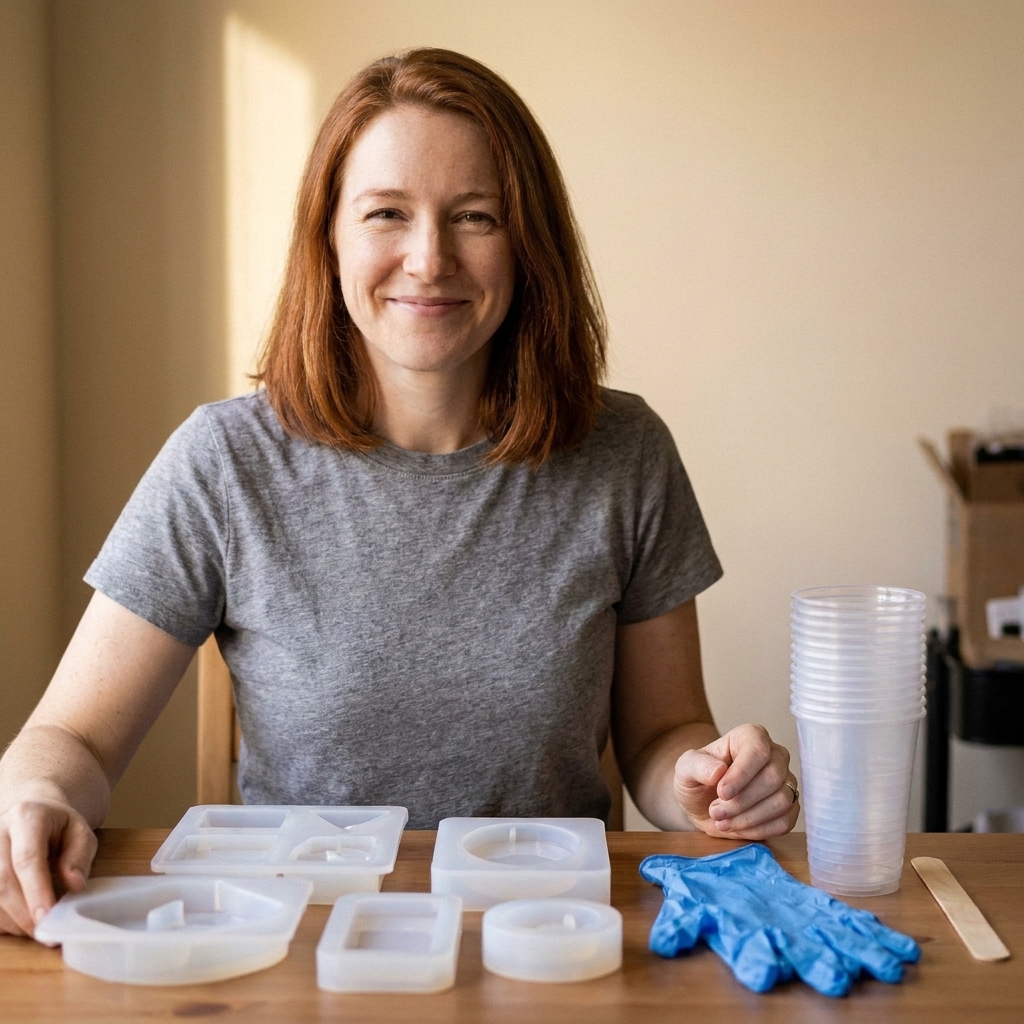
Get cleaner casts and longer-lasting molds with practical tips on choosing beginner-friendly silicone molds, prepping for glossy pours, safe demolding, clean...
Durable Epoxy Resin Rings: Mold Sizing and Weak-Spot Fixes

Ruby Fletcher
Ruby Fletcher is a dedicated resin crafter with years of hands-on experience pouring, molding, and creating custom epoxy art. After turning her dining room into a makeshift studio, she developed a passion for helping beginners navigate the sticky, colorful world of resin with confidence. She loves sharing practical tutorials, troubleshooting tips, and essential safety guides to make epoxy crafting accessible for everyone.
Published · Last updated
The first epoxy ring I ever made looked cute in the mold, popped out glossy… and snapped the second I tried to slide it over my knuckle. That was my not-so-gentle introduction to the truth about resin rings: durability is often decided before you ever pour. It comes down to mold sizing, band thickness, and eliminating tiny weak spots you cannot always see until the ring is already on a finger.
This guide walks you through choosing better silicone ring molds, sizing rings accurately, and pouring in a way that avoids fragile air pockets and thin stress points.
Safety first
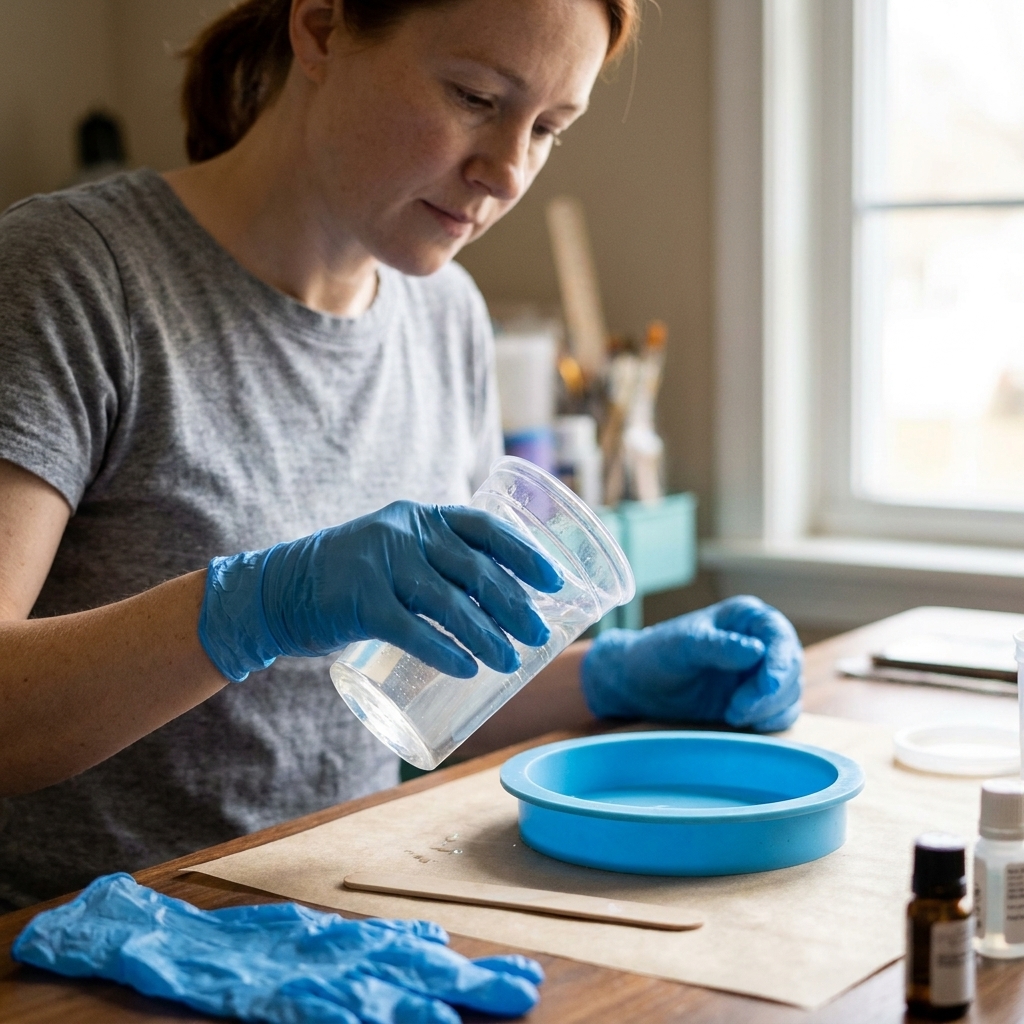
Rings feel small, but the safety rules are exactly the same as any other epoxy project. You are working close to your hands, and you will be tempted to “just hold it” or “just wipe it off.” Please do not.
- Wear nitrile gloves and avoid skin contact. If you do get resin on your skin, follow my cleanup steps in Epoxy Resin on Skin: Removal and Prevention.
- Work in good ventilation and use appropriate respiratory protection when your resin brand recommends it. My setup tips are in Set Up a Safe, Ventilated Resin Workspace at Home and Resin Safety Gear: Respirators, Gloves, and Eye Protection.
- Protect your table. Resin drips from ring molds are sneaky. I keep a dedicated mat down at all times. See Best Mats and Coverings for Resin Spills.
Picking the right ring mold
Not all ring molds are created equal. Some are designed for fast, cute results and others are designed for rings you can actually wear often.
What to look for
- Smooth interior finish: The smoother the silicone, the less sanding you have to do later. Heavy sanding can thin an already-narrow band.
- Thicker band designs: Narrow, delicate bands can be beautiful, but they are the first to crack, especially in brittle resin formulas. If you want everyday durability, pick a mold that creates a slightly wider band.
- Even wall thickness: Avoid molds that pinch thin at the bottom or have sharp interior corners. Thin spots become stress risers.
- High-quality silicone with structure: Floppy molds can bow or distort when you fill them, creating uneven thickness around the ring.
Comfort-fit shapes
Some molds create a rounded inner edge (more comfortable over time). Others have a sharper inner edge that can feel tight even when the diameter is technically correct. If you have sensitive knuckles, that inner profile matters just as much as size.
How sizes translate
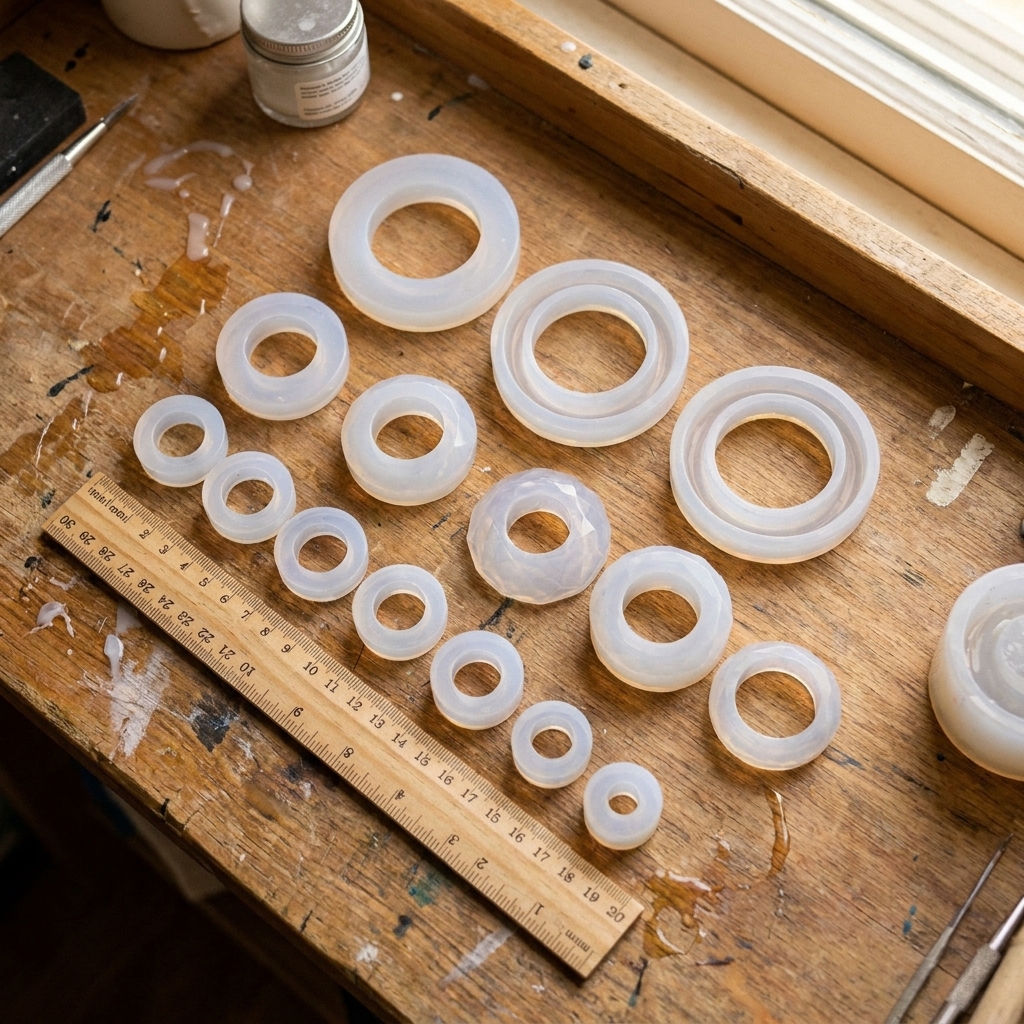
Ring sizing gets confusing because molds can be labeled in different ways:
- US ring size: Most common in North American craft listings.
- Inner diameter (millimeters): The most reliable measurement if you can get it.
- Circumference (millimeters): Less common, but sometimes shown on charts.
The simplest way to choose a size
If you already know your ring size, a labeled mold is fine. If you are between sizes, or the mold listing looks suspiciously vague, use the inner diameter measurement (mm).
Measure the mold before you pour
- Find the inner diameter of the ring cavity at its narrowest usable point (usually near the center).
- Use digital calipers if you have them. A ruler works, but calipers make this much less imprecise.
- Compare to a ring you already own that fits well. Measure its inner diameter and match as closely as possible.
My fit rule
Resin rings do not flex like metal. If you are choosing a size for yourself and your knuckles are wider than the base of your finger, going slightly larger is usually more comfortable and safer. A ring that has to be forced on is a ring that is more likely to crack.
One quick reality check
Even a well-made resin ring is not the same as a metal ring for daily wear. If you want something you can wear a lot, choose a thicker profile and treat it like a handmade accessory, not an indestructible band.
Make a test ring if sizing matters
Molds vary, and epoxy can shrink a tiny bit depending on the formula and cure conditions. If you are making a gift or trying to hit an exact size, I strongly recommend doing one simple test ring (clear or lightly tinted) before you commit to your final design.
Where rings fail
Most snapped rings share the same causes. The good news is that you can prevent almost all of them with better prep and pouring habits.
Weak spot 1: air pockets
In ring molds, bubbles like to cling to the tightest curves and corners. Those trapped bubbles cure into voids, and voids turn into cracks when the ring has to flex slightly going over a knuckle.
- Warm your resin bottles in lukewarm water (sealed bottles, caps on tight) so the resin flows better and releases bubbles more easily. Keep water away from the openings, avoid hot water, and follow your brand’s guidance since warming can change working time.
- Mix slowly and thoroughly to reduce introduced bubbles. If you need a refresher, I walk through it step-by-step in How to Measure and Mix 2-Part Epoxy Resin.
- Pour in a thin stream and rotate the mold slightly as you fill to help resin chase out air.
- Use a toothpick to tease resin into tight corners and pop bubbles that cling to the inner rim.
- Use gentle heat carefully to coax surface bubbles up, but do not overdo it. Small molds can heat fast, and too much heat can cause ripples, speed-curing, or shorten mold life. Torches held too close can also scorch silicone. See my bubble tools breakdown in Heat Gun vs Butane Torch for Resin Bubbles and prevention tips in How to Prevent and Remove Micro-Bubbles in Epoxy Resin.
Weak spot 2: thin edges
If your mold shape creates a sharp, thin edge, that edge takes the brunt of impacts (keys, countertops, doorknobs). It is also where tiny chips start.
- Choose a mold with rounded outer edges if durability is the goal.
- Do not over-sand the rim. If you sand aggressively to fix a seam line, you can create a thinner weak edge.
- Plan for a finishing buffer: I would rather demold a ring with a tiny lip and sand lightly than demold a perfect but razor-thin edge.
Weak spot 3: under-cured resin
A ring that seems slightly flexible can feel nice until it starts failing sooner than it should. Undercure happens from wrong ratios, poor mixing, or curing too cold, and the result is a weaker piece.
- Measure exactly. Especially with small batches, a tiny ratio error is a big deal.
- Mix longer than you think you need. Scrape sides and bottom of your cup.
- Cure at the right temperature. Stay within your resin’s stated range, and keep conditions steady. My go-to range guidance is in Ideal Temperature and Humidity for Epoxy Resin Curing.
- If your ring is sticky or soft, do not wear it. Troubleshoot first using 8 Reasons Your Epoxy Resin Is Sticky or Soft and How to Fix It.
How I pour for strength
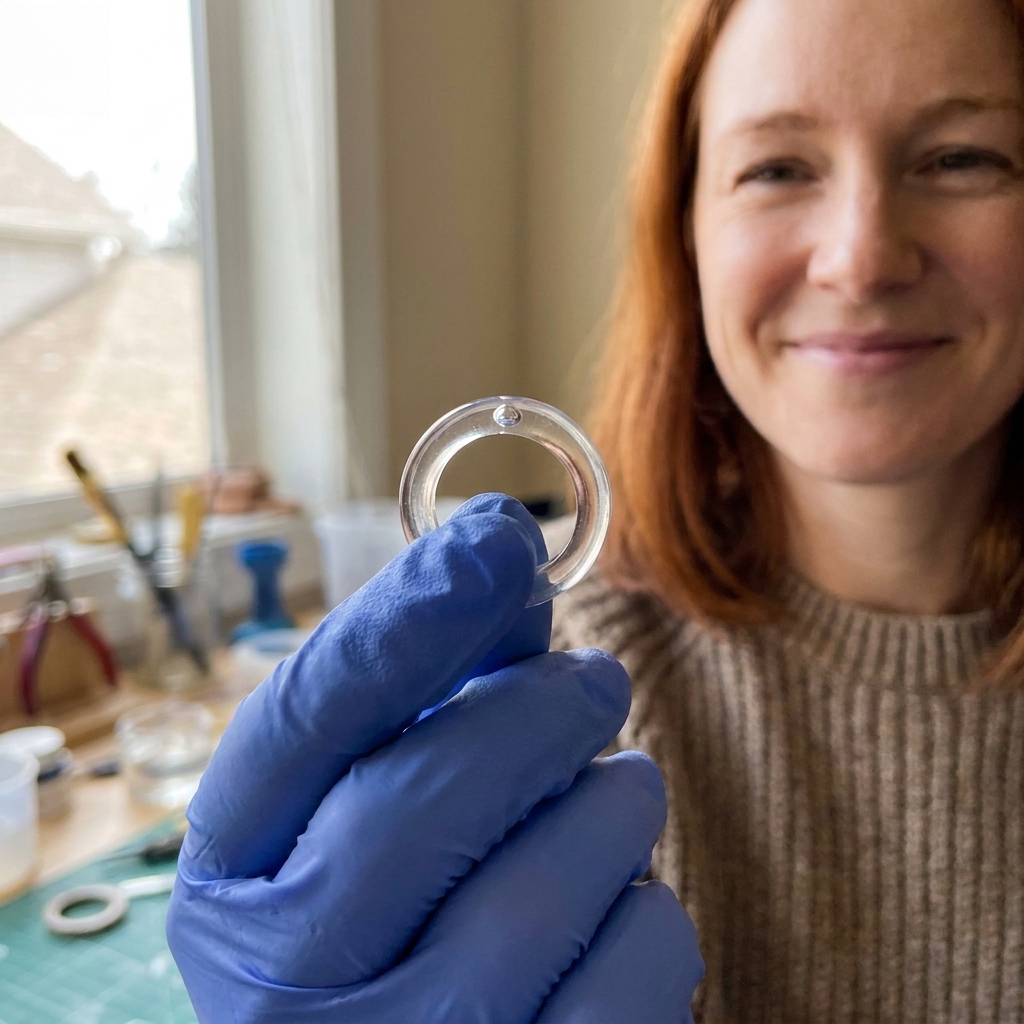
When I want a ring to last, I pour like I am trying to prevent hidden bubbles, because I am.
Step-by-step pour
- Prep the mold. Make sure it is clean and fully dry. Water droplets can cause cloudiness and cure issues.
- Mix a slightly larger batch than you think you need. Ring cavities do not take much, but you need enough resin to pour smoothly instead of scraping the cup (scraping can drag in unmixed resin).
- Let the mixed resin rest for a few minutes if your resin brand allows it. This gives micro-bubbles time to rise.
- Pour halfway first. Use a toothpick to trace the inner circumference and corners, dislodging bubbles.
- Top off slowly. Aim for an even fill line. If your mold is meant to dome slightly, do it in a controlled way. If you want to practice doming skills on smaller pieces first, see How to Dome Resin on Jewelry and Small Crafts.
- Cover while curing. A simple cover helps prevent dust from landing on the ring surface.
Layering for thicker rings
If you are making a thicker band, or embedding things like glitter, crushed stone, or tiny dried flowers, pour in layers instead of one deep pour. This reduces heat buildup and helps items stay positioned instead of drifting.
I use the same approach described in Pouring Epoxy Resin in Layers Without Visible Lines, just on a smaller scale.
Strength boosters
Not every ring needs reinforcement, but if you want something you can wear frequently, these tweaks help.
Choose a tougher formula
Some epoxies cure harder and more brittle, while others cure slightly more impact-resistant. If your brand offers a jewelry-specific or casting formula with better toughness, it is worth testing for rings. Whatever you choose, measure accurately and cure warm (within the brand’s recommended range).
Skip oversized inclusions
Big chunks of glitter, dried petals with thick stems, or heavy metal bits can create stress points, especially if they sit near the inner edge where your finger pushes outward. If you love suspended sparkle, fine glitter and foil tend to behave better. For keeping mix-ins from sinking, see How to Suspend Glitter, Beads, and Gold Leaf in Resin Jewelry Without Sinking.
Round and polish
A gentle rounded edge is more chip-resistant than a sharp edge. After sanding, polish back to a smooth finish so micro-scratches do not become crack starters over time. My full workflow is in How to Sand and Polish Epoxy Resin.
Demolding without snapping
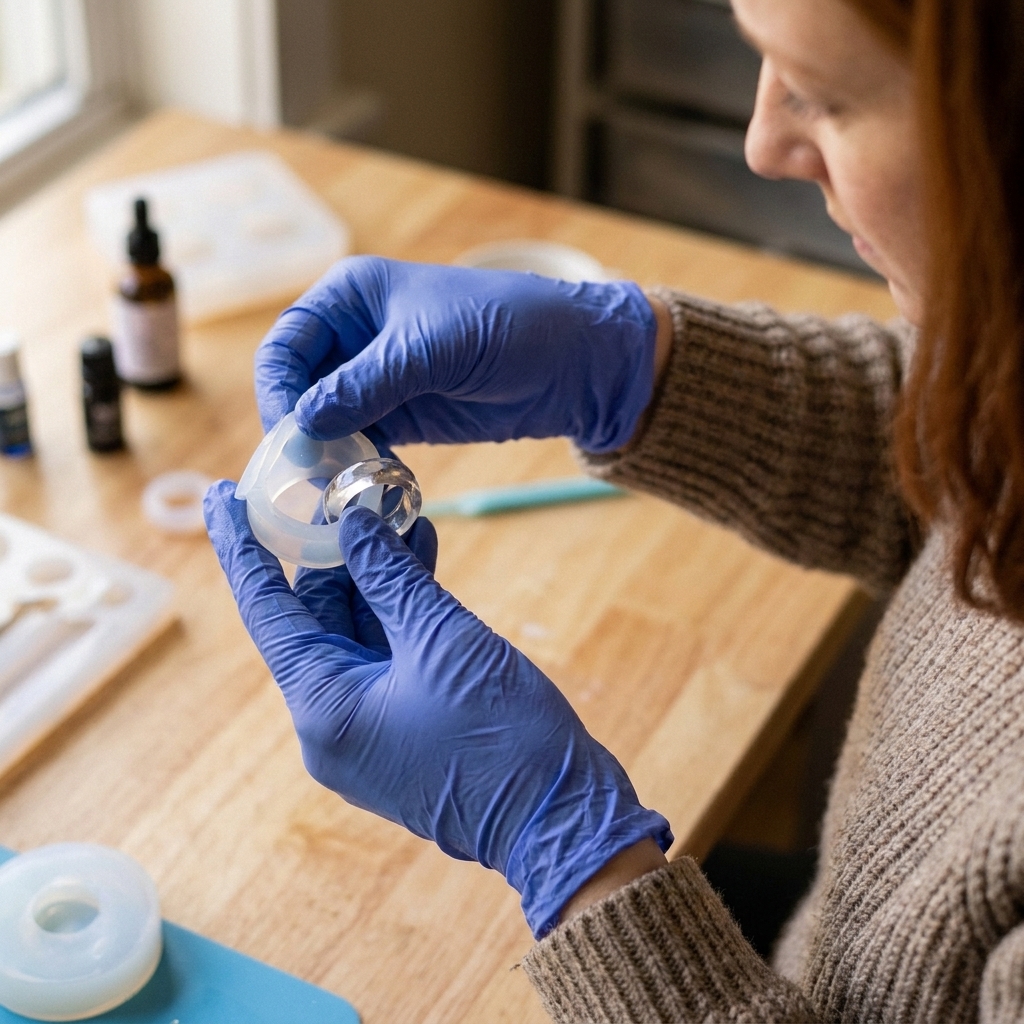
Resin can feel hard but still be gaining strength for days. Rings are especially unforgiving because demolding forces the cured piece to flex against the silicone.
- Wait for a full cure, not just demold time. If your resin says 24 hours to demold and 72 hours for full cure, treat the ring like it is fragile until day three.
- Release slowly. Peel the silicone away from the ring rather than pulling the ring out by force.
- Use a little warm water on the outside of the mold (not inside the cavity) if the silicone is very stiff. Warmth makes silicone more flexible and can help the ring release with less stress.
Check the finished size
Once your ring is fully cured, you can measure it like any other ring. This is also how I check whether a mold runs true to the labeled size.
Method 1: inner diameter
- Use calipers to measure the inner diameter in millimeters.
- Measure in two directions (rotate 90 degrees) to make sure the ring is not slightly oval.
- Compare to a ring size chart for your region, or compare to a known ring that fits.
Method 2: ring mandrel
If you make rings often, a ring mandrel is worth it. Slide the ring down gently and note where it sits. Do not force it, because resin does not like being stretched.
If the ring is slightly too small
You have two options, and only one is safe for structural strength.
- Light sanding on the inner band can add a tiny bit of comfort, but it removes material, so go slowly and keep the thickness even.
- Do not heat and stretch epoxy rings like plastic. Heat can deform or discolor the ring, and it can increase fumes or odor. It is not worth the risk.
Common issues
Cloudy patches
This can be moisture contamination, trapped micro-bubbles, or a mixing issue. Start with Why Your Resin Jewelry Is Cloudy. For rings specifically, double-check that your mold was bone dry and that you did not introduce water with inclusions.
Sharp seam line
Trim any flashing carefully, then wet sand gradually and polish. The goal is to remove the seam without thinning one spot too much. Follow How to Sand and Polish Epoxy Resin and take your time.
Tiny chips
That is usually an edge profile problem. Next time, choose a mold with a rounder exterior. For the current ring, you can sometimes soften the feel by sanding the outer edge slightly round and re-polishing, but deep chips are hard to disguise.
Ring stuck in the mold
Do not yank it. Flex the silicone away little by little and use gentle warmth to help release. If you are consistently fighting your molds, it might be time to upgrade. I cover mold quality and care in Silicone Molds for Resin: Choose, Prep, and Care.
Durable ring checklist
- Pick a mold that makes a wider, evenly thick band.
- Measure the mold inner diameter if sizing accuracy matters.
- If the size must be exact, make a quick test ring first.
- Mix accurately and thoroughly. No shortcuts on small batches.
- Warm sealed bottles gently (lukewarm, not hot) for better flow and fewer bubbles.
- Pour in stages and use a toothpick to chase bubbles out of tight curves.
- Cure in a steady, brand-approved temperature range, then wait for full cure before wearing.
- Finish gently: remove sharp edges, sand lightly, polish fully.
If you want more projects that build the same skills, browse my Resin Jewelry Making guides. The techniques you learn on small pours, bubble control, and careful finishing translate to rings beautifully.


