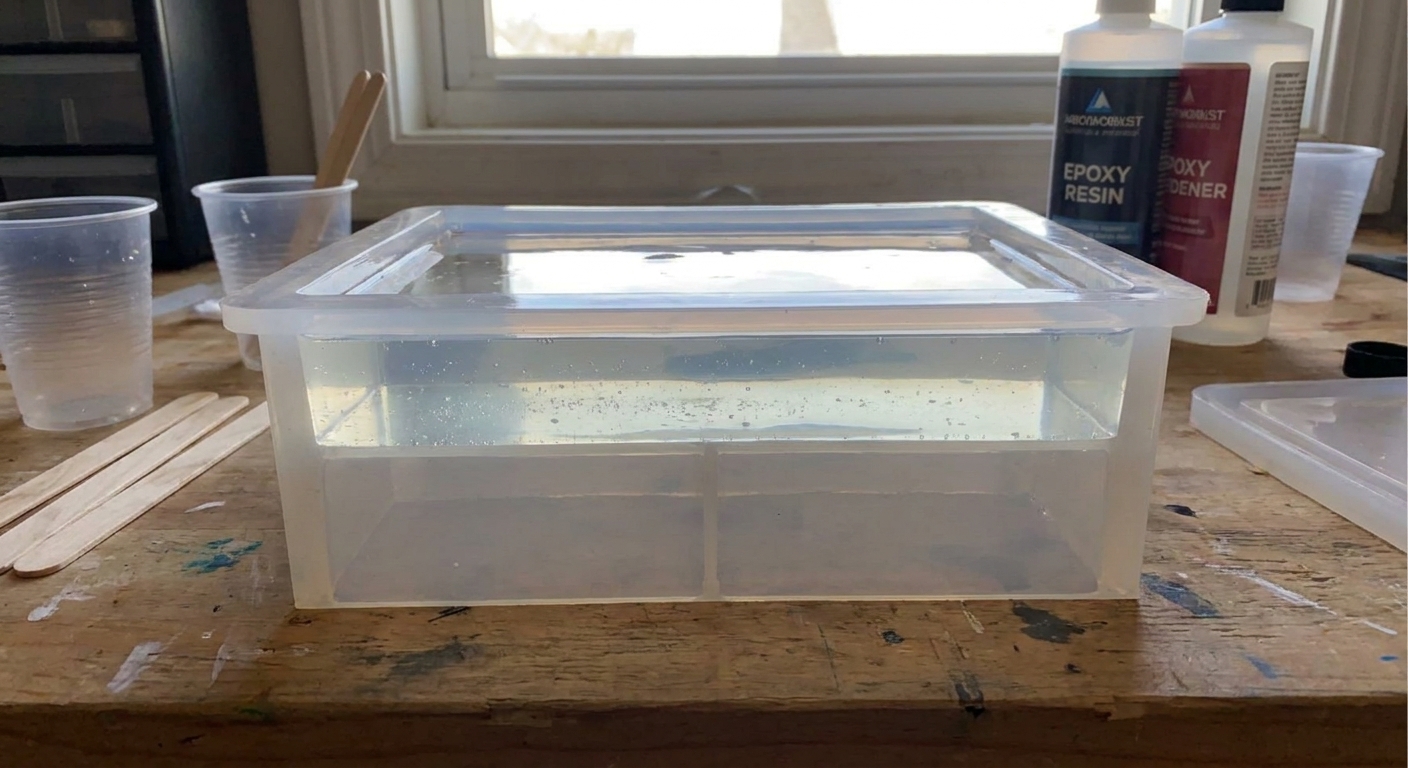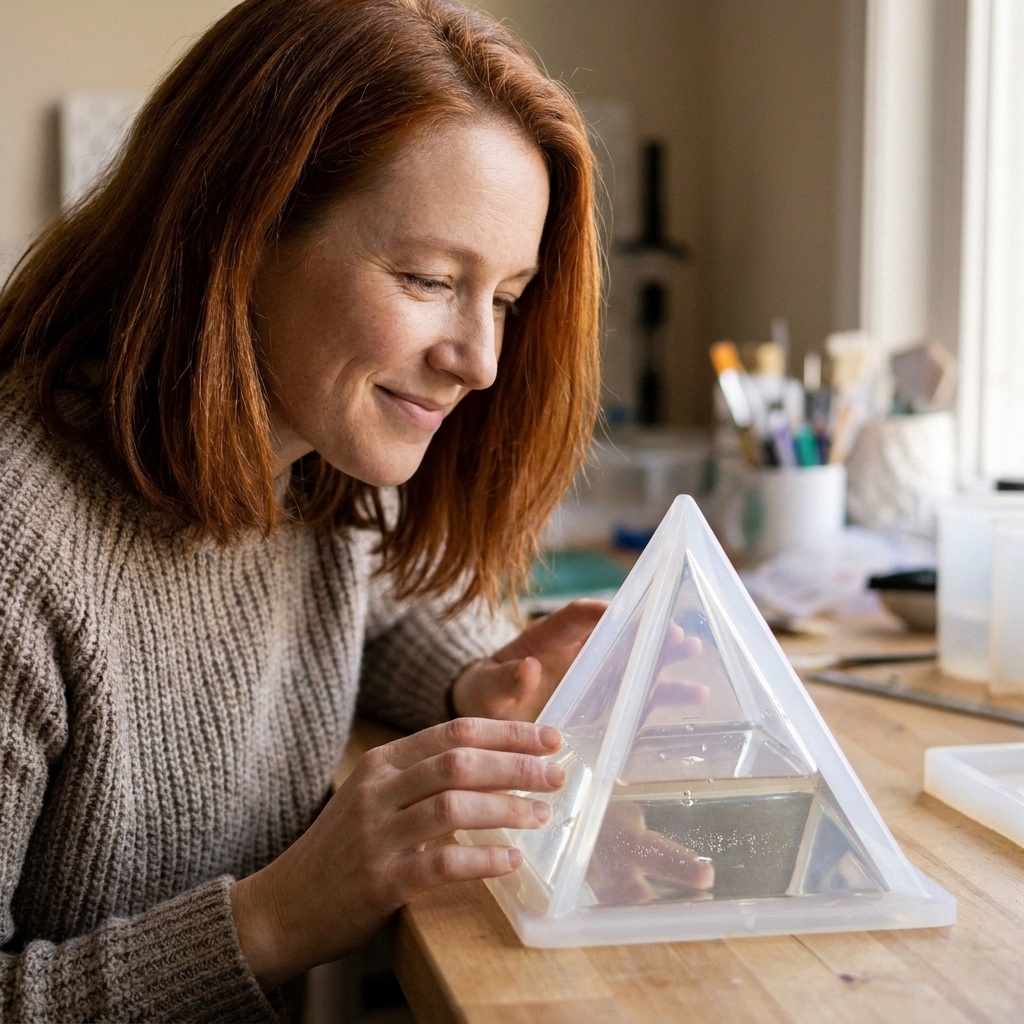
Stop overheated, cracked, or bubbly pyramid casts. Learn how to choose deep-pour epoxy, measure and mix correctly, pour in safe layers, and manage heat for c...
Making Resin Bookends That Are Heavy Enough

Ruby Fletcher
Ruby Fletcher is a dedicated resin crafter with years of hands-on experience pouring, molding, and creating custom epoxy art. After turning her dining room into a makeshift studio, she developed a passion for helping beginners navigate the sticky, colorful world of resin with confidence. She loves sharing practical tutorials, troubleshooting tips, and essential safety guides to make epoxy crafting accessible for everyone.
Published
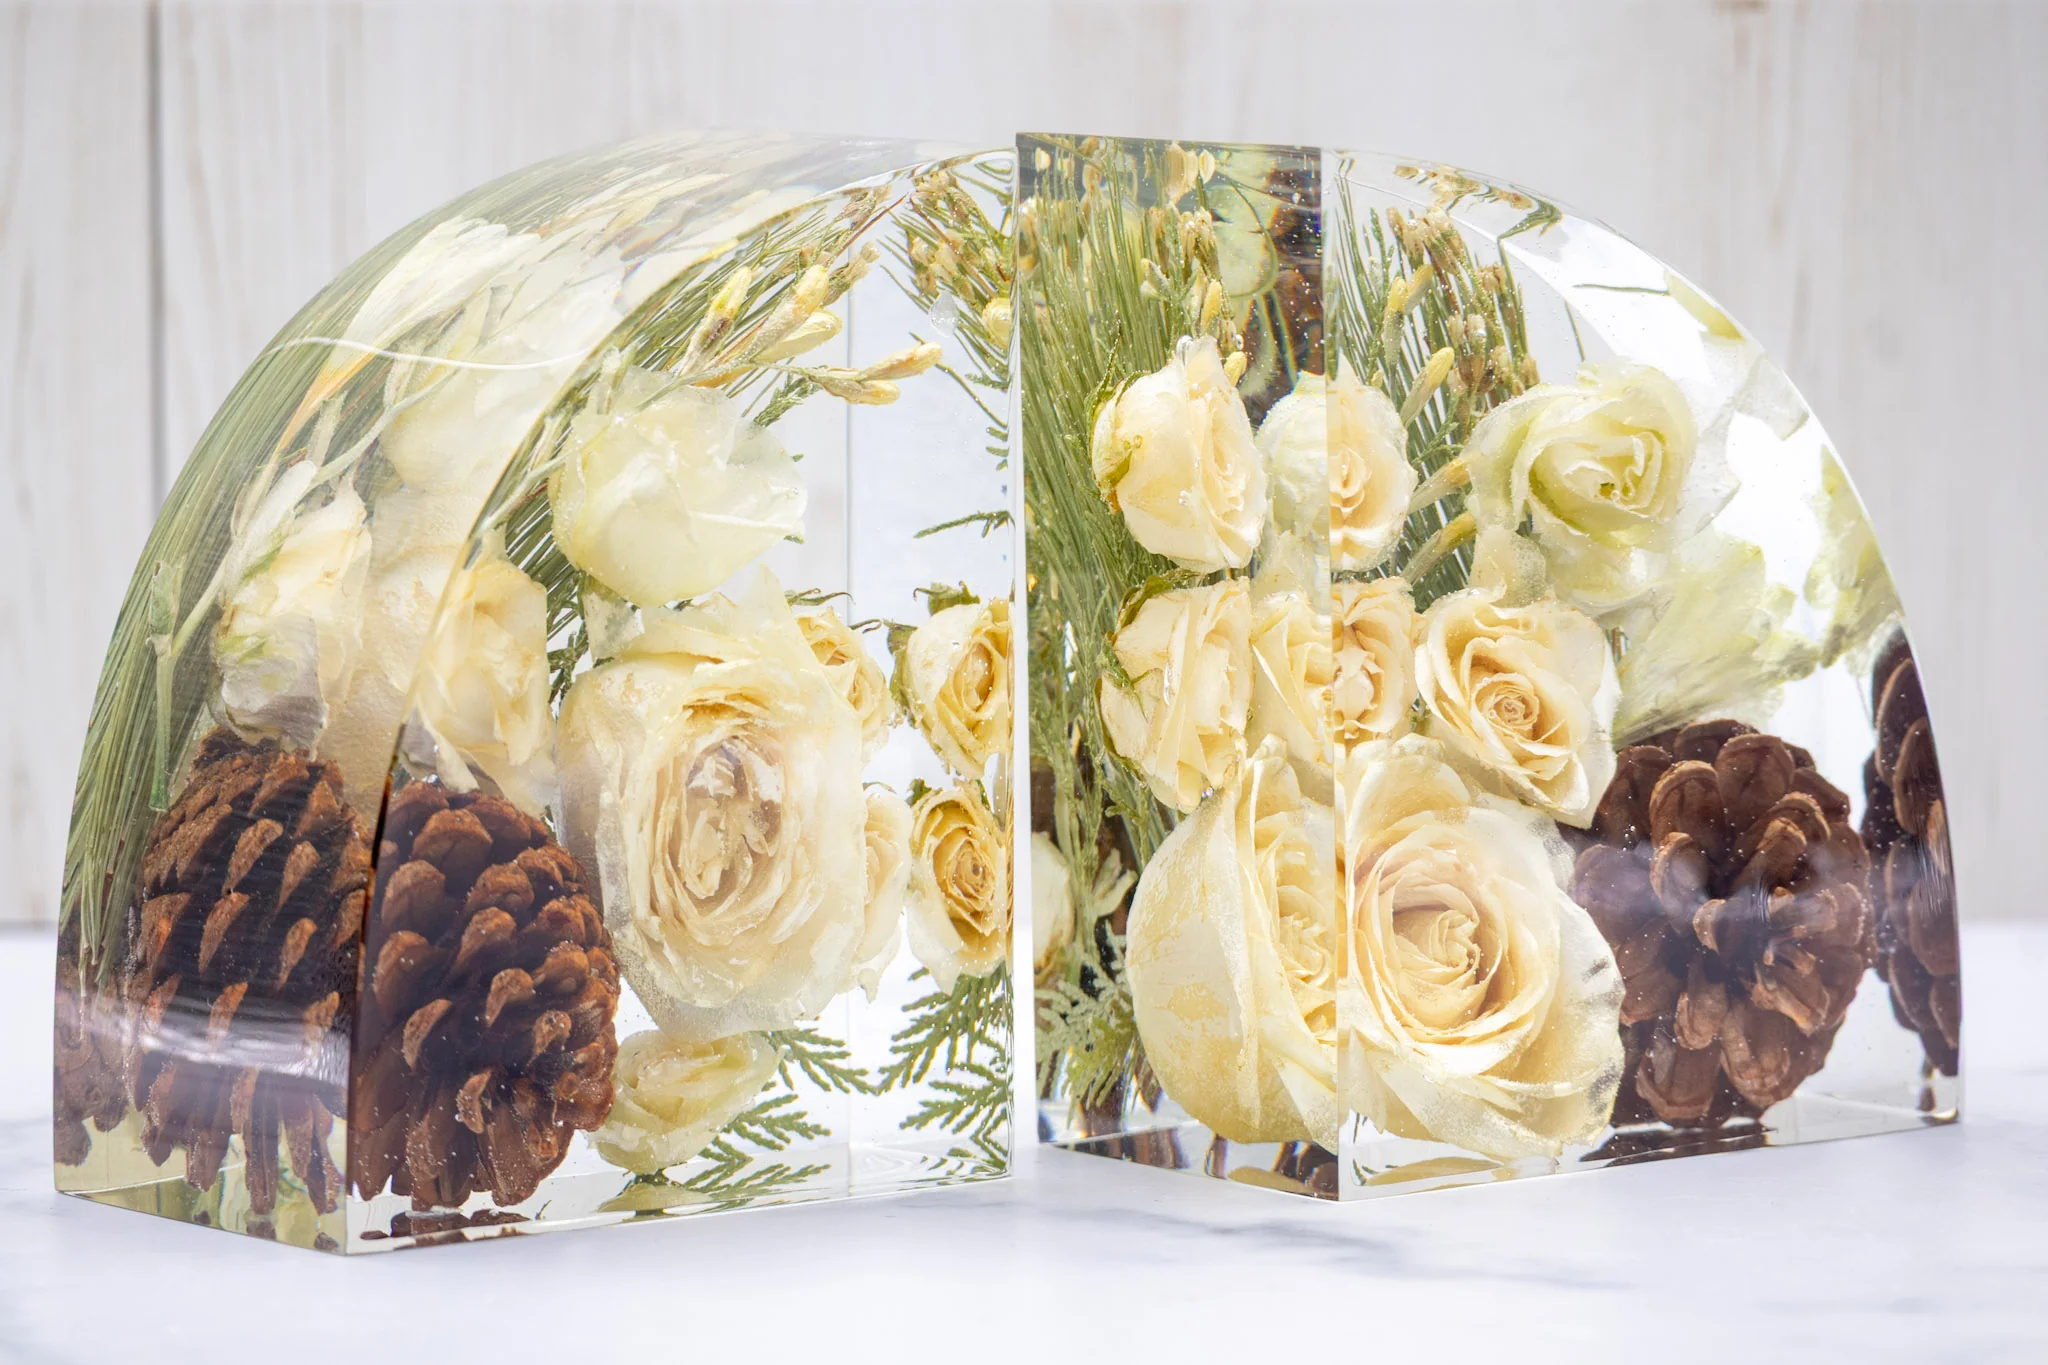
The first time I made resin bookends, they were gorgeous. They were also completely useless. My hardcovers bullied them right off the shelf like they weighed nothing.
Bookends are a different kind of resin project. Pretty is optional. Mass and stability are the whole point. The good news is you can absolutely cast bookends that look like boutique decor and hold up real books, as long as you plan for two things: deep pours that cure safely and structural weight that stays where you put it.
This is how I approach heavy duty resin bookends in my own glittery garage chaos, including dense fillers, hidden weights, and the deep pour habits that prevent warped molds, bubbles, and overheated resin.
Safety and setup first
Bookends often mean larger volumes of resin. That usually means more surface area, more time handling sticky chemicals, and a whole lot more heat potential if something goes sideways.
- Ventilation matters. If you are still setting up your space, start with Set Up a Safe, Ventilated Resin Workspace at Home.
- Wear the right PPE. Gloves and eye protection are non-negotiable. For fumes, use a NIOSH-approved respirator with organic vapor cartridges (and if you sand cured resin, add P100 particulate filtration). Here is my full guide: Resin Safety Gear: Respirators, Gloves, and Eye Protection.
- Protect your work surface. Bookend molds can leak if they are bumped. I like a dedicated spill barrier. Helpful roundup: Best Mats and Coverings for Resin Spills.
What makes a resin bookend stable
A bookend stays upright when it has enough weight and the center of gravity stays low and toward the base.
Two stability rules I follow
- Heaviest material goes lowest. If your “weight” floats in the middle, the bookend can still tip.
- Wider footprint beats taller shape. A chunky base with a shorter upright section is harder to topple than a tall thin monolith.
If you are using an L-shape mold, you want most of your mass in the bottom “foot,” not the vertical back.
Quick sizing heuristic (the one that keeps me out of trouble): for a typical 6 to 8 inch tall bookend, I like an L-foot that is roughly 3 to 4 inches deep, with the majority of the weight concentrated in the bottom third of the piece.
Mold shape and support
Your mold choice matters more with bookends than with most cute little resin projects.
- L-shape molds are the classic because the foot physically resists sliding. If your L is tall and skinny, plan extra weight in the foot.
- Block molds can work, especially as a pair, but they rely on pure mass and friction. If your shelves are slick, add bumpers or felt.
- Thin silicone loves to bow. Even a good mold can bulge a bit under a heavy pour. I set the mold on a rigid board and brace the sides so the walls stay straight.
If you want a broader mold overview, including prep and care, this is my go-to: Silicone Molds for Resin: Choose, Prep, and Care.
Choosing resin for deep pours
Bookends are commonly 1.5 to 3 inches thick in at least one dimension. That is deep pour territory, and not every epoxy can handle it in one go.
Look for these traits
- Deep pour or casting epoxy with a longer pot life and lower exotherm (heat build-up).
- Clear cure if you want visible stones or a glassy look.
- Compatible max pour depth for your mold size. Always follow the label limits.
Even with a deep pour formula, I still plan for layers unless the resin specifically supports the depth I need. Layering is slower, but it is the easiest way to prevent flash curing and warping.
If you want a very visual walkthrough of casting thick pieces without overheating, my pyramid paperweight method uses the same principles: Deep Resin Pyramid Paperweights Without Flash Curing.
Best weight options for resin bookends
There are two strategies that work reliably: dense fillers (mixed in or embedded) and hidden solid weights (like steel).
Option 1: Stones or gravel
River stones, aquarium gravel, and tumbled rock add serious heft and look intentional when visible.
- Pros: Heavy, decorative, easy to source.
- Cons: Can trap bubbles in crevices, can shift if you pour too fast.
Best practice: Rinse dusty stones and let them dry fully. Then pour a thin resin “wet coat” in the mold and place stones into it. That first coat grabs them so they do not drift.
Option 2: Sand (packed mass)
Sand is not as dense as stone or metal, but it adds mass efficiently because it packs into every void. The trick is using it in a way that does not turn your bookend into a crumbly resin cookie.
- Pros: Cheap, packs tight, makes an easy low center of gravity layer.
- Cons: Too much can reduce clarity and can create dry pockets if not saturated.
Best practice: Use sand as a packed base layer rather than mixing a huge amount throughout the whole pour. Think “weighted foundation,” then a clearer decorative top.
Option 3: Metal plates, washers, or steel bars
If you want bookends that look like pure clear resin or crisp pigment, hidden metal weight is the cleanest solution.
- Pros: Maximum weight in minimum space, invisible if placed low.
- Cons: Some metals can oxidize over time or discolor resin. Sharp edges can also print into silicone if they are pressed against it.
Best practice: Use flat steel mending plates, thick washers, or a small steel bar, and suspend it just above the mold floor with a thin first layer of resin. Once that gels, add the weight and cover completely. Full encapsulation helps reduce rust risk (especially with plain carbon steel) and keeps the edges from telegraphing.
Option 4: Concrete puck or tile insert
This is my “I want these to hold art books” approach. Cast a small concrete slab that fits the base, then embed it in resin.
- Pros: Very heavy, low cost.
- Cons: Concrete can hold moisture for a long time and can off-gas bubbles or cause cloudiness if it is not truly dry.
Best practice: Let concrete cure fully and dry bone dry. Depending on thickness, that can take days to weeks. Before embedding, brush on a thin layer of mixed resin as a sealer so the surface does not release bubbles into your pour.
A quick note on insert compatibility
Anything porous (wood, paper, dried botanicals, unsealed stone) can release air or moisture into a deep pour. If you want to include something questionable, seal it first and test a small sample. If you embed paper or photos in a design panel on the back of a bookend, this helps: How to Seal and Embed Photos or Paper in Resin.
My deep pour method for bookends
This process assumes a typical silicone mold for block or L-shape bookends. Adjust layer thickness to match your resin’s maximum pour depth.
Step 1: Prep the mold and level the surface
- Place the mold on a rigid board or tray so you can move it without flexing.
- Level the mold carefully. A slight tilt looks dramatic when cured and not in a good way.
- If your mold is thin, brace the sides with books or a small box so it cannot bow outward.
Step 2: Measure and mix accurately
Big projects punish sloppy ratios. Measure by volume or weight exactly as your resin requires, then mix slowly and thoroughly, scraping the sides and bottom.
If you want a refresher on clean mixing that avoids soft cures, use this: How to Measure and Mix 2 Part Epoxy Resin.
Step 3: Pour a thin anchor layer
Pour a thin layer into the mold, just enough to cover the bottom. This layer does three jobs:
- It gives stones and metal something to grip.
- It reduces trapped air under inserts.
- It helps keep your heaviest elements low.
Step 4: Add weight in stages
- For stones: Press them gently into the anchor layer. Tap the mold to release bubbles.
- For sand: Sprinkle and pack it into the base area, then drizzle resin over it until it looks fully saturated, not dry and grainy.
- For metal: Place it flat, then nudge it down so resin flows under it. If needed, add a tiny bit more resin so the metal is not resting directly on the silicone.
Step 5: Pour the main layers slowly
Pour down the side of the mold in a thin stream. Let resin flow around stones instead of blasting directly onto them.
Between layers, wait until the previous layer is still within your resin’s recoat window. If you pour the next layer while the previous one is still tacky, you get a chemical bond. If the layer cures hard and glossy, lightly scuff-sand before the next pour for a mechanical bond.
If you struggle with obvious layer lines, this guide helps: Pouring Epoxy Resin in Layers Without Visible Lines.
Step 6: Bubble control without overheating
Deep pours can hide bubbles along stones and metal edges.
- After each pour, tap the mold against the table a few times.
- Use gentle surface heat sparingly. I prefer a heat gun for control on thicker pours. Here is my breakdown: Heat Gun vs Butane Torch for Resin Bubbles.
- Do not keep reheating the surface repeatedly. Extra heat can kick off a fast cure and create ripples.
If microbubbles are your nemesis, this is the deep dive: How to Prevent and Remove Micro Bubbles in Epoxy Resin.
Step 7: Cover and cure at a stable temperature
Cover the mold to keep dust out. Then let it cure where the temperature is steady and within your resin’s recommended range.
Room conditions can make or break a thick casting. I keep a simple thermometer in my craft space and aim for consistency. More on that here: Ideal Temperature and Humidity for Epoxy Resin Curing.
Design ideas that hide weight

Stone base with a clear top
Pack the bottom third with stones for weight, then pour the top two thirds clear. It reads like a little geologic slice and the heaviness is obvious, which is satisfying.
Opaque pigment with hidden plate
For a sleek modern look, tint your resin (mica, paste pigment, or resin dye) and embed a flat metal plate near the bottom. You get maximum weight with zero visual clutter.
If you need help with colorants and how they behave in thicker pours, start here: How to Color Epoxy Resin.
Terrazzo style
Use small chips of stone, glass, or polymer clay as a decorative layer near the surface, but keep your true weight low with sand or a metal insert. This prevents the classic terrazzo mistake of making the whole piece “busy” and still too light.
How much weight is enough?
It depends on what you are holding. Paperback novels need far less support than oversized cookbooks.
- Light duty shelves: aim for bookends that feel like a full mug of coffee in your hand.
- Heavy hardcovers and art books: make them feel like a small kettlebell, especially if the shelf is slick.
Instead of chasing an exact number, I do a simple test: stack 6 to 10 of the heaviest books you own, then see if a single bookend stays planted when you push the stack gently from the side. If it scoots, add more weight to the base next round, widen the foot, or add grippy pads underneath.
Demolding and finishing
Bookends often have crisp corners, and crisp corners love to chip if you get impatient.
Demolding tips
- Wait for a full cure, not “mostly hard.” Deep casts can feel hard on the outside and still be soft inside.
- Peel silicone back slowly and support the casting with your other hand so the weight does not yank on one edge.
- If the mold is stubborn, give it more time rather than using brute force.
Leveling, sanding, and polishing
If your base cured with a tiny meniscus or wobble, wet sand the bottom on a flat surface until it sits perfectly. Then polish the faces if you want a glass finish.
My step-by-step sanding routine is here: How to Sand and Polish Epoxy Resin.
Troubleshooting
My resin overheated, warped, or cracked
- Pour in thinner layers next time.
- Use a casting resin designed for deeper pours.
- Avoid aggressive surface heating on thick casts.
My bookend cured sticky or rubbery
Large batches make mixing mistakes more common, and cool rooms slow curing. This guide walks through the usual causes and fixes: 8 Reasons Your Epoxy Resin Is Sticky or Soft and How to Fix It.
Stones floated or shifted
- Use an anchor layer and let it thicken before adding stones.
- Pour the next layer gently down the side of the mold.
- Choose flatter stones for the base so they interlock.
I have bubbles trapped around the weights
- “Wet” stones or inserts with a thin coat of mixed resin before placing.
- Tap the mold after placing weights.
- Place weights into resin rather than pouring resin onto weights whenever possible.
The bookend still slides on the shelf
This is a friction issue, not just a weight issue. Add small silicone bumpers or felt to the underside. If you do sand the bottom for grip, keep it subtle so you do not scratch a nice shelf finish.
Cleanup and disposal
Bookend pours use more resin, which usually means more mixing cups, stir sticks, and drips. The easiest cleanup is the one you plan for.
If you end up with uncured resin on tools or your mat, follow safe cleanup practices: How to Clean Up Uncured Resin and Dispose of Epoxy Waste Safely.
If you get resin on your skin, do not panic and do not reach for solvents. Use this: Epoxy Resin on Skin: Removal and Prevention.
Quick cheat sheet
- Design: wide base, weight concentrated low
- Mold: brace thin silicone and keep it level
- Pour style: layered deep pour to control heat
- Weight choice: stones for visible heft, metal plate for hidden heft, sand for a packed base
- Layer bonding: pour tacky for chemical bond, scuff-sand if fully cured
- Bubble control: tap the mold, gentle surface heat, stop before you overheat it
- Cure conditions: steady temperature, dust cover, full cure before demold
If you make a pair you love, you will start noticing every shelf in your house that “needs” custom bookends. That is how it begins, and I am not sorry.