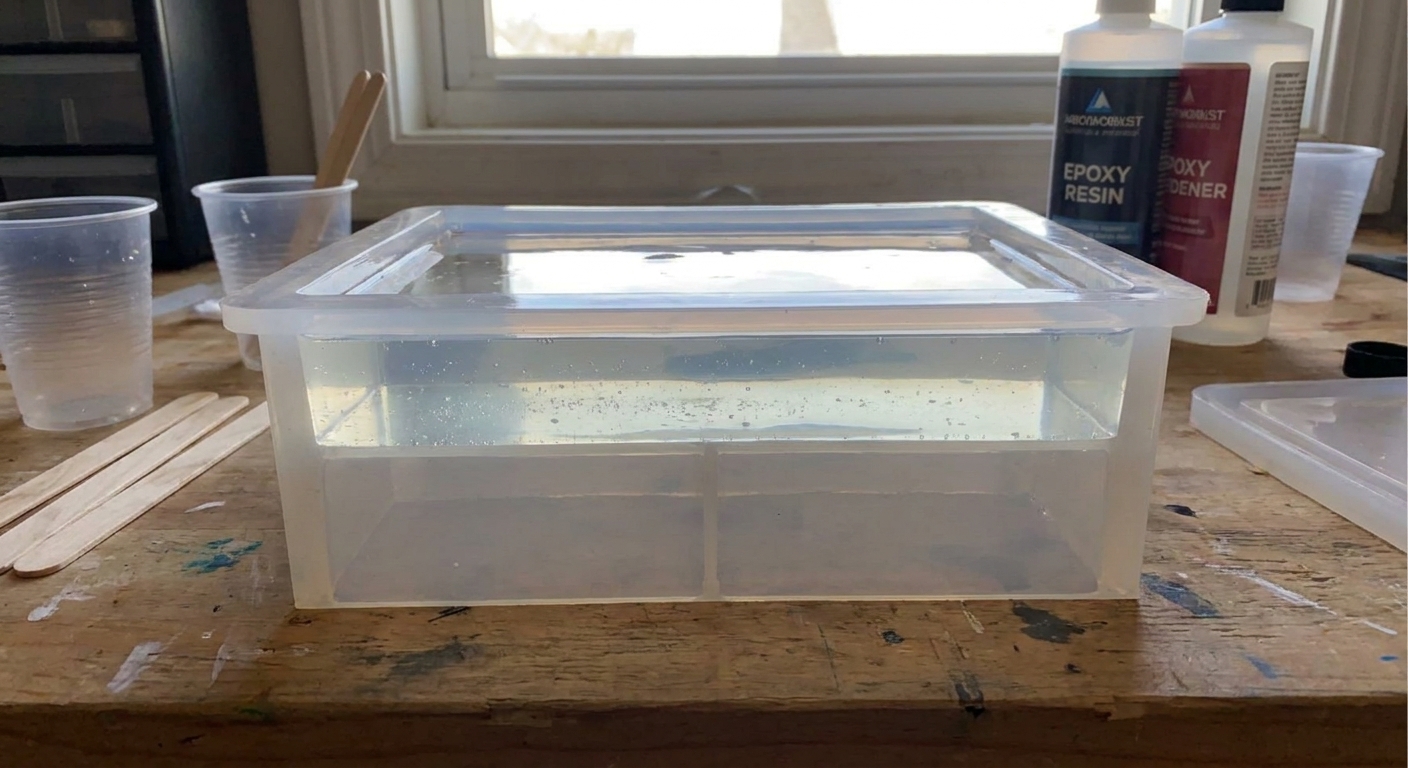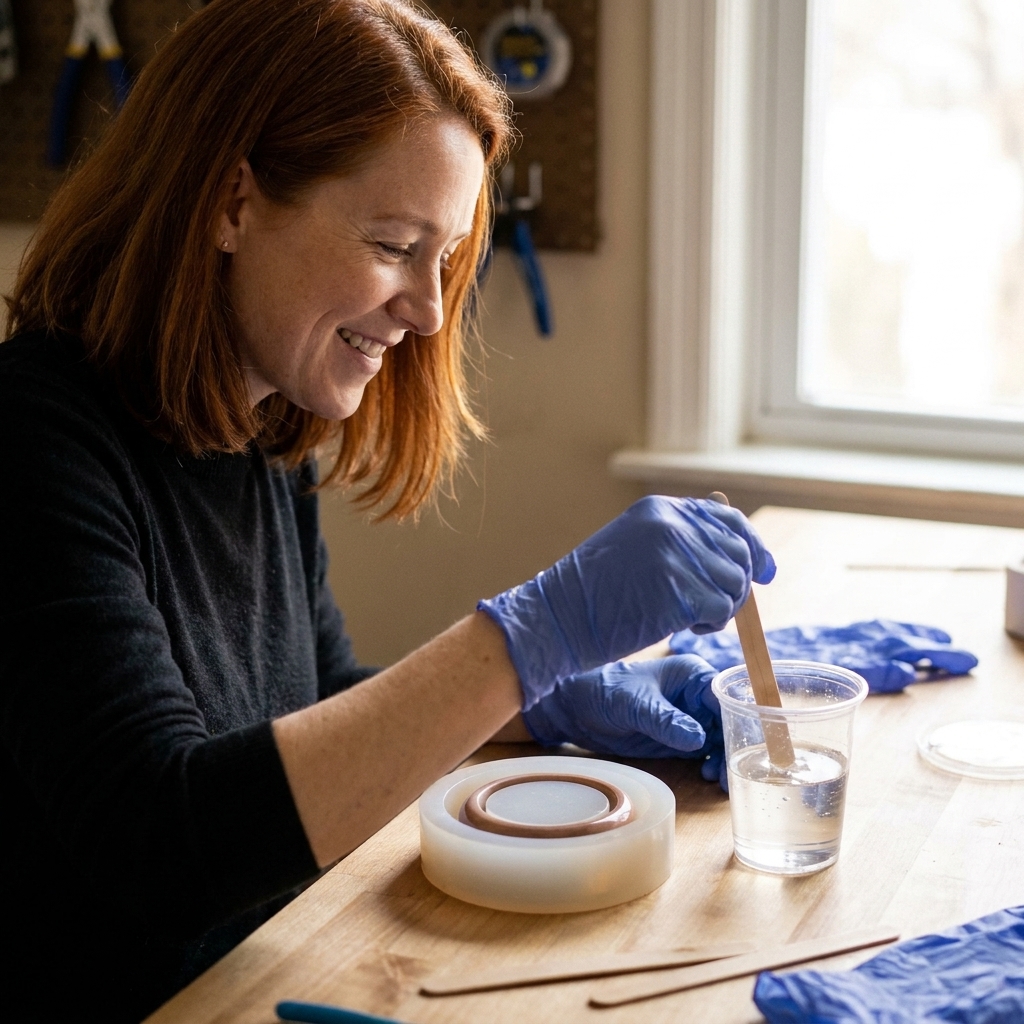
Stop cracked bangles and trapped inner-ring bubbles. Follow this step-by-step method for deep pours: warm resin, pour in thin streams, layer for thick molds,...
Deep Resin Pyramid Paperweights Without Flash Curing

Ruby Fletcher
Ruby Fletcher is a dedicated resin crafter with years of hands-on experience pouring, molding, and creating custom epoxy art. After turning her dining room into a makeshift studio, she developed a passion for helping beginners navigate the sticky, colorful world of resin with confidence. She loves sharing practical tutorials, troubleshooting tips, and essential safety guides to make epoxy crafting accessible for everyone.
Published · Last updated
The first time I tried a “simple” resin pyramid paperweight, I treated it like a coaster pour. Same cup, same pace, same confidence. Ten minutes later, my mixing cup was hot enough to make me yelp, the resin went syrupy, and my beautiful little pyramid mold turned into a stress test for my patience.
Deep pours are a different animal. They build heat fast, they punish sloppy measuring, and if your resin kicks early (flash curing), it can warp silicone molds, crack as it cools, or trap bubbles like a snow globe you never asked for.
The good news is that thick pyramids are absolutely doable at home if you choose the right resin and pour with temperature and volume in mind. Here is the exact approach I use for clear, weighty pyramid paperweights that cure slow and steady.
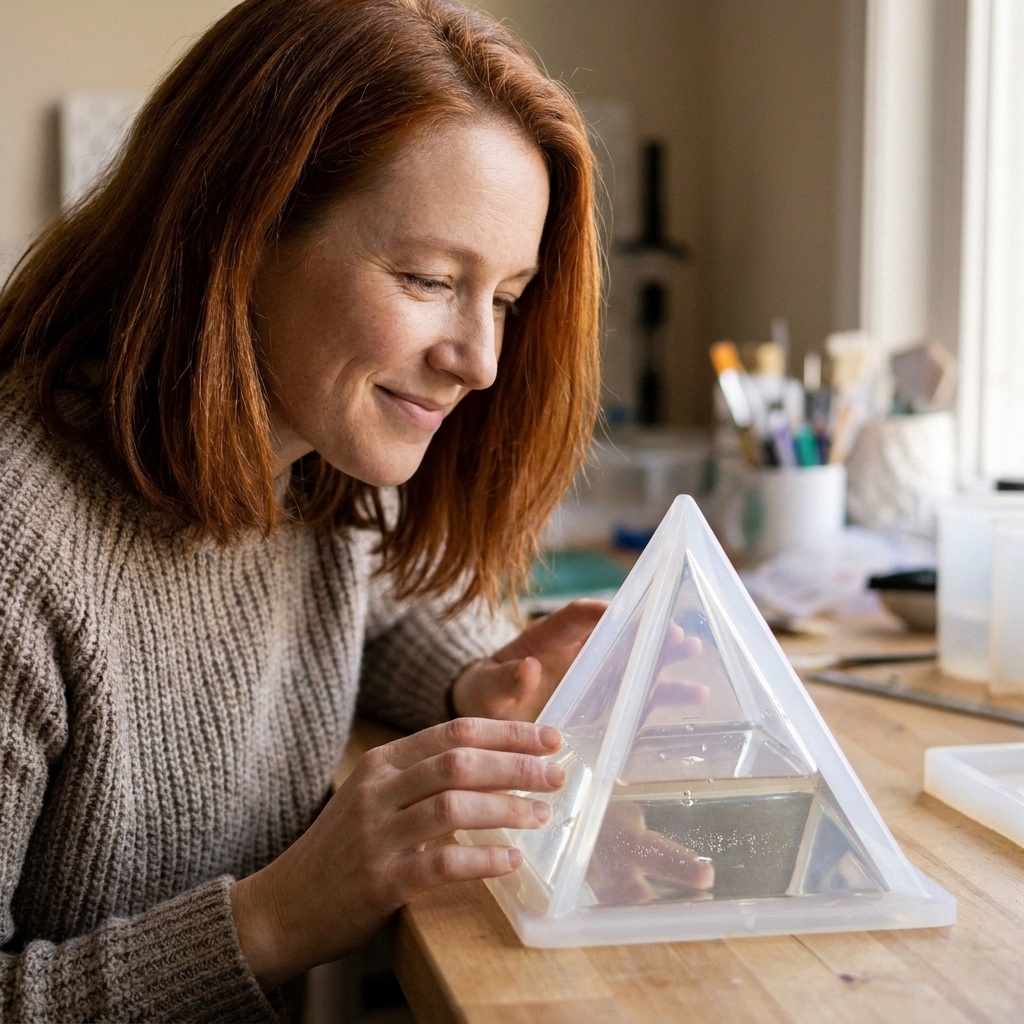
What flash curing looks like
Flash curing is when epoxy resin reacts too fast and generates a lot of heat in a short time. In a deep mold like a pyramid, that heat gets trapped in the center and the reaction accelerates. It is a chain reaction that can go from “looks fine” to “oh no” quickly.
Common signs your pour is kicking too hot
- Mixing cup heats up noticeably in the first few minutes.
- Resin turns thick like warm honey much earlier than expected.
- Odor suddenly seems stronger, which can happen alongside a faster reaction (but varies by brand and ventilation).
- Bubbles seem to “appear” as warming resin thins out and trapped air expands or releases from mixes and embeds.
- Cracking, rippling, or a concave top after cure.
- Yellow tint in the thickest area.
Pyramids are especially prone because the shape concentrates volume in the center, and many pyramid molds are tall enough that the middle becomes a heat core.
Pick the right resin
If you take only one thing from this guide, let it be this: use a resin designed for deep pours. “Regular” tabletop or craft epoxy is usually formulated to cure faster in thin layers. In a pyramid, that same fast chemistry can overheat.
What to look for on the label
- Deep pour or casting epoxy (often marketed for river tables, molds, and thick casts).
- Long pot life (longer working time generally means lower peak heat).
- Max pour depth guidance (it might say 1 inch, 2 inches, 4 inches, etc).
If your resin instructions give a maximum pour depth, treat it as a hard limit unless you are intentionally pouring in layers.
If you are still deciding between resin types, my beginner breakdown is here: UV resin vs 2-part epoxy.
Safety for deep pours
Deep pours can run warmer and, depending on the product, you may notice more odor as the reaction heats up. I am extra strict about my setup. Good ventilation and skin protection are not optional.
- Wear nitrile gloves and protect your eyes.
- Work in a ventilated area, ideally with airflow moving fumes away from you.
- Use a respirator rated for organic vapors if recommended by your resin manufacturer and whenever ventilation is less than ideal.
- Protect your table with a spill-resistant covering.
My full safety walkthroughs are here: Getting Started & Safety, resin safety gear, and setting up a ventilated workspace. For surfaces, I keep a dedicated barrier down from this guide: best mats and coverings for resin spills.
Tools and prep
What you will need
- Deep-pour epoxy resin (Part A and Part B)
- Silicone pyramid mold
- Accurate measuring system (graduated mixing cups or a scale, based on your resin’s instructions)
- Two mixing cups (one for initial mix, one for transfer)
- Stir sticks with flat edges
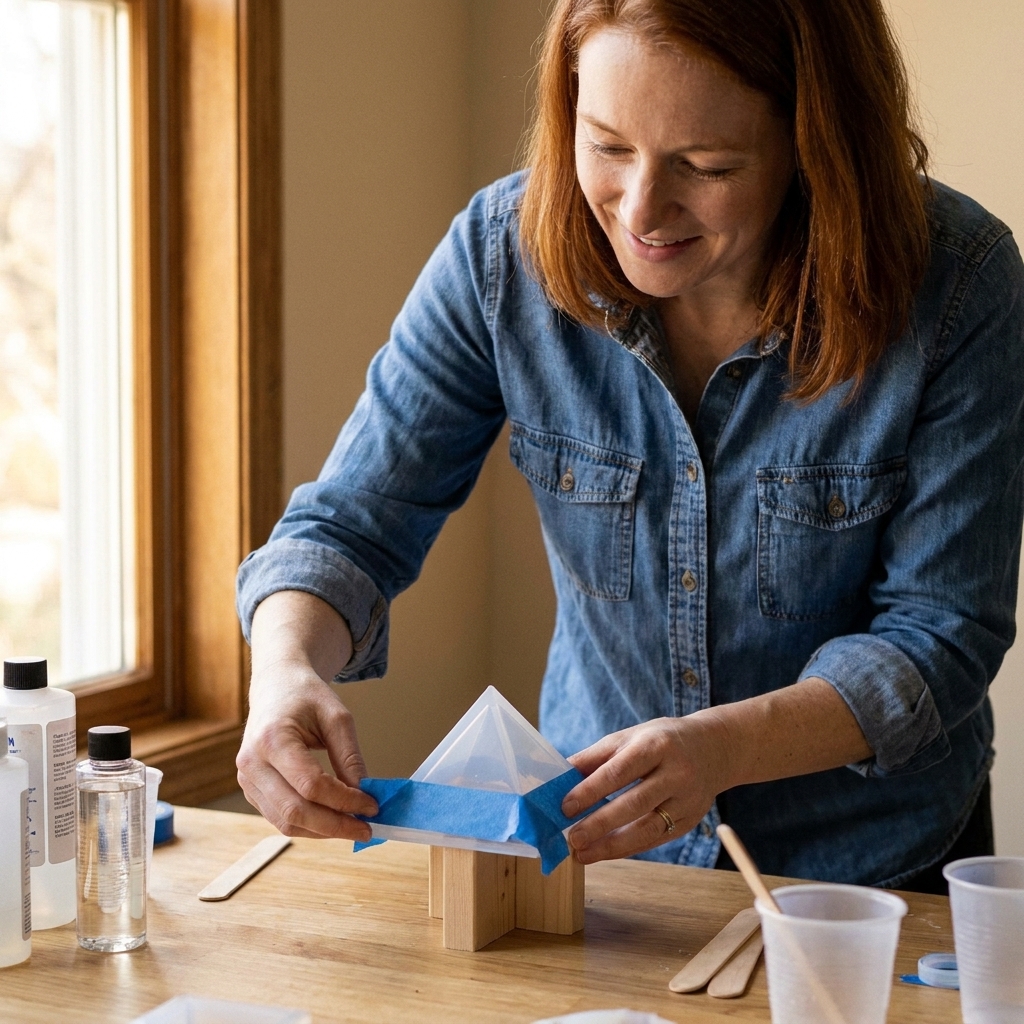
- Painter’s tape or a mold stand to keep the pyramid stable
- Isopropyl alcohol (for wiping tools and the outside of the mold)
- Heat tool for surface bubbles (use gently, more on this below)
- Dust cover (a clean plastic bin works well)
Mold prep that prevents heartbreak
- Clean the mold with tape (press and lift) to grab lint. Avoid paper towels that shed.
- Level your surface. A pyramid that cures tilted looks “off” forever.
- Stabilize the mold so it cannot lean or bow. I will nest smaller molds in rice or use a ring stand, but whatever you do, keep it steady.
- Warm the room, not the resin. Aim for a comfortable, stable curing environment rather than heating bottles aggressively.
Temperature matters so much for thick casts. As a general rule, I try to work in a steady “normal room” range and avoid hot, stuffy spaces that speed up the reaction. Your label always wins, but if you want a clear checklist for conditions, see: ideal temperature and humidity for epoxy resin curing.
Step by step: deep pour pyramid
1) Plan your pour depth before you mix
Find your resin’s maximum pour depth per layer and respect it. If your pyramid is taller than that limit, plan for multiple layers. Layering is not a compromise. It is often the safest way to get a flawless, glassy cast.
If you want layers that disappear, use the timing tricks in: pouring epoxy resin in layers without visible lines.
2) Measure precisely
Measure exactly according to the manufacturer’s instructions, including whether the ratio is by volume or by weight. A deep pyramid amplifies any ratio error into sticky pockets that never fully cure.
If you need a refresher on clean measuring and mixing technique, this guide is my go-to: how to measure and mix 2-part epoxy resin.
3) Mix slowly, scrape thoroughly, then transfer cups
Stir slowly and deliberately, scraping the sides and bottom for the full recommended time. Then pour the mixed resin into a new clean cup and stir again for 30 to 60 seconds. This “double cup” habit is one of the simplest ways to avoid soft spots and gummy corners.
One extra habit that helps with heat: if I am mixing a larger batch, I avoid a tall, narrow cup. A wide, shallow container (think deli container shape rather than a skinny tumbler) gives the resin more surface area and can shed heat better.
4) Pour in a thin stream
A thin stream helps break bubbles and reduces turbulence. For pyramids, I pour down the inside wall of the mold so resin flows gently to the point. “Thin stream” for me means a steady pencil-lead to spaghetti-width flow from a few inches above the mold, not a big dump that slaps air into the corners.
5) Use layers to manage heat
For a tall pyramid, I prefer multiple shallower pours instead of one deep pour. It is safer and often clearer, and it dramatically reduces the chance of internal cracking.
Layer timing options:
- Tacky layer (chemical bond): Pour the next layer when the surface is gel-like and slightly sticky but does not move when you tilt the mold.
- Fully cured layer (mechanical bond): If you missed the tacky window, lightly scuff sanding and a careful wipe can help the next layer grip.
6) Keep heat tools gentle and brief
Heat is helpful for surface bubbles, but in a deep pour it can also push you closer to overheating. If you use a heat gun or torch, do it quickly and from a safe distance, just to kiss the surface bubbles. Do not hold heat in one spot.
If you want help choosing a tool and technique, see: heat gun vs butane torch for resin bubbles and preventing micro-bubbles.
7) Cover and let it cure
Once you are happy with your pour, cover it to keep dust and pet hair out, and let it cure at a stable temperature. Deep-pour epoxy is slow for a reason.
Timeline-wise, I plan for at least 24 to 72 hours before demolding on many deep-pour formulas, and longer for a full cure, but your product label is the schedule to follow. If you poke it, move it, or “just check” it constantly, you can introduce ripples or shift an embed.
Embedding without bubbles
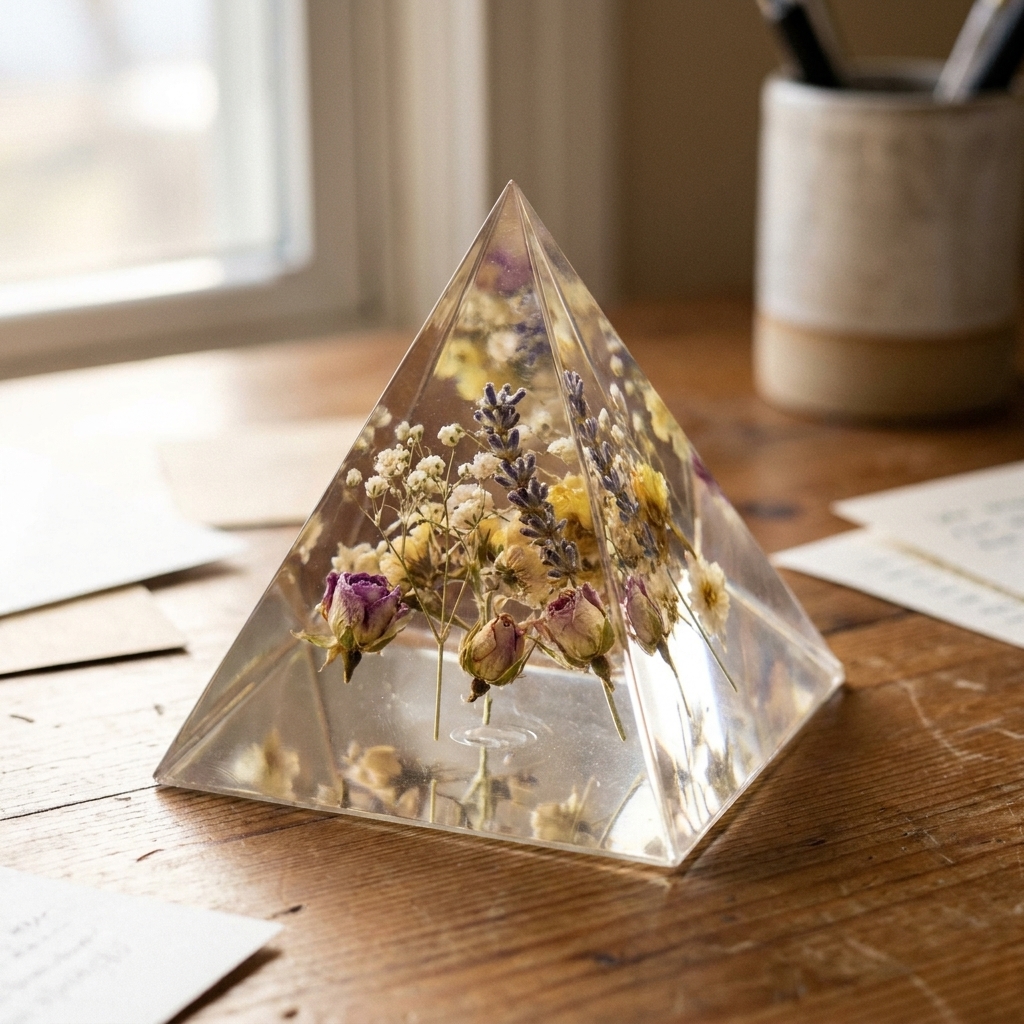
Pyramid paperweights are perfect for tiny keepsakes, dried flowers, and little vintage finds. The trick is preventing bubbles from clinging to the object and floating it where you do not want it.
My bubble-resistant embedding routine
- Seal porous items (paper, photos, natural materials) before they go in resin, so they do not release trapped air.
- Do a base pour first and let it thicken slightly, then place the embed. This keeps it from sinking all the way to the point.
- “Wet” the object by brushing on a thin coat of mixed resin, then set it into the mold.
- Use a toothpick to nudge out bubbles around edges and crevices.
Two guides that help a lot here: how to seal and embed photos or paper in resin and how to dry and embed real flowers.
If you want to go more advanced, a pressure pot is the tool that can make bubbles nearly disappear in casts. A vacuum chamber can help degas mixed resin too, but it can also cause foaming and overflow if you are not careful. Neither is required for a clean pyramid, but they are nice upgrades if you cast often.
Prevent flash curing
- Use deep-pour resin for thick casts, not tabletop epoxy.
- Pour within the resin’s max depth per layer, and layer the rest.
- Mix small batches. A large volume in the cup heats faster than the same volume spread in the mold.
- Use a wide, shallow mixing container when possible to reduce heat buildup in the cup.
- Keep room temperature stable. Hot rooms accelerate cure.
- Avoid aggressive torching on deep pours.
- Do not insulate the mold. Setting a mold on thick cardboard or towels can trap heat.
If it overheats anyway
Sometimes a pour surprises you, especially if the room warms up or you mixed a larger batch than usual. If you notice the mold getting hot or the resin thickening rapidly:
- Do not touch the resin with bare hands.
- Do not try to stir or “fix” it in the cup. Handling runaway resin can splash hot epoxy.
- If it is safe to do so, isolate it on a level, heat-resistant, nonflammable surface (like concrete or a metal tray) and give it space.
- Increase airflow to help disperse fumes.
- If fumes are intense, step away until it calms down. Your safety comes first.
- Do not add water to “cool it down.” Water and curing epoxy do not mix well.
- Let it finish reacting. Disturbing it can make the surface worse.
If you end up with sticky or soft areas, this troubleshooting guide walks through fixes: 8 reasons epoxy resin is sticky or soft. For safe cleanup and disposal, follow: how to clean up uncured resin and dispose of epoxy waste safely.
Demolding and finishing
When to demold
Demold only when the resin is fully cured and firm. Deep pours often take longer than the label’s “touch dry” time. If it still feels flexible, give it more time. Early demolding can warp edges and leave permanent fingerprints.
How to demold without stress
- Peel the silicone away from the resin, rather than yanking the pyramid out.
- If it is stubborn, let it sit a bit longer. Forcing it can tear the mold.
Polish for that glassy look
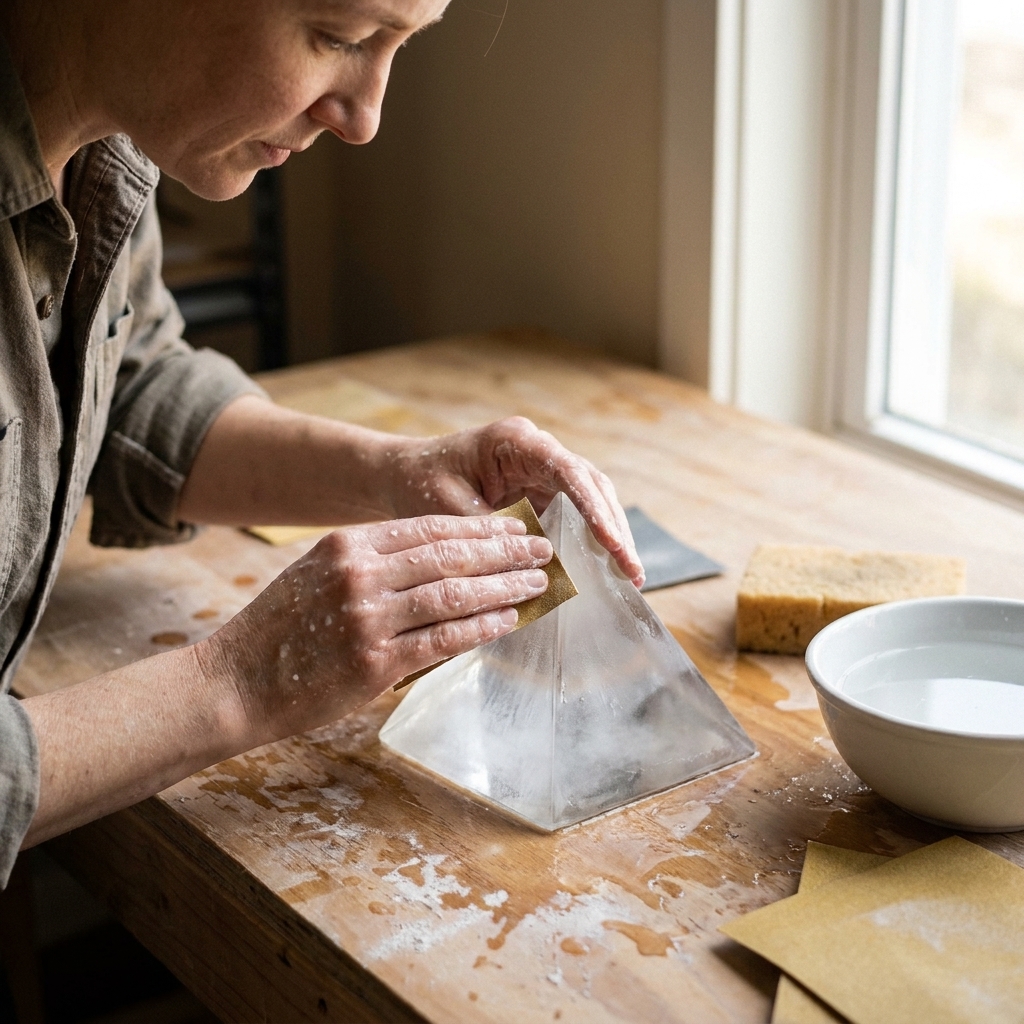
Most pyramid molds leave a seam line and a slightly matte face or two. I sand and polish to get that crisp, optical finish:
- Wet sand gradually through finer grits.
- Polish to restore shine.
My full method is here: how to sand and polish epoxy resin.
FAQ
Can I pour a pyramid in one go?
Only if your deep-pour resin specifically allows that depth in one layer for the volume of your mold. Many pyramids need layering. One-go pours are where most flash cures happen.
Why did my pyramid crack inside after curing?
Internal cracking is usually a heat issue. The center got hotter than the outside, then cooled and shrank at a different rate. Switching to a slower deep-pour resin and pouring in layers usually fixes it.
Why is my pyramid cloudy?
Cloudiness can come from moisture, temperature swings, micro-bubbles, or incompatible colorants. Start with stable room conditions and careful bubble control. This guide helps diagnose the usual causes: why resin is cloudy. The mechanics are the same for paperweights.
Can I color a deep cast pyramid?
Yes, but go easy. Too much pigment can interfere with cure and increase heat buildup in thick pours, and some additives can change clarity. I prefer transparent dyes or a small amount of mica for gentle tinting. If you are experimenting, test in a small mold first. For color basics: how to color epoxy resin.
Should I post-cure with heat?
Only if your resin manufacturer recommends it. I avoid adding heat during the early reaction (when exotherm is most likely). If a brand calls for a post-cure after the resin has set, follow their temperature and timing guidance closely.
A first pyramid project
If you are new to deep casting, start with a clear pyramid and a single small embed placed high in the mold. Here is an easy progression that teaches control without stressing the chemistry:
- Layer 1: thin clear base, poured slowly.
- Layer 2: place one sealed item (a tiny dried flower or charm), then cover with clear resin.
- Layer 3: final cap layer, then cover and cure.
Once you nail a clear pyramid, you can get fancy with suspended glitter and inclusions. If sinking becomes a problem, this guide is helpful even though it focuses on jewelry: how to suspend glitter and mix-ins without sinking.