Make open back bezel resin jewelry without drips. Learn the no-leak tape seal, burnishing tips, UV resin vs epoxy steps, bubble control, and clean edge finis...
UV Resin Window Suncatchers in Open Wire Bezels

Ruby Fletcher
Ruby Fletcher is a dedicated resin crafter with years of hands-on experience pouring, molding, and creating custom epoxy art. After turning her dining room into a makeshift studio, she developed a passion for helping beginners navigate the sticky, colorful world of resin with confidence. She loves sharing practical tutorials, troubleshooting tips, and essential safety guides to make epoxy crafting accessible for everyone.
Published
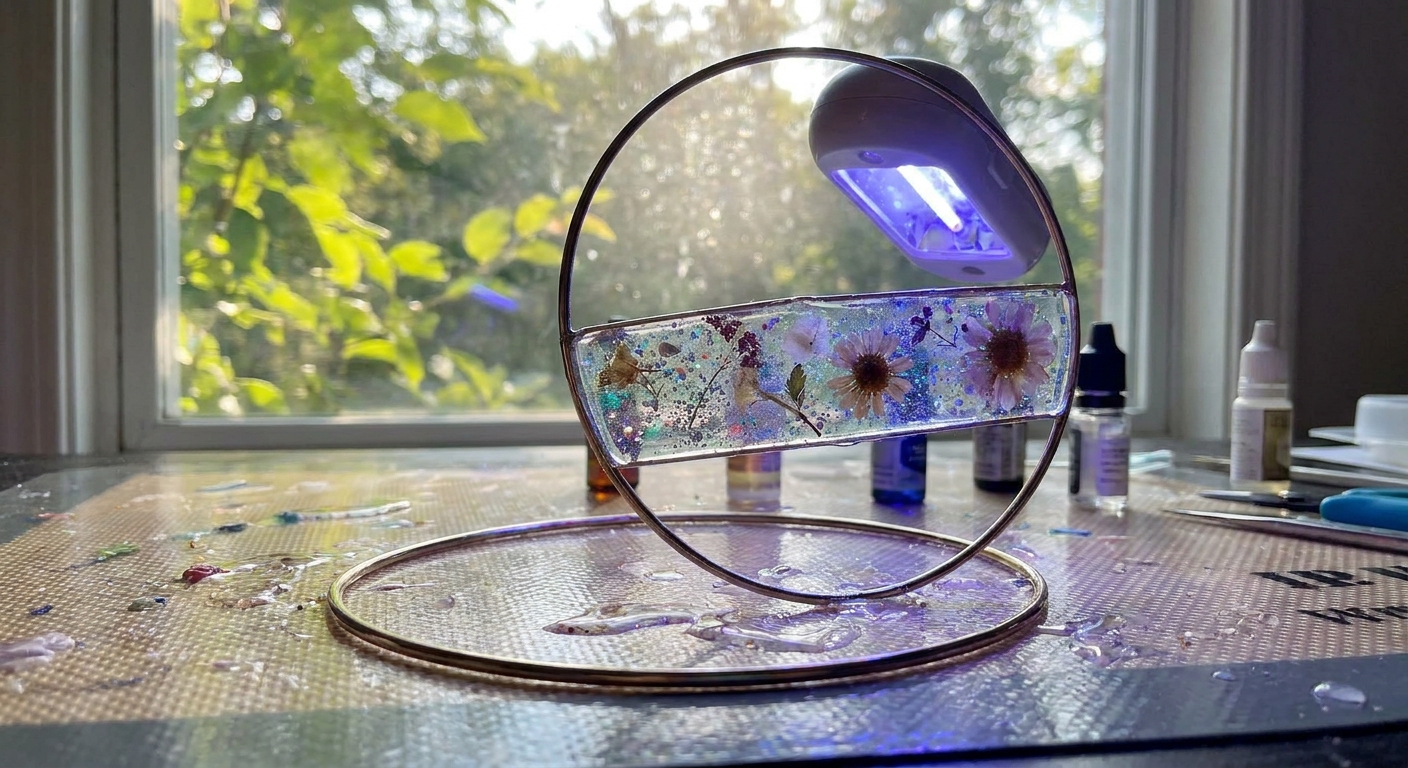
The first time I tried making a window suncatcher with UV resin, I assumed it would behave like a tiny open-back bezel pendant. Spoiler: a big open wire hoop is a totally different beast. The resin wants to puddle, sag, and sneak out of any gap like it has somewhere important to be.
Once you learn two things, it becomes one of the most satisfying projects for bright, lightweight home decor. First: you need a temporary backing film. Second: thin layers beat one thick pour every single time.
In this tutorial, I’ll show you how to build crystal-clear, translucent “stained glass” style suncatchers by curing UV resin directly inside open metal frames and wire hoops.
What makes a good UV resin suncatcher
A suncatcher is basically a resin window “skin” held by a frame. That means it has different priorities than a coaster or a deep mold:
- Translucent, not opaque: the magic is light passing through.
- Thin and even: thickness shows as ripples and dark bands in sunlight.
- Well-sealed edges: any leak turns into drips that cure sharp.
- Strong hanging point: window heat plus gravity is a slow stress test.
If you’re brand new to UV resin vs 2-part epoxy, start here: UV resin vs 2-part epoxy: what beginners should choose.
Supplies (and what actually matters)
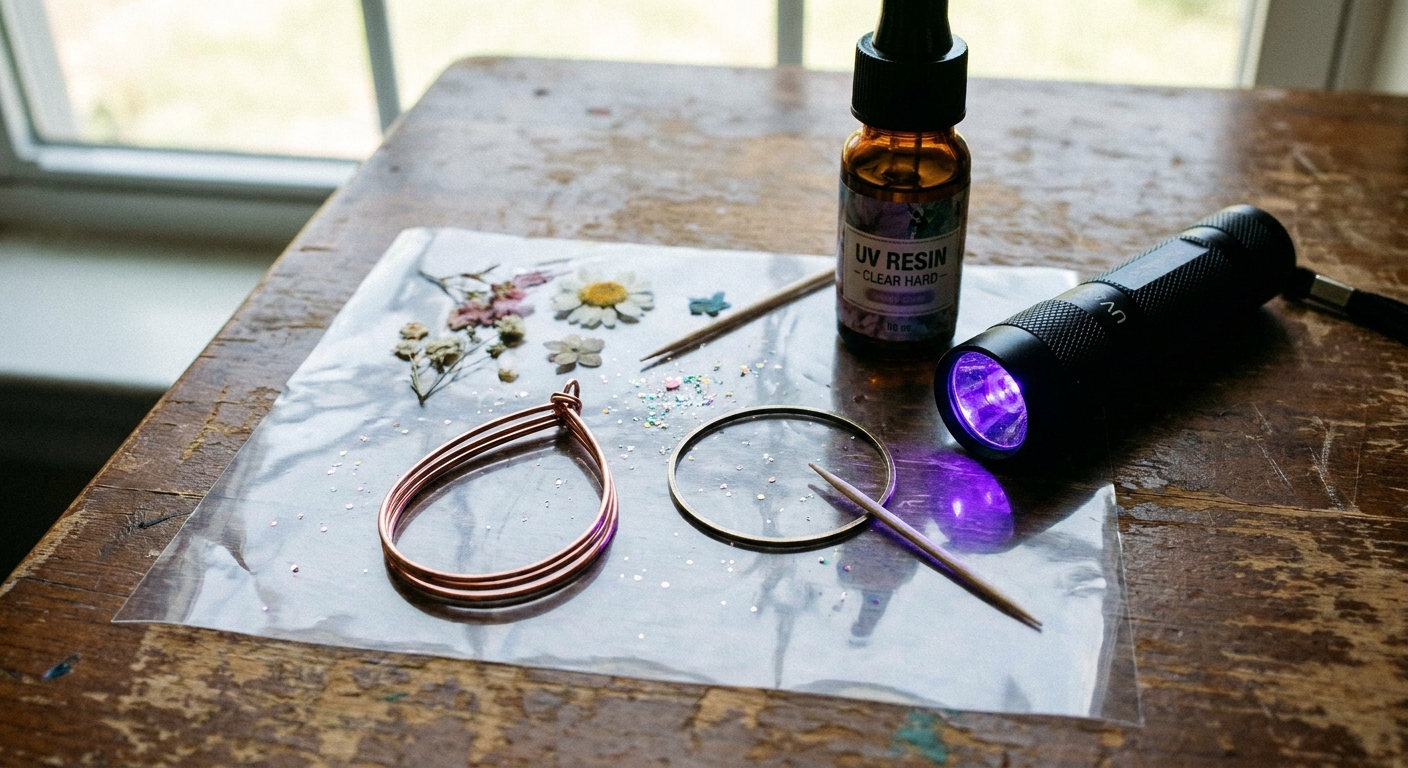
Must-haves
- UV resin: choose a clear, hard-cure formula (thin to medium viscosity is easiest for flat “glass”).
- Open wire bezel or metal hoop: closed, soldered joints are best. If it’s wrapped wire, check for gaps.
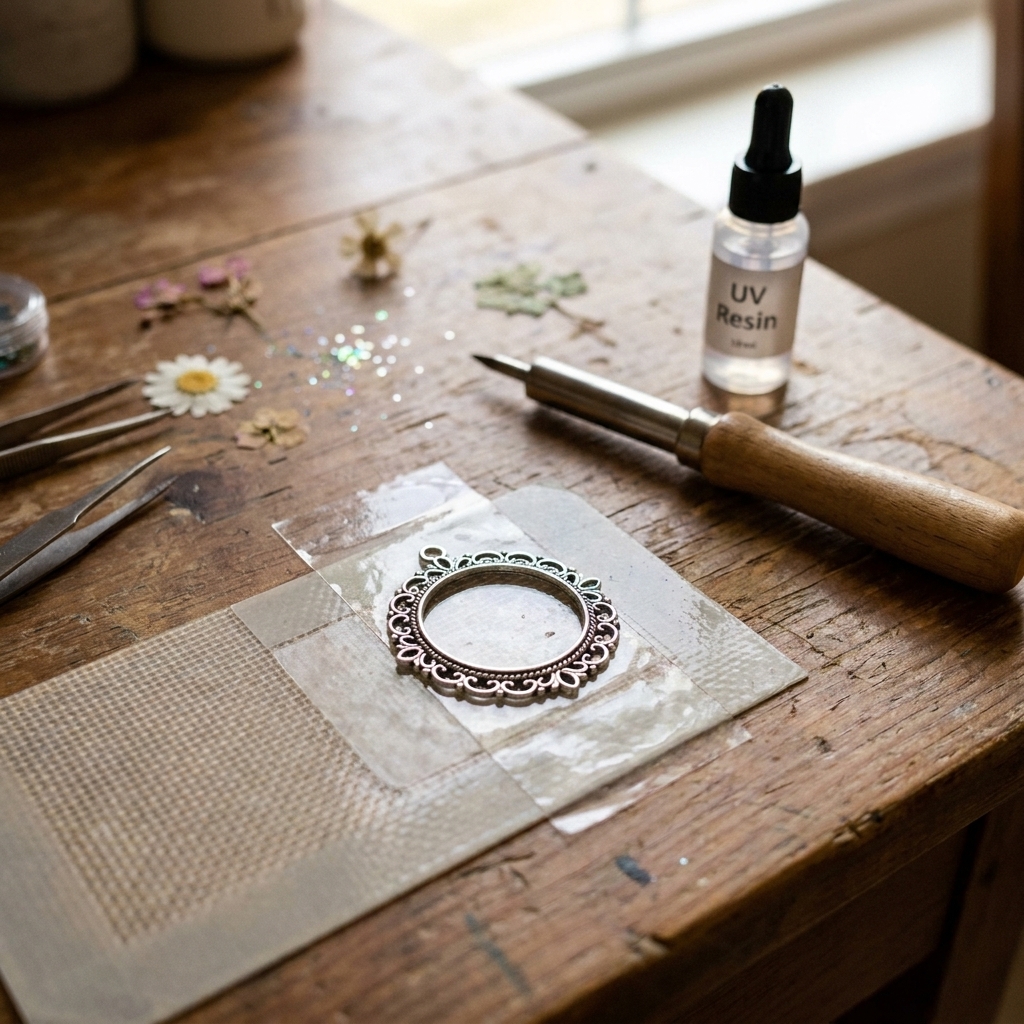
- Backing film: clear plastic packaging sheet, acetate, or polypropylene sheet can work well (more on choosing below).
- UV lamp: a nail lamp style UV/LED lamp gives more even curing than a tiny flashlight. Quick sanity check: make sure your lamp wavelength matches your resin. Some resins cure best around 365 nm, others at 395 to 405 nm, and many nail lamps are dual-wavelength, but not all.
- Silicone mat: or a surface you can peel cured drips off safely. I like setting up on a protected table using the tips in best mats and coverings for resin spills.
- Nitrile gloves and ventilation: UV resin still needs safe handling. If you need a quick safety refresh, I keep mine here: set up a safe, ventilated resin workspace at home.
Nice-to-haves
- Microfiber cloth and 91 to 99% isopropyl alcohol for cleaning the metal and film
- Toothpicks or silicone detail tools for edge control
- Mica powder, transparent resin dye, or alcohol ink for color
- Jump rings, chain, or clear fishing line for hanging
Pick the right backing film
Your backing film is temporary “glass” that lets you cure a perfectly flat sheet of resin inside the frame. The best film is:
- Non-porous and glossy so the cured resin releases cleanly
- Stable under warmth so it doesn’t warp into a wavy suncatcher (heat can come from the lamp and from the resin curing)
- Clear so light reaches the resin evenly
Films that often work well
- Polypropylene sheet (common in report covers and packaging): usually great release.
- Acetate: clear and smooth, but release varies a lot by resin and by the exact film. Some UV resins cling to certain clear sheets.
- Clear packaging plastic from sturdy boxes: often works, just avoid anything textured.
Films I avoid
- Wax paper: wrinkles print into the resin and can make a messy edge.
- Parchment paper: can leave a matte texture and sometimes grips.
- Soft, floppy plastic wrap: too stretchy. You’ll cure a saggy belly.
Quick test: put a tiny drop of UV resin on your film and cure it. If it peels off cleanly with a glossy back, you’re good. If it fights you, switch films before you commit to a full hoop.
Prep your frame so resin can’t escape
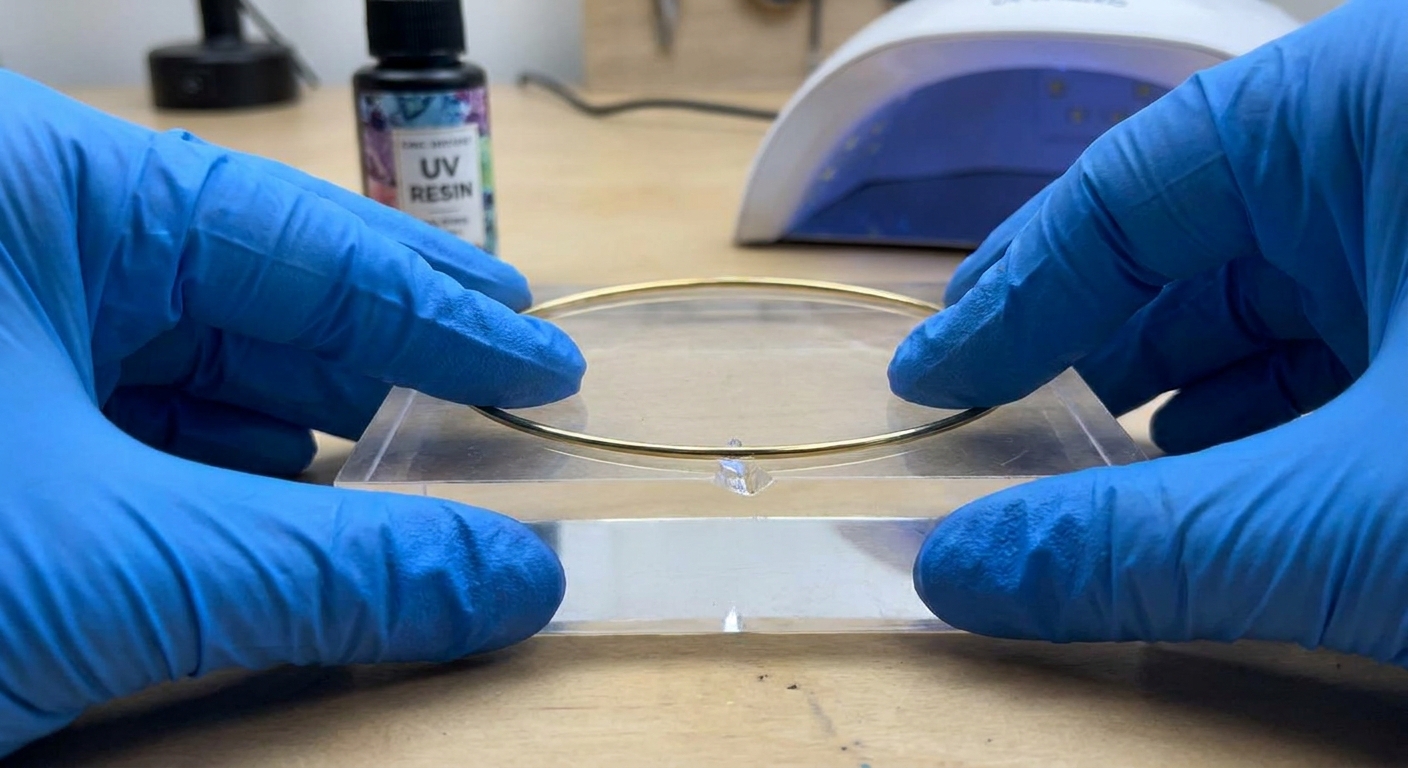
- Clean the metal: wipe with isopropyl alcohol, especially if it feels oily. Skin oils can cause fisheyes and weak adhesion.
- Check joints and wraps: hold it up to a bright light. Any pinhole gap is a future drip.
- Flatten it: gently press the hoop on a flat table. Warped hoops create thin spots.
- Stick it down: place your hoop on the film and press firmly all around. If the hoop wants to lift, use a tiny roll of painter’s tape on the outside edge to anchor it. Keep tape away from the inside edge so it doesn’t touch resin.
If your frame is slick or coated: some plated or glossy finishes can cause fisheyes or poor grip. Cleaning helps, and if you still see fisheyes, lightly scuffing the inside edge with fine sandpaper can give the resin a little tooth. Wipe the dust off, then do your seal layer.
If you’ve ever fought bubbles or heat tools in resin, the concepts are similar here, just smaller and faster: how to prevent and remove micro-bubbles and heat gun vs butane torch for resin bubbles.
Note for UV resin: I skip torches for this project. UV resin is thin, open, and close to your film, and it’s easy to overheat or warp the backing. I use time, toothpicks, and gentle warmth from a distance if needed.
Step by step: fill the frame
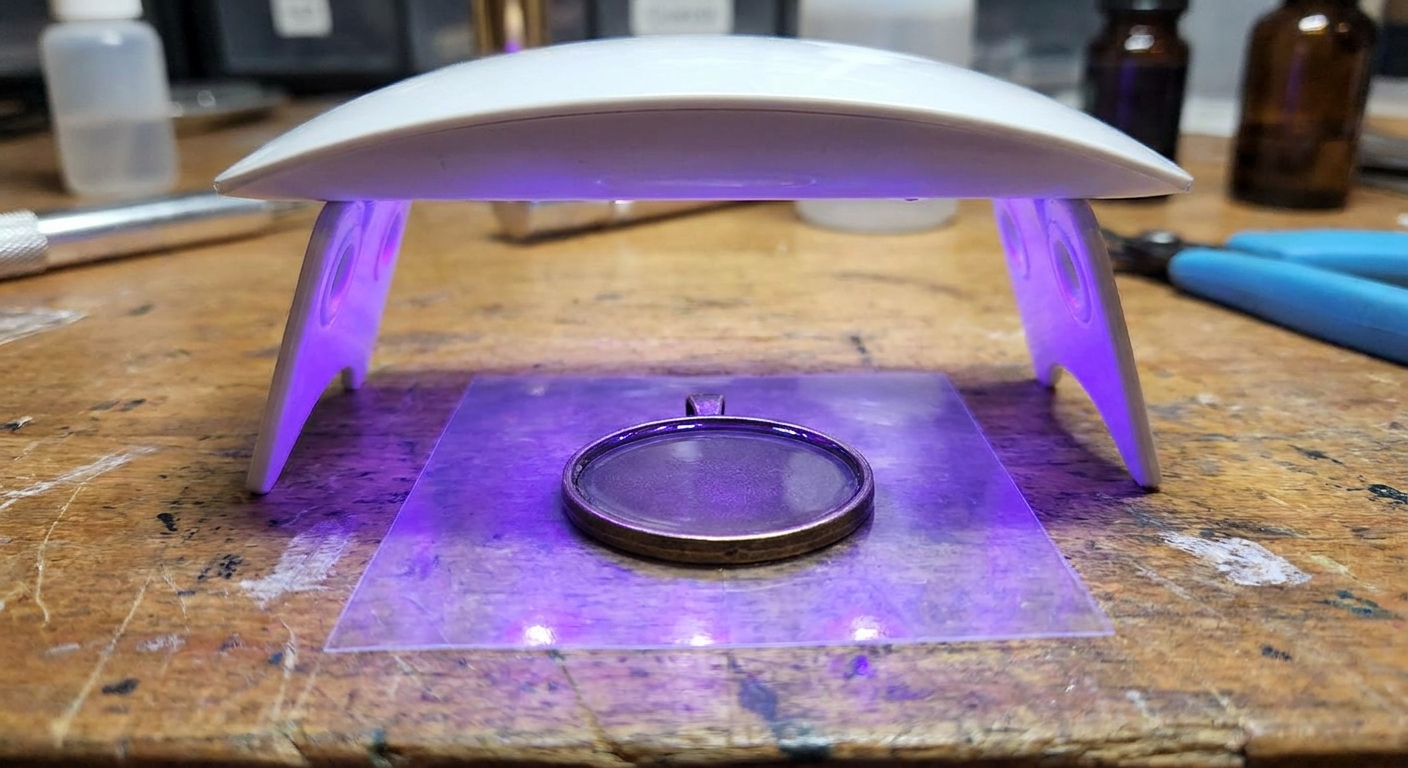
1) Pour a thin seal layer
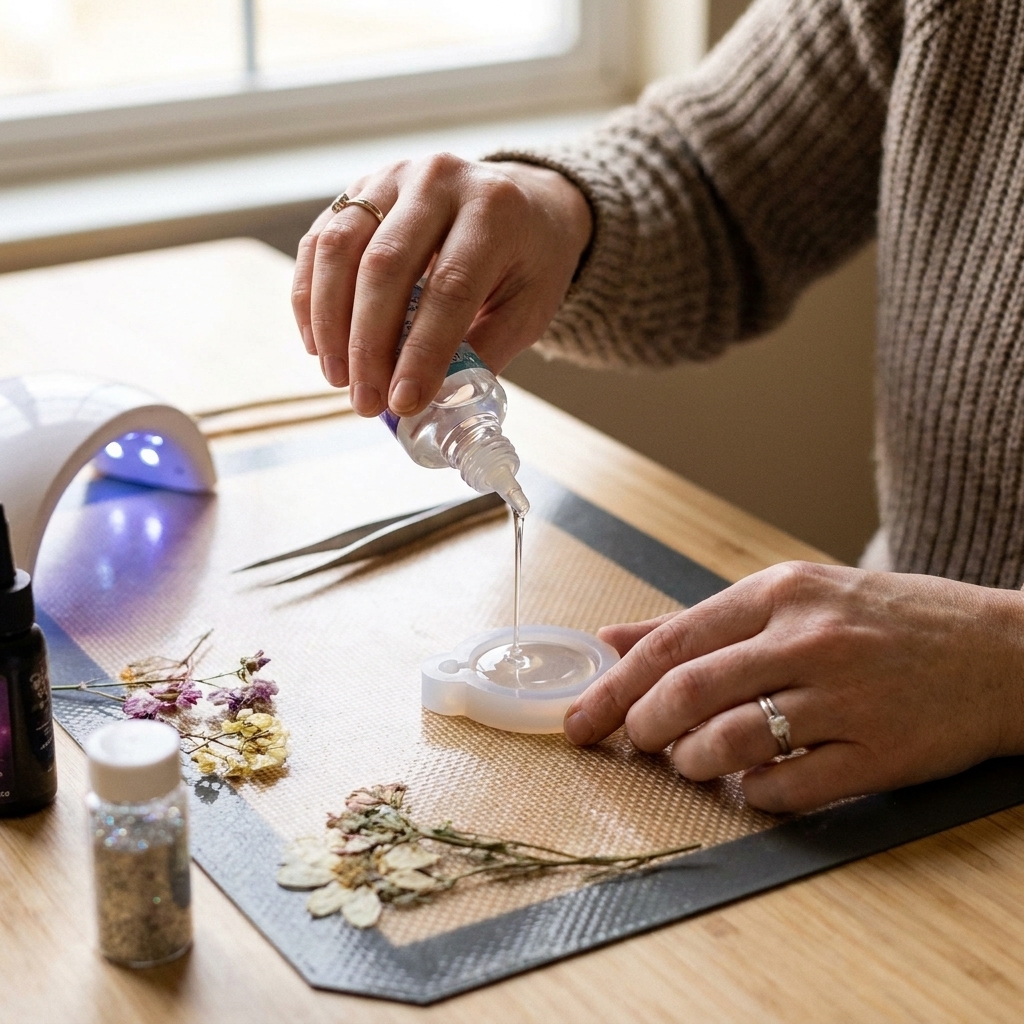
Start with a very thin layer, just enough to wet the metal edge and form a skin across the opening. This layer is your leak insurance.
- Drop resin near the center, then coax it to the edges with a toothpick.
- Run the toothpick along the inside perimeter so the resin touches the metal all the way around.
- Deal with bubbles now: coax them to an edge or pop them with the toothpick tip.
2) Cure, then check for weak spots
Cure under your lamp until the surface is firm. I usually start with one standard lamp cycle, then reassess. If it still dents with a light touch or looks syrupy in the center, cure again.
Then gently tap the film under the opening. If you see a thin spot or a hole, add a dot of resin and cure again.
3) Add body in layers
Add another thin layer to build thickness slowly. For most hoops, two to four layers makes a sturdy, glassy panel without a heavy bulge.
My rule: if the resin starts to dome above the metal edge, I stop and cure. Thick domes look pretty in jewelry, but in windows they can distort light and show fingerprints.
4) Final cure and cool-down
When you’re happy with thickness, do one longer cure cycle. Then let it sit for a few minutes. Warm resin can feel flexible even when it’s cured.
Color that stays translucent
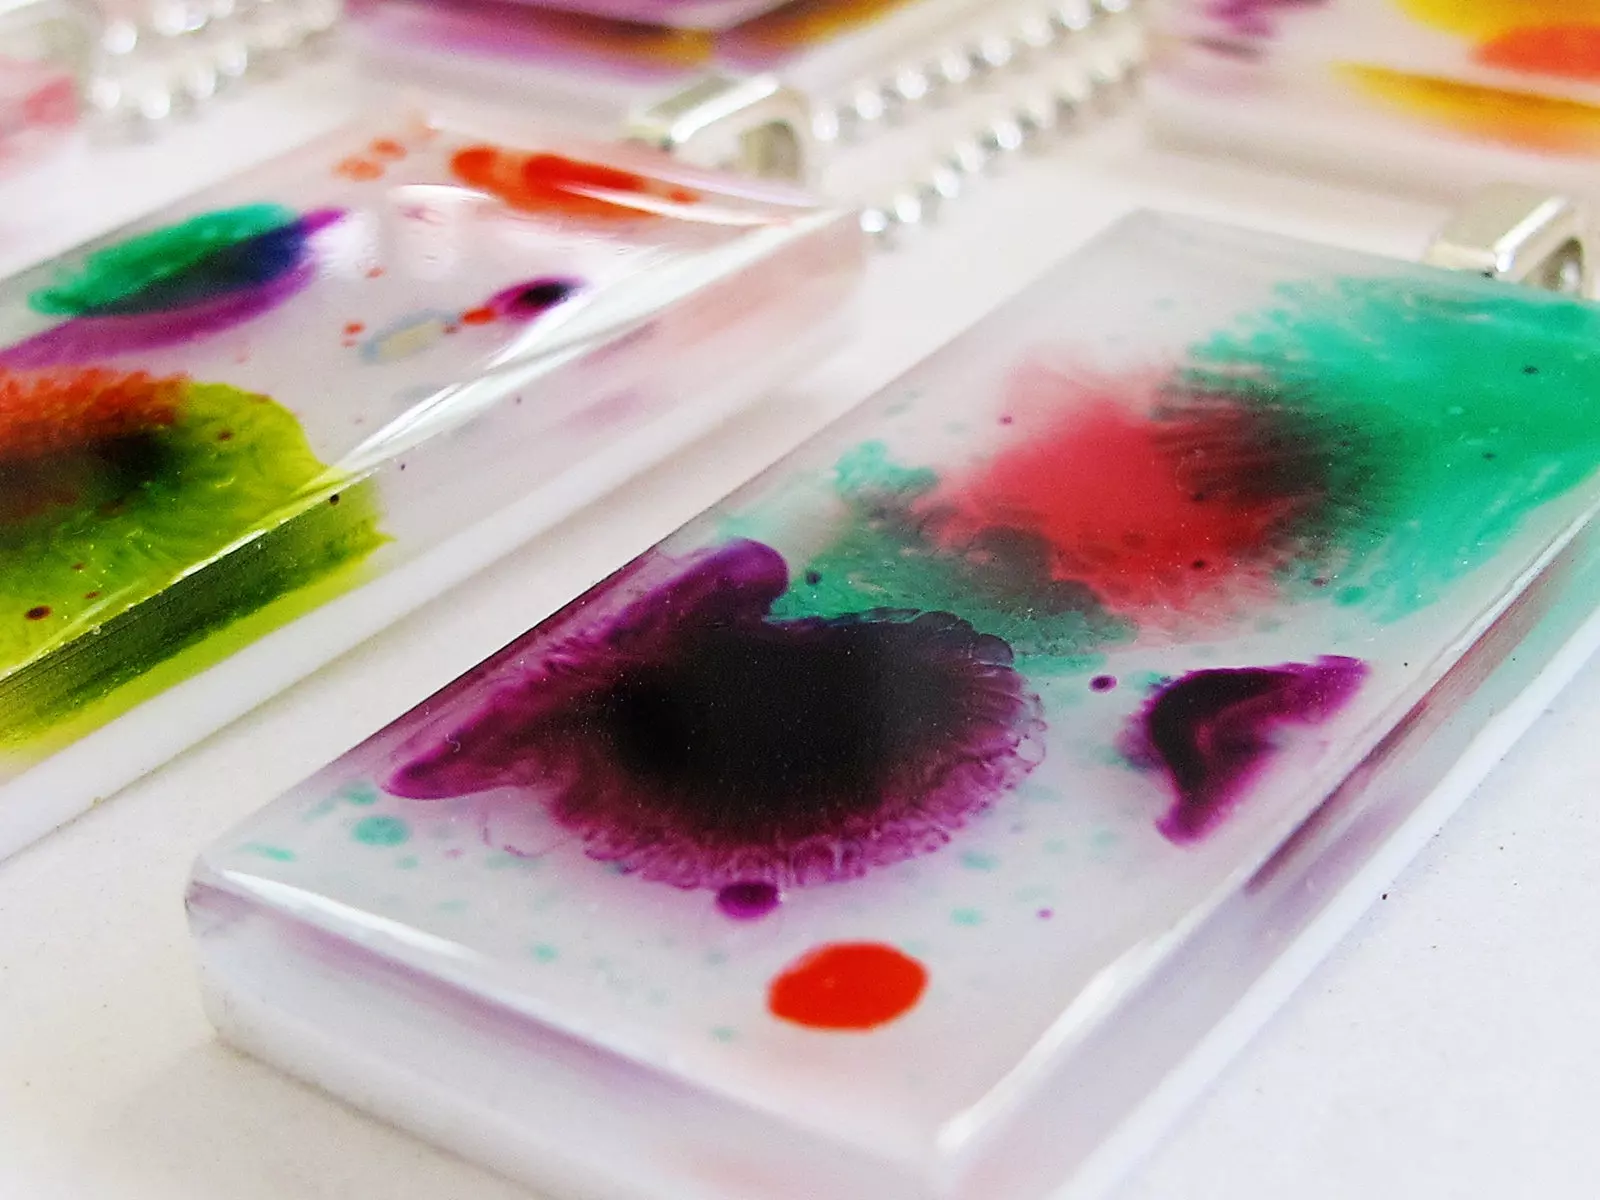
For suncatchers, a little color goes a long way. Too much pigment turns your “glass” into a flat sticker.
My favorite translucent looks
- Transparent resin dye: easiest and most predictable.
- Alcohol ink: beautiful and vivid, but use sparingly. Heavy pigment loads, and especially opaque colors (whites and some pastels), are the usual curing troublemakers.
- Mica powder: makes a pearly “cathedral glass” shimmer, but it’s more translucent-opaque than see-through.
If you want a deeper dive on colorants and how they behave, I keep an updated guide here: how to color epoxy resin. The color principles are the same for UV resin, just faster and more sensitive to overload.
Easy two-tone trick
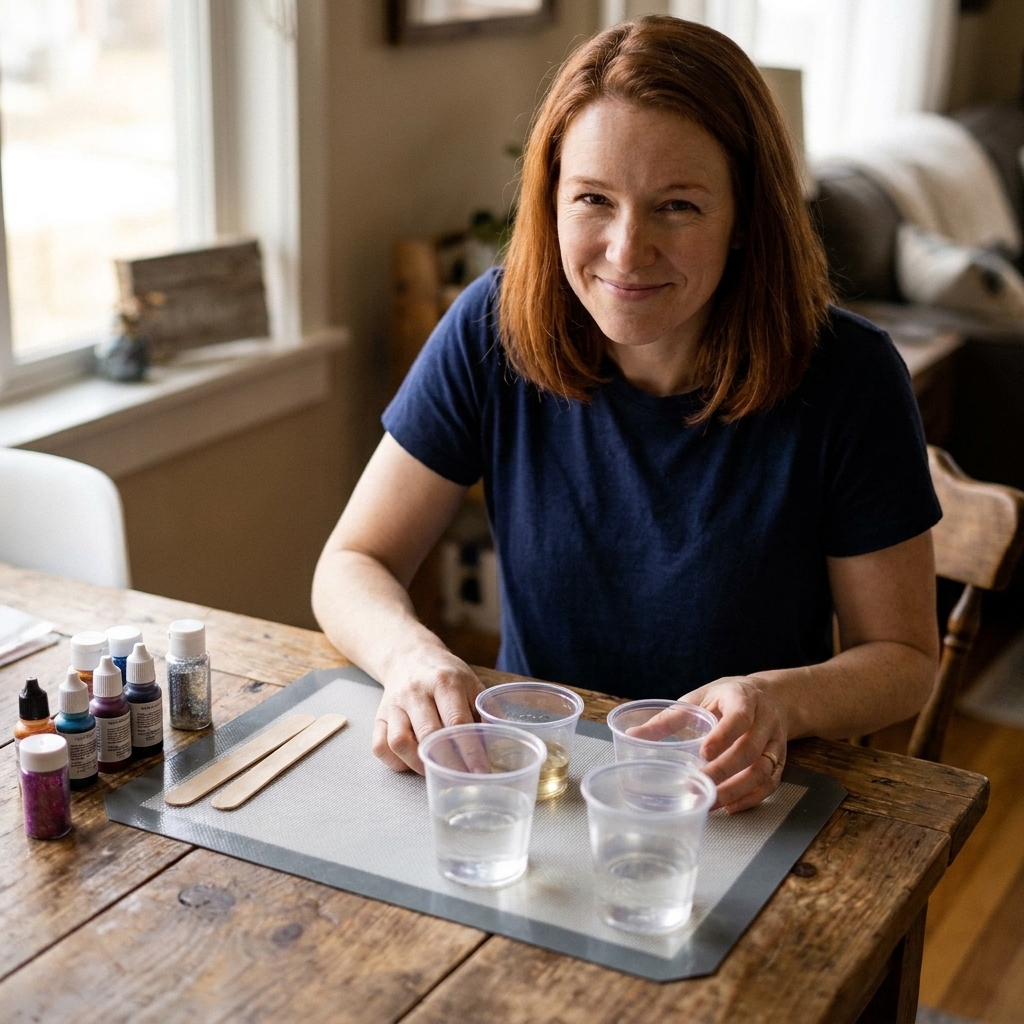
Instead of mixing one big batch of tinted resin, tint tiny puddles in separate silicone cups. Cure one color section at a time inside the hoop. When each section is firm, you can add the next color right beside it without muddy blending.
Release it cleanly
Once fully cured and cooled:
- Peel the film away from the resin, not the resin away from the film. This keeps the fill flat.
- Work slowly around the perimeter. If it clings in one area, flex the film slightly to release suction.
- Inspect the back: if you see a sticky patch, cure again before handling more.
If you ever end up with tacky spots, the troubleshooting is very similar to 2-part resin issues: under-curing, pigment overload, or a weak lamp. This guide helps with the logic of diagnosing softness: 8 reasons your epoxy resin is sticky or soft and how to fix it.
Finish the edges
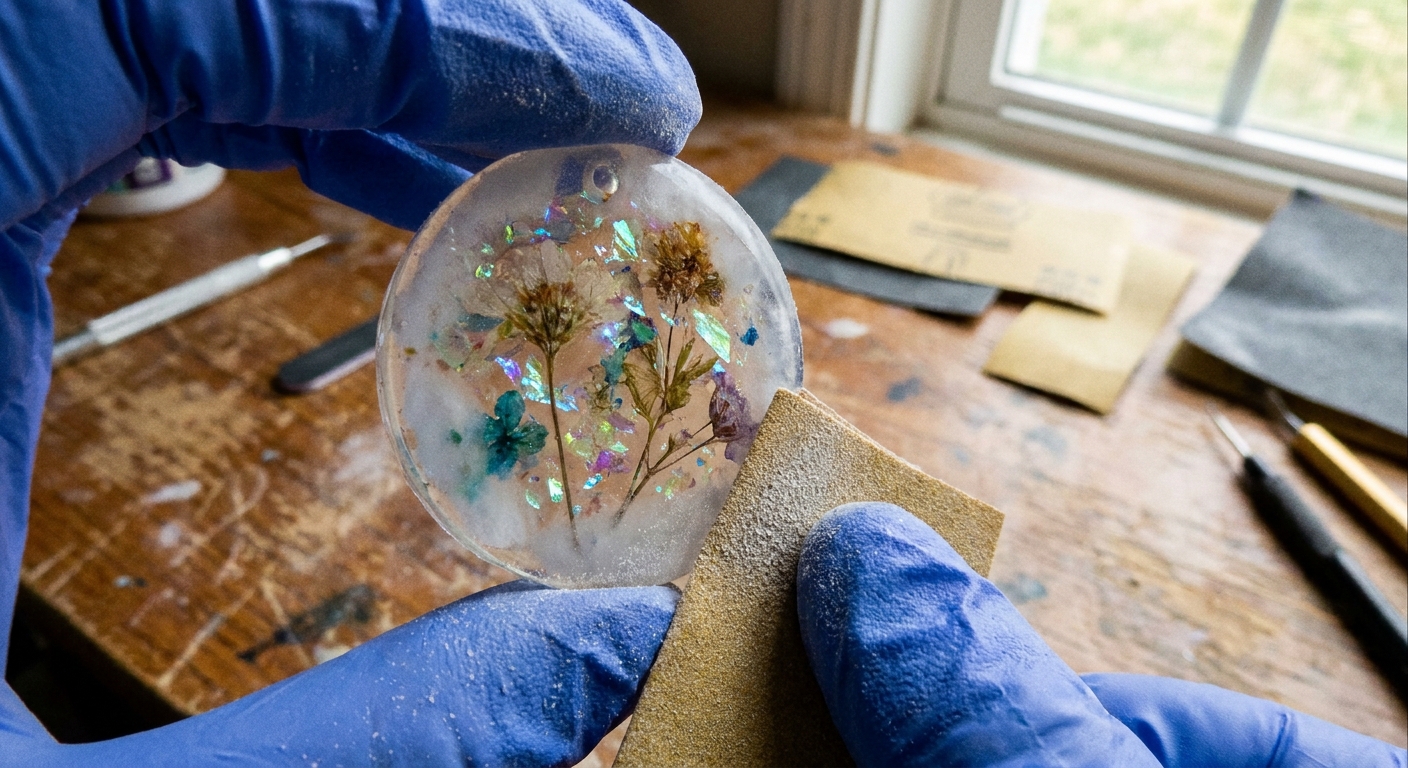
Even careful pours can leave a sharp cured lip at the bottom edge. Here’s my tidy-up routine:
- Snip drips: if there’s a thin cured spike, trim carefully with flush cutters.
- Sand lightly: use fine grit wet-dry sandpaper to soften sharpness.
- Re-gloss (optional): brush on a whisper-thin coat of UV resin along the sanded edge and cure.
If you want the full shine-restoration process for cured resin, this is my go-to: how to sand and polish epoxy resin.
Add hanging hardware
Most open hoops already have a loop, but if yours doesn’t, you’ve got a few options:
- Use the frame itself: wrap a jump ring around the metal hoop, not through the cured resin.
- Embed a loop: on an early layer, set a small closed jump ring into the resin right at the edge so half is buried. Cure, then cover with another thin layer to lock it in.
- Glue hardware: if you’re attaching a bail or finding, do it with resin and cure in place. This technique is the same idea as my jewelry hardware method: glue and embed hardware in resin jewelry.
Hanging line tips: fishing line is almost invisible in windows, but it can cut into sharp metal loops. If your loop edge is rough, use a jump ring as a buffer, then tie your line to the ring.
Design ideas for sunlight
- Pressed flower float: embed fully dried flowers between two thin cured layers. If you need flower prep, I walk through it here: how to dry and embed real flowers in epoxy resin.
- Gold leaf veins: place tiny flakes in a loose line like stained glass leading. Use minimal resin movement so it stays airy.
- Sea glass effect: tint a very small amount of resin, then swirl in a drop of clear to create depth without opacity.
- Confetti window: suspend micro glitter sparingly. For keeping mix-ins from sinking or clumping, the approach is the same as this guide: how to suspend glitter, beads, and gold leaf without sinking.
Troubleshooting
The resin leaked under the frame
- Your hoop isn’t flat, or there’s a gap at a wire wrap.
- Fix: cure a thin seal layer first and make sure resin touches the metal all around before building thickness.
It cured with waves or a saggy belly
- Your film flexed or softened from warmth.
- Fix: use a sturdier film, support it on a rigid surface, and cure in shorter cycles so heat doesn’t build up.
The surface is sticky after curing
- Most often: insufficient UV intensity, curing too thick at once, or too much pigment (opaque colors are frequent offenders).
- Fix: cure again, flip and cure from the back, then switch to thinner layers next time. Also double-check your resin and lamp wavelength match.
Cloudy patches
- Often caused by micro-bubbles, too much mica, or contamination on the film.
- Fix: clean your film, stir gently, and give bubbles a minute to rise before curing. If your finished piece looks hazy, the causes overlap with this guide: why your resin jewelry is cloudy.
Cleanup and safety
UV resin feels deceptively “small and harmless” because the projects are tiny. I still treat it like the real chemical it is.
- Wear gloves and avoid skin contact. If you get resin on your skin, use the safe removal steps here: epoxy resin on skin: removal and prevention.
- Don’t cure resin directly on your tabletop unless it’s protected. Cured blobs can rip finishes.
- Dispose of waste safely: cure leftover resin fully before tossing, and wipe spills while wet using the method in how to clean up uncured resin and dispose of epoxy waste safely.
Quick FAQ
Can I do this with open-back bezels meant for jewelry?
Yes. The method is identical, just smaller. If you want more bezel-specific tips, see resin jewelry with open-back bezels.
Will UV resin yellow in a sunny window?
Over time, sunlight can yellow most resins, including UV resin. Thin, even layers can make any color shift less obvious, but they won’t stop it. Choosing a clearer formula and avoiding overheating during curing helps you start as clear as possible. Some makers rotate suncatchers seasonally so one spot isn’t baking year-round.
Do I need to seal the metal frame first?
Usually no, but cleaning matters. If your frame has a slick coating that causes fisheyes, a very thin first layer cured in place typically solves it. If it still misbehaves, a light scuff on the inner edge can help.