
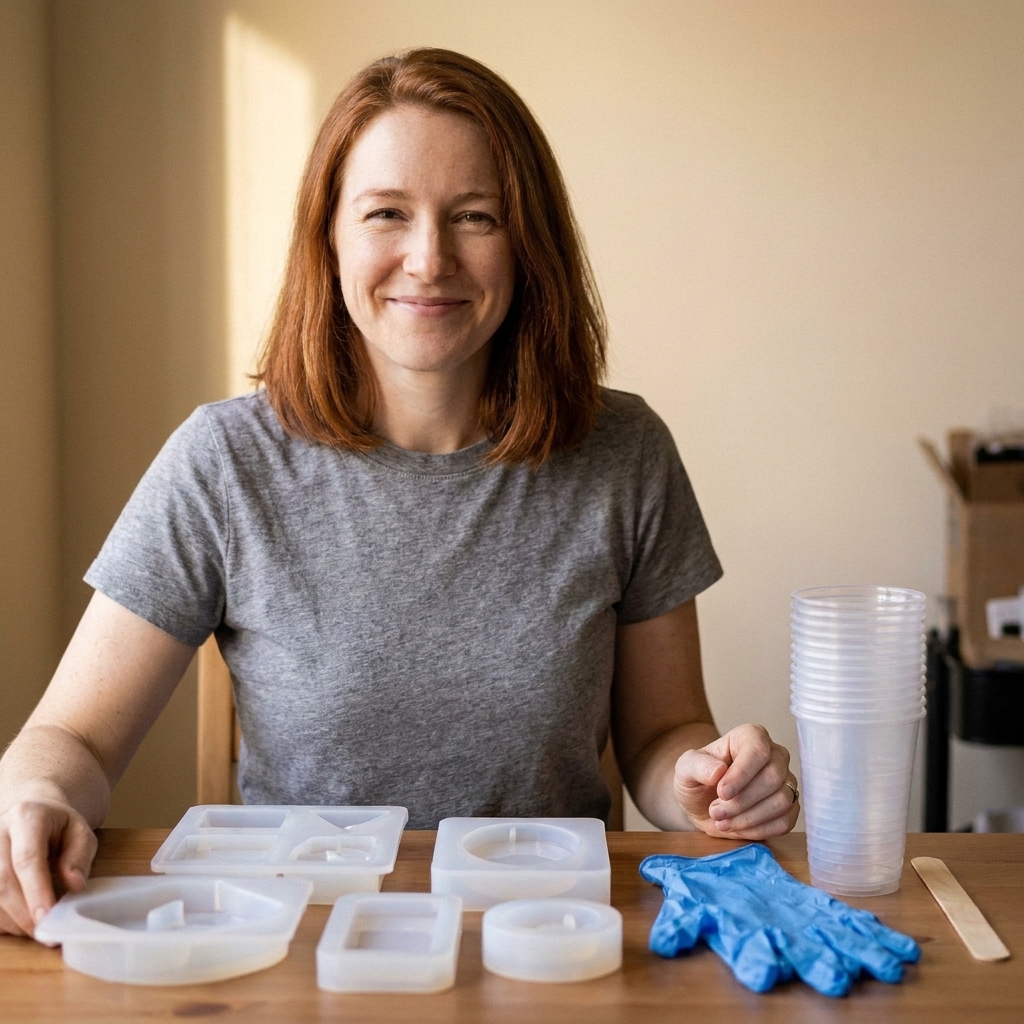
Get cleaner casts and longer-lasting molds with practical tips on choosing beginner-friendly silicone molds, prepping for glossy pours, safe demolding, clean...
Resin Serving Tray With Handles

Ruby Fletcher
Ruby Fletcher is a dedicated resin crafter with years of hands-on experience pouring, molding, and creating custom epoxy art. After turning her dining room into a makeshift studio, she developed a passion for helping beginners navigate the sticky, colorful world of resin with confidence. She loves sharing practical tutorials, troubleshooting tips, and essential safety guides to make epoxy crafting accessible for everyone.
Published · Last updated
The first time I tried making a resin serving tray with handles, I learned two things fast: epoxy will find the tiniest gap in your mold like it is on a mission, and “I’ll just eyeball where the handles go” is how you end up with a tray that twists in your hands. The good news is that once you know how to prevent leaks and how to anchor hardware correctly, trays become one of the most satisfying functional pours you can make.
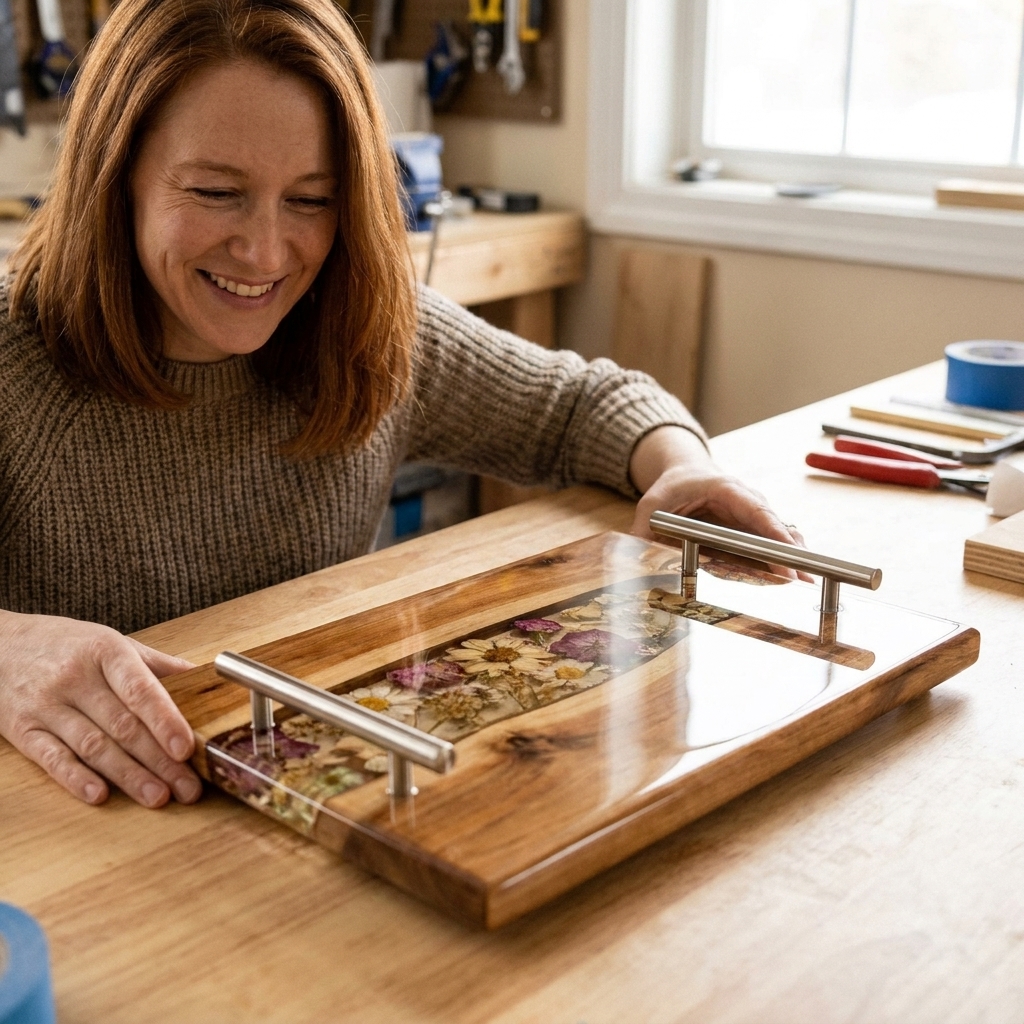
This guide walks you through the whole process, including the unglamorous parts that make the difference: sealing edges, taping like you mean it, and installing handles so they stay put.
Safety and workspace setup
Serving trays use enough resin that you want your setup dialed in before you mix anything. I work in the Pacific Northwest where weather swings are real, so I pay attention to airflow and curing conditions every time.
- Ventilation and PPE: Use a properly fitted respirator, nitrile gloves, and eye protection. If you need a refresher, start with Getting Started & Safety and resin safety gear basics.
- Protect your table: Resin drips happen. Cover your work surface with a spill-safe barrier. I keep a dedicated setup based on mats and coverings that actually handle resin spills.
- Control temperature: Most epoxies cure best in a warm, stable room. Cold resin gets thicker (harder for bubbles to rise and for the surface to level), and the cure can slow down or stall. If you are working in a garage or basement, check ideal temperature and humidity for curing.
What you need
Materials
- 2-part epoxy resin suitable for casting or deep pours (choose based on tray depth)
- Tray mold (silicone tray mold, or a DIY tray form)
- Pigments: mica powders, resin dyes, alcohol inks, or glitter (optional)
- Metal handles and matching screws (or Chicago screws), plus washers if needed
- Isopropyl alcohol (for wiping cured surfaces and tools)
- Painters tape or packing tape (for leak prevention on DIY forms)
- 100% silicone caulk (neutral cure is usually easiest to work with) or hot glue (for temporary sealing on forms)
Tools
- Level (small torpedo level is perfect)
- Mixing cups and stir sticks
- Scale (helpful even for “1:1 by volume” resins if you want repeatability)
- Heat gun or torch for bubbles (used carefully)
- Drill and bits (only if you are drilling a cured tray)
- Clamps (optional, for DIY forms)
If you are newer to resin, I recommend reviewing how to measure and mix 2-part epoxy resin before you commit to a big pour.
Pick a mold or form
Silicone tray mold
A good silicone mold is the least stressful route. It is already watertight, and the edges are clean. The big gotcha is that thin, floppy molds can bow if the resin is heavy, so support them on a rigid board.
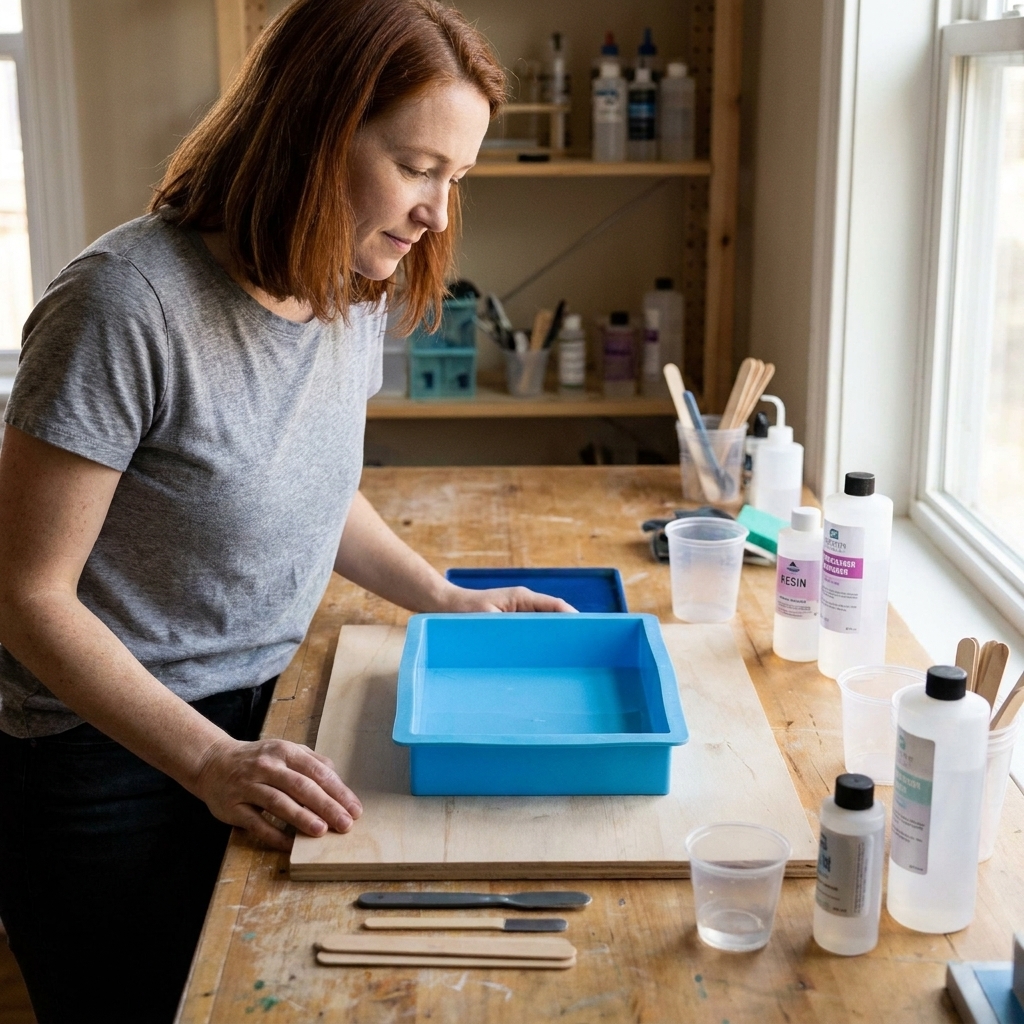
DIY tray form
A DIY form is usually made from melamine, acrylic, HDPE, or sealed wood with a taped inner surface. These can work beautifully, but every seam is a potential leak path. You will spend more time sealing than pouring, and that is normal.
Quick resin choice note: If your tray is more than a thin pour, use a casting or deep-pour epoxy rated for that depth. Coating resins are meant for thinner layers and can overheat or crack if poured too deep at once.
Stop leaks
If you take nothing else from this article, take this: resin leaks are mostly seam problems. Fix the seams and you fix the tray.
1) Level first
Get your surface level before you build anything. A tray can look fine and still cure with a slope that makes it feel cheap and wobbly in use.
- Level the worktable or shim your tray base board.
- Check level in two directions.
2) Tape like it is holding water
For DIY forms, I like smooth packing tape on the base and up the sides because resin releases more easily from it. Burnish the tape down with a scraper or an old gift card so it bonds tight with no wrinkles. Resin can creep into tiny tape edges more easily than water, so tight seams matter.
- Overlap tape seams so resin cannot sneak under an edge.
- Avoid textured tapes inside the tray area. Texture can imprint.
3) Seal every seam with one continuous bead
This is where most first trays fail. You want a continuous seal, not dots.
- Best seal: a thin bead of silicone caulk along all inside seams, smoothed with a gloved finger or a silicone tool.
- Compatibility note: neutral-cure silicone is usually a good choice, but different tapes and plastics can react differently. If you are trying a new combo (tape, board, caulk), do a tiny test seal first and let it sit overnight.
- Fast seal: hot glue can work, but it can lift if your resin gets warm. Use it only for shallow pours and test first.
4) Do a water test
Before resin, pour a little water into the form and let it sit for a few minutes. If it leaks, resin will leak. Dry completely before proceeding.
5) Seal porous inclusions
If you are embedding wood, paper, or dried botanicals, seal them or they can off-gas tiny bubbles and create bubble trails near edges.
- Paper and photos: use the method in how to seal and embed photos or paper.
- Flowers: see how to dry and embed real flowers.
If you do everything right and still end up with a soft, bendy rim or tacky spots near a seam, check my troubleshooting guide: 8 reasons epoxy resin is sticky or soft.
Plan handle placement
Handles are not just decorative. They concentrate stress into a small area, especially when someone loads the tray with mugs or a heavy vase. Planning now prevents cracks later.
Pick hardware that holds up
- Material: stainless steel and solid brass tend to hold up better than thin plated metals, especially if your tray gets wiped down often.
- Hole spacing: measure the handle hole-to-hole distance and confirm your tray has enough flat area where the handle lands.
- Anti-loosening: if your screws love to wiggle loose, a tiny amount of removable thread locker can help, but test first and keep it off the resin surface. Some products can haze or stress certain plastics.
Choose your handle style
- Through-bolted handles (most secure): screws pass through the tray wall or base and tighten with nuts or Chicago screws.
- Surface-mounted handles (least secure on resin): tiny screws bite into resin only. I avoid this unless the tray has a thick wooden base or embedded anchor points.
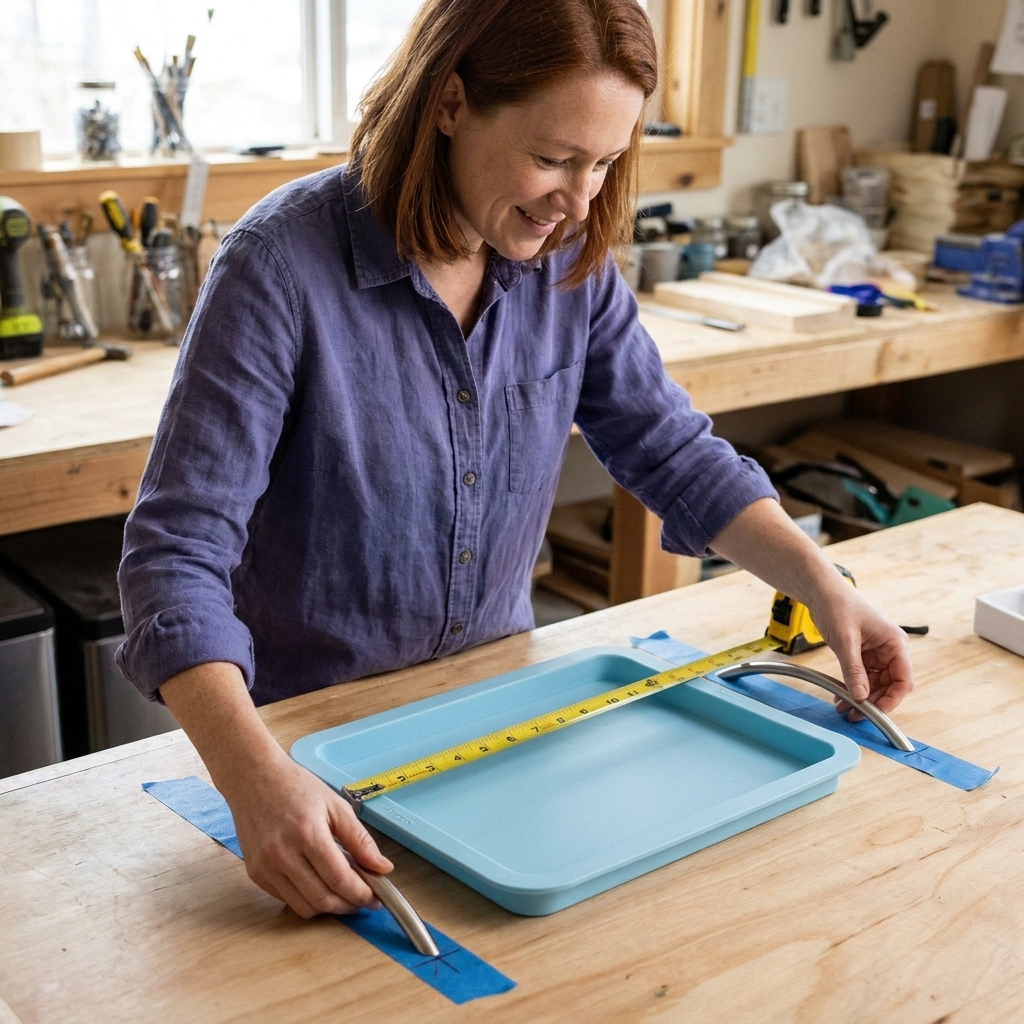
Mark your handle locations
Dry fit your handles and mark placement with a fine marker on the outside of the mold or on painter’s tape. Check:
- Equal distance from each end
- Same height on both sides
- Comfortable finger clearance
Decide how you will anchor the hardware
You have two reliable options for resin trays:
- Method A: Drill after curing (most common)
- Pour and fully cure the tray.
- Drill holes for the handle screws.
- Install with washers and nuts or Chicago screws.
- Method B: Embed anchors during the pour (cleanest underside)
- Embed threaded inserts, T-nuts, or a metal backer plate in a mid-layer.
- After cure, attach handles to the embedded anchor points.
For beginners, I recommend Method A. Embedding anchors is totally doable, but it requires careful timing and a clean layout.
Pour the tray
1) Mix thoroughly, then rest
Mix resin exactly per the manufacturer instructions. Scrape the sides and bottom, then transfer to a new cup and mix again if you want the safest results. Let the cup sit for a minute or two so some bubbles rise.
If you are new to coloring resin, my color guide is here: how to color epoxy resin.
2) Pour slowly
Pour into the center and let resin flow outward. This helps avoid trapping air along the walls, especially in detailed silicone molds.
3) Bubble control without scorched silicone
A quick pass with a torch can pop surface bubbles, but keep it moving and do not linger near silicone edges. A heat gun is gentler but can push resin around.
Some makers lightly mist isopropyl alcohol to help pop surface bubbles on certain resins. If you try it, use a very light mist, do not flood the surface, and test on a small piece first since it can affect the finish on some formulas.
I break down the pros and cons here: heat gun vs butane torch for resin bubbles, plus a deeper bubble guide in preventing and removing micro-bubbles.
4) Pour in layers for embeds
If you are placing dried flowers, glitter mixes, or chunky inclusions, layer pours help keep items from floating or sinking. Layering also reduces heat buildup in deeper trays.
For crisp, invisible layers, use my technique here: pouring in layers without visible lines.
Install handles
Method A: Drill after cure
This method is forgiving, strong, and easy to repair if you mis-measure.
Step 1: Cure fully
“Demold time” is not always “hardware time.” If you drill too early, resin can gum up, chip, or deform around the hole. Give it the cure time listed by your resin brand. Many epoxies feel hard in 48 to 72 hours, but full mechanical strength can take longer, sometimes up to a week. Check your label.
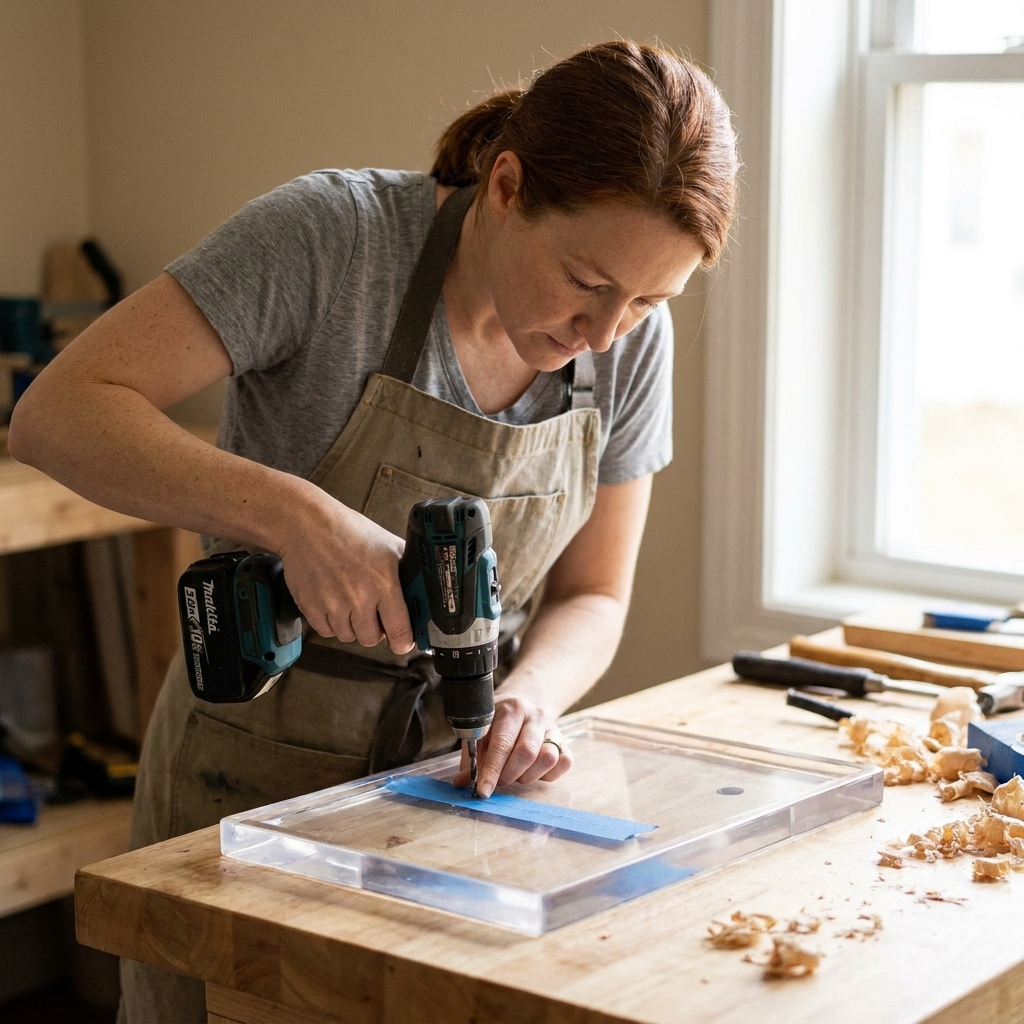
Step 2: Mark and tape
- Place painter’s tape where you will drill to help prevent skating and chipping.
- Measure twice. Then measure again from the opposite side.
Step 3: Use the right bit and go slow
- Start with a small pilot hole, then step up to your final size.
- A sharp brad-point bit or a step bit often gives cleaner holes than forcing a dull twist bit.
- Support the underside with a scrap block so the bit does not blow out the back.
- If you can, clamp the tray securely so it does not chatter.
If you want the full drilling technique (including how to avoid cracks), I walk through it here: how to drill cured resin. It is written for jewelry, but the drilling fundamentals are the same.
Step 4: Install with washers
For serving trays, I strongly prefer hardware that spreads load:
- Use a washer under the screw head and under the nut when possible.
- Tighten until snug, then stop. Overtightening can create stress fractures later.
Step 5: Optional reinforcement
If the handle area feels thin, you can reinforce it by adding a small cured resin pad on the underside first, then drilling through both. Think of it as a built-in washer made of resin.
Method B: Embed anchors during the pour
This is the cleanest look, especially if you hate visible nuts or you want a sleek underside.
Step 1: Plan anchor depth
You want your threaded insert or backer plate buried enough to disappear, but not so deep that the screws cannot reach.
Step 2: Pour a base layer and wait for gel
Pour your first layer, then wait until it reaches a thick, honey-like stage where anchors will not sink, but will still bond chemically. Timing depends on your resin and room temperature.
Step 3: Place anchors and topcoat
- Set inserts or a backer plate where the handles will go.
- Pour the next layer to fully encapsulate, keeping resin level.
Step 4: Attach handles after cure
Once cured, attach handles into the embedded anchor points.
If you have ever used resin to secure jewelry findings, the mindset is similar. This guide can help you think through bonding and load points: glue and embed hardware in resin.
Demold and finish
Demold slowly
Flex silicone molds slowly and evenly. For DIY forms, remove clamps and walls carefully so you do not chip edges.
Clean the rim and underside
If you have sharp edges or a thin flash line, sanding and polishing makes the tray feel store-bought.
My full finishing process is here: how to sand and polish epoxy resin.
Add feet (optional)
Small rubber feet keep the tray from rocking and protect surfaces. They also help if your tray has slight underside texture from a DIY form.
Troubleshooting
If resin leaks during the pour
- Do not pick up the mold. Movement makes leaks worse.
- Use a thick bead of hot glue on the outside of the leak point (for DIY forms) as an emergency stopgap.
- If the leak is major, let it gel, then rebuild the form and do a second pour.
If the tray cures with a slope
- It is almost always a leveling issue. Fix the surface next time.
- Small slopes can sometimes be disguised with taller feet on the low side.
If handles feel loose
- Add washers to spread load.
- If your screw length is barely catching, swap to longer screws or Chicago screws.
- If holes are oversized, the strongest fix is usually to re-drill cleanly to a slightly larger size and switch to hardware that fits (like Chicago screws), or use a snug sleeve or spacer. Filling with fresh resin can work, but let it cure fully before re-drilling and expect a bit more fuss to keep everything centered.
If the surface is cloudy or dull
Cloudiness is usually moisture, temperature, or mixing issues, or sanding without polishing back to gloss. This guide helps pinpoint the cause: why resin turns cloudy. (The reasons are the same for home decor pieces.)
Care and use
- Hand wash only: Avoid dishwashers and soaking.
- Heat caution: Even fully cured epoxy can soften with heat (the exact temperature depends on the brand). Use coasters for hot mugs and do not set hot pans on it.
- Skip harsh cleaners: Mild soap and water is plenty.
- Food contact: I treat resin trays as carry and display pieces for serving on dishes, not as direct food-contact boards. Do not cut on them. Only use direct food contact if your specific resin is explicitly certified for that purpose.
- Felt pads for decor: If you use the tray under candles or vases, felt pads help prevent scratches.
Quick FAQ
How thick should a resin serving tray be?
It depends on size and handle placement, but for medium to larger trays I like a base around 10 to 12 mm thick (about 3/8 to 1/2 inch) so it does not flex when lifted one-handed. If your tray is thinner than that, plan on reinforcement in the handle area or an embedded backer plate.
Can I just screw handles into resin without nuts?
I do not recommend it for functional trays. Resin does not hold screw threads the way wood does. Through-bolting with washers is much more durable.
Should I use UV resin for a tray?
For full-size trays, 2-part epoxy is the practical choice. UV resin is better for smaller projects and shallow areas. If you are deciding between the two, see UV resin vs 2-part epoxy.
If you make a tray you love, you are officially in the “functional resin” club, which is my favorite corner of the craft room. When you are ready for more, browse Home Decor & Functional Art for projects that use the same skills: clean edges, sturdy pours, and pieces you can actually use.


