Micro-bubbles can turn a “clear” epoxy pour hazy fast. Learn where they come from, how to prevent them with warm resin and slow mixing, plus the best ways to...
Smooth Resin Cabochons for Beaded Settings

Ruby Fletcher
Ruby Fletcher is a dedicated resin crafter with years of hands-on experience pouring, molding, and creating custom epoxy art. After turning her dining room into a makeshift studio, she developed a passion for helping beginners navigate the sticky, colorful world of resin with confidence. She loves sharing practical tutorials, troubleshooting tips, and essential safety guides to make epoxy crafting accessible for everyone.
Published
The first time I tried making resin cabochons for bead embroidery, I figured it would be easier than coasters. Tiny mold, tiny pour, done. Instead I got a whole sampler pack of problems: micro bubbles at the surface, a few cloudy spots, and one cabochon with a back so uneven it rocked in the bezel like a wobbly table.
The good news is that cabochons are absolutely beginner friendly once you treat them like what they are: precision jewelry components. In this guide, I will show you how to cast flat-backed resin cabochons that come out smooth, clear, and the right thickness for wire-wrapping, bead embroidery, or gluing into traditional metal settings.
What makes a cabochon work
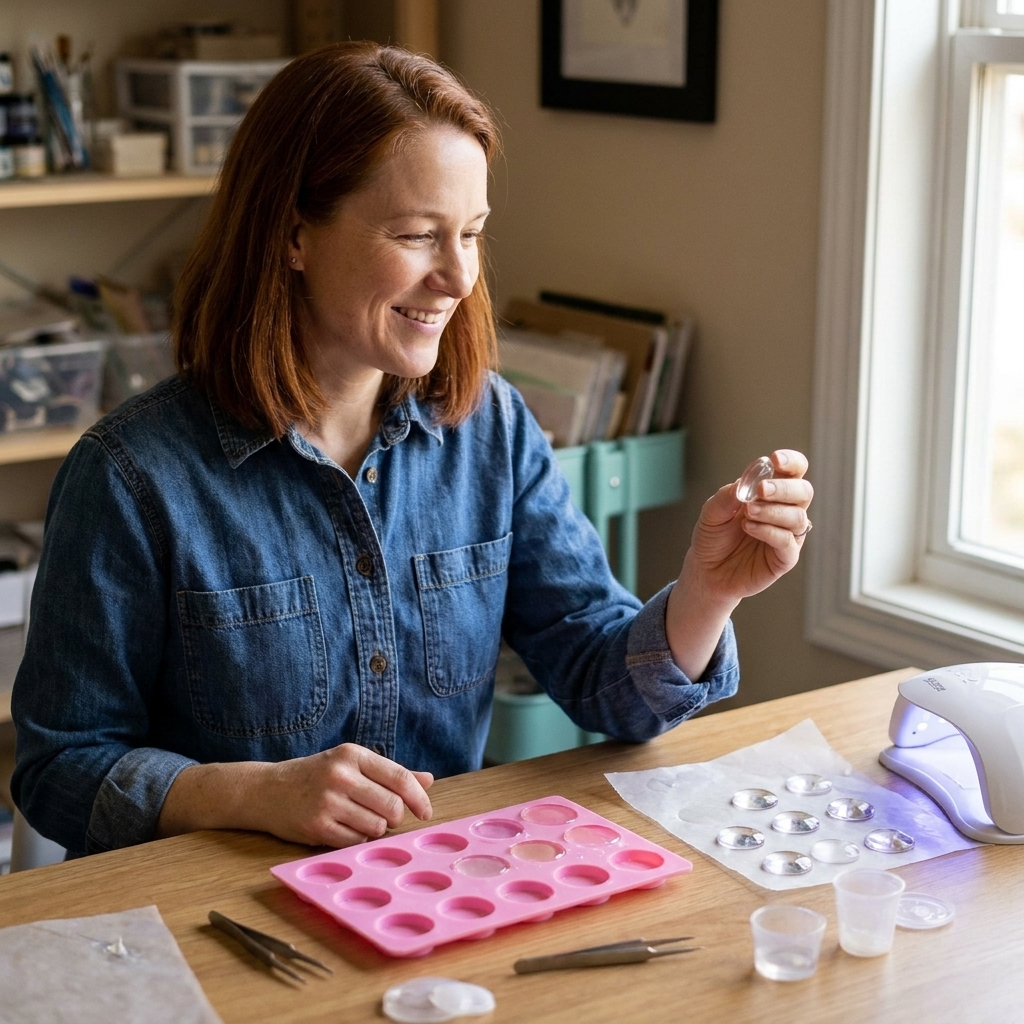
A good resin cabochon is more than just pretty. It needs predictable shape so your bezel, stitching, or wire wrap does not fight you.
- Flat back so it sits flush in a glue-in blank or on beading foundation.
- Smooth face so you can leave it as-cast or dome it without extra sanding.
- Consistent thickness so your setting depth matches and your piece does not look sunken.
- Clean edges so thread and wire do not snag.
If your pieces are coming out tacky, rubbery, or permanently soft, fix that first. I keep this troubleshooting guide bookmarked: 8 reasons your epoxy resin is sticky or soft and how to fix it.
Choose resin for cabochons
2-part epoxy vs UV resin
Both can make cabochons, but they behave differently.
- 2-part epoxy is my go-to for batches. It self-levels nicely, has a longer working time, and usually cures very clear when your mix is accurate. If you are new, read how to measure and mix 2-part epoxy resin before your first jewelry pour.
- UV resin is great for fast single pieces and shallow molds, but it can stay tacky if it is under-cured (wrong lamp, too thick, too opaque) or oxygen-inhibited at the surface. If you love quick projects, you might also like fast UV resin pendants in small silicone molds.
For beaded settings, I like a cabochon that is rigid, not bendy. Look for a resin marketed for casting or jewelry, not a flexible coating resin.
Clarity tip that saves frustration
Many “cloudy cabochon” complaints are really moisture, temperature, or mixing issues. If yours are hazy or milky, see why your resin jewelry is cloudy and check your room conditions with ideal temperature and humidity for epoxy resin curing.
Supplies for consistent cabochons
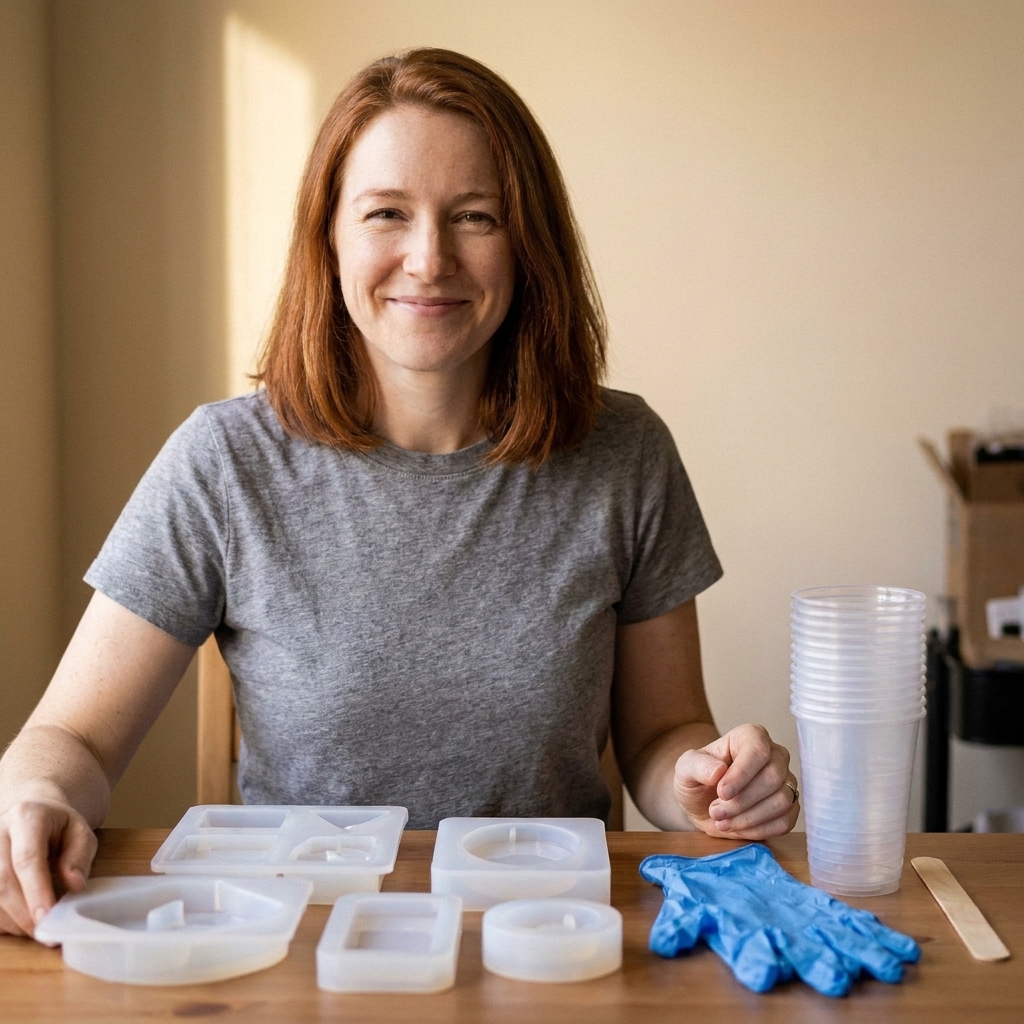
You do not need a huge setup, but the small tools matter more at this scale.
- Silicone cabochon molds (smooth interior, no lint or residue). See silicone molds for resin: choose, prep, and care.
- 2-part epoxy resin or UV resin
- Nitrile gloves, eye protection, and good ventilation
- Mixing cups and stir sticks (flat sticks help scrape sides)
- Toothpicks or a fine silicone tool for popping bubbles
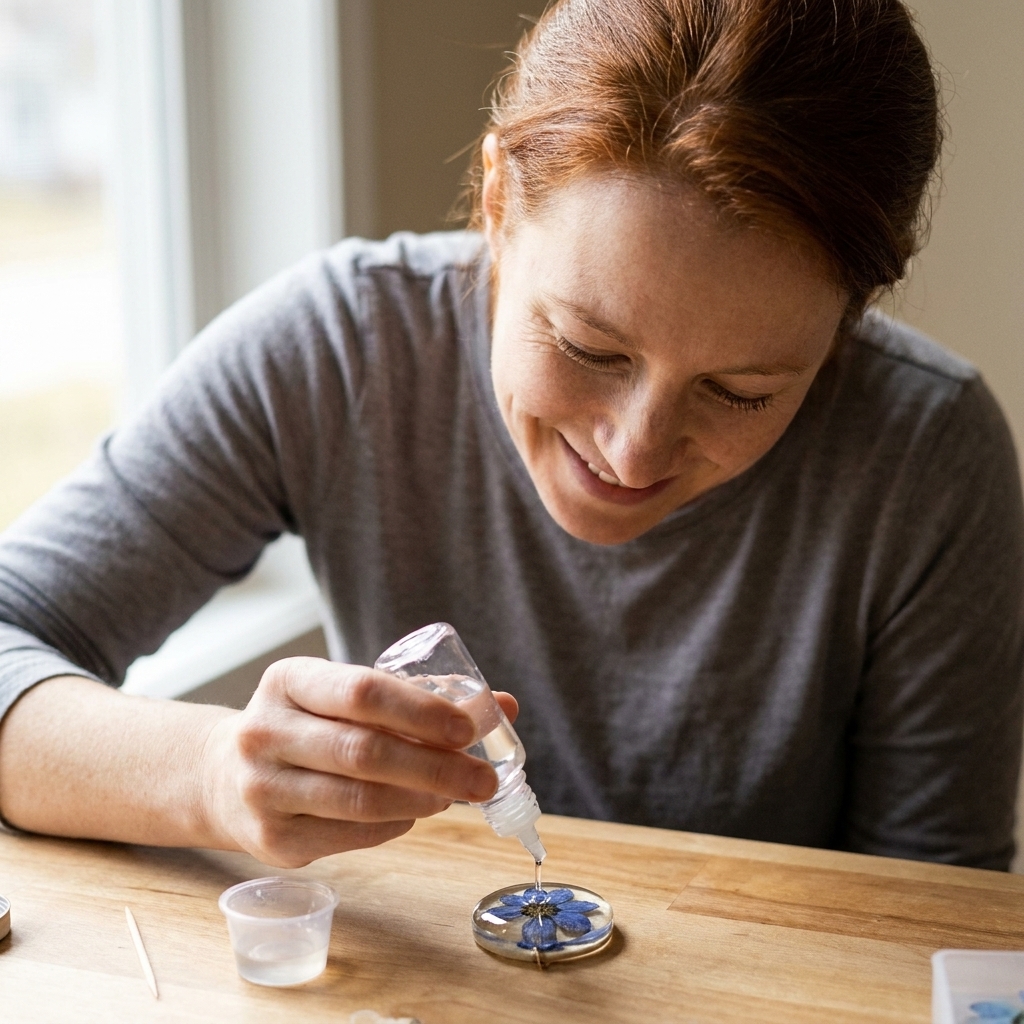
- A small pipette, squeeze bottle, or fine-tip pouring cup (this is what keeps you from overfilling tiny cavities)
- A heat tool for surface bubbles (used gently). I break this down here: heat gun vs butane torch for resin bubbles
- A truly level surface (a tiny tilt will show up as uneven thickness)
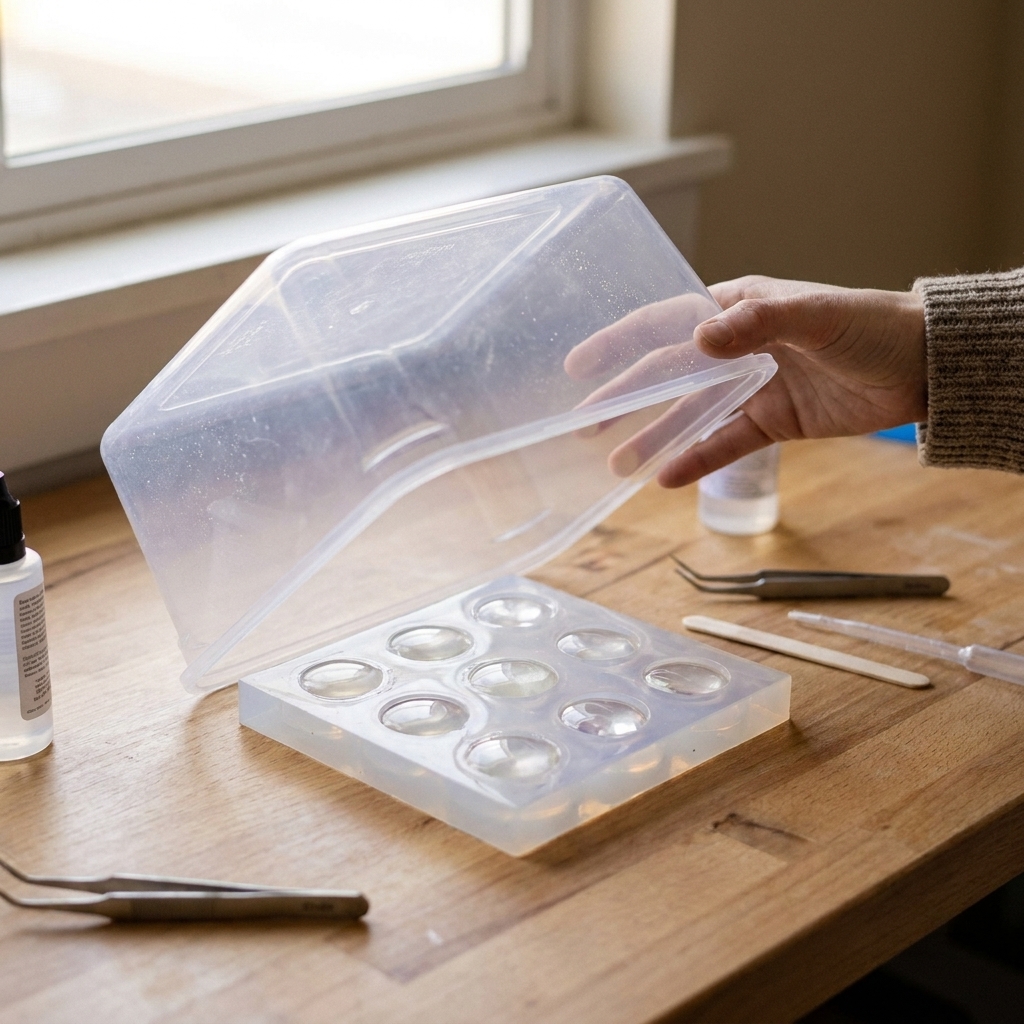
- Dust cover (a plastic bin works)
- Optional: isopropyl alcohol for epoxy surface bubbles, used cautiously (a very light mist from a distance, only after testing on a spare piece). Too much can cause pitting, fish-eyes, or haze, and I avoid it on doming layers.
For safety and workspace setup, these are my baseline guides: Getting Started & Safety and set up a safe, ventilated resin workspace at home.
Prep: mold, room, dust
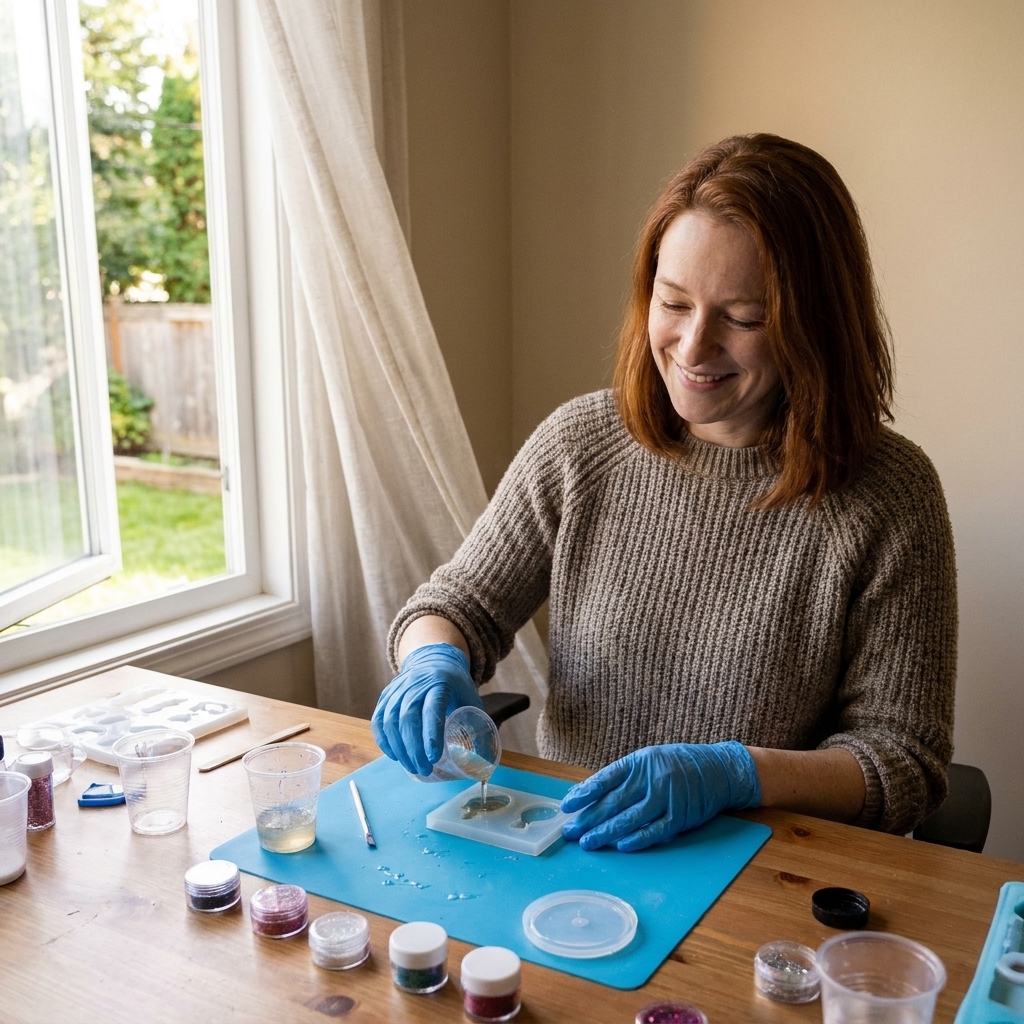
Clean the mold
Cabochon molds show everything. A single hair or speck of mica becomes a permanent fossil.
- Wash new molds with mild dish soap and warm water, then air dry fully.
- Use tape or a lint roller to lift dust from the cavities right before pouring.
- Avoid paper towels inside cavities. They can leave lint and sometimes dull the finish.
Warm resin, not hot resin
If your resin is thick and cold, it holds bubbles like a sponge. I like to warm the closed bottles in a bath of warm water for 5 to 10 minutes, then dry them off completely before opening. The goal is “flows like honey,” not “feels hot.”
Check level once
For cabochons, a tiny tilt becomes a thicker edge, and that is when cabochons refuse to sit nicely in a bezel. I use a small level and shim my table legs if needed. If your mold is floppy, set it on a rigid tray so it stays flat.
Match your size before batching
Cabochon sizes are usually listed in millimeters, and blanks are not as standardized as we all wish. Before you pour a whole tray, confirm your mold cavity size matches your blanks (common sizes are 18 mm, 20 mm, 25 mm). I do a quick dry-fit test with one cured cabochon before I commit to a big batch.
Step-by-step: epoxy cabochons
- Measure accurately. Follow your resin’s ratio exactly. Jewelry pieces are small, but inaccurate measuring still causes soft cures. Use this measuring and mixing guide if you are unsure.
- Mix slowly and thoroughly. Scrape the sides and bottom. Stirring slowly reduces bubbles, and thorough mixing prevents sticky spots.
- Rest the cup briefly. Let it sit 2 to 5 minutes so bubbles rise. I loosely cover it (even a clean card works) so dust does not land in the resin while it rests.
- Fill with control. Use a pipette, squeeze bottle, or a very small spout. Aim resin into one side of each cavity and let it flow across. This helps push air out instead of trapping it, and it keeps you from accidentally flooding the rim.
- Pop surface bubbles. Use a toothpick to tease bubbles to the surface, then give one quick pass of gentle heat. Keep the tool moving and do not hover.
- Fill to the rim for a flat face. If you want a crisp flat top, stop at the rim, not above it. Only overfill if your mold is designed for a dome and you want that shape.
- Cover and cure. Put a dust cover over the mold and leave it on a level, stable surface for the full time listed by the manufacturer. For gluing, sanding, drilling, or doming, I wait for full cure time, not just “hard to the touch.”
If you are fighting tiny bubbles that appear after pouring, this deep dive helps: how to prevent and remove micro-bubbles in epoxy resin.
Quick UV cabochon method
If you are using UV resin instead of epoxy, the big rule is thin, even layers so light can reach through.
- Work in thin layers rather than one deep pour.
- Keep pigments and glitters light. Opaque color can block cure.
- Cure for the full time recommended for your lamp, and if the mold allows it, cure from multiple angles or flip and cure the back after demolding.
- If the surface is tacky, it is usually under-cure or oxygen inhibition, not a mixing problem. A longer cure and a second pass from a different angle often fixes it.
If you are still deciding which resin to buy for cabochons, this comparison can help: UV resin vs 2-part epoxy: what beginners should choose.
Glassy tops without sanding
The smoothest cabochons usually come from a clean mold, careful bubble control, and resisting the urge to fuss with them mid-cure.
Use the mold finish
Glossy silicone gives you a glossy cabochon. If your mold is older and has gone a bit matte or scratched, the resin will copy that texture.
When to dome a cabochon
If you want that high-gloss “gem” look, doming is easier than sanding and polishing a whole batch.
- Demold and let the cabochons finish curing until firm and non-tacky.
- Set them on a level surface protected with a resin-safe mat.
- Add a controlled dome coat.
I walk through doming technique here: how to dome resin on jewelry and small crafts.
Flat backs for bezels and stitching
Stop the rocking problem
If your flat backs are uneven, it usually comes from one of these:
- Mold flexing while curing. Set the mold on a rigid tray or clipboard so it stays flat.
- Unlevel surface. Recheck level and stabilize your work area.
- Demolding too early. Let it fully cure. Early demolding can distort the base.
Plan thickness
Before you pour a whole batch, test one cavity and measure thickness after cure. Many metal blanks are shallower than people expect. A cabochon that is too thick sits proud and looks unfinished. Too thin can look cheap and may flex during stitching.
Make backs grippy for glue
If you are gluing into a bezel or onto a backing, a super glossy back can reduce grip. I lightly scuff just the back with fine sandpaper, wipe off dust, and then glue. For adhesives, I have the best luck with a small amount of jewelry epoxy or a gel cyanoacrylate, pressed in place and held still until it grabs. If you want to polish edges or faces later, use: how to sand and polish epoxy resin.
Color and embeds
Color that stays clear
For cabochons that still read as “glass,” less colorant is more. Over-pigmenting can make resin cure soft or cloudy. For safe options and ratios, see how to color epoxy resin.
Glitter and tiny embeds
Cabochons look gorgeous with shimmer, but sinking happens fast in small pours. Use lightweight glitters, pour in stages if needed, and keep your mix-ins sparse so you do not create voids around them. This guide is my favorite for suspension tricks: how to suspend glitter, beads, and gold leaf without sinking.
Flowers and paper
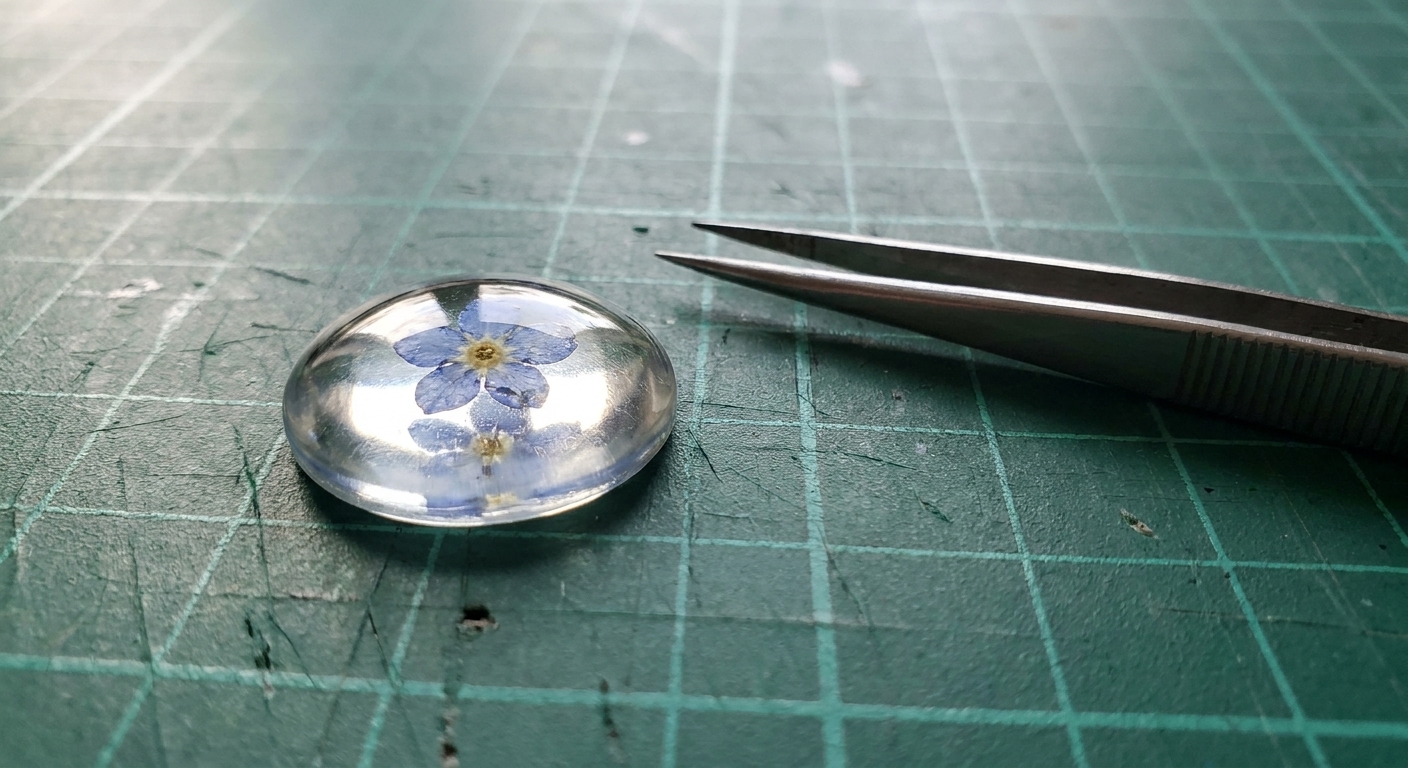
Pressed flowers from my garden are still my weakness, but they must be fully dry and sealed if needed, or you risk bubbles and browning. Start here: how to dry and embed real flowers in epoxy resin. For book pages or printed images, use: how to seal and embed photos or paper in resin.
Demold cleanly
- Wait for full cure. “Hard to the touch” is not always fully cured. For gluing, doming, sanding, or drilling, wait the full manufacturer cure time (and add extra time if your room is cool).
- Peel the mold, do not pry the cabochon. Flex the silicone away from the resin and let the piece release.
- Handle by the edges. Freshly cured resin can pick up skin oils that look like dull patches until you wipe and polish.
If you ever do get resin on your skin, do not panic and do not use harsh solvents. Use this safe cleanup guide: epoxy resin on skin: removal and prevention.
Common fixes
Bubbles clustered at the surface
- Warm resin bottles first, then mix slowly.
- Fill from one side of the cavity so air can escape.
- Use a toothpick to coax bubbles out of corners.
- Use gentle heat in quick passes. Too much heat can ripple the surface.
Cloudy or hazy cabochons
- Check temperature and humidity. Resin hates cold and moisture. See ideal temperature and humidity for curing.
- Measure and mix accurately, scraping sides and bottom.
- Avoid adding water-based colorants or wet inclusions.
Soft or tacky pieces
- Confirm correct ratio and full mixing time (epoxy), or adequate lamp cure and thin layers (UV).
- Let them cure longer in a warm, stable spot.
- Review troubleshooting here: sticky or soft resin fixes.
Rough edges or sharp flash
- Overfilling is the usual culprit. Fill to the rim and stop.
- For thin flash, support the cabochon and trim carefully with small sharp scissors, flush cutters, or a craft knife after full cure. Then lightly sand edges if needed.
Use cabochons in jewelry
Glue-in metal blanks
Make sure the cabochon fits without forcing. If you need to adjust the edge, do it slowly with fine sanding. Wipe dust away, then glue.
Bead embroidery
For stitched bezels, consistency is everything. Cast a small set from the same mold cavity so size and thickness match. Your beadwork will sit more evenly, and your thread tension will feel predictable.
Wire-wrapping
Wire loves a clean edge and a stable dome. If your cabochon is very domed, choose a wrap style that cradles the curve. If you prefer a flatter face for cleaner lines, cast flush and dome lightly only if you want extra shine.
Quick FAQ
Do I need mold release?
Usually no. Good silicone releases resin well, and release sprays can leave residue that dulls the surface. If you are struggling with sticking, it is often an old or damaged mold rather than lack of release.
Can I sand the front if it comes out matte?
Yes, but it is work. Sanding and polishing can restore clarity, especially on edges. For a faster glossy finish, many crafters prefer a thin dome coat on the face instead.
How do I keep dust out while curing?
A simple plastic bin flipped upside down is my favorite. Just make sure it does not touch the resin surface and that your surface is level.
My best cabochon habit
When I want a truly professional batch, I do one “test pour” first. One cavity, same pigments, same room conditions, same heat routine. If it cures crystal clear and smooth, I pour the rest. It feels slow, but it saves me from wasting time and resin on a whole tray of almost-right pieces.
If you want to explore more projects like this, you can browse the full Resin Jewelry Making collection on Resin Whirl.