Stop tacky, uncured epoxy. Follow this step-by-step mixing method: confirm ratios, measure by volume or weight, stir slowly while scraping, then do a two-cup...
Micro Pours for Tiny Resin Stud Earrings

Ruby Fletcher
Ruby Fletcher is a dedicated resin crafter with years of hands-on experience pouring, molding, and creating custom epoxy art. After turning her dining room into a makeshift studio, she developed a passion for helping beginners navigate the sticky, colorful world of resin with confidence. She loves sharing practical tutorials, troubleshooting tips, and essential safety guides to make epoxy crafting accessible for everyone.
Published · Last updated
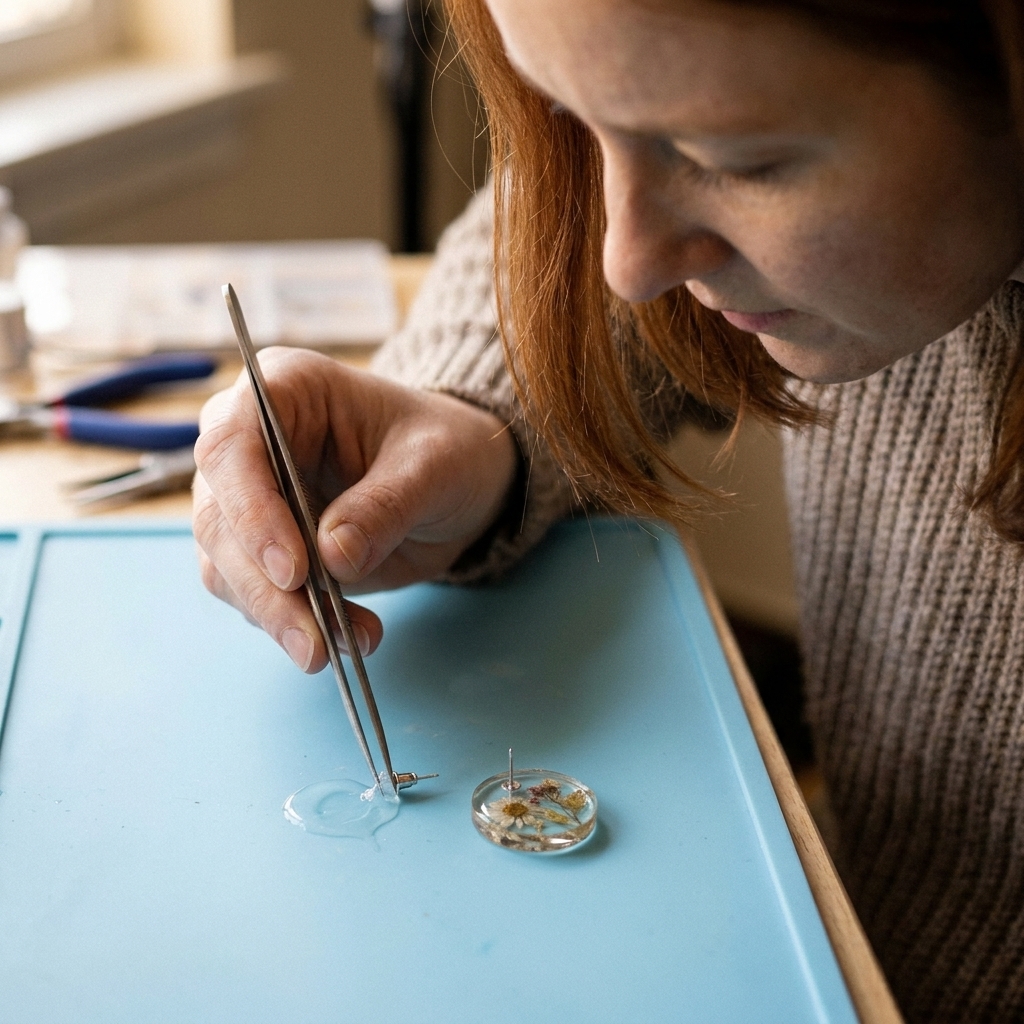
The first time I tried making resin stud earrings, I treated them like mini coasters. Same mixing cup, same stir stick, same confident pour. Ten minutes later I had two perfect little domes… attached to the mold by a thin resin flood, plus a constellation of bubbles trapped right where the posts would go.
Studs are their own craft category. The volumes are tiny, the margins for error are even tinier, and the problems show up fast: slightly off-ratio mixing, a bubble the size of a pinhead, a single speck of dust, and it all looks "off" at arm’s length.
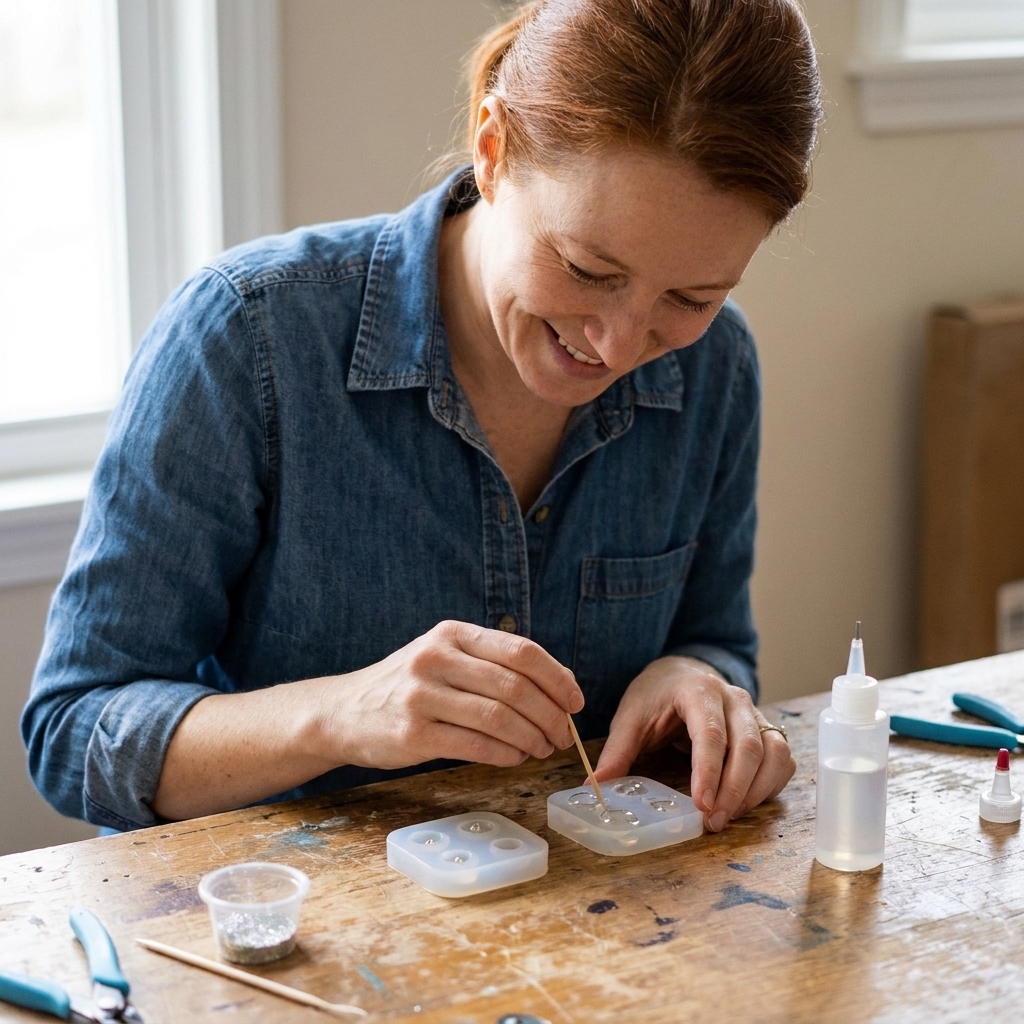
This guide is my beginner-friendly approach to micro pours: how to mix accurately at small volumes, how to pour neatly into tiny cavities, and how to get bubble-free faces and clean backs that actually sit flat on your ear.
What makes micro pours tricky
When you’re working with stud molds, you’re often mixing just a few grams of resin. That changes everything:
- Mixing errors matter more. A tiny ratio mistake can turn into sticky, soft studs.
- Bubbles have nowhere to go. In shallow, narrow cavities, bubbles cling to edges and corners.
- Surface tension is bossy. It loves to dome in round cavities, and it can pull back from sharp corners if you don’t coax it in.
- Your working time can shrink. This is most noticeable while resin sits in a mixing cup (especially a deep cup) in a warm room. Once resin is spread thin in the mold, it usually behaves more calmly.
If you’re new to measuring and mixing, start with my step-by-step mixing guide here: How to Measure and Mix 2-Part Epoxy Resin.
Safety first (especially with jewelry)
Even though studs are small, you still need the full safety routine. Resin is resin.
- Ventilation: Work in a well-ventilated space and avoid lingering over the cup while you stir. I walk through setup ideas here: Set Up a Safe, Ventilated Resin Workspace at Home.
- Skin protection: Wear nitrile gloves. If resin gets on you, clean it promptly and correctly: Epoxy Resin on Skin: Removal and Prevention.
- Eye protection: Especially if you’re popping bubbles with heat or trimming cured pieces.
- Dust control: Sanding resin creates fine dust. Wet sand when possible and clean up carefully.
Supplies that make tiny stud pours easier
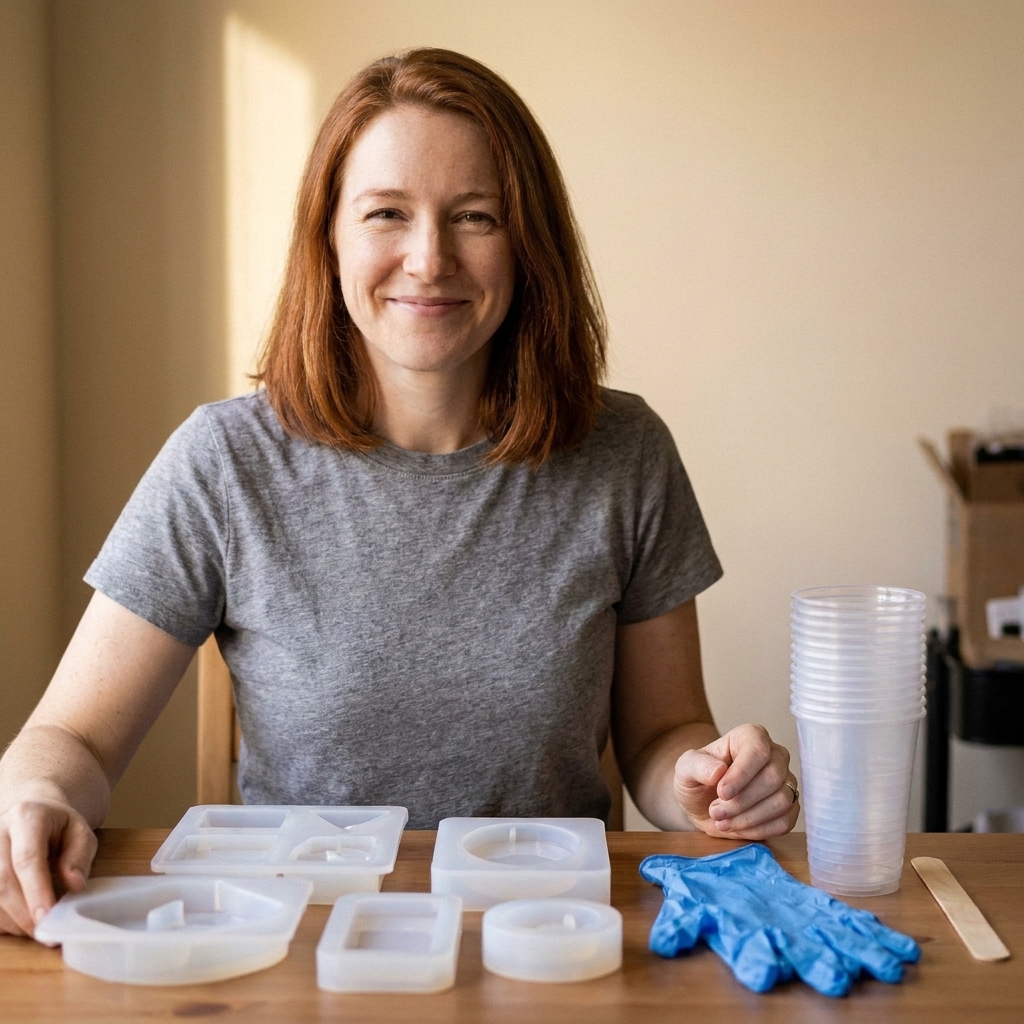
You can absolutely make studs with basic supplies, but a few small tools make a massive difference in neatness and bubble control.
Resin and molds
- 2-part epoxy resin that cures hard (for beginners, a longer working time is your friend).
- Stud earring silicone mold with clean, glossy cavities. Cloudy, scuffed molds transfer that dullness to your studs. Mold care tips are here: Silicone Molds for Resin: Choose, Prep, and Care.
Micro tools (my must-haves)
- Digital scale that reads to 0.01 g if possible. For micro pours, this is the biggest upgrade.
- Small mixing cups (shot-cup size) plus one extra for a double-cup mix.
- Silicone stir sticks or narrow craft sticks for scraping the sides clean.
- Toothpicks for chasing bubbles out of corners.
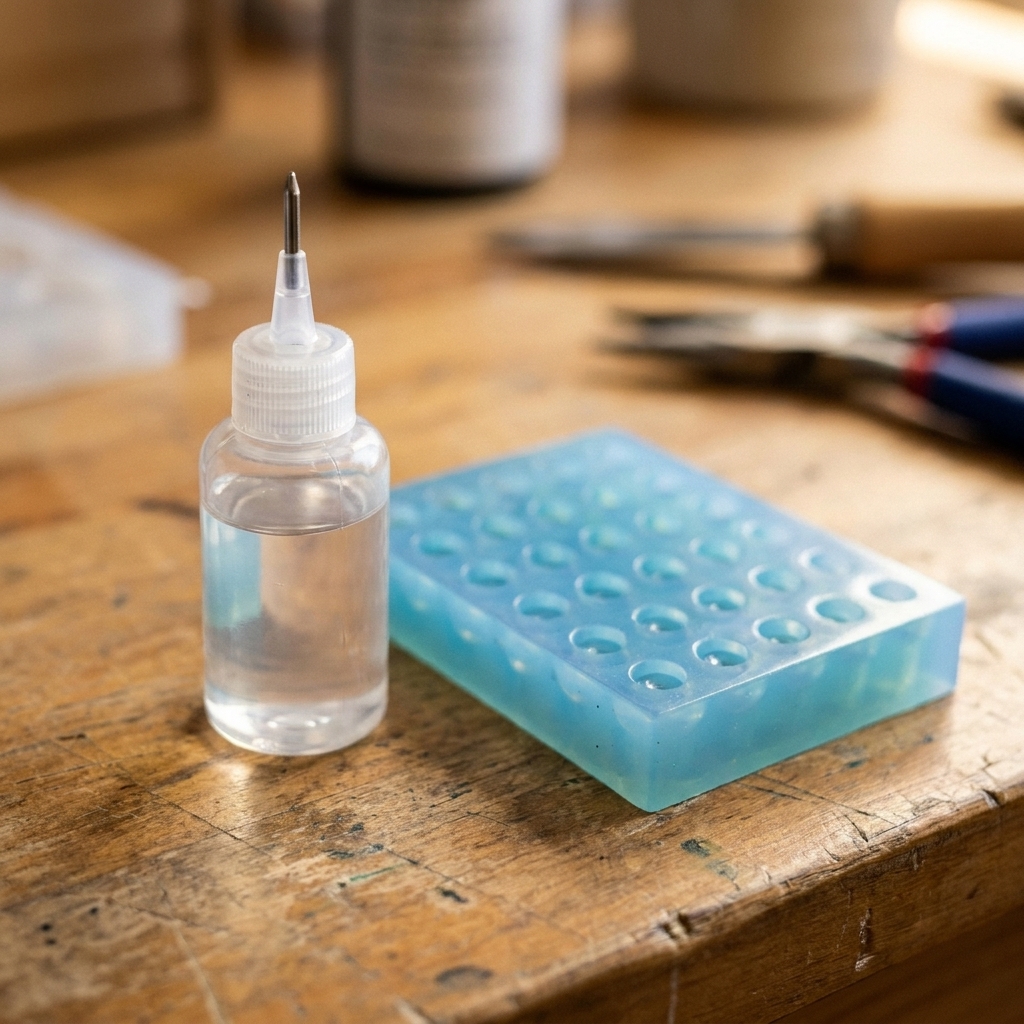
- Fine-tip squeeze bottle or disposable pipettes for precision pours.
- Tweezers for placing tiny embeds.
- A cover to keep dust off while curing (a plastic bin works beautifully).
Pick the right resin for studs
For micro pours, you want resin that behaves predictably in small amounts:
- Longer open time: Gives bubbles time to rise and gives you time to pour neatly.
- Low to medium viscosity: Thick resin traps bubbles. Very thin resin can let glitter sink quickly. If you love suspended glitter, I share tricks here: How to Suspend Glitter, Beads, and Gold Leaf Without Sinking.
- Clear cure: Cloudiness is extra obvious at stud size. If you struggle with haze, this guide helps: Why Your Resin Jewelry Is Cloudy.
If you’re still deciding between UV resin and 2-part epoxy for small jewelry, I break it down here: UV Resin vs 2-Part Epoxy.
Micro mixing: measure tiny batches
This is the part most beginner stud makers want to skip. Please don’t. Studs are the project where careful measuring pays off immediately.
Option A: Use a scale (best for micro pours)
If your resin is mixed by weight (or your brand provides weight equivalents), a scale lets you mix small batches more reliably than trying to eyeball lines on a cup.
Important: A lot of resins that are 1:1 by volume are not 1:1 by weight. Don’t switch to weighing unless your resin label or instructions explicitly give a weight ratio.
- Tare the cup on the scale.
- Add Part A slowly. For studs, I often start with 6 to 10 g total mixed resin depending on how many cavities I’m filling.
- Add Part B until you reach the correct ratio by weight.
- Stir slowly for the full time your brand requires, scraping the sides and bottom as you go.
- Double-cup mix: Pour into a clean second cup and stir again for 30 to 60 seconds. This reduces unmixed streaks that cause tacky spots.
Option B: Measure by volume carefully
If your resin is 1:1 by volume, use two separate marked cups, measure each part, then combine. For tiny volumes, measuring errors happen easily. Go slow and keep your eyes level with the measurement line.
If you ever end up with soft or sticky studs, troubleshoot here: 8 Reasons Your Epoxy Resin Is Sticky or Soft (and How to Fix It).
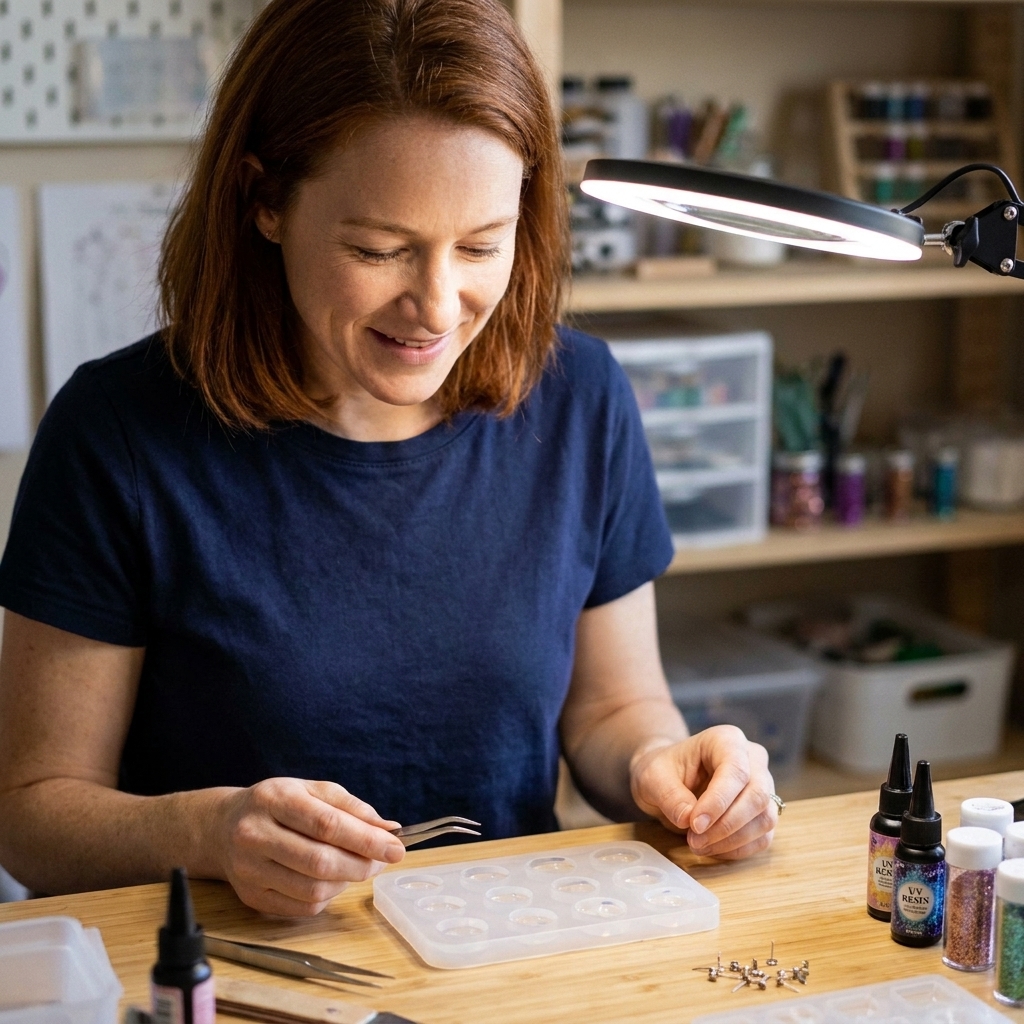
Prep your molds
Stud molds love to collect lint and micro dust. I prep mine the same way every time:
- Wash and dry new molds if they feel oily, then let them fully dry.
- Inspect each cavity under a bright light. Remove dust with tape or a lint-free cloth.
- Level your surface. A slight tilt means uneven stud tops and mismatched pairs.
- Warm your room and resin if your space is cool. Slightly warm resin flows better and releases bubbles more easily. If you do warm the mold, keep it gentle. You want "not chilly," not hot.
This guide helps you dial it in: Ideal Temperature and Humidity for Epoxy Resin Curing.
Quick note on release spray: For glossy stud molds, I usually skip release agents. They can dull the surface and leave a film that makes gluing posts harder later.
Precision pouring for tiny cavities
1) Use a pipette or fine-tip bottle
Pouring straight from a mixing cup is where most overflows happen. Transfer your mixed resin into a fine-tip squeeze bottle or use pipettes.
- Less mess: You control the resin drop by drop.
- Cleaner pairs: It’s easier to match fill levels between left and right studs.
- Better bubble control: You can place resin along the side of the cavity to help air escape.
2) Fill in two mini steps
For many stud molds, especially ones with a flat top and sharp edges, I like a two-step fill:
- First pass: Put a thin layer in each cavity, just enough to coat the bottom.
- Bubble check: Use a toothpick to pull bubbles away from edges and corners.
- Second pass: Top up slowly to your final level.
This takes an extra minute and saves you from trapped corner bubbles.
3) Slightly underfill (then dome if needed)
If your mold is designed for a flat face, fill to the rim but don’t overfill. If you want a glossy, domed face, it’s often better to cure the base, then add a tiny dome layer later. Doming tips are here: How to Dome Resin on Jewelry and Small Crafts.
4) Know which side is the face
Some stud molds give you a glossy face on the side that’s against the silicone, with a flatter back on top. Others are designed the opposite way. Before you commit to embeds, do one test cavity so you know which side will be facing forward.
Bubble control for studs
At this scale, bubbles aren’t just cosmetic. A bubble near the post area can weaken the bond later.
Start with low-bubble mixing
- Stir slowly and deliberately, scraping the sides and bottom.
- Avoid whipping motions.
- Let the mixed resin rest for 2 to 5 minutes if your working time allows.
Chase bubbles with a toothpick
After you fill each cavity, drag the tip of a toothpick around the edge and into any corners. Tiny bubbles love to cling there.
Heat carefully
Heat can help bubbles pop, but it’s easy to overdo it with small molds.
- Use quick passes only. Think: wave, do not roast.
- Hold heat farther back than you would for a coaster.
- Don’t heat the cup for long. Resin sitting in a cup is where heat buildup can make it thicken fast.
If you’re choosing between a heat gun and torch, I have a full breakdown here: Heat Gun vs Butane Torch for Resin Bubbles. For studs, I lean heat gun on low, used briefly.
For more bubble prevention tricks, this guide is my go-to: How to Prevent and Remove Micro Bubbles.
Color and tiny embeds
Coloring micro batches
Studs need surprisingly little pigment. Too much colorant can affect cure, especially in small volumes.
- Start with a toothpick tip of pigment (mica, paste, or dye) and build up slowly.
- Mix pigment into Part A first if your brand recommends it, then add Part B.
If you want a deeper dive on pigment types, this is my full guide: How to Color Epoxy Resin.
Best embeds for studs
- Micro glitter, foil flakes, tiny charms that are thin and lightweight.
- Dried flowers trimmed very small. For anything botanical, dry it properly first: How to Dry and Embed Real Flowers in Epoxy Resin.
Placement trick: partial cure method
If your embed floats, sinks, or drifts, pour a thin base layer and let it thicken until it feels like warm honey. Then place your embed, then top up. This keeps pairs looking matched instead of chaotic.
Curing and dust control
Studs cure fast on the surface, but they still need full cure time before you glue posts or wear them.
- Cover your molds with a clean plastic bin or box while curing.
- Avoid moving the tray for the first hour. Tiny ripples show easily.
- Let them cure fully according to your resin. I know it’s tempting to demold early because they feel hard, but early demolding can warp thin stud shapes.
Demolding without bending
Studs are small, which means your fingers are basically giant clamps. A few habits help:
- Wash your hands and wear gloves if you tend to leave fingerprints.
- Peel the mold away from the resin, not the resin out of the mold. Support the stud from underneath as the cavity releases.
- If a piece resists, stop and wait a few more hours. Forcing it can flex the stud and create a permanent curve.
Finish tiny studs
Trim the flash
If you get a thin rim of resin (flash) around the edge:
- Use small sharp scissors to snip it off, then refine with sanding.
- For stubborn bits, a craft knife works, but go slow and cut away from your fingers.
Sand and polish
I wet sand studs with fine grits to keep dust down and prevent deep scratches. Then I polish. Full method here: How to Sand and Polish Epoxy Resin.
Add a domed topcoat
If the face looks slightly matte after sanding, a thin doming layer can bring back that glassy shine. Keep the dome subtle so the earrings don’t look bulky. My doming guide is here: How to Dome Resin on Jewelry and Small Crafts.
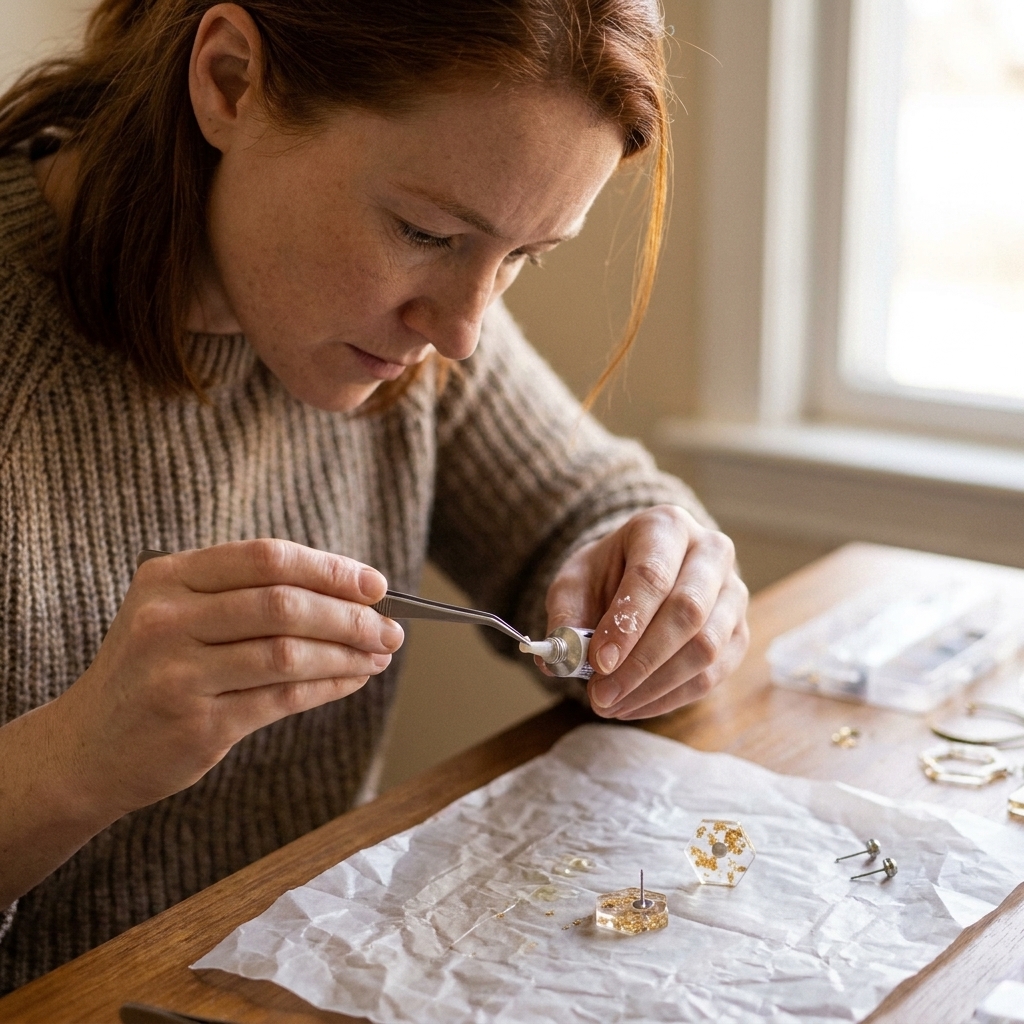
Attach posts (no drilling)
Most stud earring failures happen at the post. You want maximum contact area and a strong adhesive bond.
- Scuff the back of the stud lightly with fine sandpaper to give glue tooth.
- Scuff the post pad too (the flat circle that glues down). Smooth metal plus smooth resin is not a love story.
- Clean both surfaces with isopropyl alcohol and let them dry fully.
- Watch for blush or waxy film: Some epoxies can cure with a slightly waxy layer (amine blush), especially in cooler or more humid conditions. If you feel anything slippery or see haze, wash with soap and water, dry, then do your light scuff and alcohol wipe.
- Pick your adhesive on purpose: Gel superglue is fast, but it can pop loose over time with moisture, skin oils, and daily impacts. For the strongest bond, I prefer a 2-part epoxy made for jewelry, and I give it the full cure time.
- Press and keep it still until the adhesive sets, then leave it alone until fully cured.
I walk through hardware bonding in detail here: Glue and Embed Hardware in Resin Jewelry (No Drilling Needed).
Post placement checklist
- Center it: Mark a tiny dot on the back with a fine marker if you need a target.
- Keep pairs mirrored: If your studs have a design direction (like a crescent or leaf), line both up the same way before you glue.
- Keep posts straight: Look from the side to make sure the post is perpendicular, not leaning.
Quick troubleshooting
My studs are sticky or soft
- Double-check ratio and mixing time. Off-ratio in either direction can cause cure issues.
- Make sure you scraped the sides and bottom, and consider a double-cup mix.
- Confirm your room temperature is in the resin’s recommended range.
Full fixes here: Sticky or Soft Resin: Causes and Fixes.
I keep getting bubbles along the edge
- Pour slowly along the side of the cavity.
- Do a first thin fill, toothpick sweep, then top up.
- Use a brief, gentle heat pass.
More bubble help: Prevent and Remove Micro Bubbles.
My pairs don’t match
- Measure and mix one batch, then fill both earrings from the same bottle or pipette.
- Work cavity-by-cavity in pairs, left then right, to keep timing consistent.
- For embeds, use tweezers and place them at the same stage of thickening.
The backs are bumpy so the studs don’t sit flat
- Check that your mold is on a level surface.
- Avoid overfilling. Overflow often creates a ridge on the back.
- Sand the back flat, then re-gloss with a thin coat if needed.
A first micro pour project
If you want an easy win, try this combo:
- Base: Clear resin with a tiny pinch of pearl mica.
- Accent: One or two micro foil flakes placed with tweezers.
- Finish: Demold, lightly sand the back if needed, then glue posts.
It’s forgiving, it hides micro bubbles better than solid dark colors, and it looks like you meant it to be elegant.
Clean up and disposal
Micro pours still create sticky cups, pipettes, and gloves. Let leftover resin cure fully in the cup before you toss it, and wipe drips while they’re still wet so they don’t become permanent craft table fossils.
Disposal rules can vary by location, so use your local guidelines too. My full cleanup routine is here: How to Clean Up Uncured Resin and Dispose of Epoxy Waste Safely.
If you want to build out your beginner toolkit, my essentials list is here: Beginner Resin Art Supplies: Essential First Pour List.