Stop tacky, uncured epoxy. Follow this step-by-step mixing method: confirm ratios, measure by volume or weight, stir slowly while scraping, then do a two-cup...
Resin Trinket Bowl (Draping Technique)

Ruby Fletcher
Ruby Fletcher is a dedicated resin crafter with years of hands-on experience pouring, molding, and creating custom epoxy art. After turning her dining room into a makeshift studio, she developed a passion for helping beginners navigate the sticky, colorful world of resin with confidence. She loves sharing practical tutorials, troubleshooting tips, and essential safety guides to make epoxy crafting accessible for everyone.
Published · Last updated
The first time I tried the draping technique, I waited too long. My “cute little ring dish” was a fully cured resin pancake, and I stood in my garage craft room (aka glittery chaos) holding a warm bowl and a stubborn flat disk like they were going to magically cooperate.
The good news is that once you understand epoxy’s gel phase, this becomes one of the most satisfying ways to make functional resin decor. You pour a flat piece, then bend it into a bowl shape while it is firm but still flexible. No special bowl mold required, just smart timing and a safe setup.
What draping is (timing matters)
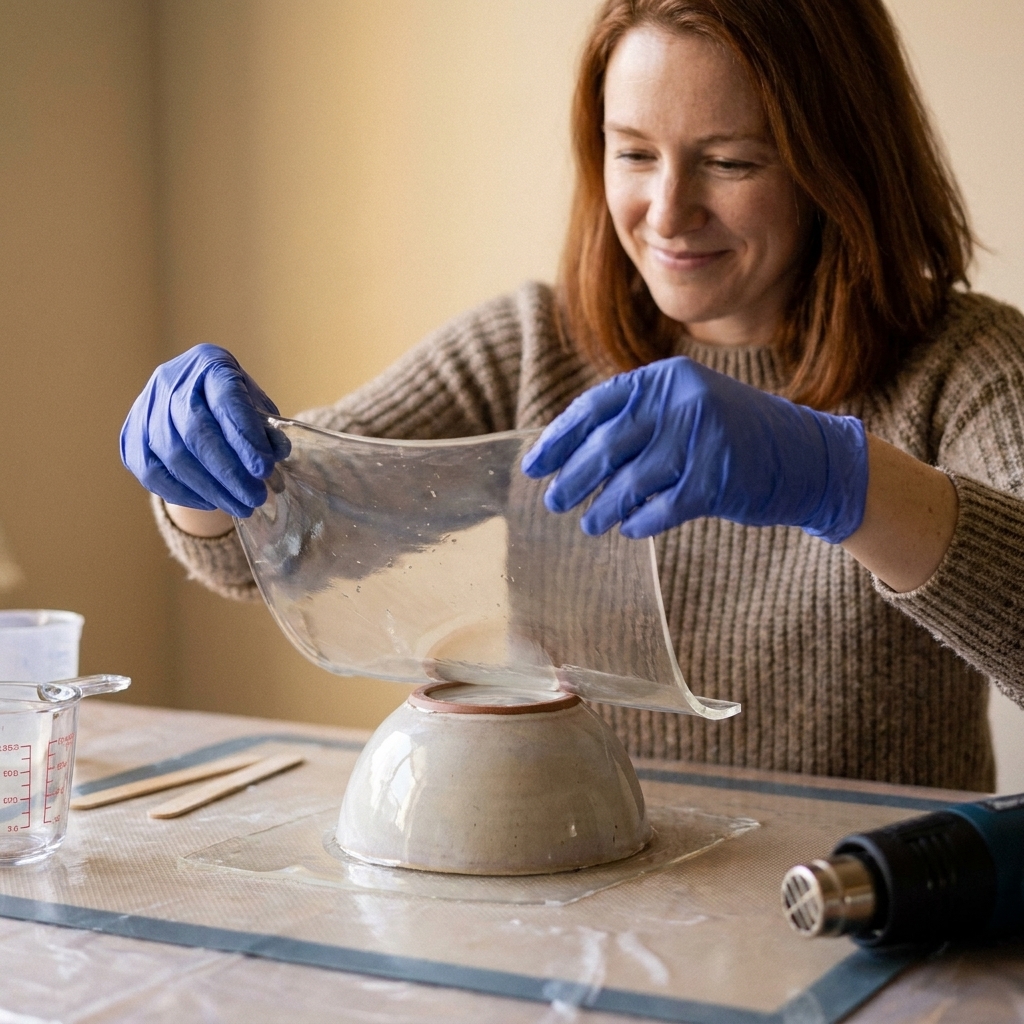
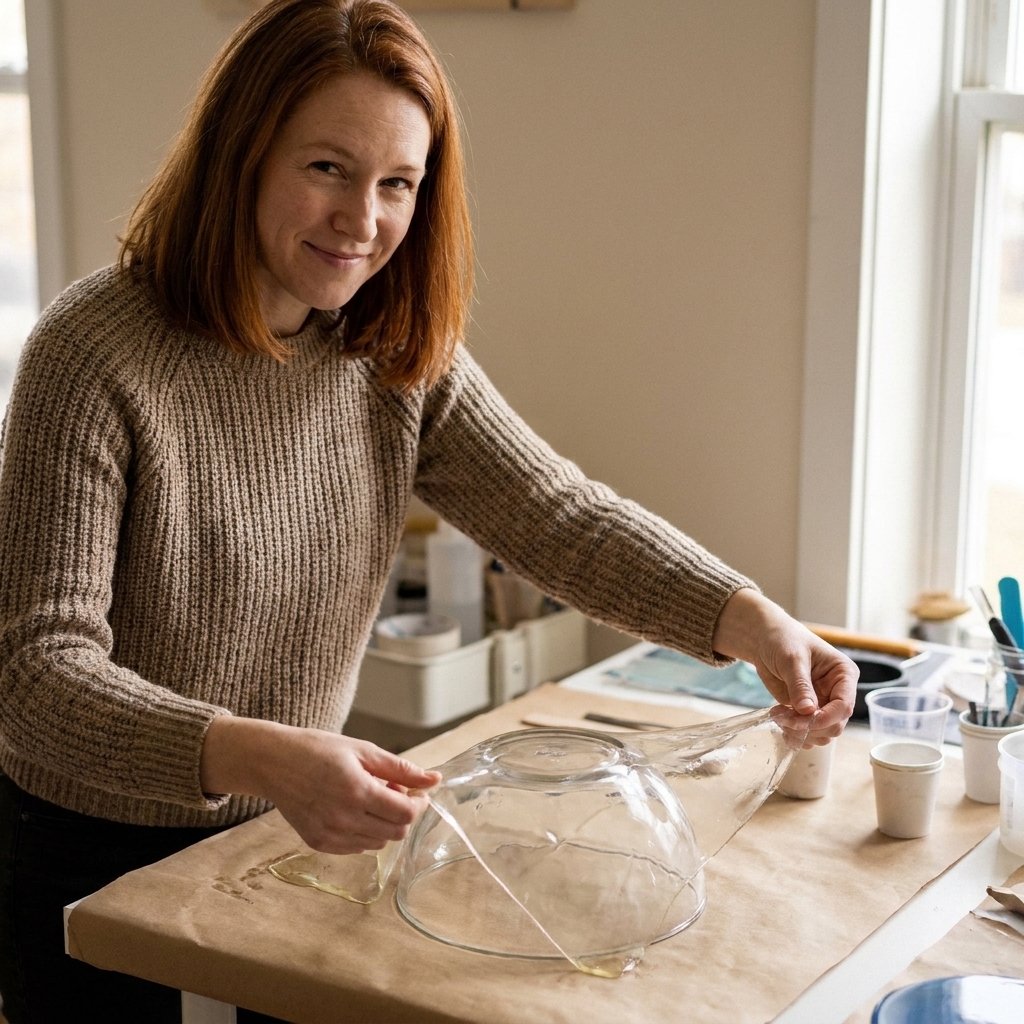
The draping technique is exactly what it sounds like: you pour epoxy resin into a flat silicone tray or on a level surface, let it partially cure until it reaches the gel phase, then drape it over a form (usually an upside-down bowl) so it holds the curve and finishes curing into a trinket bowl.
The entire project hinges on one window of time:
- Too early: the resin is still liquid. It will slump, thin out at the rim, and glue itself to anything it touches.
- Too late: it is rigid. Bending causes stress lines, cracks, or a dramatic snap right across the center.
- Just right: it is like thick silicone or soft leather. It bends smoothly and holds a curve.
If you are still getting comfortable with measuring and mixing, I would read How to Measure and Mix 2-Part Epoxy Resin before you start. A bowl that never fully cures is not a bowl, it is a sticky dust magnet.
Supplies
Resin and color
- 2-part epoxy resin that can handle thin pours and gives you a workable open time (many casting resins are great here; some tabletop and coating formulas cure fast and hot, which can shorten your drape window and increase warping)
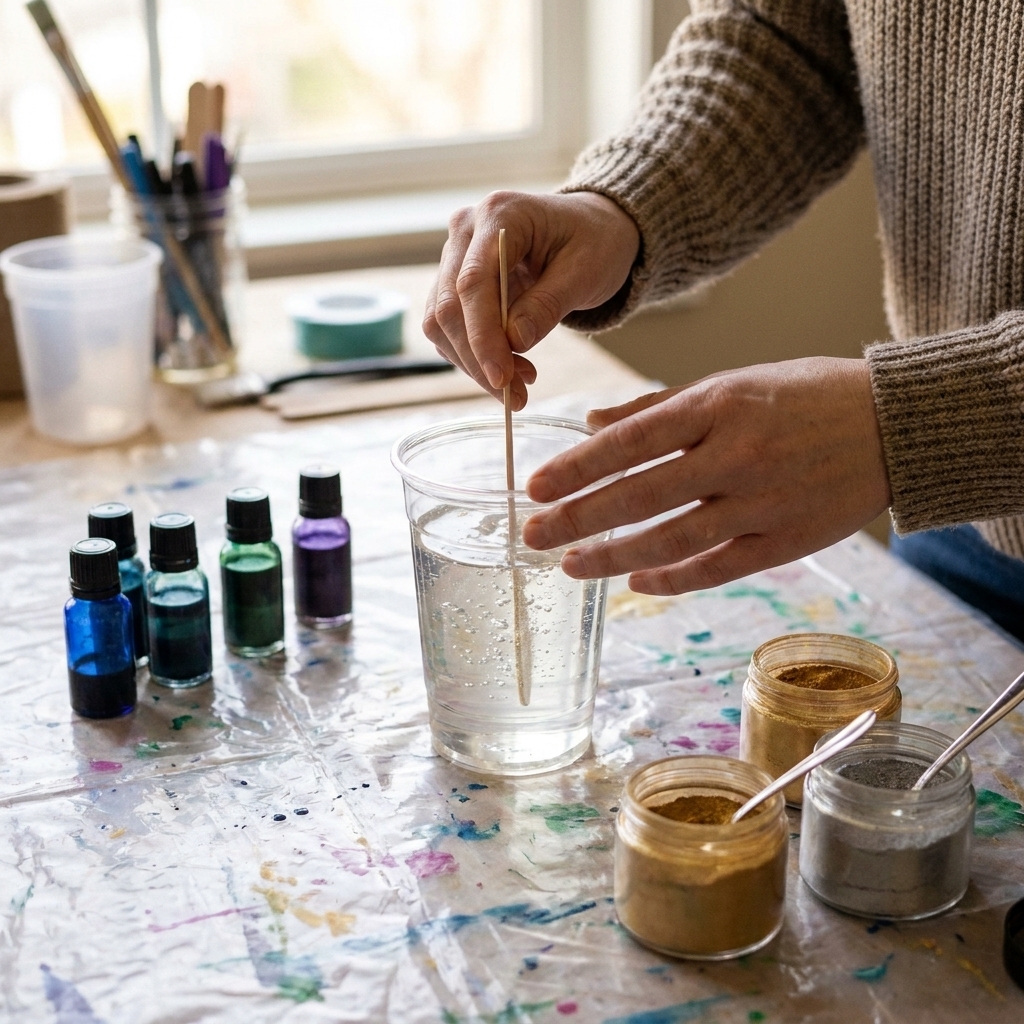
- Pigment options: mica powder, resin dye, alcohol ink, or a small amount of paste pigment (learn color basics in How to Color Epoxy Resin)
For the flat pour
- Flat silicone tray mold, silicone mat with a raised edge, or a smooth silicone sheet inside a shallow tray
- Level work surface
- Mixing cups, stir sticks, nitrile gloves
For shaping
- One or two bowls to use as forms (ceramic, glass, or stainless steel work well)
- A barrier sheet: a smooth silicone sheet or clear plastic (my more predictable choice), with parchment paper as a backup option if it is smooth and wrinkle-free
- Heat source for gentle warming: a heating pad on low, warm water bottle, or a heat gun used carefully at a distance
For finishing
- Scissors for trimming soft gel resin (optional) or sandpaper for cured edges (see How to Sand and Polish Epoxy Resin)
- Felt pads or cork dots for the base (optional)
Workspace protection matters here. You are handling resin during a semi-cured stage, which is the messiest part. I like a wipeable surface and a dedicated spill mat. This guide helps you pick one: Best Mats and Coverings for Resin Spills.
Safety
When resin is partially cured, it still contains reactive chemicals. Treat it like uncured resin.
- Wear nitrile gloves and avoid skin contact. If it happens, use the steps in Epoxy Resin on Skin: Removal and Prevention.
- Work in a ventilated space. My baseline setup is covered in Set Up a Safe, Ventilated Resin Workspace at Home.
- Keep the draping forms separate from food use. Once a bowl has touched resin, I do not put it back in the kitchen rotation.
Important: These finished pieces are trinket bowls and catch-alls. I do not use them for food contact unless I am working with a product specifically rated and certified for that use.
If you ever end up with uncured drips or sticky waste, handle cleanup the safe way: How to Clean Up Uncured Resin and Dispose of Epoxy Waste Safely.
How to make a trinket bowl
1) Choose a form and plan your sheet
The flat piece you pour becomes the bowl walls. As a starting point:
- Finished bowl diameter: aim for a flat resin disk about 2 to 4 inches wider than your form’s widest point.
- Thickness: target about 2 to 4 mm for a small trinket bowl. Thin sheets (under 2 mm) are more likely to ripple or crack. Thick sheets (over 5 mm) can be hard to bend in time.
A quick reality check: thicker pours often kick faster (more heat, shorter gel window). Thinner pours often give you more time, but they are easier to stretch into waves if you drape too early.
For ring dishes and catch-alls, I prefer a medium thickness with softly rounded edges. It feels more “store bought” and less “sharp resin plate.”
2) Prep the work area and barrier
- Level your pouring surface. If your pour cures unevenly, it will drape unevenly.
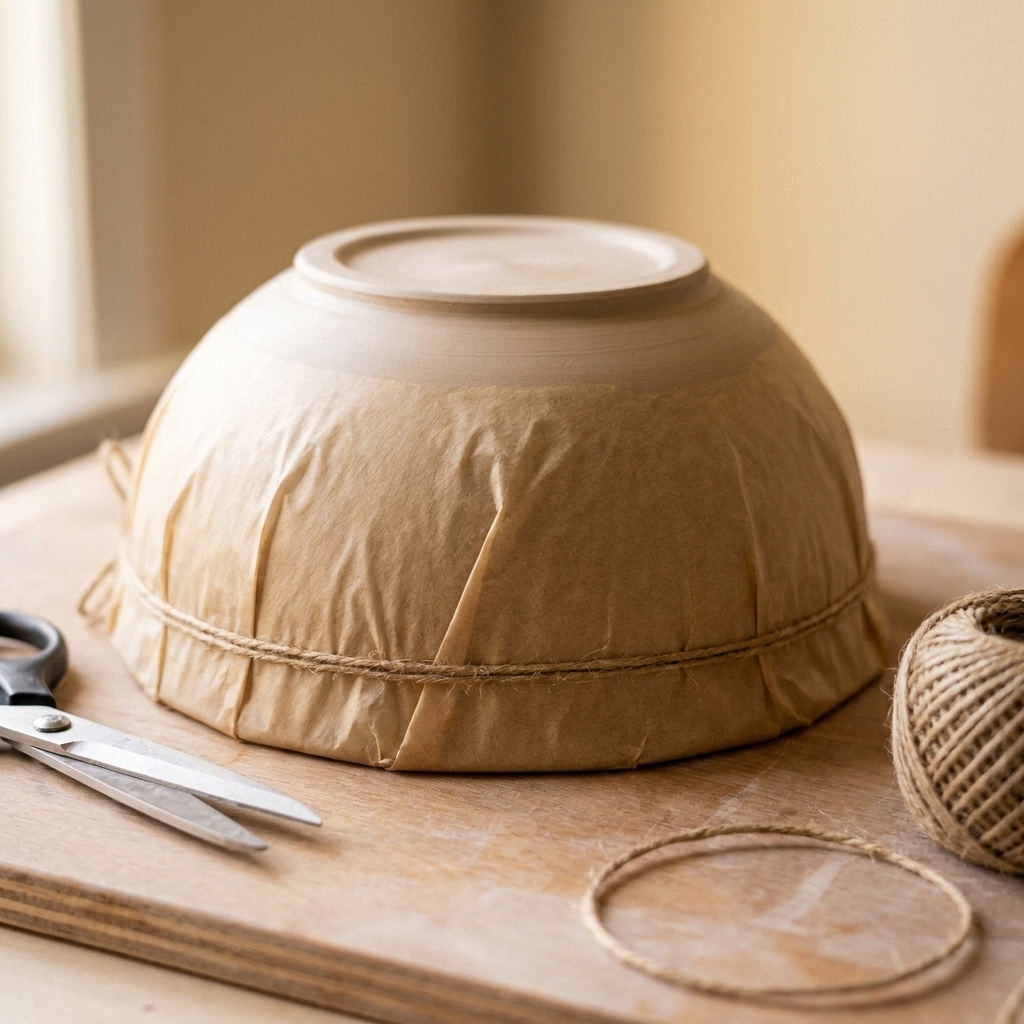
- Cover your form bowl with a smooth barrier. Any wrinkles, creases, or texture will transfer into the resin.
- If you use parchment paper, smooth it tightly (I tape it underneath the bowl so it stays flat). If your parchment is heavily textured or wants to wrinkle, switch to a silicone sheet or smooth plastic.
- Set up a second bowl option nearby. Sometimes you realize mid-drape you want a deeper curve.
3) Mix and pour the flat sheet
Mix according to your resin’s instructions, scraping the sides and bottom of the cup. Pour into your flat silicone tray or onto your silicone surface inside a shallow tray.
- Pop bubbles early with a quick pass of warm air. If you are deciding between tools, I broke it down here: Heat Gun vs Butane Torch for Resin Bubbles.
- Add embellishments thoughtfully. Heavy items can pull the sheet thinner in spots. For lightweight sparkle, use the tips in How to Suspend Glitter, Beads, and Gold Leaf Without Sinking. The same physics apply in a flat pour.
4) Find the gel phase (your bendable window)
This is the part no one can time perfectly for you because gel time changes with resin brand, room temperature, pour thickness, and humidity. That said, here is how I check it without ruining the surface:
- Edge test: With a gloved fingertip, gently tap the very edge. It should feel like firm rubber, not sticky syrup.
- Lift test: Try to lift one corner of the resin sheet from the silicone. It should peel up as one flexible piece, not stretch like taffy.
- Flex test: With that corner lifted, you should be able to gently flex it without it pulling thinner or forming a sharp crease line.
- Surface test: The top should be glossy but not wet-looking. If your glove leaves a dent that slowly rises back, you are close.
If your resin is staying soft for ages, check your conditions. Temperature and humidity make a bigger difference than most beginners expect: Ideal Temperature and Humidity for Epoxy Resin Curing.
5) Drape over the form
Once the sheet is in that bendable window:
- Lift the resin sheet with both hands, supporting it like a pizza crust so it does not fold sharply.
- Center it over your upside-down bowl form.
- Let it settle naturally, then gently coax the edges down. Avoid creasing.
- If the rim wants a smoother curve, warm it lightly with a heat gun held back and moving constantly. You are not trying to re-liquefy it, just soften it.
My favorite trick: If the resin keeps springing back up, set a second bowl on top (like a gentle weight) with a barrier between. This presses the curve without fingerprints.
6) Let it fully cure in place
Leave the draped piece alone until it is fully cured. Moving it too early can flatten the curve or create a twisted shape.
Cure time depends on your resin, but a safe habit is to wait at least overnight, then check hardness before demolding.
7) Demold and finish the rim
Once fully cured, remove the barrier and check the rim. You have a few finishing options:
- Soft gel trim: If you catch it at a late gel stage, you can trim the rim with scissors for a clean edge. This takes practice.
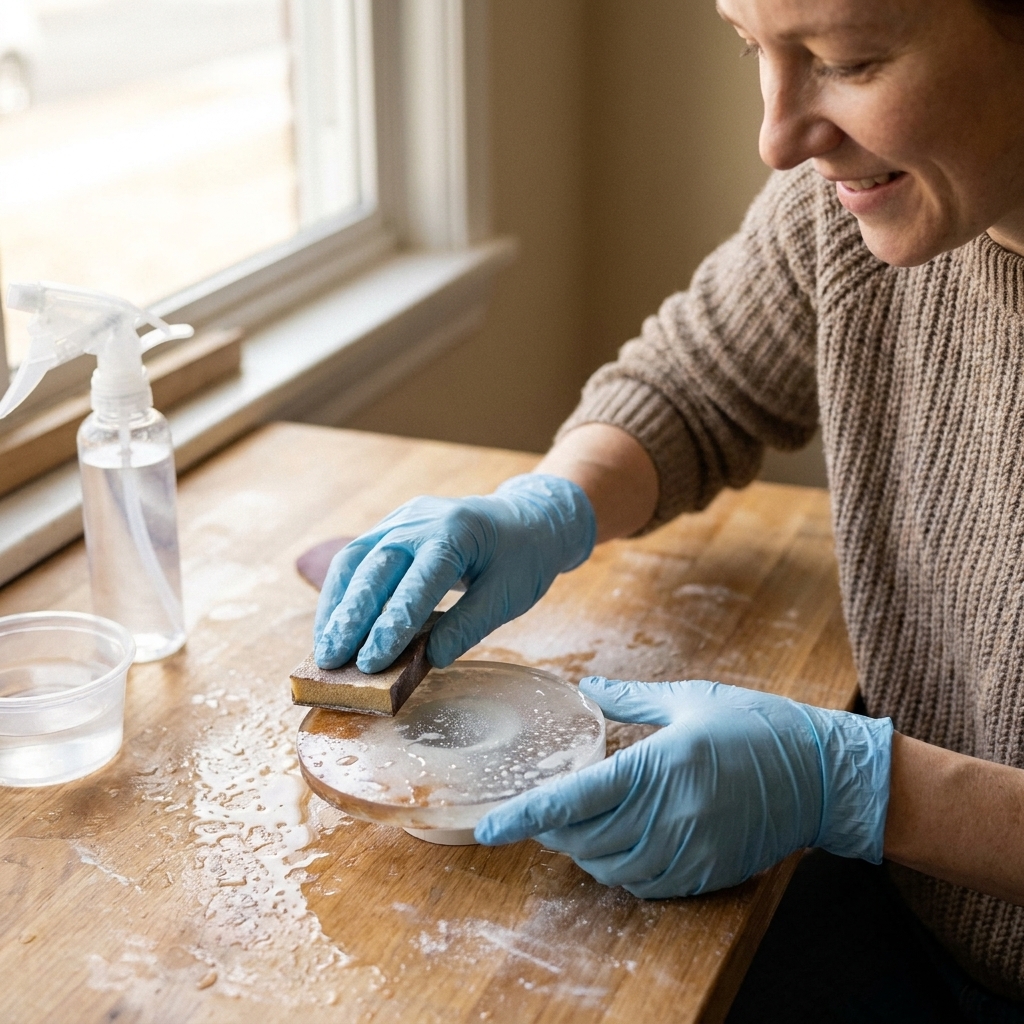
- Cured sanding: Sand the rim smooth, then polish. Follow the steps in How to Sand and Polish Epoxy Resin.
- Domed rim look: You can apply a thin top coat to the rim for a glassy finish. I use the same technique as doming jewelry: How to Dome Resin on Jewelry and Small Crafts.
Add felt pads under the base if you want it to sit quietly on wood furniture.
Gel timing quick guide
If you want a “craft-night friend” rule of thumb, here is mine: start checking early, then check often. The window can be 10 minutes or it can be 45, depending on conditions.
| Resin stage | What it feels like | What happens if you drape now |
|---|---|---|
| Liquid | Thin, runs like syrup | Slides, thins, sticks to everything |
| Thickened | Honey or gel shampoo | Sags, creates thin spots and lumpy folds |
| Gel phase (ideal) | Firm rubber, flexible sheet | Bends smoothly and holds a curve |
| Late gel | Stiff, may still feel warm | May bend with heat but risks stress lines |
| Fully cured | Hard plastic | Cracks or snaps when forced |
Troubleshooting
It cracked while bending
- You likely missed the gel window and tried to bend too late.
- The sheet may be too thick, making it harder to flex evenly.
- Your bend may be too tight for the thickness, especially on a small form.
Fix: For minor cracks, you can sand and apply a thin flood coat to reinforce. For a clean redo, pour a slightly thinner sheet and drape earlier. If your piece snapped like a cookie, this guide on thick pieces includes helpful cure and stress tips: Chunky Resin Bangles: Pour, Cure, and Demold Without Snapping.
It turned cloudy or hazy
- Cool temps can raise viscosity and trap micro-bubbles.
- Moisture can contribute to surface issues like amine blush on some epoxies.
- Overheating the surface to chase bubbles can sometimes create its own problems.
Fix: Start with the causes in Why Your Resin Jewelry Is Cloudy. Even though it is written for jewelry, the same cloudiness culprits apply to bowls.
It stayed sticky or soft
This is most often mixing ratio, under-mixing, or curing conditions. It can also happen if a pigment or additive interferes with cure, or if you are dealing with a surface issue that feels tacky and gets mistaken for uncured resin.
Fix: Work through 8 Reasons Your Epoxy Resin Is Sticky or Soft (and How to Fix It). If the bowl is still flexible days later, it is usually not “bendable,” it is under-cured.
The rim is wavy and uneven
- The sheet was too thin.
- The drape started while the resin was still too soft and it stretched.
- Your form was not centered.
Fix: Pour a slightly thicker sheet and drape later in the gel phase. You can also sand the rim level and recoat for a cleaner edge.
It stuck to the form
- The resin was still tacky when draped.
- No barrier layer was used, or the barrier had gaps.
Fix: Do not pry aggressively. If it is only lightly stuck, gentle warming can help release. Next time, use a smooth barrier (silicone sheet or smooth plastic is my most reliable), and keep it wrinkle-free.
Design ideas
Pressed flowers and botanicals
This technique is one of my favorite ways to show off garden finds. Just make sure your flowers are fully dry before embedding. If you need a refresher, follow How to Dry and Embed Real Flowers in Epoxy Resin.
Terrazzo chips
Pour a base color, sprinkle cured resin chips or polymer bits, then flood a thin clear layer. The draped curve makes the terrazzo look extra dimensional.
Ocean swirl
Do your color blending while the piece is flat, then let the curve turn it into a mini shoreline bowl. Work gently so you do not overmix the colors into mud.
FAQ
Can I do this with UV resin?
Not realistically for a bowl-sized sheet. UV resin is great for small molds and thin domes, but a large drapable sheet would require even UV exposure and controlled curing that is hard to achieve at home. If you are curious about choosing between resin types, see UV Resin vs 2-Part Epoxy.
Do I need a silicone bowl mold?
No. That is the charm of draping. You are using a form to shape a flat pour. Silicone bowl molds are convenient, but draping lets you customize the depth and shape with items you already own.
What is the best bowl to use as a form?
Something smooth, non-porous, and sturdy. Glass and glazed ceramic are my go-tos. Avoid textured surfaces because they can imprint into the resin, especially if you drape a little early. Also remember: once it touches resin, it lives in the craft zone, not the kitchen.
How do I avoid bubbles in a flat pour?
Warm your bottles gently (think slightly warm, not hot), mix slowly, then let the cup sit for a minute before pouring. After pouring, use a careful heat pass to pop surface bubbles. One caution for this specific project: warming resin can speed up the reaction and shorten your gel window, so start checking for the bendable stage earlier than you think. This full guide goes deep: How to Prevent and Remove Micro-Bubbles in Epoxy Resin.
Where to go next
If you liked making something functional, you will probably enjoy exploring the rest of my home projects in Home Decor & Functional Art. And if you are still building confidence with setup and supplies, start with Beginner Resin Art Supplies: Essential First Pour List so your next pour feels calmer and a lot less sticky.