Stop tacky, uncured epoxy. Follow this step-by-step mixing method: confirm ratios, measure by volume or weight, stir slowly while scraping, then do a two-cup...
Custom Resin Light Switch Covers

Ruby Fletcher
Ruby Fletcher is a dedicated resin crafter with years of hands-on experience pouring, molding, and creating custom epoxy art. After turning her dining room into a makeshift studio, she developed a passion for helping beginners navigate the sticky, colorful world of resin with confidence. She loves sharing practical tutorials, troubleshooting tips, and essential safety guides to make epoxy crafting accessible for everyone.
Published · Last updated
The first time I tried to “upgrade” a room with resin, it was not a coaster or a jewelry pendant. It was a light switch cover, because I was staring at a builder-basic plate in my dining room studio and thought, how hard can a flat rectangle be? Turns out switch plates are wonderfully doable, but they punish sloppy measuring, rushed demolding, and uneven backing.
This tutorial walks you through two beginner-friendly approaches: casting a full resin plate in a mold, or adding a thin resin design layer to a store-bought plate. Both can look like boutique hardware when you take your time with the prep and finishing.

Before you start
A switch plate is home decor, but it still lives on a wall where fingers touch it daily. That means your goals are: fully cured resin, smooth edges, cleanable surface, and a fit that does not stress the screws.
- Ventilation matters. I work with an open window and active exhaust pulling air out of the room when possible, and I still follow the safety guidance for my specific resin. If you need a refresher, start with setting up a safe ventilated resin workspace.
- Wear the boring stuff. Nitrile gloves and eye protection are non-negotiable. For longer sessions or strong-smelling resin, use appropriate respiratory protection. See resin safety gear.
- Keep resin out of electrical boxes. You are making the cover only. Remove the existing plate and keep resin far from live wiring. If you are not comfortable working around electrical components, turn off the breaker and confirm power is off before you do anything.
- Give the device clearance. Do not let resin creep into the switch or outlet opening, and do not build so much thickness that the plate will not sit flat. Gaps and stress around the screws are where things get ugly fast.
- Watch the heat. Some dimmers and smart switches run warm. Epoxy can soften with heat depending on the resin. If you have a warm-running dimmer location, I keep designs thin and choose a resin that is rated for higher temperatures by the manufacturer.
- Keep resin tools out of the kitchen. Do not use the same silicone tools for resin and food.
Pick your method
Method A: Full cast plate
This is the fully custom route. You buy a silicone mold made for switch plates and cast the whole thing in resin. The benefit is a seamless resin look edge-to-edge.
Method B: Overlay on a base plate
This is my go-to for first timers. You use a plain plastic, metal, or wood plate as a rigid base, then add a thin decorative resin layer on top. It is more forgiving because the screw holes and fit are already perfect.
If you want a truly “stone slab” thickness, go full cast. If you mainly want color, glitter, petals, terrazzo bits, or a geode vibe with minimal fuss, do an overlay.
Supplies checklist
- Epoxy resin (2-part). Choose a resin meant for thin pours and coating. Deep-pour formulas can cure differently in thin projects and may stay softer in very thin coats. Check the manufacturer’s min and max pour thickness and cure schedule.
- Light switch plate mold (for Method A) or a base plate (for Method B).
- Mixing cups, stir sticks, and a scale or measuring cups. Accurate measuring is everything. See how to measure and mix 2-part epoxy resin.
- Pigments. Mica powder, resin dye, alcohol ink, or metallic paste. For color guidance: how to color epoxy resin.
- Heat tool for bubbles. A heat gun or a small butane torch, used carefully. Helpful comparison: heat gun vs butane torch for resin bubbles.
- Level work surface and a cover. I use a silicone mat or protective covering and a dust cover. For spill protection: best mats and coverings for resin spills.
- Sandpaper and polishing supplies. Wet or dry grits (typically 400 to 3000), polishing compound, microfiber cloth. See how to sand and polish epoxy resin.
- Drill and bits (if you need to create or clean screw holes). How-to: how to drill cured resin (the drilling technique is the same, just a different project).
- Optional embeds. Dried flowers (fully dried and sealed if needed), glitter, gold leaf, tiny flat charms. If you embed flowers, this guide helps: how to dry and embed real flowers.

Method A steps
1) Confirm style and size
Switch plates come in a few common styles: toggle, rocker, duplex outlet, and multi-gang versions (two or three switches side-by-side). Before you pour anything, remove one plate and measure it.
- Count the gangs. One switch is single-gang. Two switches side-by-side is two-gang, and so on.
- Check opening shape. Toggle openings are narrow and oval-ish. Rocker openings are a larger rectangle.
- Use the existing plate as your fit test. If your mold is slightly off, you want to know before you commit to a whole set.
2) Prep your mold and workspace
- Level your table. A switch plate that cures on a slant looks fine until you try to screw it flat to the wall.
- Clean the mold with tape or a lint-free cloth to remove dust.
- If your mold is very flexible, set it on a rigid board so you can move it without bending.
3) Mix a small batch correctly
Switch plates are surprisingly small pours, which means you are mixing tiny amounts. Tiny mixes are where beginners under-stir or mis-measure.
- Follow your resin’s ratio exactly by volume or by weight, whichever the brand specifies.
- Mix slowly and thoroughly, scraping sides and bottom.
- Transfer to a second cup and mix again if you are prone to sticky spots. This “double cup” habit saves so many projects.
If you have ever dealt with a bendy, tacky cure, bookmark 8 reasons your epoxy resin is sticky or soft.
4) Color and build in layers
For clean, intentional designs, I like to build switch plates in layers.
- Base layer: A thin, mostly clear pour helps reduce trapped bubbles against the mold face.
- Design layer: Add mica swirls, terrazzo flakes, or a pinch of glitter.
- Embed layer: Place flat embeds like tiny pressed botanicals or metallic leaf. Avoid bulky items that create high points.
- Backer layer: Finish with an opaque tint (white, black, or a wall-matching neutral) so the wall color does not show through.
Timing helps. I pour the next layer when the previous one is at a gel stage (tacky like honey, not liquid). If a layer cures fully, lightly scuff-sand before adding the next so it bonds well. If you want more layer control, the principles in pouring epoxy resin in layers apply here too.
Pouring in layers also helps prevent floating or sinking depending on your embed. If you love glitter and hate when it all drops, the principles in how to suspend glitter and gold leaf apply beautifully to switch plates too.
5) De-bubble carefully
Use gentle heat. Silicone molds can flex, and flexing can make resin creep into places you do not want.
- Pass a torch quickly over the surface, keeping it moving.
- Or use a heat gun farther away, but watch for ripples and dust movement.
If you are working near masking tape or a plastic base (more common in Method B), I default to a heat gun and keep the heat brief. Tape can scorch and some plastics can warp if you get aggressive.
6) Cure in the right conditions
Switch plates are thin, which can cure faster, but thin pours are also more sensitive to temperature swings. If your craft space runs chilly or humid, your cure can stall or cloud.
Use this as a baseline: ideal temperature and humidity for epoxy resin curing.
7) Demold slowly and inspect
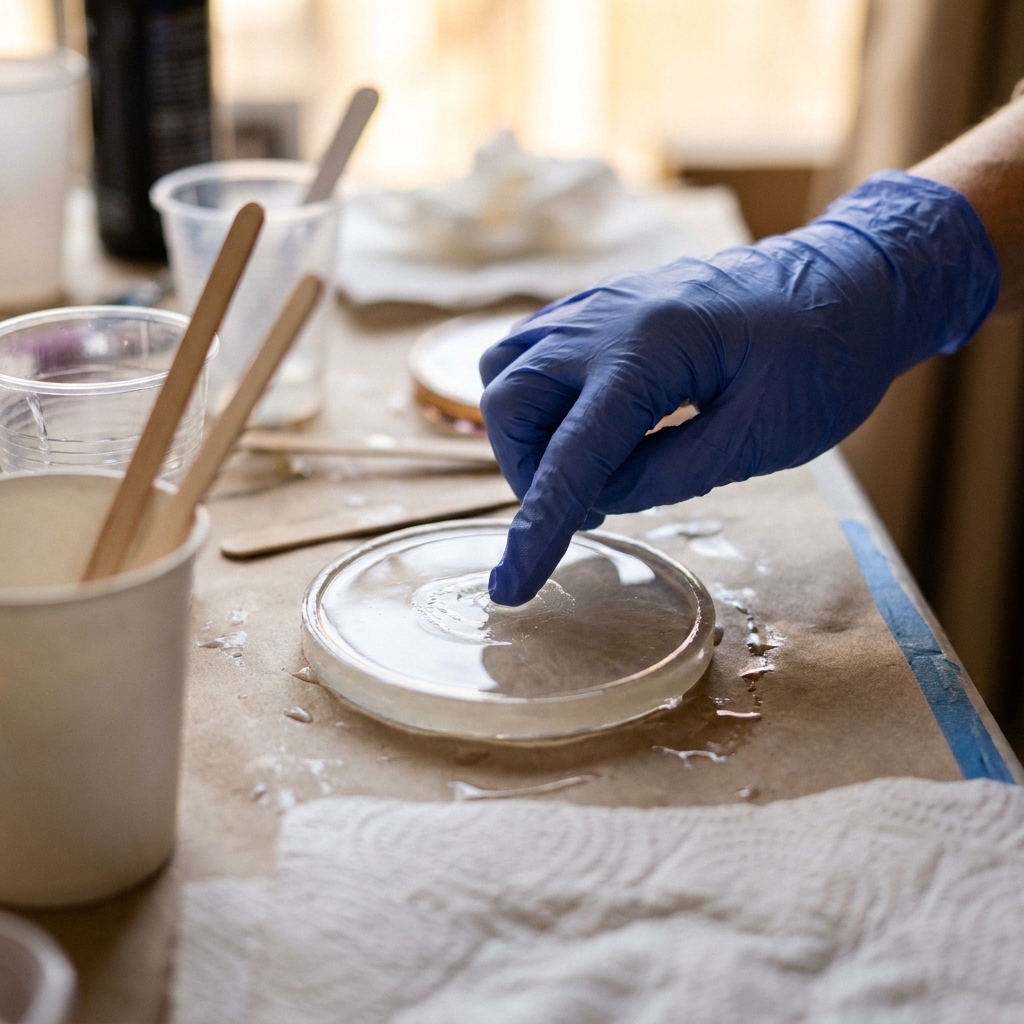
Demold only when the plate feels hard and cool, not rubbery. Flex the mold away from the resin rather than prying the resin out by an edge.
- Check the face: If it is glossy, great.
- Check the back: If it is uneven or has a meniscus, you can sand it flat.
- Check the screw holes: Some molds cast them cleanly, some leave them shallow and you will drill them open.
8) Drill or clean up screw holes
If holes are undersized or slightly off, drill slowly. Resin can crack if you rush.
- Start with a smaller pilot bit.
- Support the plate on a scrap board.
- Use light pressure and back the bit out to clear dust.
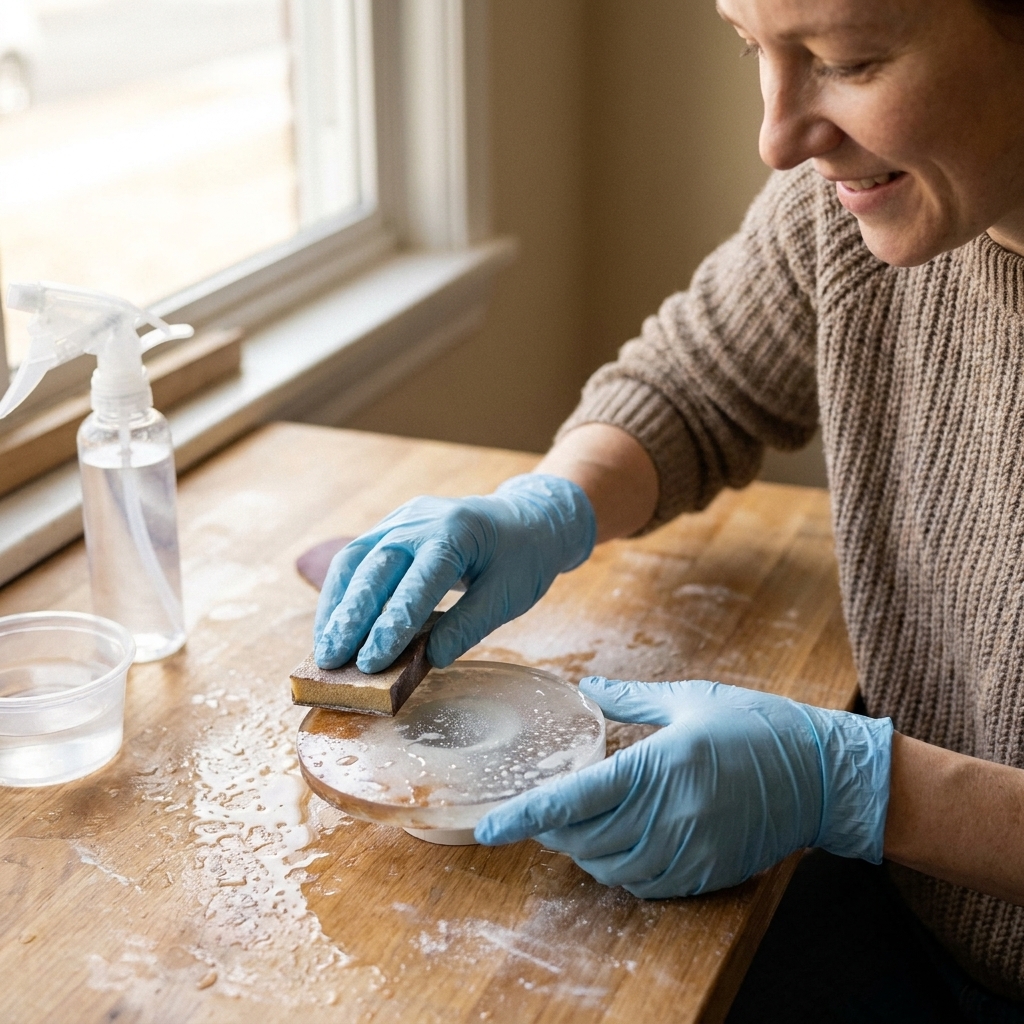
9) Sand and polish
Edges are what make a switch plate feel “store-bought.” Sand edges and the back so it sits flush.
- Wet sand from 400 up through higher grits for a smooth finish.
- Polish the face if needed.
- If you sand the face and lose gloss, either polish back to shine or add a thin doming coat.
If you do a doming coat, the technique is the same as jewelry doming. See how to dome resin, just scale it up and keep the coat thin so it does not spill into the openings. I also like to confirm screw holes are clean and aligned before I do any final gloss coat, because drilling after a perfect dome feels like tempting fate.
After sanding, wipe off all dust before installing. Resin dust has a way of hiding in corners until you touch it.
Method B steps
This is the method I recommend if you are making multiple covers and want consistent fit.
1) Choose a base plate
- Plastic: Lightly scuff with fine sandpaper so resin can grip.
- Metal: Scuff and degrease. Metal can show fingerprints, so clean right before pouring.
- Wood: Seal first so air does not burp bubbles into your resin. A thin coat of resin or a compatible sealer works.
2) Mask the underside and openings
My favorite trick is to use painter’s tape or quality masking tape on the back, wrapping slightly around edges if needed.
- Cover screw holes from the back so resin does not drip through.
- Mask the switch opening from the back as well.
Set the plate on small risers (like upside-down plastic cups) so any drips do not glue it to your work surface.
3) Pour a thin, controlled coat
Mix resin, add color, then pour and spread gently with a stir stick. You want enough to self-level, not enough to waterfall over the sides.
- Pop bubbles with a quick pass of heat. If your base is plastic or you have tape close to the resin edge, keep the heat extra brief and consider a heat gun over a torch.
- Keep checking the edges for 10 to 15 minutes. That is when drips like to form.
4) Cure under a dust cover
A clean plastic bin flipped upside down makes a great dust cover. Dust is the one thing that will always find your glossy resin if you let it.
5) Peel tape and clean edges
Remove tape after the resin is firm but not rock-hard if possible. I test one corner first and pull slowly. If you wait until full cure, tape can tear and leave adhesive behind. Any sharp bits can be shaved carefully with a craft knife and then sanded smooth.

Design ideas
- Terrazzo confetti: Use tiny irregular flakes in a neutral base. Less is more.
- Faux stone: White base with wispy gray pigment dragged lightly through. Stop before it turns muddy.
- Micro glitter wash: A pinch of ultra-fine glitter in clear resin gives a subtle shimmer that hides fingerprints.
- Pressed botanical corners: Keep flowers away from screw holes and edges where sanding happens.
- Geode slice vibe: Metallic lines and translucent tints, similar to my approach for wood panels. If you like that style, you will probably enjoy faux geode resin wall art, then miniaturize the ideas.
Troubleshooting
My resin is still tacky
This is almost always measuring, mixing, or temperature. Give it time in warm conditions, but if it stays sticky, you may need to remove uncured resin and recoat. Start here: sticky or soft epoxy fixes.
My plate is cloudy
Cloudiness can come from moisture, cold temps, or aggressive mixing that whips in micro-bubbles. For causes and fixes: why resin turns cloudy (the same chemistry applies).
I have tiny bubbles around the edges or screw holes
Edges and holes trap air. Pour a thin base coat first, then add the rest. Also warm your resin bottles slightly (sealed) in lukewarm water before mixing to reduce viscosity. For deeper bubble help: prevent and remove micro-bubbles.
The back is uneven so it rocks on the wall
Sand the back on a flat surface. I tape sandpaper to a tile and move the plate in gentle circles. Finish with finer grits so it sits flush.
The screw holes cracked while drilling
This usually happens when drilling too fast, using too large a bit first, or drilling before full cure. Use a pilot hole, slow speed, and support the piece. If you get a small crack, you can sometimes stabilize it with a tiny amount of fresh resin wicked into the crack, then re-drill gently after cure.
Installation tips
- Do not overtighten screws. Resin is strong, but you can stress-crack around holes if you torque it down like a car part.
- Make sure it sits flat. If the plate rocks or leaves a gap, sand the back until it sits flush. A plate that is forced flat by screws is a plate that eventually cracks.
- Use the right screw length. If your plate is thicker than standard, you may need slightly longer screws so they catch the threads in the electrical box strap. If you are unsure, ask at the hardware store. Bring one screw with you.
- Clean gently. A soft cloth and mild soap is plenty. Avoid harsh solvents that can dull resin over time.
Cleanup and waste
Any unmixed or uncured resin needs to be handled like a chemical product, not like paint water.
- Let leftover mixed resin cure in the cup, then peel it out and dispose of it as solid waste according to local rules.
- Wipe tools with paper towels before washing.
- For detailed guidance, see how to clean up uncured resin and dispose of epoxy waste safely.
Quick FAQ
Can I use UV resin for switch plates?
UV resin works for very thin overlays, but it is harder to cure evenly over a larger area and can leave soft spots if your light does not reach corners. For full plates, 2-part epoxy is usually more reliable. If you are deciding between the two, see UV resin vs 2-part epoxy.
Will resin yellow on a wall?
Most epoxies will amber over time, especially in direct sun. For sunny rooms, choose a resin marketed as UV resistant and consider designs that look good with a warmer tone (creams, golds, botanicals) rather than icy clear.
Is it safe to touch every day?
Once fully cured per the manufacturer’s schedule, most craft epoxies are considered safe for normal handling. The key is fully cured. Give your plates the full cure time listed by your resin brand before installing.
What is the easiest high-end look for beginners?
A thin overlay on a store-bought plate with an opaque neutral base (white, warm gray, or black) plus a light mica swirl. It hides minor imperfections and looks intentional even if your first pour is not perfect.