Stop tacky, uncured epoxy. Follow this step-by-step mixing method: confirm ratios, measure by volume or weight, stir slowly while scraping, then do a two-cup...
Memorial Resin Jewelry With Pet Hair or Ashes

Ruby Fletcher
Ruby Fletcher is a dedicated resin crafter with years of hands-on experience pouring, molding, and creating custom epoxy art. After turning her dining room into a makeshift studio, she developed a passion for helping beginners navigate the sticky, colorful world of resin with confidence. She loves sharing practical tutorials, troubleshooting tips, and essential safety guides to make epoxy crafting accessible for everyone.
Published
The first time I tried to preserve something sentimental in resin, it was a handful of pressed flowers from my backyard garden. I learned fast that resin does not care how meaningful something is. It still bubbles, floats, sinks, clouds, or cures improperly if you rush it.
Memorial resin jewelry deserves a slower pace and a gentler approach. Whether you are working with a tiny lock of pet hair or a pinch of cremation ashes, the goal is the same: create a piece that feels respectful, secure, and wearable for years.
Before you start: respectful basics
When someone is trusting you with hair or ashes, it helps to build in a little emotional margin and a little oops margin. Here is what I do every single time.
- Work from a secondary portion. If possible, set aside the main amount and only bring a tiny portion to your workspace. For ashes, that can be a pinch. For hair, that can be a few strands or a small snip.
- Label everything. A simple label on the secondary container helps prevent mix-ups, especially if you are making more than one piece.
- Make a test piece first. Use the same mold, the same resin, and a similar inclusion (not the real one) to practice placement and bubble control.
- Choose a design that protects the inclusion. Deep bezels and molds with some thickness give you more control than super thin, flat shapes.
- Decide on subtle vs visible. Some people want ashes nearly invisible, like a soft haze. Others want a distinct swirl. You can do either, but you will mix differently.
Safety for memorial work
All resin work needs basic safety. Memorial work adds one more concern: fine particles. Cremation ashes can be dusty, and you do not want that in your lungs or on your kitchen counter.
- Ventilation matters. Set up a safe, ventilated space before you pour. My full setup tips are here: Set Up a Safe, Ventilated Resin Workspace at Home.
- Wear gloves and protect your eyes. Resin is sticky and sensitizing over time. If you have ever gotten resin on your skin, you know why I am fussy about this. See: Resin Safety Gear: Respirators, Gloves, and Eye Protection.
- Use particulate protection for ashes. If you will be measuring or stirring dry ashes, a properly fitted respirator with high-efficiency particulate filters (often labeled P100 or FFP3 class) is a safer choice than a basic dust mask. Fit matters, so do a seal check each time you put it on.
- Work over a tray or sheet of paper. I like a clean tray, parchment, or a folded sheet of paper under my dish so any stray ash can be carefully tipped back into the secondary container.
- Keep food and drinks out of the room. It sounds obvious, but it is easy to forget when you are working slowly.
- Clean up uncured resin correctly. If anything drips or smears, follow a safe cleanup routine: How to Clean Up Uncured Resin and Dispose of Epoxy Waste Safely.
Important note: This is crafting advice, not legal or medical guidance. If you are unsure about local regulations or handling requirements for cremated remains, check with your funeral home or local authority.
What to use
2-part epoxy vs UV resin
Both can work, but they behave differently.
- 2-part epoxy gives you more working time to place hair neatly and coax bubbles out. It is my pick for first-timers, especially for ashes because you can mix slowly and pour in layers.
- UV resin cures fast and is great for small, shallow pieces, but it can trap bubbles and it is easier to overheat or end up with haze or tacky spots if you rush. If you are deciding, this comparison helps: UV Resin vs 2-Part Epoxy: What Beginners Should Choose.
Molds and settings
- Silicone molds for pendants, small cabochons, or hearts are beginner-friendly. Use clean, glossy molds for the clearest finish. Mold care tips live here: Silicone Molds for Resin: Choose, Prep, and Care.
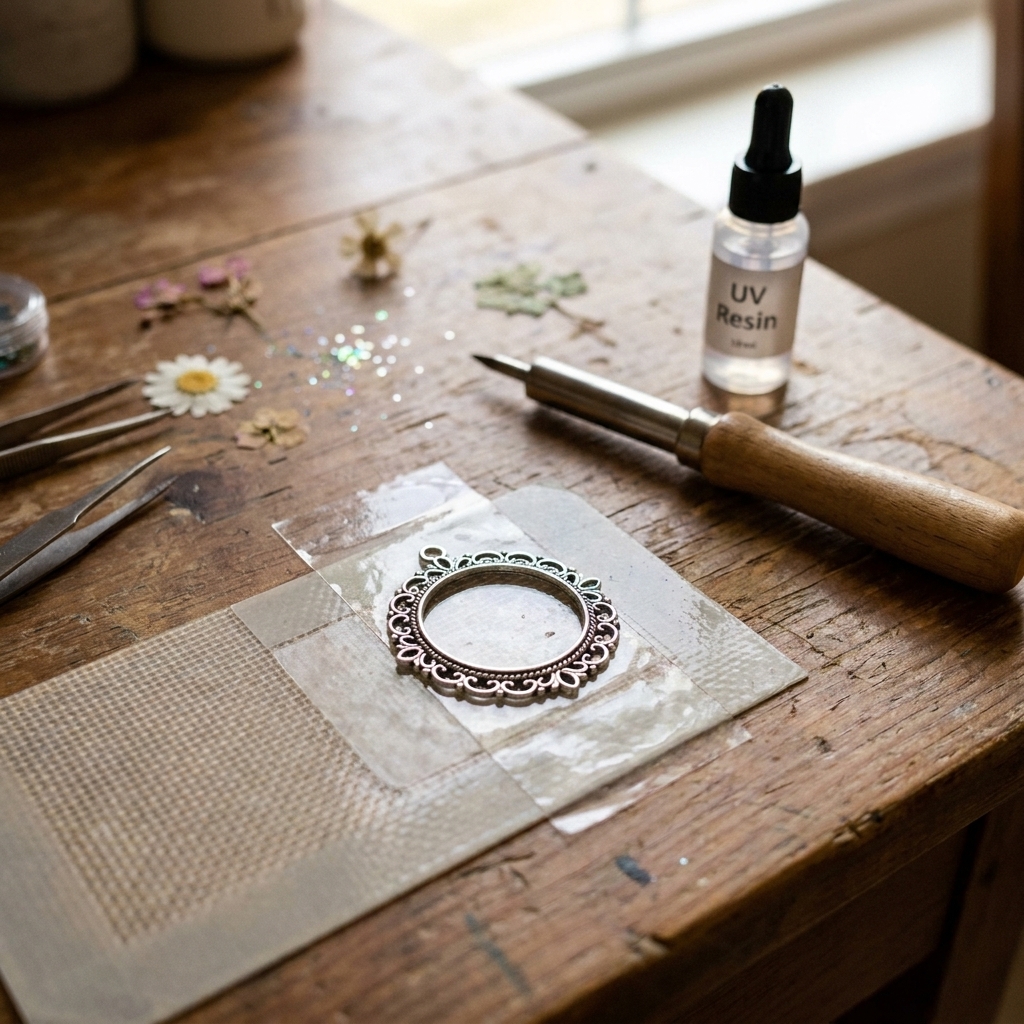
- Open-back bezels make beautiful memorial pieces, but you need to seal the back well and pour slowly. If you love bezels, start here: Resin Jewelry With Open-Back Bezels.
Tools that make memorial pours calmer
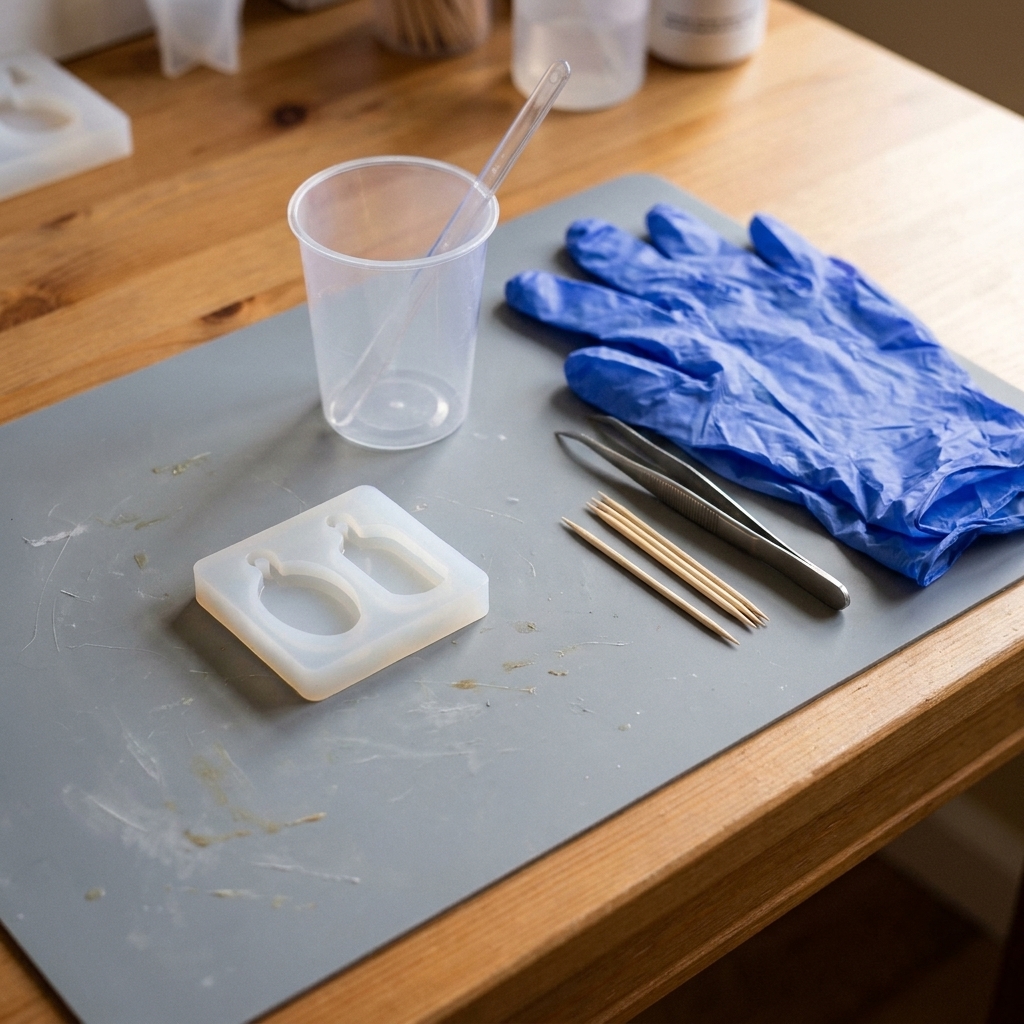
- Digital scale or measuring cups (depending on your resin system)
- Silicone mixing cups and stir sticks
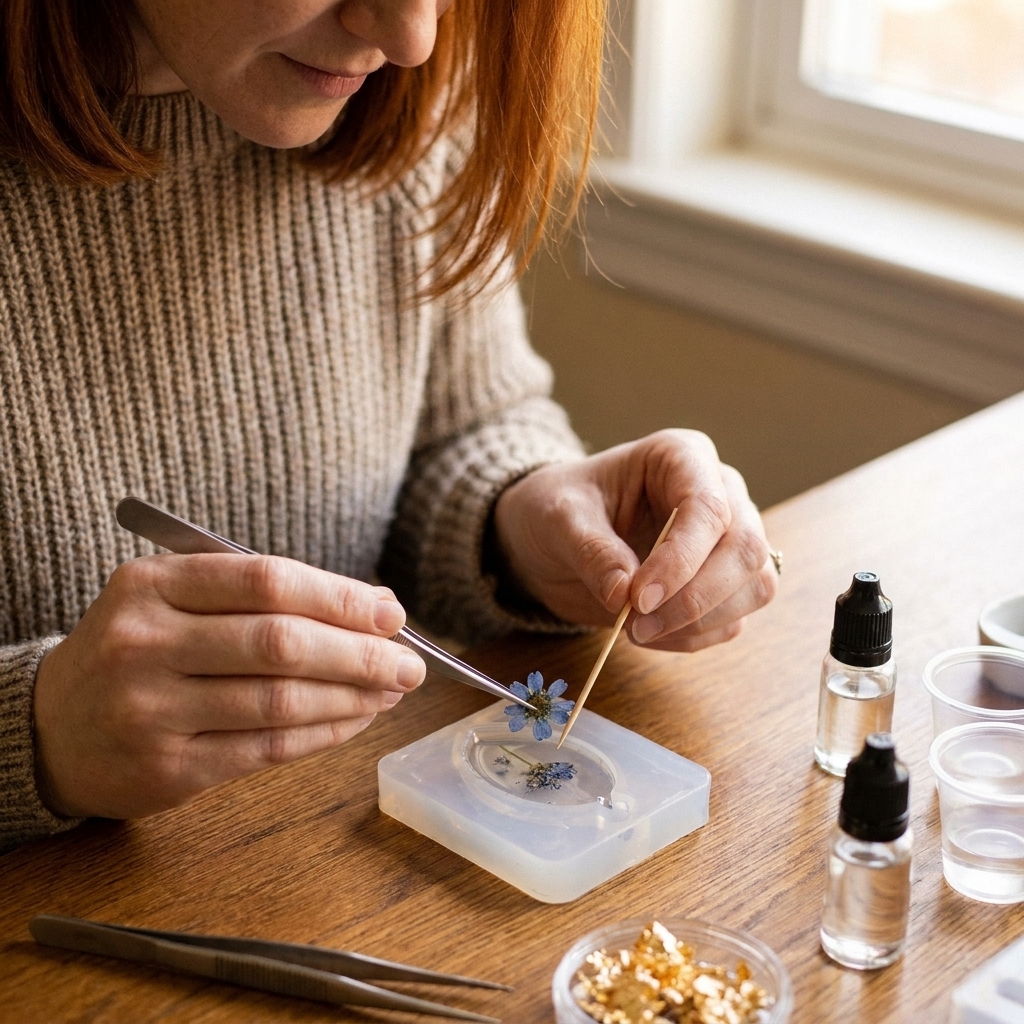
- Fine tweezers for placing hair
- Toothpicks for nudging inclusions and popping bubbles
- A lidded box to cover pieces while curing (dust is the enemy)
- Optional: a heat gun or small torch for surface bubbles (used gently). Keep the heat moving, stay several inches away, and use quick passes only. See: Heat Gun vs Butane Torch for Resin Bubbles.
One more reminder: Always follow your resin manufacturer’s max pour depth and cure schedule, especially for deeper molds and layered pieces.
Prep hair
Hair is lightweight, static-prone, and it loves to float. A little prep makes a huge difference.
Choose the amount
Less usually looks better. For a 25 to 35 mm pendant, a small pinch of fur or a few strands of hair can be enough. If you pack in a big clump, you are more likely to trap bubbles and create cloudy pockets.
Clean and dry it
- If the hair might have oils, dander, or grooming product, rinse briefly in mild soapy water, then rinse well.
- Pat dry on a paper towel and let it air dry completely. Any moisture can cause cloudiness and curing issues.
Shape it before you pour
I like to make a tiny wisp that matches the pendant shape. Use tweezers to align strands, then snip the ends neatly. If you want a curl or swoop, you can lightly wrap it around a toothpick for a few minutes so it holds the curve.
Prep ashes
Ashes can be beautiful in resin, but the look changes based on particle size and how you mix.
Work small and control dust
- Open the container slowly and away from fans or vents.
- Scoop a tiny amount into a separate small dish, then close the main container.
- Work over a tray or folded paper so you can gather any stray ash back into the secondary container.
- If you see large fragments, decide if you want them visible. Many people prefer a smooth, fine look.
Fine look vs speckled look
- Fine, misty look: Use a very small pinch and mix thoroughly into resin. This makes a soft haze.
- Speckled look: Mix less and pour in layers, letting some particles remain distinct.
Do not overdo it
Too much ash can dull clarity, and in heavy amounts it may affect curing in some resin systems. Start with less than you think you need. You can always add a second micro-layer with a few more specks.
Step-by-step: pendant in a silicone mold
This method is my favorite for beginners because the mold supports the resin from all sides, and you can build a clean window layer by layer.
1) Prep your station
- Cover your surface. If you are not sure what to use, I listed my favorite options here: Best Mats and Coverings for Resin Spills.
- Level your work surface. A tilted table gives you lopsided jewelry.
- Warm the room if needed. Resin likes stable conditions. Use this guide for targets: Ideal Temperature and Humidity for Epoxy Resin Curing.
2) Measure and mix correctly
Memorial pieces are not the time for close enough. Follow your resin’s ratio exactly, scrape the sides, and mix slowly to avoid bubbles. If you want a refresher, I walk through it here: How to Measure and Mix 2-Part Epoxy Resin.
3) Pour a thin base layer
Pour just enough to cover the bottom of the mold. Then let it sit 5 to 15 minutes, depending on your resin, so bubbles can rise and the resin can thicken slightly. This helps keep hair or ash from drifting.
4) Place the inclusion
- For hair: Use tweezers to lay it down gently. I press it lightly with a toothpick so it wets out and stops floating. If it wants to spring up, wait a few more minutes for the resin to thicken, then try again.
- For ashes: Sprinkle a tiny pinch into the resin or pre-mix a small amount of ash into a tablespoon of resin in a separate cup, then pour that mixture into the mold.
5) Seal it with a second layer
Once you are happy with placement, pour more resin slowly down the side of the mold. Aim for a steady stream to reduce bubbles. If you are pouring deeper than your resin allows in one go, build in layers. This tutorial helps you avoid visible layer lines: Pouring Epoxy Resin in Layers Without Visible Lines.
6) Bubble check, gently
Use a toothpick around the inclusion where bubbles love to cling. For surface bubbles, a quick pass with a heat gun on low is usually enough. Keep moving and do not hover in one spot. Too much heat can warp molds or trigger a fast cure.
7) Cover and cure
Cover your mold with a dust-free box. Let it cure fully, not just demoldable. If you demold early, you can bend or dent the surface and trap fingerprints forever.
Step-by-step: open-back bezel
Bezels are gorgeous, but they require more patience because resin can leak and the surface tension can dome unevenly.
1) Tape and seal the back
Use smooth, strong tape on the back of the bezel and press firmly around all edges. Any gap becomes a leak. Place the bezel tape-side down on a level surface.
2) Add a thin resin layer
Pour a thin layer and let it thicken slightly. This becomes your grip layer for hair, and it also helps keep ash where you put it.
3) Place hair or ashes
Use tweezers for hair and keep it centered. For ashes, I prefer a pre-mixed pinch of ash in resin so I can control the look.
4) Fill, then dome
Fill the bezel close to the top edge first. Then pause and check for bubbles and leaks. Once that fill layer has settled, add a final small amount to dome. If you need help getting that smooth, slightly raised surface, follow my doming guide: How to Dome Resin on Jewelry and Small Crafts.
5) Cure, then peel tape
Wait until fully cured before peeling the tape. If you pull early, you can warp the back surface or leave tacky patches.
Finishing
Trim and smooth edges
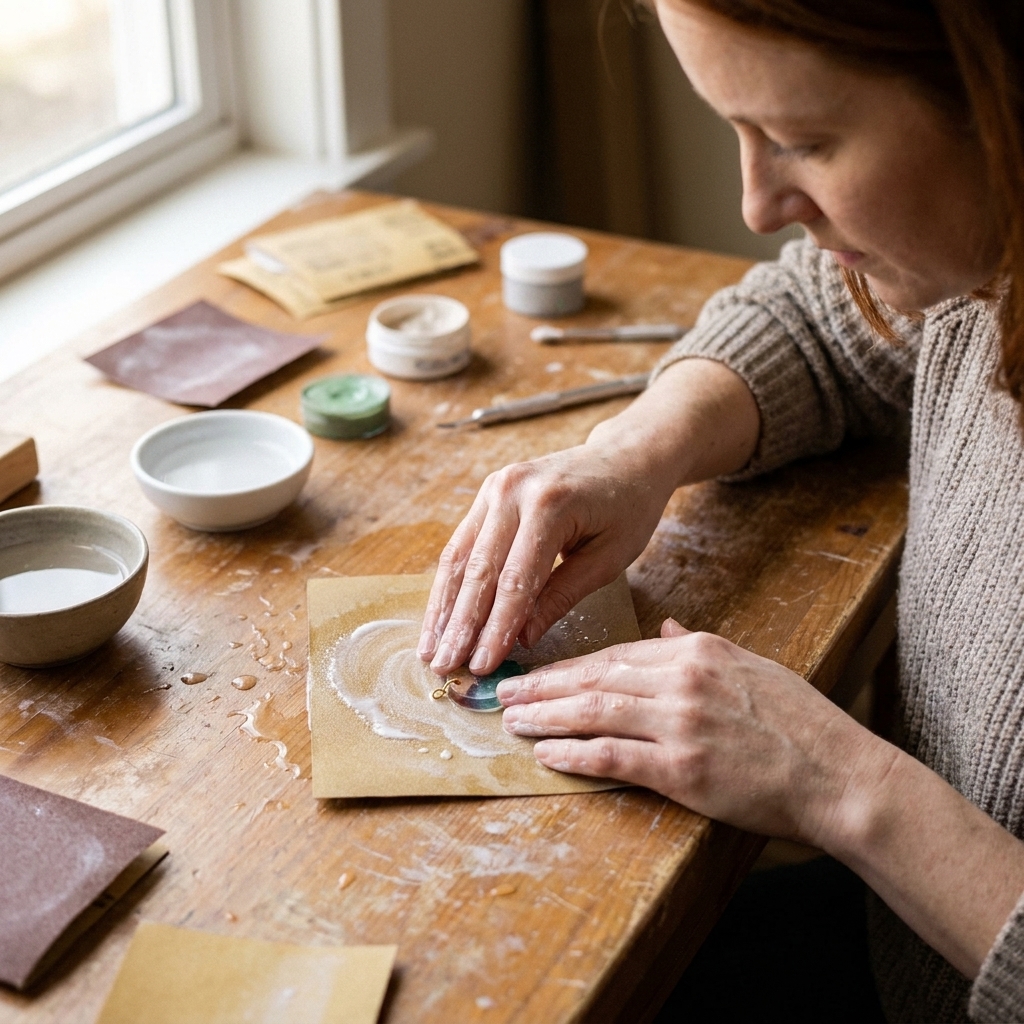
If your piece has a sharp rim or tiny spillover, sand it smooth. Start with a lower grit only if needed, then work up to finer grits for clarity. Full walkthrough: How to Sand and Polish Epoxy Resin.
Add a hole or bail
- If you need to drill cured resin for an eye pin, this guide is my go-to: How to Drill Cured Resin and Attach Eye Pins.
- If you would rather avoid drilling, you can glue in hardware instead: Glue and Embed Hardware in Resin Jewelry (No Drilling Needed).
Troubleshooting
Sticky or soft cure
This is almost always a measuring, mixing, or temperature problem. It can also happen if you used too much additive. Go here for fixes: 8 Reasons Your Epoxy Resin Is Sticky or Soft and How to Fix It.
Cloudy piece
Cloudiness usually comes from moisture, micro-bubbles, or incompatible materials. Hair that was not fully dry is a big culprit. Start with this guide: Why Your Resin Jewelry Is Cloudy. If it is micro-bubbles, use: How to Prevent and Remove Micro-Bubbles in Epoxy Resin.
Hair floated
- Let your base layer thicken before placing hair.
- Use smaller wisps, not a clump.
- Pour in two to three layers so the hair is sandwiched, not suspended in one deep pour.
Ashes sank
- Use a slightly thicker resin stage, or pour a thin clear layer first and let it gel a bit.
- Try mixing a tiny pinch into a small amount of resin, then add that as a middle layer.
Bubbles clung to hair
- Pre-wet hair by touching it into resin in your cup first, then place it.
- Use a toothpick to coax bubbles off each strand.
- Apply brief, gentle heat after the hair is placed, not before.
Design ideas
- Clear window pendant: Hair centered with a crisp clear border.
- Soft halo: A tiny pinch of ash mixed into one layer, with clear layers above and below.
- Night-sky speckle: A few ash specks plus a whisper of mica, kept very light so the memorial inclusion stays the focus. If you are new to colorants, see: How to Color Epoxy Resin.
- Hidden back layer: Keep the front perfectly clear, and place the inclusion closer to the back for a clean, glassy look from the front.
If you want to add extra sparkle with flakes, glitter, or inks, test first. Some add-ins can change how resin cures or how clear it stays, especially when you use more than a tiny amount.
Care and storage
Once cured, resin jewelry is durable, but it is not invincible.
- Store away from sunlight and heat. Car dashboards are brutal, and most epoxies can slowly yellow over time. If you are making a piece meant for daily wear, choosing a resin marketed for clarity and UV resistance can help.
- Avoid long soaks. Brief handwashing splashes are fine, but do not wear in hot tubs or long showers.
- Clean gently. Use a soft microfiber cloth. Avoid harsh solvents.
Memorial jewelry FAQ
How much ash do I need?
A very small pinch, often far less than you expect. It depends on the pendant size and whether you want a soft haze or visible specks. I start tiny and adjust with a second micro-layer if I need more.
Will ashes react with epoxy resin?
In small amounts, ashes usually behave like a fine filler. The bigger risks are dust control and using so much that you lose clarity or run into cure issues.
Can I use very fluffy pet fur?
Yes, but it traps air easily. Use a smaller amount and pre-wet it with resin before placing. Undercoat tends to look like a soft cloud, which can be beautiful if that is what you want.
Can I combine hair and ashes?
You can, and layering is the cleanest way. For example: clear base layer, hair layer, thin ash-speckle layer, then a final clear top layer.
A gentle closing note
If you are making memorial jewelry in the middle of grief, go slower than you think you need to. Mix carefully. Pour in layers. Cover your work and let it cure fully. You are not just making resin art. You are building a tiny keepsake that someone will reach for on hard days.
If you want more jewelry-focused tutorials, you can browse the full section here: Resin Jewelry Making.