Master resin doming on pendants, charms, and small crafts. Learn prep, leveling, the perfect “thickened” timing, bubble control, and fixes for drips and fish...
Polymer Clay + Epoxy Resin Earrings

Ruby Fletcher
Ruby Fletcher is a dedicated resin crafter with years of hands-on experience pouring, molding, and creating custom epoxy art. After turning her dining room into a makeshift studio, she developed a passion for helping beginners navigate the sticky, colorful world of resin with confidence. She loves sharing practical tutorials, troubleshooting tips, and essential safety guides to make epoxy crafting accessible for everyone.
Published · Last updated
The first time I tried mixing polymer clay and epoxy resin, I was aiming for “crisp and glassy.” What I got was “why is this puddling into the texture I worked so hard to stamp?” If you have ever baked beautiful clay pieces and then hesitated with the resin because you do not want to ruin them, you are in the right place.
Polymer clay and epoxy resin play really well together, but only if you treat them like two different materials with two different rules. Clay wants a clean, slightly toothy surface and careful heat. Resin wants correct measuring, proper cure conditions, and a plan for how it will stay put. Let’s walk through the safest, most reliable ways to coat, embed, and join baked polymer clay components into dimensional earrings.
Before you start: safety and setup
Even if your clay work feels like a cozy kitchen craft, epoxy resin is a different category. Set yourself up like you are working with chemicals, because you are.
- Ventilation matters. Work in a well-ventilated space and avoid curing resin in a bedroom or closed living area. My full setup is in my garage for a reason. If you need help building a safe routine, start with set up a safe, ventilated resin workspace at home.
- Wear the right protection. Nitrile gloves are non-negotiable. Eye protection is a smart habit. For frequent resin work, a proper respirator rated for organic vapors is worth it. See resin safety gear: respirators, gloves, and eye protection.
- Protect your table. Resin finds seams, cracks, and lint. Use a dedicated mat or covering you can wipe clean. I keep a “spill zone” under every project. Ideas here: best mats and coverings for resin spills.
If resin does end up where it should not, these help: how to clean up uncured resin and dispose of epoxy waste safely and epoxy resin on skin: removal and prevention.
Choose the right pairing
Polymer clay types
Any baked polymer clay brand can work, but the best results come from clay that is fully cured and not overly flexible. If your clay bends easily after baking, a thicker resin coat can crack later when the clay flexes during wear. For earrings, I like pieces that are thin but rigid, or I reinforce with a backing layer of clay.
Epoxy vs UV resin
For coating polymer clay, I reach for 2-part epoxy most of the time because it self-levels beautifully and cures thicker without needing light exposure. UV resin can be great for tiny accent domes or quick sealing, but it is easier to under-cure in shaded areas or along edges.
If you are deciding which resin fits your style, read UV resin vs 2-part epoxy: what beginners should choose.
Prep clay so resin bonds well
This is the step that quietly determines whether your resin coat looks like a professional glaze or peels off like a sticker later.
1) Make sure the clay is fully baked
Under-baked clay can stay slightly soft or feel a little oily from residual plasticizer, which can make adhesion less reliable. Follow your clay brand’s package instructions for temperature and time, and let pieces cool completely before resin.
2) Degrease the surface
Polymer clay can pick up fingerprints and residue, especially if you used lotion earlier or handled it a lot while shaping.
- Wash pieces gently with dish soap and warm water, then let them dry fully.
- Alternatively, wipe with isopropyl alcohol and let it evaporate.
3) Add tooth for extra grip (optional)
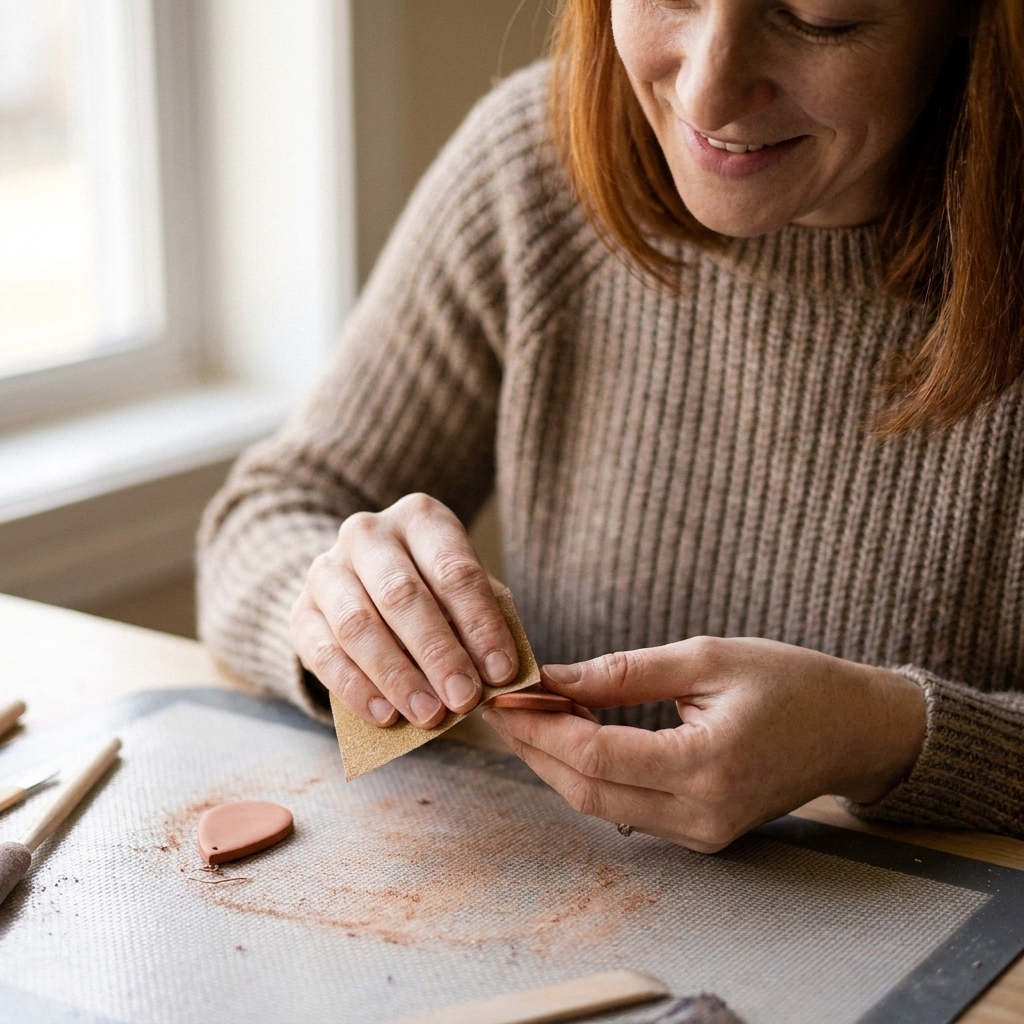
If you are coating a super smooth clay surface and want extra hold, lightly scuff it with fine sandpaper (around 600 grit). You are not trying to scratch it up, just knocking down the shine.
After sanding, wipe dust away. If you want your resin coat to look glassy, you can do your sanding under the resin coat and let the resin restore the gloss.
More sanding and polishing tips here: how to sand and polish epoxy resin.
Three ways to combine clay and resin
Method 1: Resin topcoat on clay
This is the most common mixed-media approach: bake clay shapes first, then dome or flood-coat the face with resin for a jewelry-grade shine and added depth.
- Set up level. Resin self-levels, which is great unless your piece is tilted. No spirit level? Put a drop of resin (or even water) on a scrap tile. If it immediately creeps in one direction, your surface is not level. You can also place two coins a few inches apart and rest a straight ruler on them. If it rocks, you are on a slope.
- Mix resin carefully. Measure precisely and mix thoroughly, scraping sides and bottom. If you need a refresher, use how to measure and mix 2-part epoxy resin.
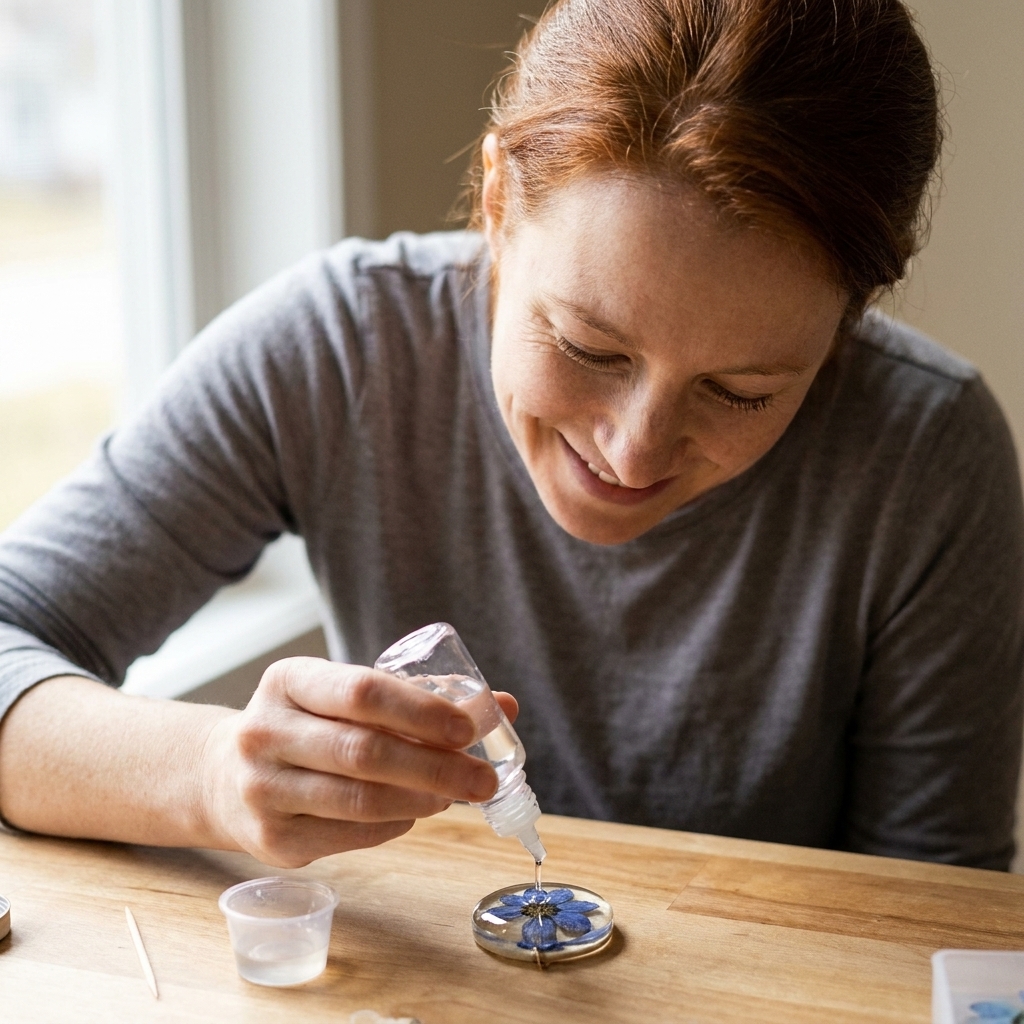
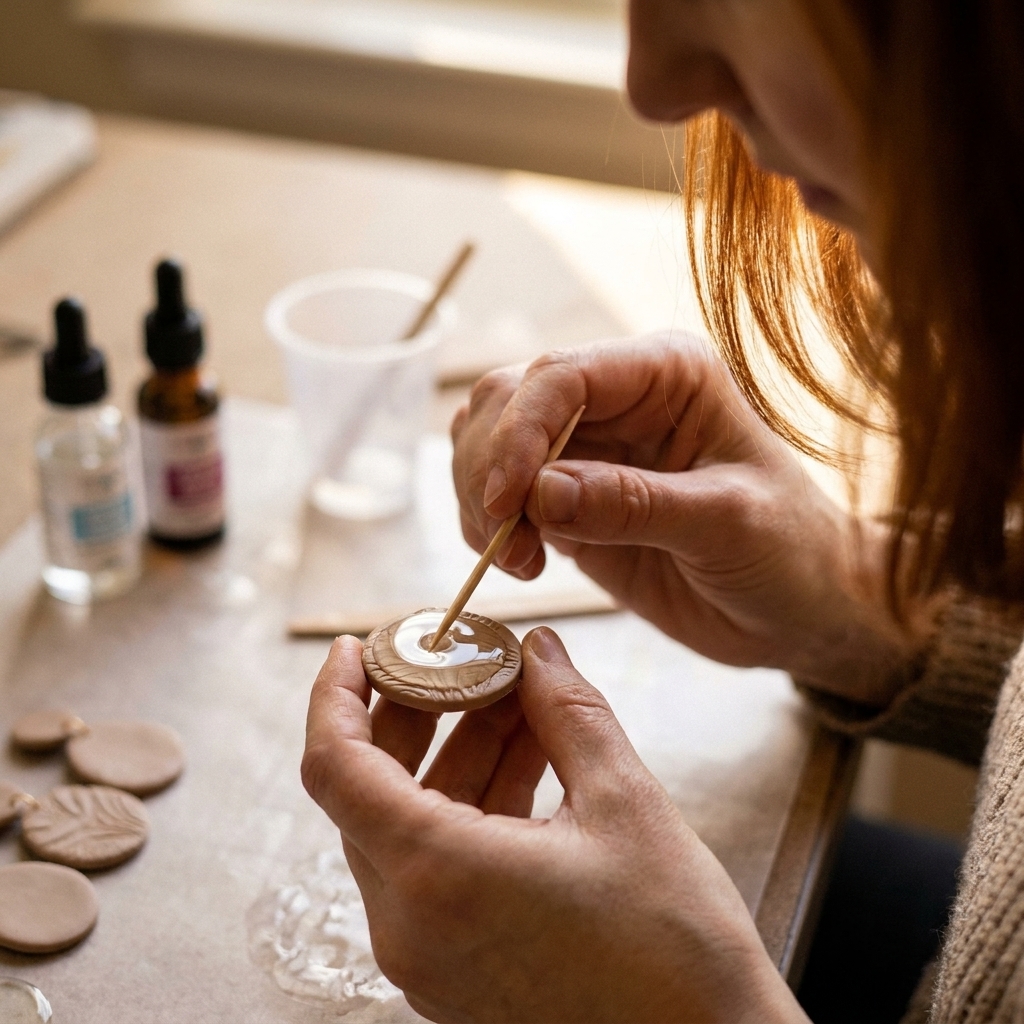
- Apply a thin seal coat first (optional but helpful). Brush on a whisper-thin layer to “wet” the surface and reduce fisheyes. Let it sit a few minutes.
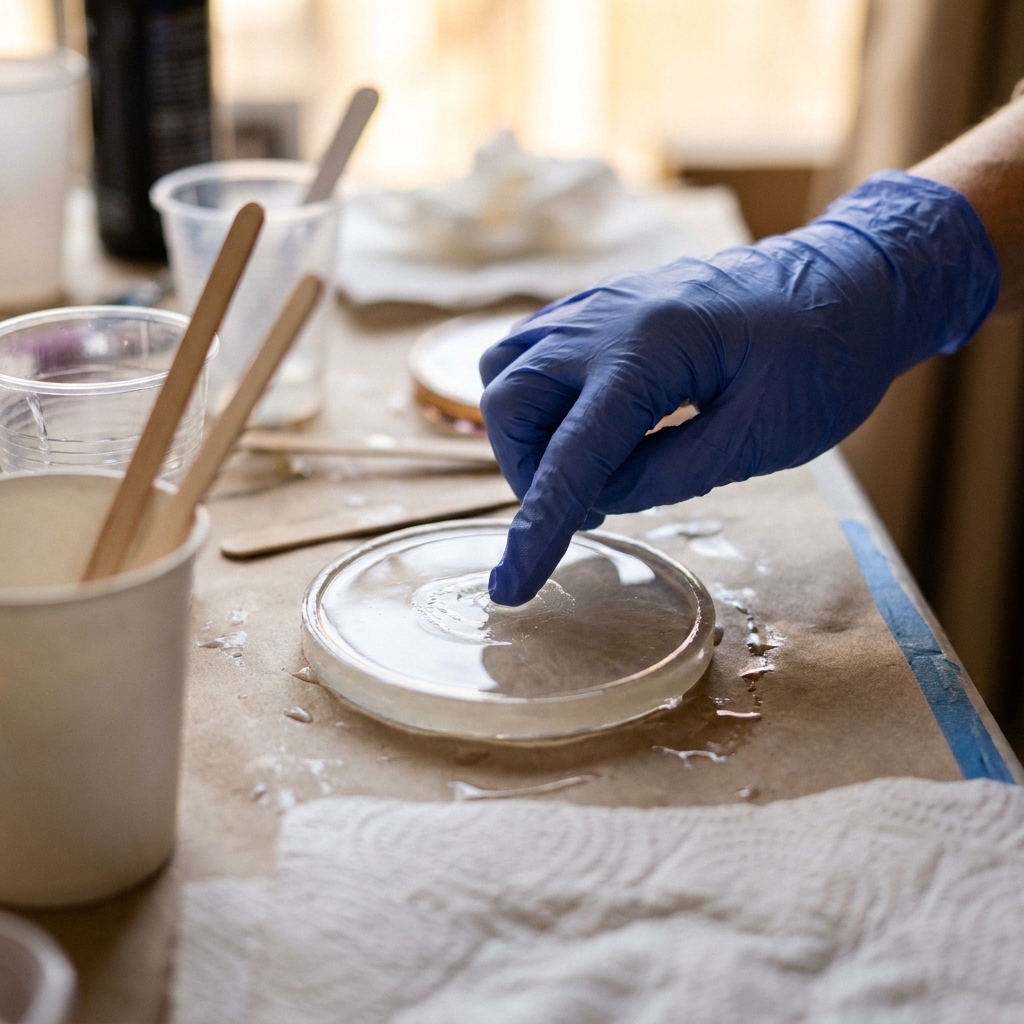
- Flood coat or dome. Add resin until it reaches the edges. Surface tension should hold a dome on top if your piece has a defined border.
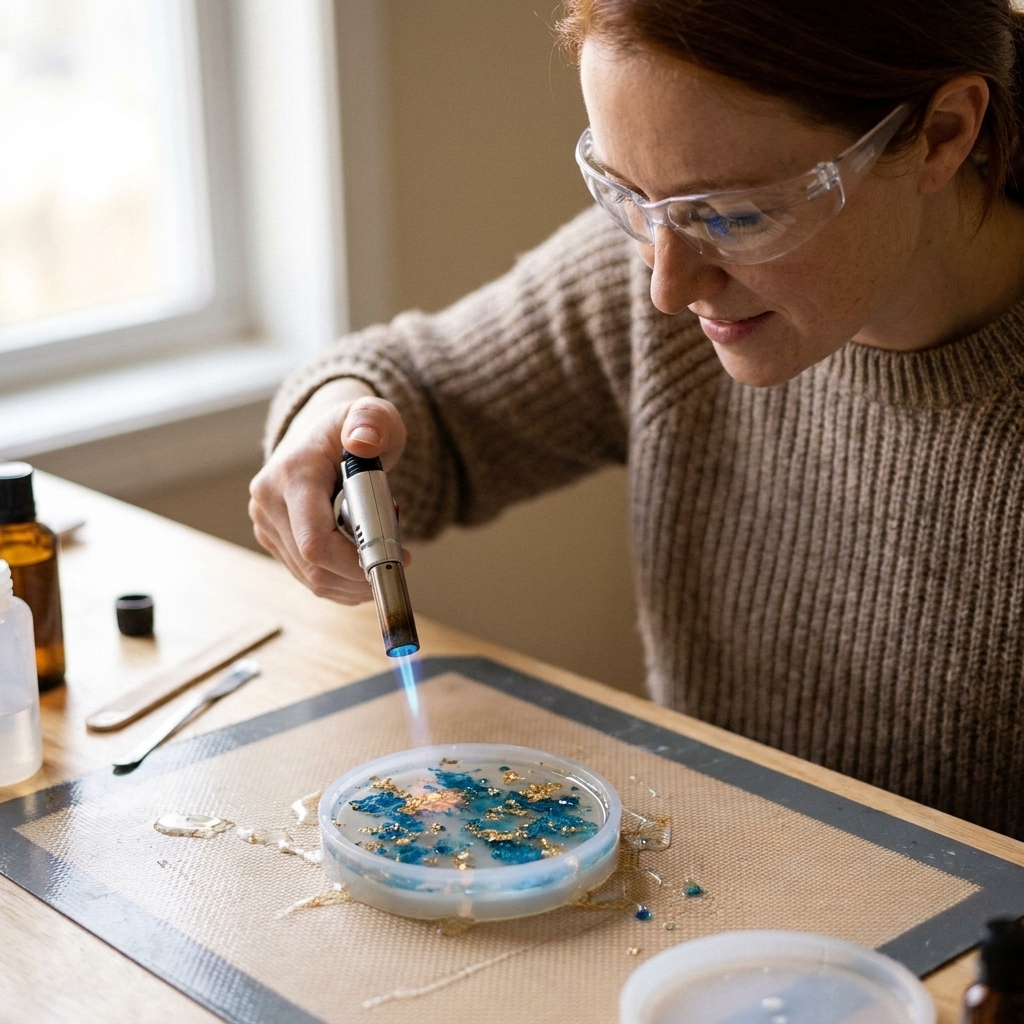
- Pop bubbles gently. Pass a heat gun briefly or use a torch carefully. My full breakdown is here: heat gun vs butane torch for resin bubbles. For small domes, I prefer a heat gun on low so I do not scorch clay or over-thin the resin.
- Cover while curing. Use a clean plastic container as a dust cover.
If doming is new to you, this guide is a lifesaver: how to dome resin on jewelry and small crafts.
Method 2: Embed clay inside resin
This is where mixed media gets really fun: suspend tiny clay charms, slices, or textured bits inside a clear resin layer for depth.
- Choose a mold with enough depth. Shallow molds can make clay pieces poke through the surface.
- Pour a base layer and wait for gel stage. Pour a thin layer of resin, then wait until it thickens to a soft gel. It should move slowly like warm honey, and when you drag a toothpick through it, the line does not instantly disappear.
- Place clay components. Press gently so resin climbs around the edges. If pieces float, they are too light or the resin is too thin. Let the resin thicken a bit more and try again.
- Top off in a second layer. Pour resin to fully cover, then cure.
If you struggle with visible layer lines in clear work, use pouring epoxy resin in layers without visible lines.
For mold tips and long-term care, see silicone molds for resin: choose, prep, and care.
Method 3: Use resin as a joiner
Resin is not just a topcoat. You can use it like a strong, gap-filling adhesive to join baked clay pieces into one earring, attach a resin “window,” or lock findings into place.
When resin works well
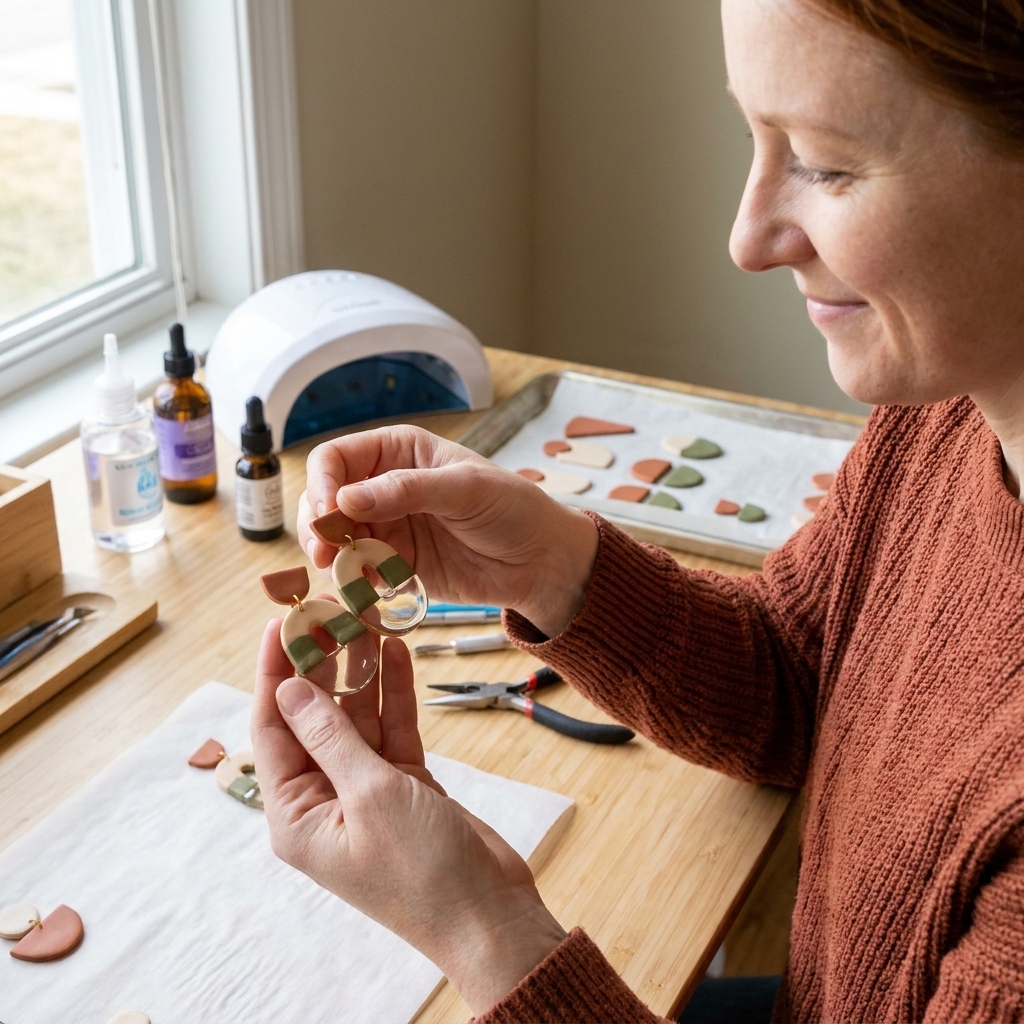
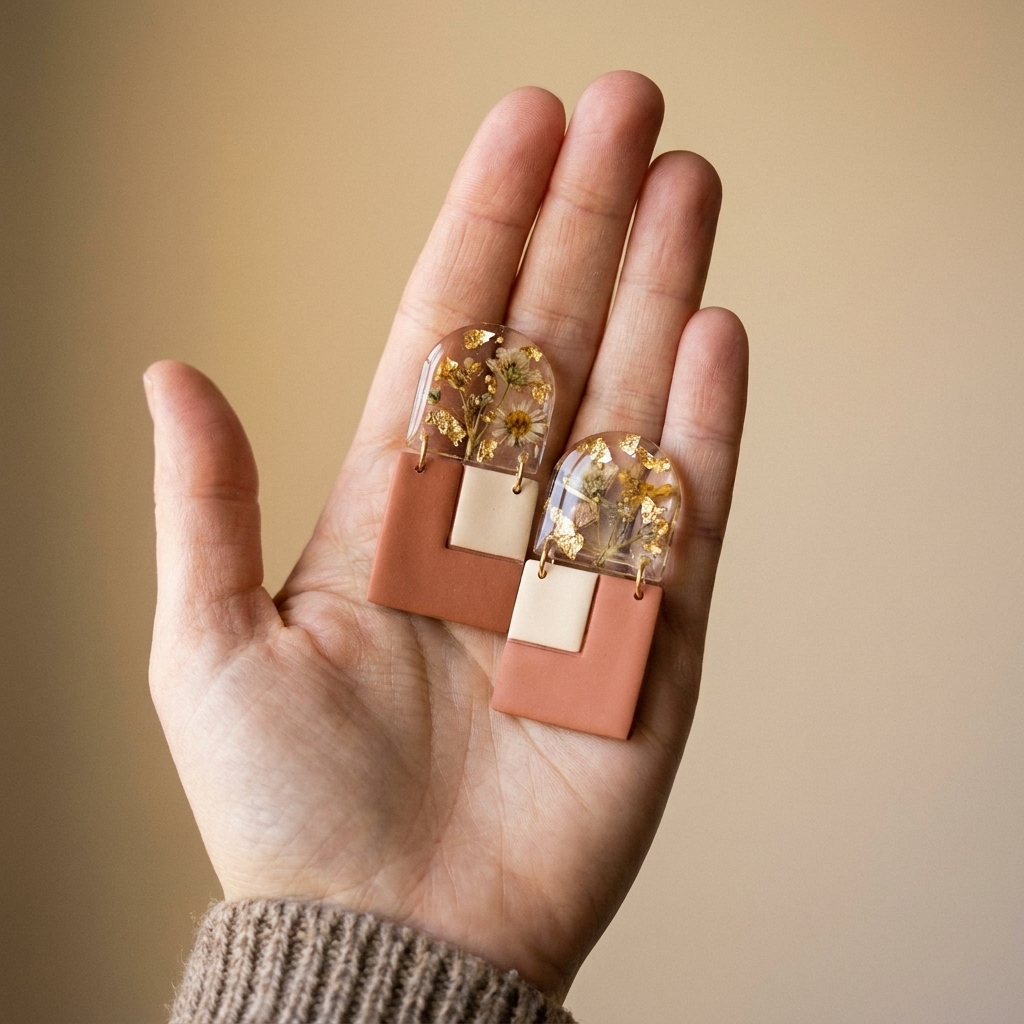
- Bonding two baked clay layers together (like a sandwich with a clear resin stripe)
- Filling a recessed channel in clay for a “stained glass” look
- Embedding posts, jump rings, or small hardware into the back of clay pieces
How to do it
- Rough up bonding zones. Lightly sand where resin will grip.
- Create a mechanical key when you can. Resin grabs best when it has something to lock into. A shallow recess, crosshatch scratches, or an undercut groove on the back helps prevent popped-off posts later.
- Use a thicker resin stage. If resin is too runny, it will slide out of the joint. Mix resin and let it sit a few minutes until it is slightly thicker (keep an eye on pot life).
- Clamp or tape pieces in place. Painter’s tape is your friend for awkward shapes. If you masked the front earlier, remove tape at the gel stage and wipe away any sticky adhesive residue before it cures into the edge.
- Cure fully before stressing the joint. “Hard to the touch” is not the same as full strength.
For hardware tips in small jewelry pieces, I use this approach a lot: glue and embed hardware in resin jewelry, no drilling needed.
Design ideas that look intentional
- Half-dipped shine: Mask part of the clay with tape and resin coat the exposed half for a clean two-finish look. Remove tape once the resin gels, then clean any adhesive residue with a quick alcohol wipe on the tape line (do not flood uncured resin).
- Resin “lenses”: Add a small dome only over a stamped detail, metallic leaf, or mini charm area for a magnified effect. For keeping light materials in place, see how to suspend glitter, beads, and gold leaf without sinking.
- Terrazzo depth: Make a polymer clay terrazzo base, then seal with a crystal-clear resin coat for that polished stone vibe.
- Negative space window: Cut a hole in the clay shape and fill it with tinted resin.
Color, clarity, and yellowing
Coloring resin safely
If you want tinted “glass” sections next to your clay, keep your resin dyes and pigments resin-safe and use them sparingly. Too much pigment can affect curing and make resin rubbery.
For my favorite beginner-friendly color options, see how to color epoxy resin.
Prevent cloudy coats
Cloudiness often comes from moisture, cold curing conditions, or aggressive mixing that whips in bubbles.
- Most craft epoxies cure happiest around room temperature, roughly 70 to 77°F (21 to 25°C), but always follow your brand’s label. More here: ideal temperature and humidity for epoxy resin curing.
- Mix slowly and scrape thoroughly to reduce micro-bubbles.
- Keep water away from open resin. Dry your washed clay completely before coating.
If your pieces are coming out hazy, use why your resin jewelry is cloudy for targeted fixes.
Bubble control on textured clay
Stamped or textured clay loves to trap air. A thin seal coat first helps a lot, because it lets resin flow into tiny crevices before you build thickness. For more bubble strategies: how to prevent and remove micro-bubbles in epoxy resin.
About yellowing
Most epoxies amber over time, especially with UV exposure. On earrings, it is usually slow, but it is real. I keep resin layers as thin as the design allows and avoid using clear resin as the main “white” element, because even a little warm tint shows up there first.
Keep backs and edges neat
The fastest way to make mixed-media earrings look expensive is clean edges and a tidy back.
- Prevent drips: If you are doming the front, place pieces on a nonstick surface and elevate them slightly if needed so resin cannot glue them down (silicone mats help here).
- Catch overflow at the green stage: When resin is firm but still a little rubbery, you can often trim a drip with a craft knife. If you miss that window, let it fully cure and then sand it flush.
- Do not forget the underside: If you got resin where you did not want it, a careful sand and polish can rescue it. The same finishing principles apply: how to sand and polish epoxy resin.
Hardware and durable connections
Mixed-media earrings live or die by their findings. Polymer clay is lightweight, but daily wear is rough on connection points.
Strong options
- Embed a small eye pin or wire loop into clay before baking (best when you design for it).
- Drill after baking and add a jump ring (best for dangles).
- Embed hardware with resin on the back (best for posts or hidden reinforcement). For best durability, do not rely on resin over a smooth flat back. Sand, create texture, and if possible seat the post pad into a shallow recess so the resin has something to lock into.
If drilling makes you nervous, I get it. I avoided it for months. Here is the method I use: how to drill cured resin and attach eye pins. The same basic approach works for baked polymer clay too, just go slow and support the piece.
Curing and troubleshooting
Resin stays sticky on clay
Sticky resin is most often a measuring, mixing, or curing-environment issue. That said, contamination can also cause tacky spots, especially along tape lines, fingerprints, dusty sanding residue, or silicone residue on tools.
Start here for the big culprits: 8 reasons your epoxy resin is sticky or soft and how to fix it.
Resin pulls away from the edge
- Surface was oily or dusty. Clean and try again.
- Piece was not level during cure. Resin migrated.
- Edge was too sharp for surface tension to hold a dome. Add a tiny second coat after the first cures, or slightly round the edge during sanding.
Fisheyes or bald spots
This usually means contamination. Clean the clay thoroughly, avoid silicone-based products on your hands or workspace, and consider a thin seal coat first. Also be cautious about coating over unknown varnishes or sealers on clay. Some play nicely, some do not. When in doubt, test resin on a scrap baked piece first.
Resin overheats or ripples
Thick pours, warm rooms, or too much torch heat can cause resin to kick fast. Keep coats thin on earrings and avoid lingering heat. If you need depth, build in layers.
Beginner project: glossy clay drops
If you want a low-stress first win, this is it. You get the clay artistry plus that candy-gloss resin finish.
What you need
- Baked polymer clay earring components (two matching pieces)
- 2-part epoxy resin
- Nitrile gloves and a protected work surface
- Mixing cups and sticks
- Toothpick or small brush
- Heat gun (optional)
- Dust cover (a clean plastic container works)
Steps
- Clean and dry the baked clay pieces.
- Level your workspace and place pieces on a nonstick surface.
- Mix a small batch of resin, carefully measured.
- Apply a thin seal coat with a toothpick or brush.
- Dome the top by adding resin slowly until it reaches the edges.
- Pop bubbles with a quick pass of low heat if needed.
- Cover and cure for the full time recommended by your resin.
- Clean edges at the green stage if you see a drip starting, or sand it after full cure.
- Attach findings after full cure.
Quick FAQ
Do I need to seal polymer clay before epoxy?
Not always, but cleaning is essential. A thin resin seal coat is helpful on textured clay or if you have had fisheyes in the past.
Can I bake polymer clay with resin on it?
No. Do not put epoxy resin in the oven. Cure clay first, then add resin afterward.
Will resin stick to polymer clay permanently?
It can, especially if the clay is clean and lightly scuffed. The most common failures are contamination (oils, dust, tape residue, silicone residue) and resin that never fully cures.
Is UV resin better for clay earrings?
UV resin is great for quick spot domes and small details. For full-face coating and a thicker, self-leveling gloss, 2-part epoxy is usually easier and more consistent.
My biggest tip
Decide what resin is doing in your design before you mix it. If resin is the “glass,” treat it like glass. Give it a clean surface, a level place to settle, and enough cure time to become truly hard. If resin is the “glue,” treat it like a structural join. Rough up the surfaces, build in a mechanical key when possible, and keep the piece supported until it reaches full strength.
Once you approach polymer clay and epoxy as partners with different jobs, mixed-media earrings stop feeling risky and start feeling like a whole new playground.